-
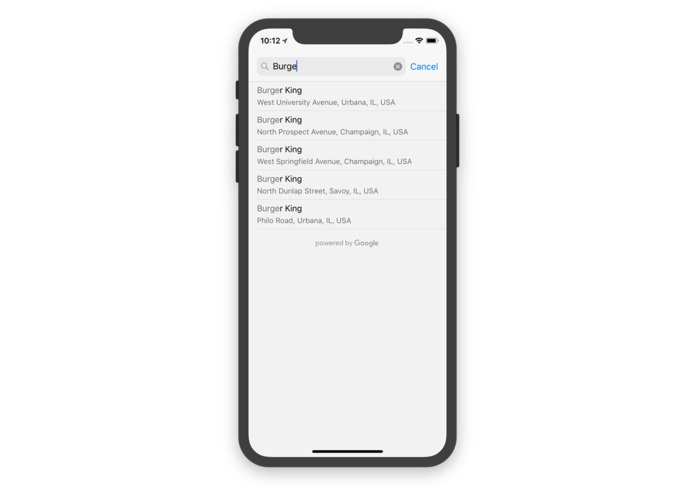
Path Screenshots
-
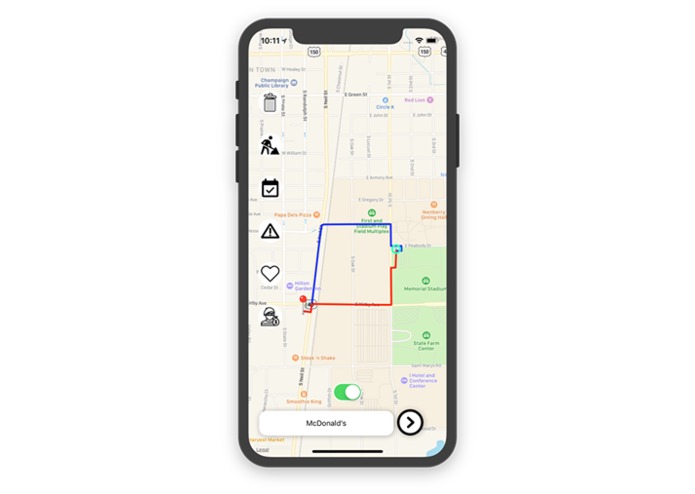
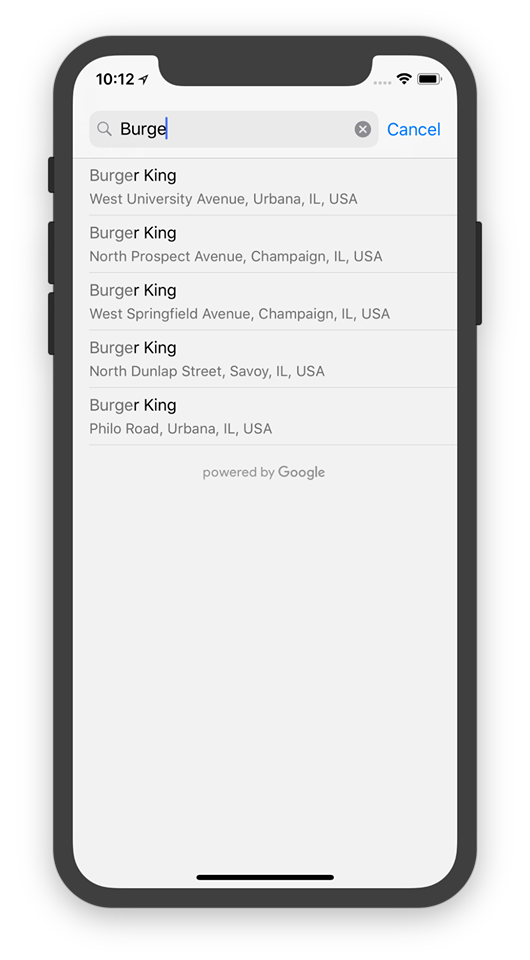
Path Location finder
-

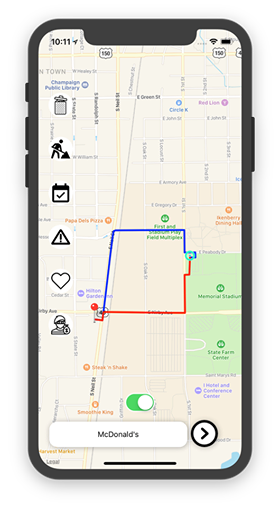
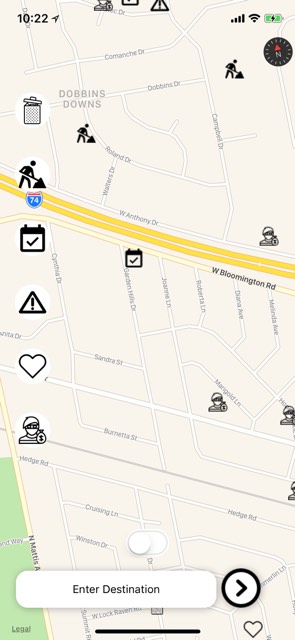
Incidents Reported shown on map
-
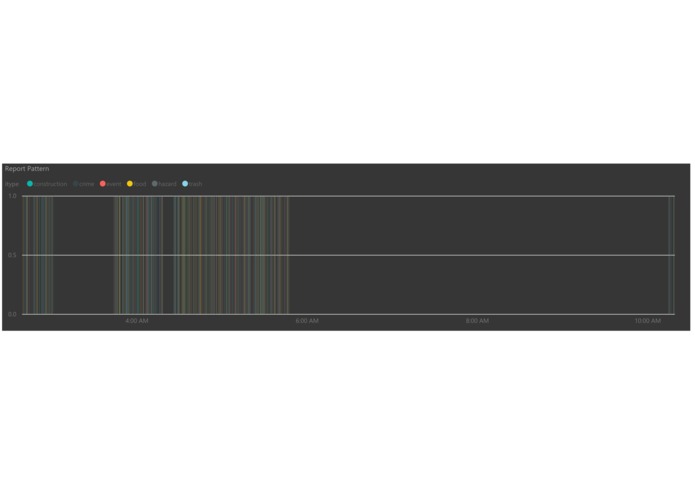
Incidents Reported by Time - Microsoft Power BI
-
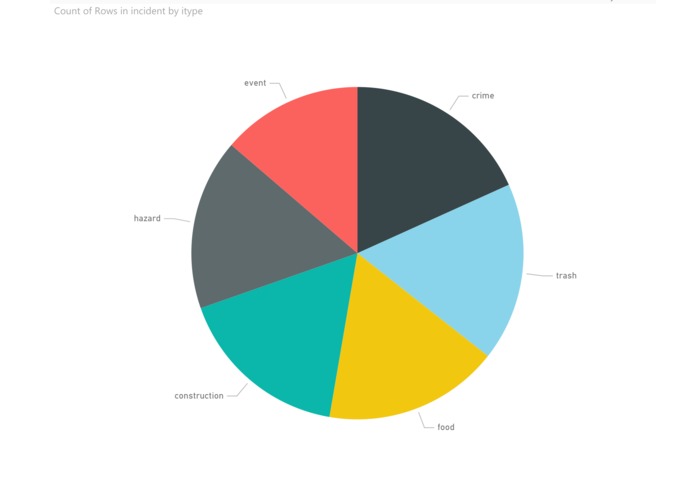
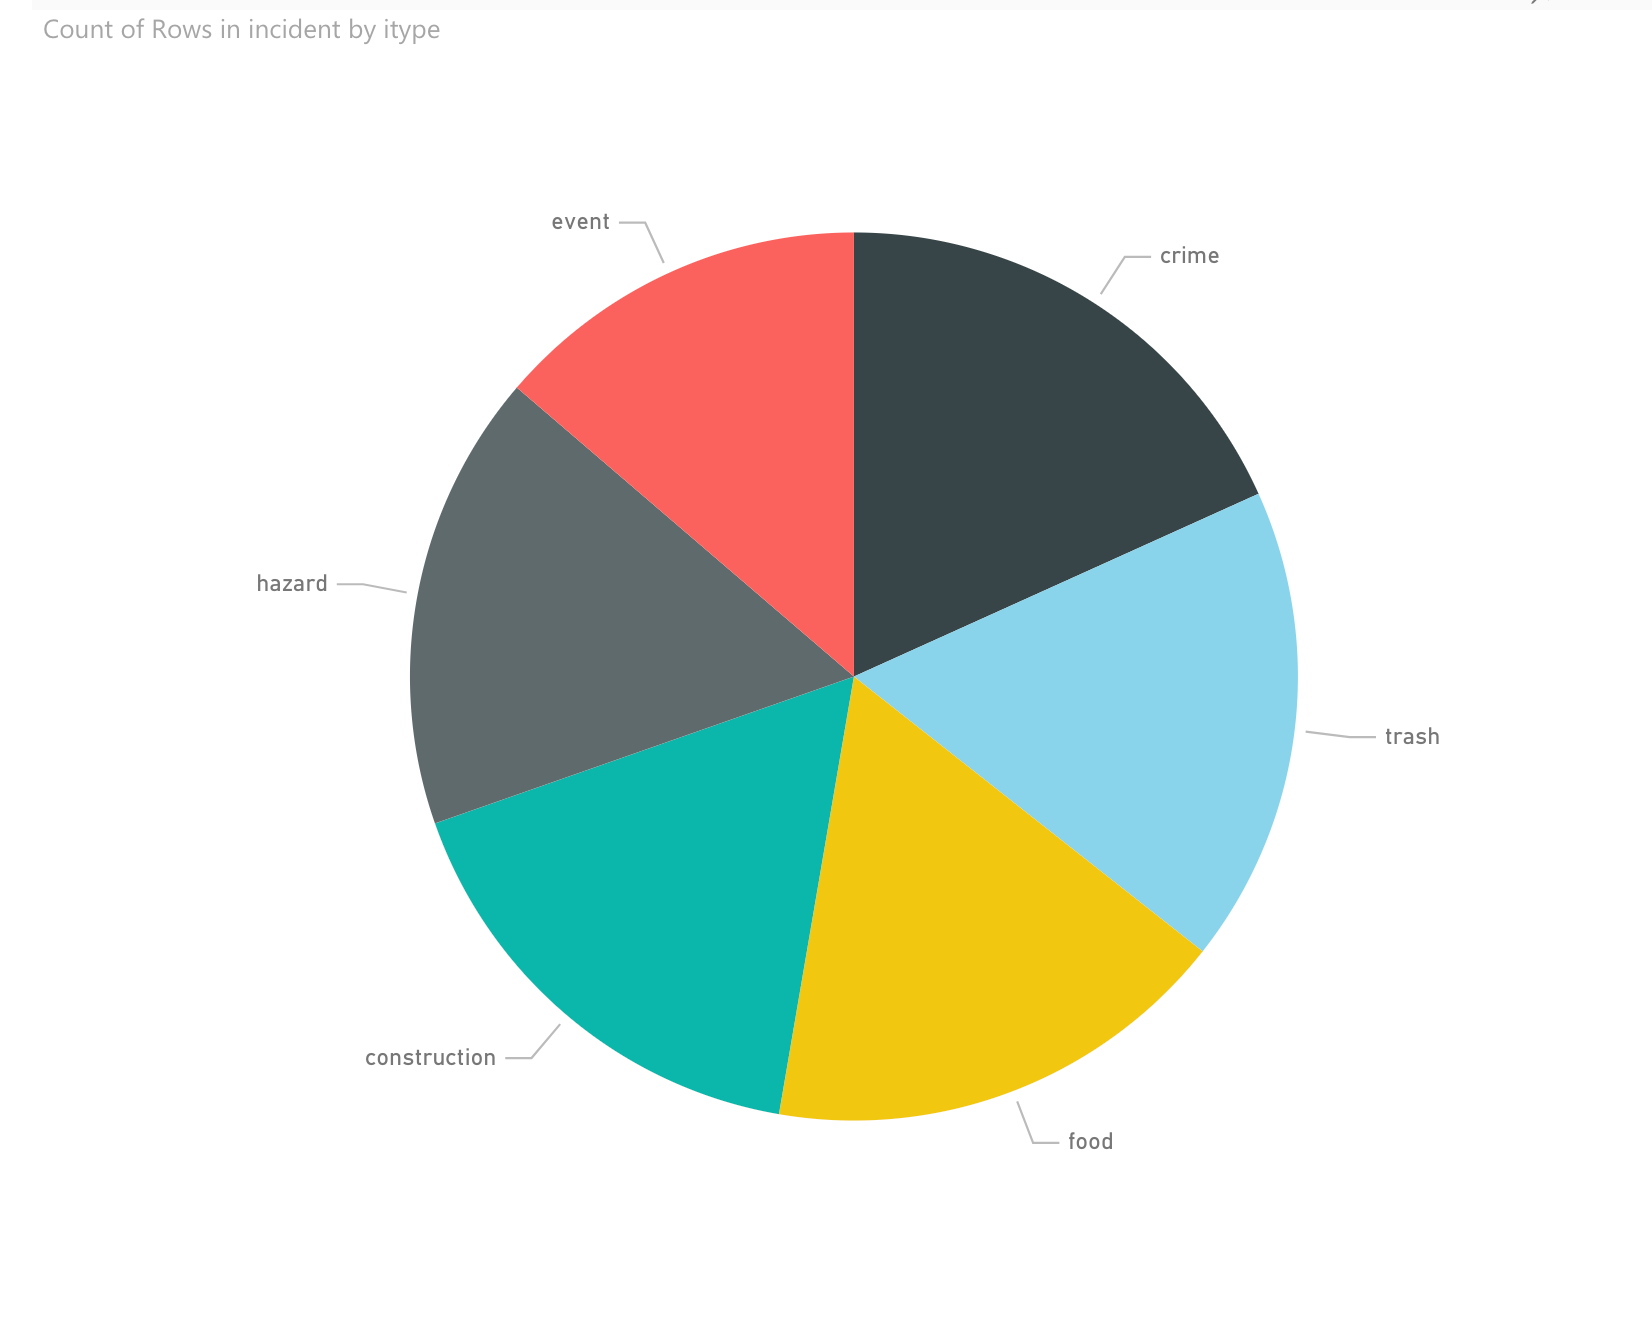
Type of Incidents - Microsoft Power BI
-

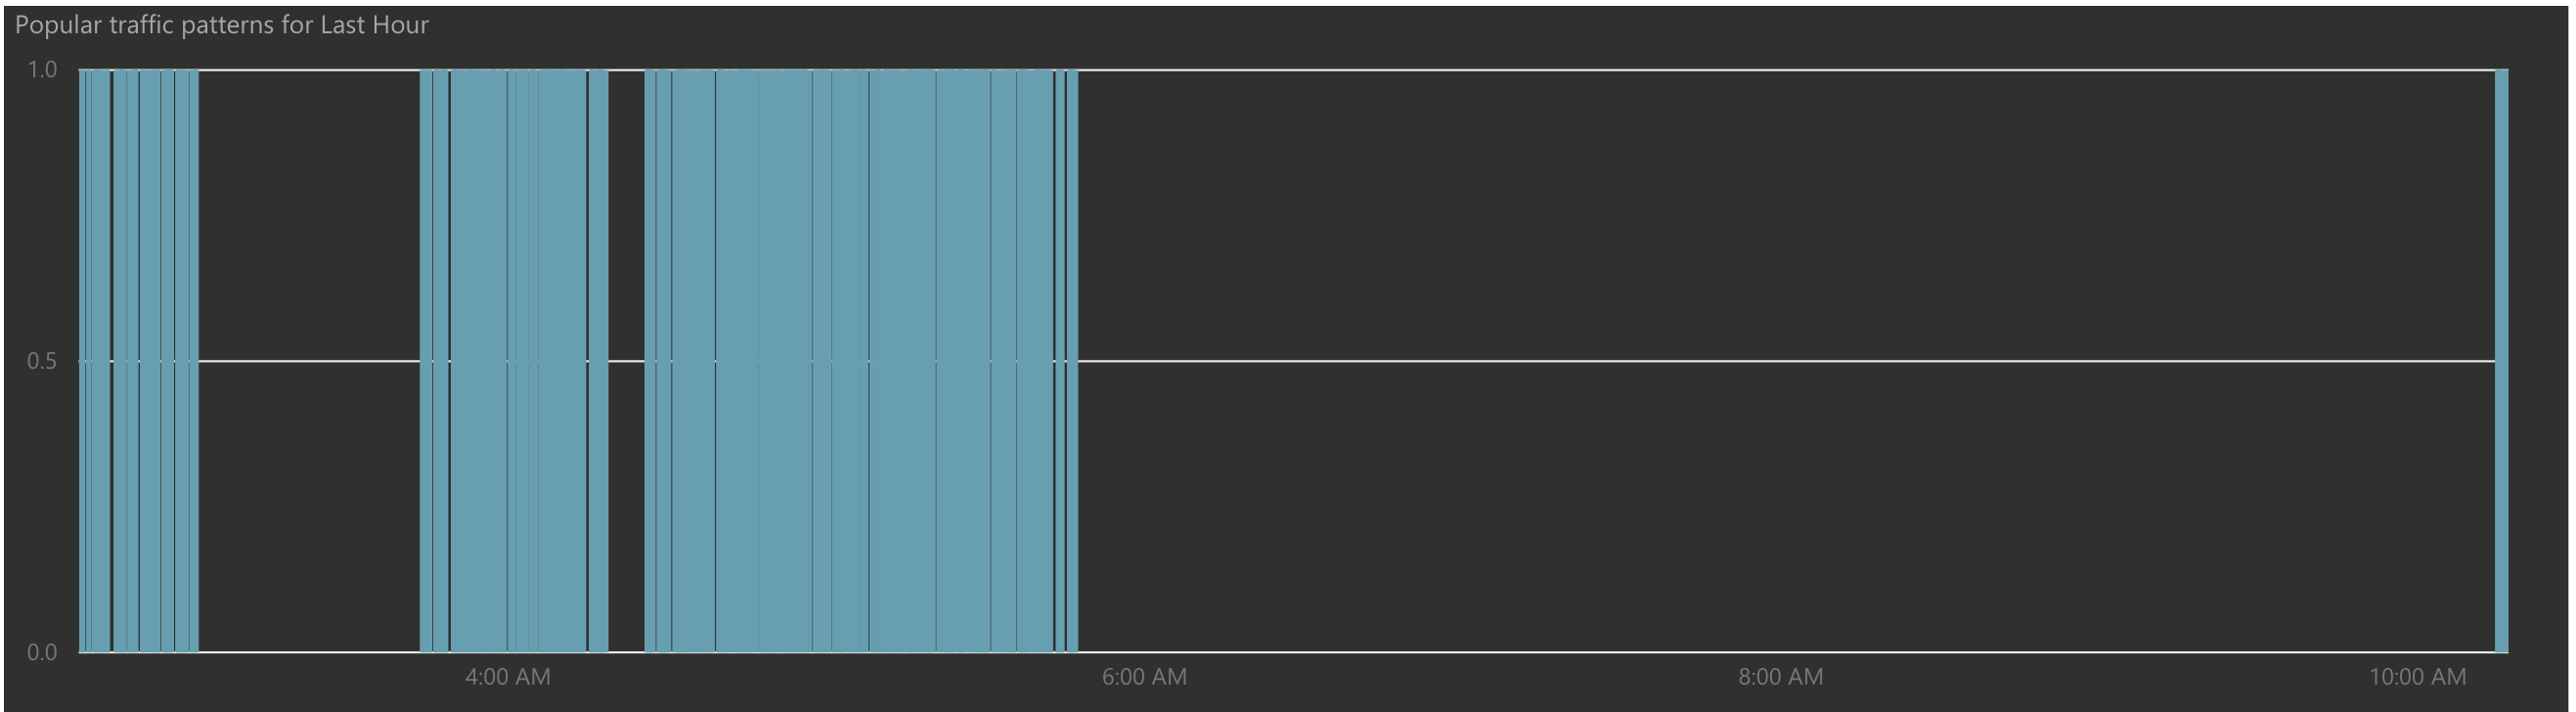
Traffic Patterns - Microsoft Power BI

Walkable
An open source & crowd sourced walking navigation for safe, fast & resourceful walks around your place.
Uses completely anonymous location & reporting data from people around the town & machine learning to suggest safe, fast and enjoyable trips around town. Reports and visualizes insights from user data to public safety to improve security in towns
Front-End of the application was built using react-native, react-native-maps, google maps API. Back-end was made using phython flask.
Uses
For Civillian
- Find safe routes to your destination.
- Find out details about routes you walk.
- A heatmap to avoid over crowded areas or find popular areas.
- Find events and activities near your walking routes, join if you are adventurous or avoid if you don't want to be bothered
For Public Safety
- Analyze popular routes by users and ensure high security by focusing on those areas
- Identify and analyze security concerns in crowded areas
- Get rich insights from crowd sourced data over the cloud using our dashboard
- Give and receive general community feedback on paths that people take every day
Open Sourcing the platform
We strongly believe that this tool needs to be open sourced in order to maintain transparency, credibility and allow government and city officials to maintain their own version of the database and data analytics to empower their communities and economic development.
How to run the backend
The backend is implemented in Python Flask and contains the rest endpoints for the front end to access. The backend is deployed on Heroku.
Instructions
First, you'll need to clone the repo.
$ git clone https://github.com/metemorris/hackillinois2018.git
Second, let's download pip, virtualenv, foreman, and the heroku
Ruby gem.
$ sudo easy_install pip
$ sudo pip install virtualenv
$ sudo gem install foreman heroku
Now, you can setup an isolated environment with virtualenv.
$ virtualenv --no-site-packages env
$ source env/bin/activate
Installing Packages
Gevent
To use gevent, we'll need to install libevent for the
gevent production server. If you're operating on a Linux OS, you can
apt-get install libevent-dev. If you're using Mac OS X, consider
installing the homebrew package
manager, and run the following command:
$ brew install libevent
If you're using Mac OS X, you can also install libevent through a DMG
available on Rudix.
Without Gevent
If you'd rather use gunicorn without gevent, you just need to edit
the Procfile and requirements.txt.
First, edit the Procfile to look the following:
web: gunicorn -w 4 -b "0.0.0.0:$PORT" app:app
Second, remove gevent from the requirements.txt file.
pip
Then, let's get the requirements installed in your isolated test environment.
$ pip install -r requirements.txt
Running Your Application
Now, you can run the application locally.
$ foreman start
You can also specify what port you'd prefer to use.
$ foreman start -p 5555
Deploying to Heroku
$ git push heroku master
$ heroku scale web=1
Finally, we can make sure the application is up and running.
$ heroku ps
Now, we can view the application in our web browser.
$ heroku open
And, to deactivate virtualenv (once you've finished coding), you
simply run the following command:
$ deactivate
Rest endpoints
After you've got your application up and running, there a couple next steps you should consider following
/update/
POST request
It takes in:
- latitude (required)
- longitude (required)
- user id (required)
This updates the user's location in the SQL database and also on firebase for real time updates.
/updateIncidents/
POST request
It takes in:
- latitude (required)
- longitude (required)
- type (required)
This updates the incident's location, along with the type in the SQL database and also on firebase for real time updates.
/get/heatmap/
POST request
It takes in:
- latitude (required)
- longitude (required)
This gives the heatmap near the location.
/get/traffic/
POST request
It takes in:
- latitude (required)
- longitude (required)
This gives the traffic around a certain location.
/get/incident/
POST request
It takes in:
- latitude (required)
- longitude (required)
This gives the incident around a certain location.
Testing | Simulating users
To simulate users, you can run simulation.py.
Simulation.py contains the range of latitude/longitude you want your 'users' to be simulated within. You can also specify how much distance the users should move, and also specify the duration in which they will trigger an incident. Along with the amount of users that can be simulated, even the randomness of an incident generation can be adjusted.


Log in or sign up for Devpost to join the conversation.