-
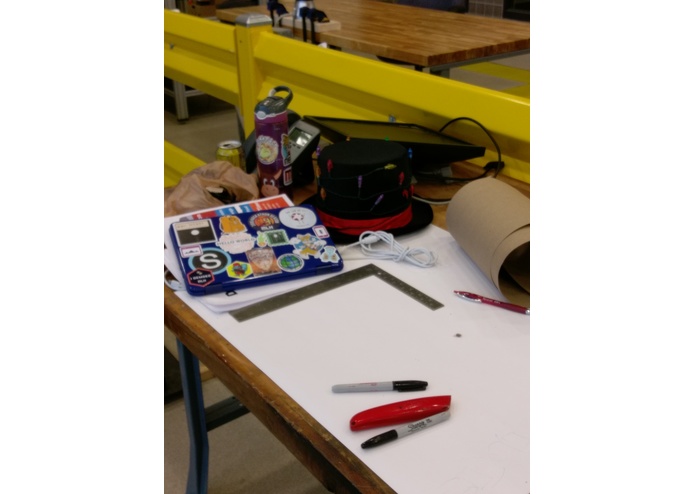
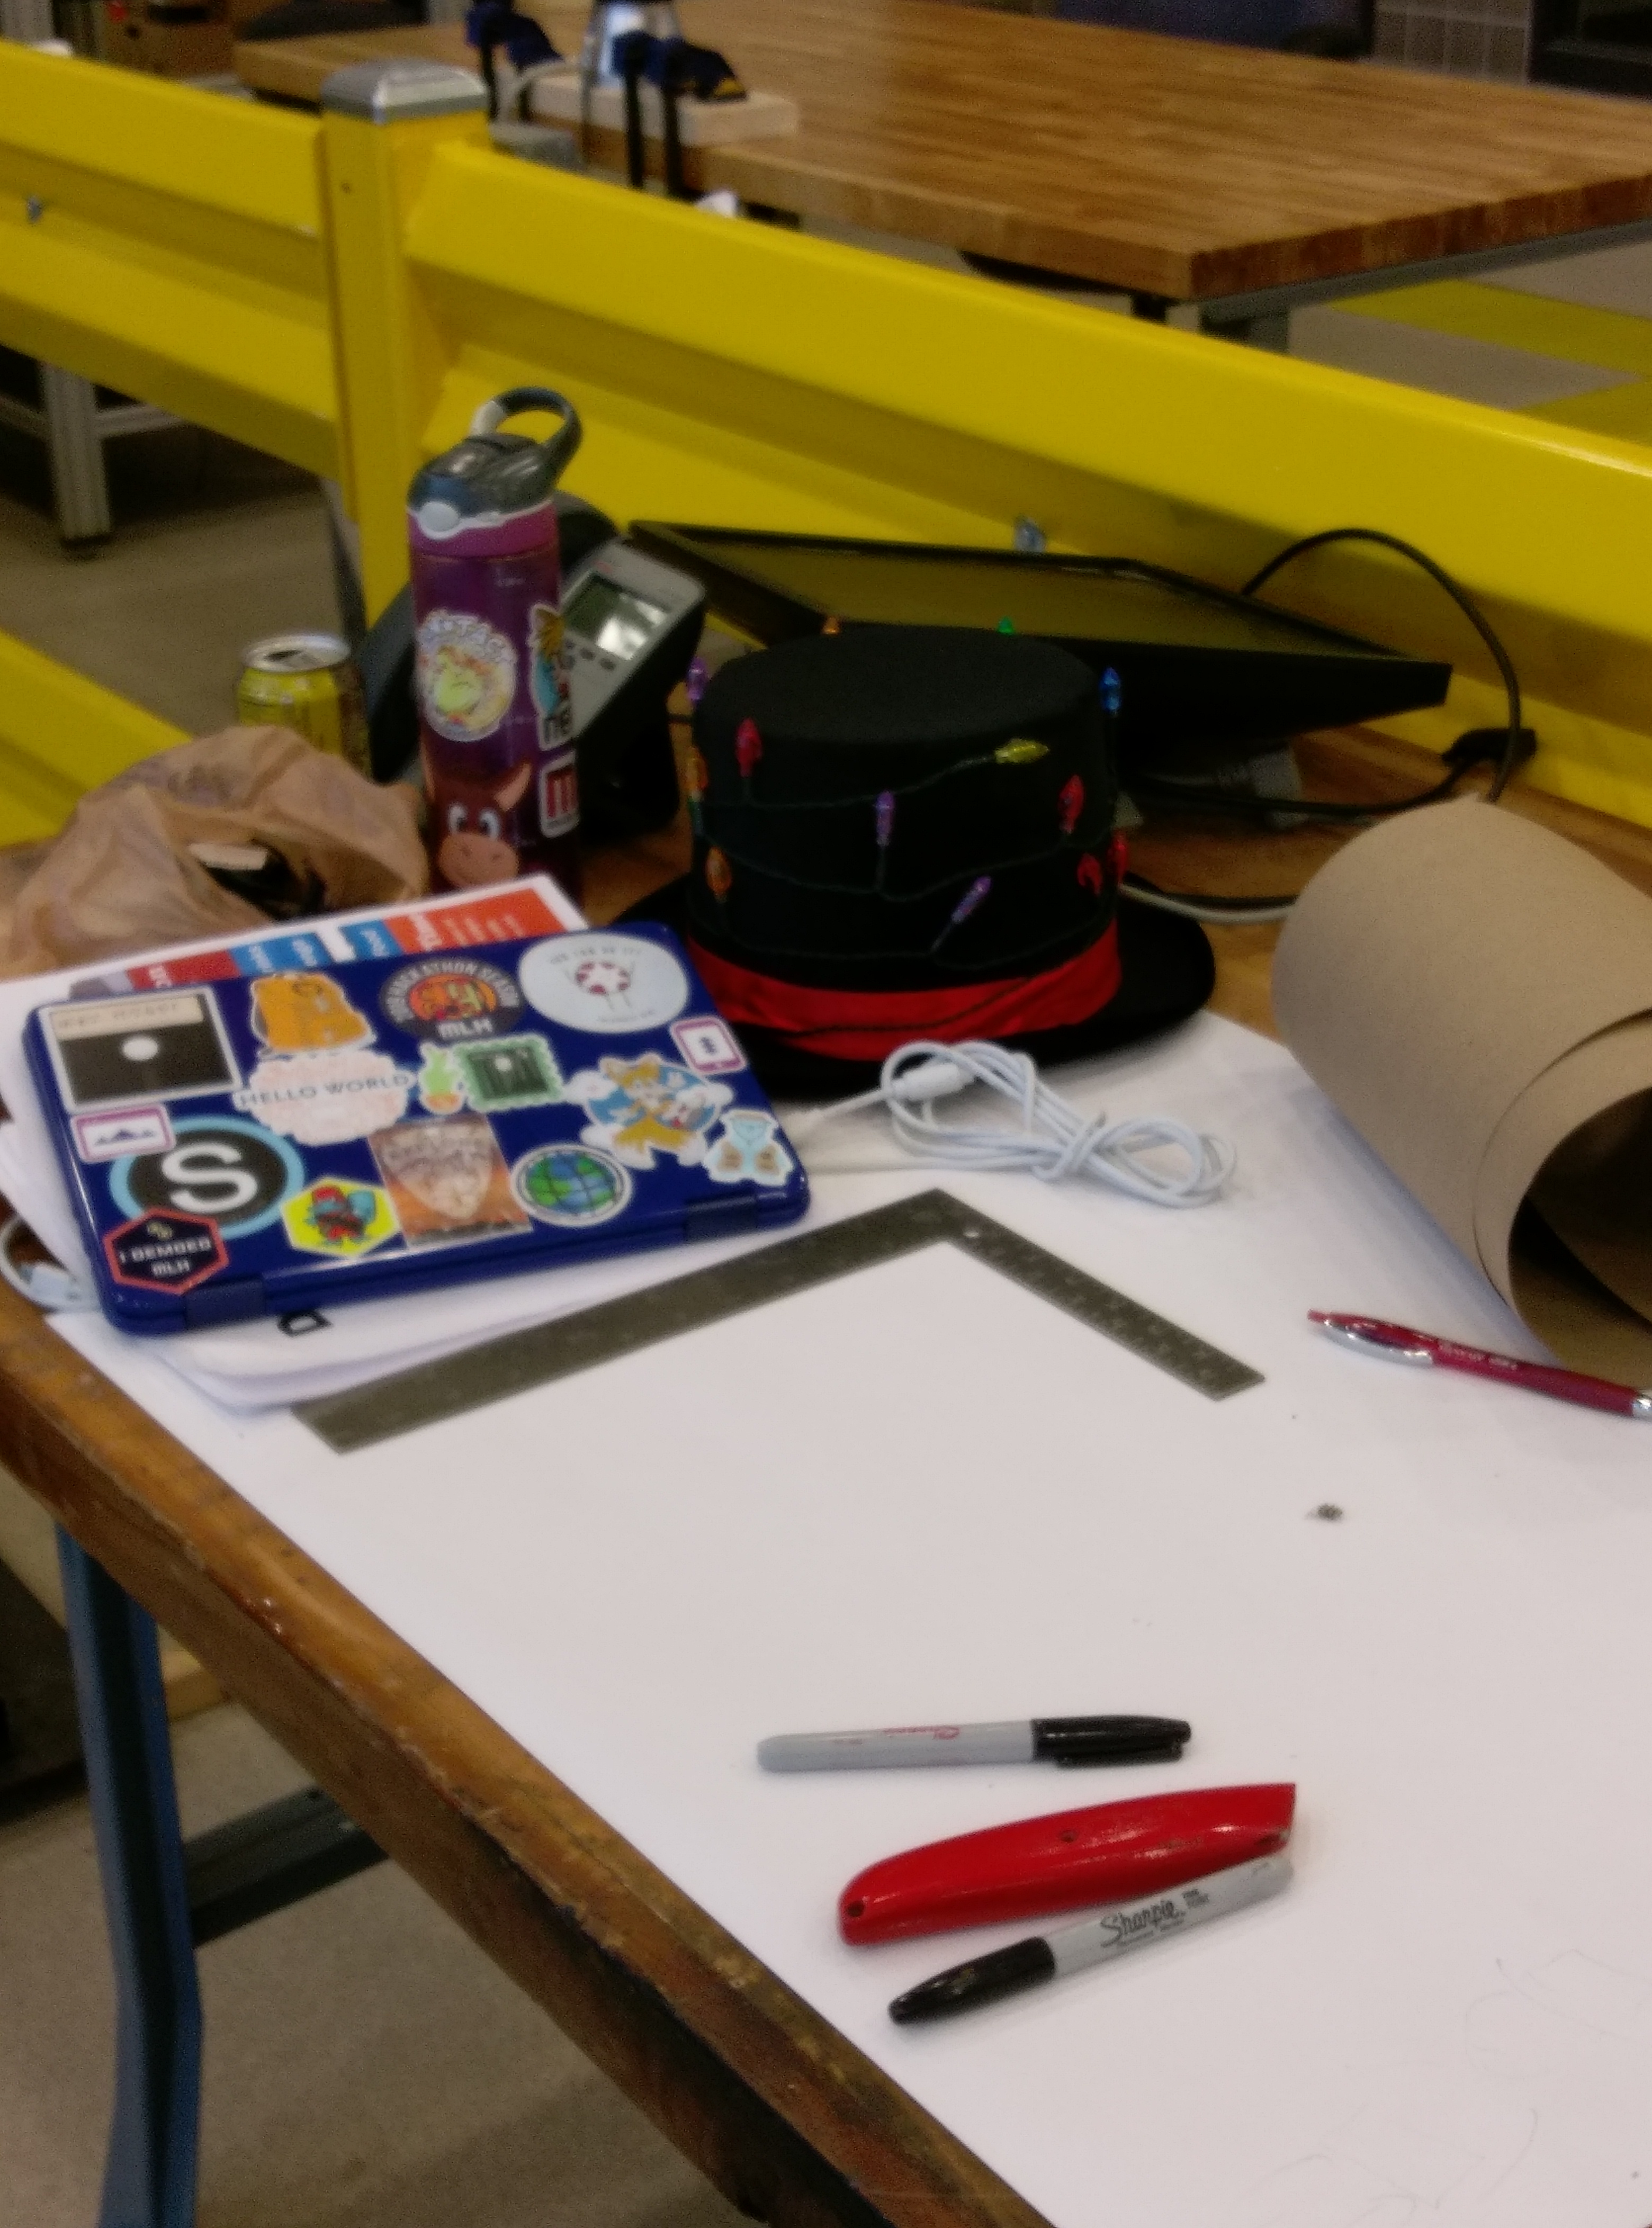
Project planning.
-
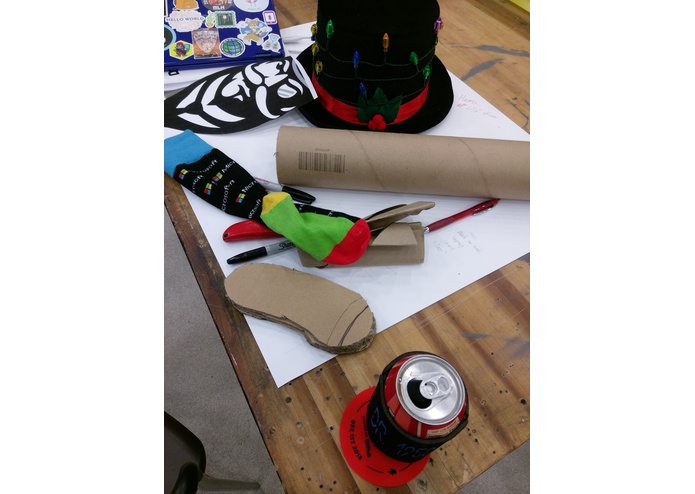
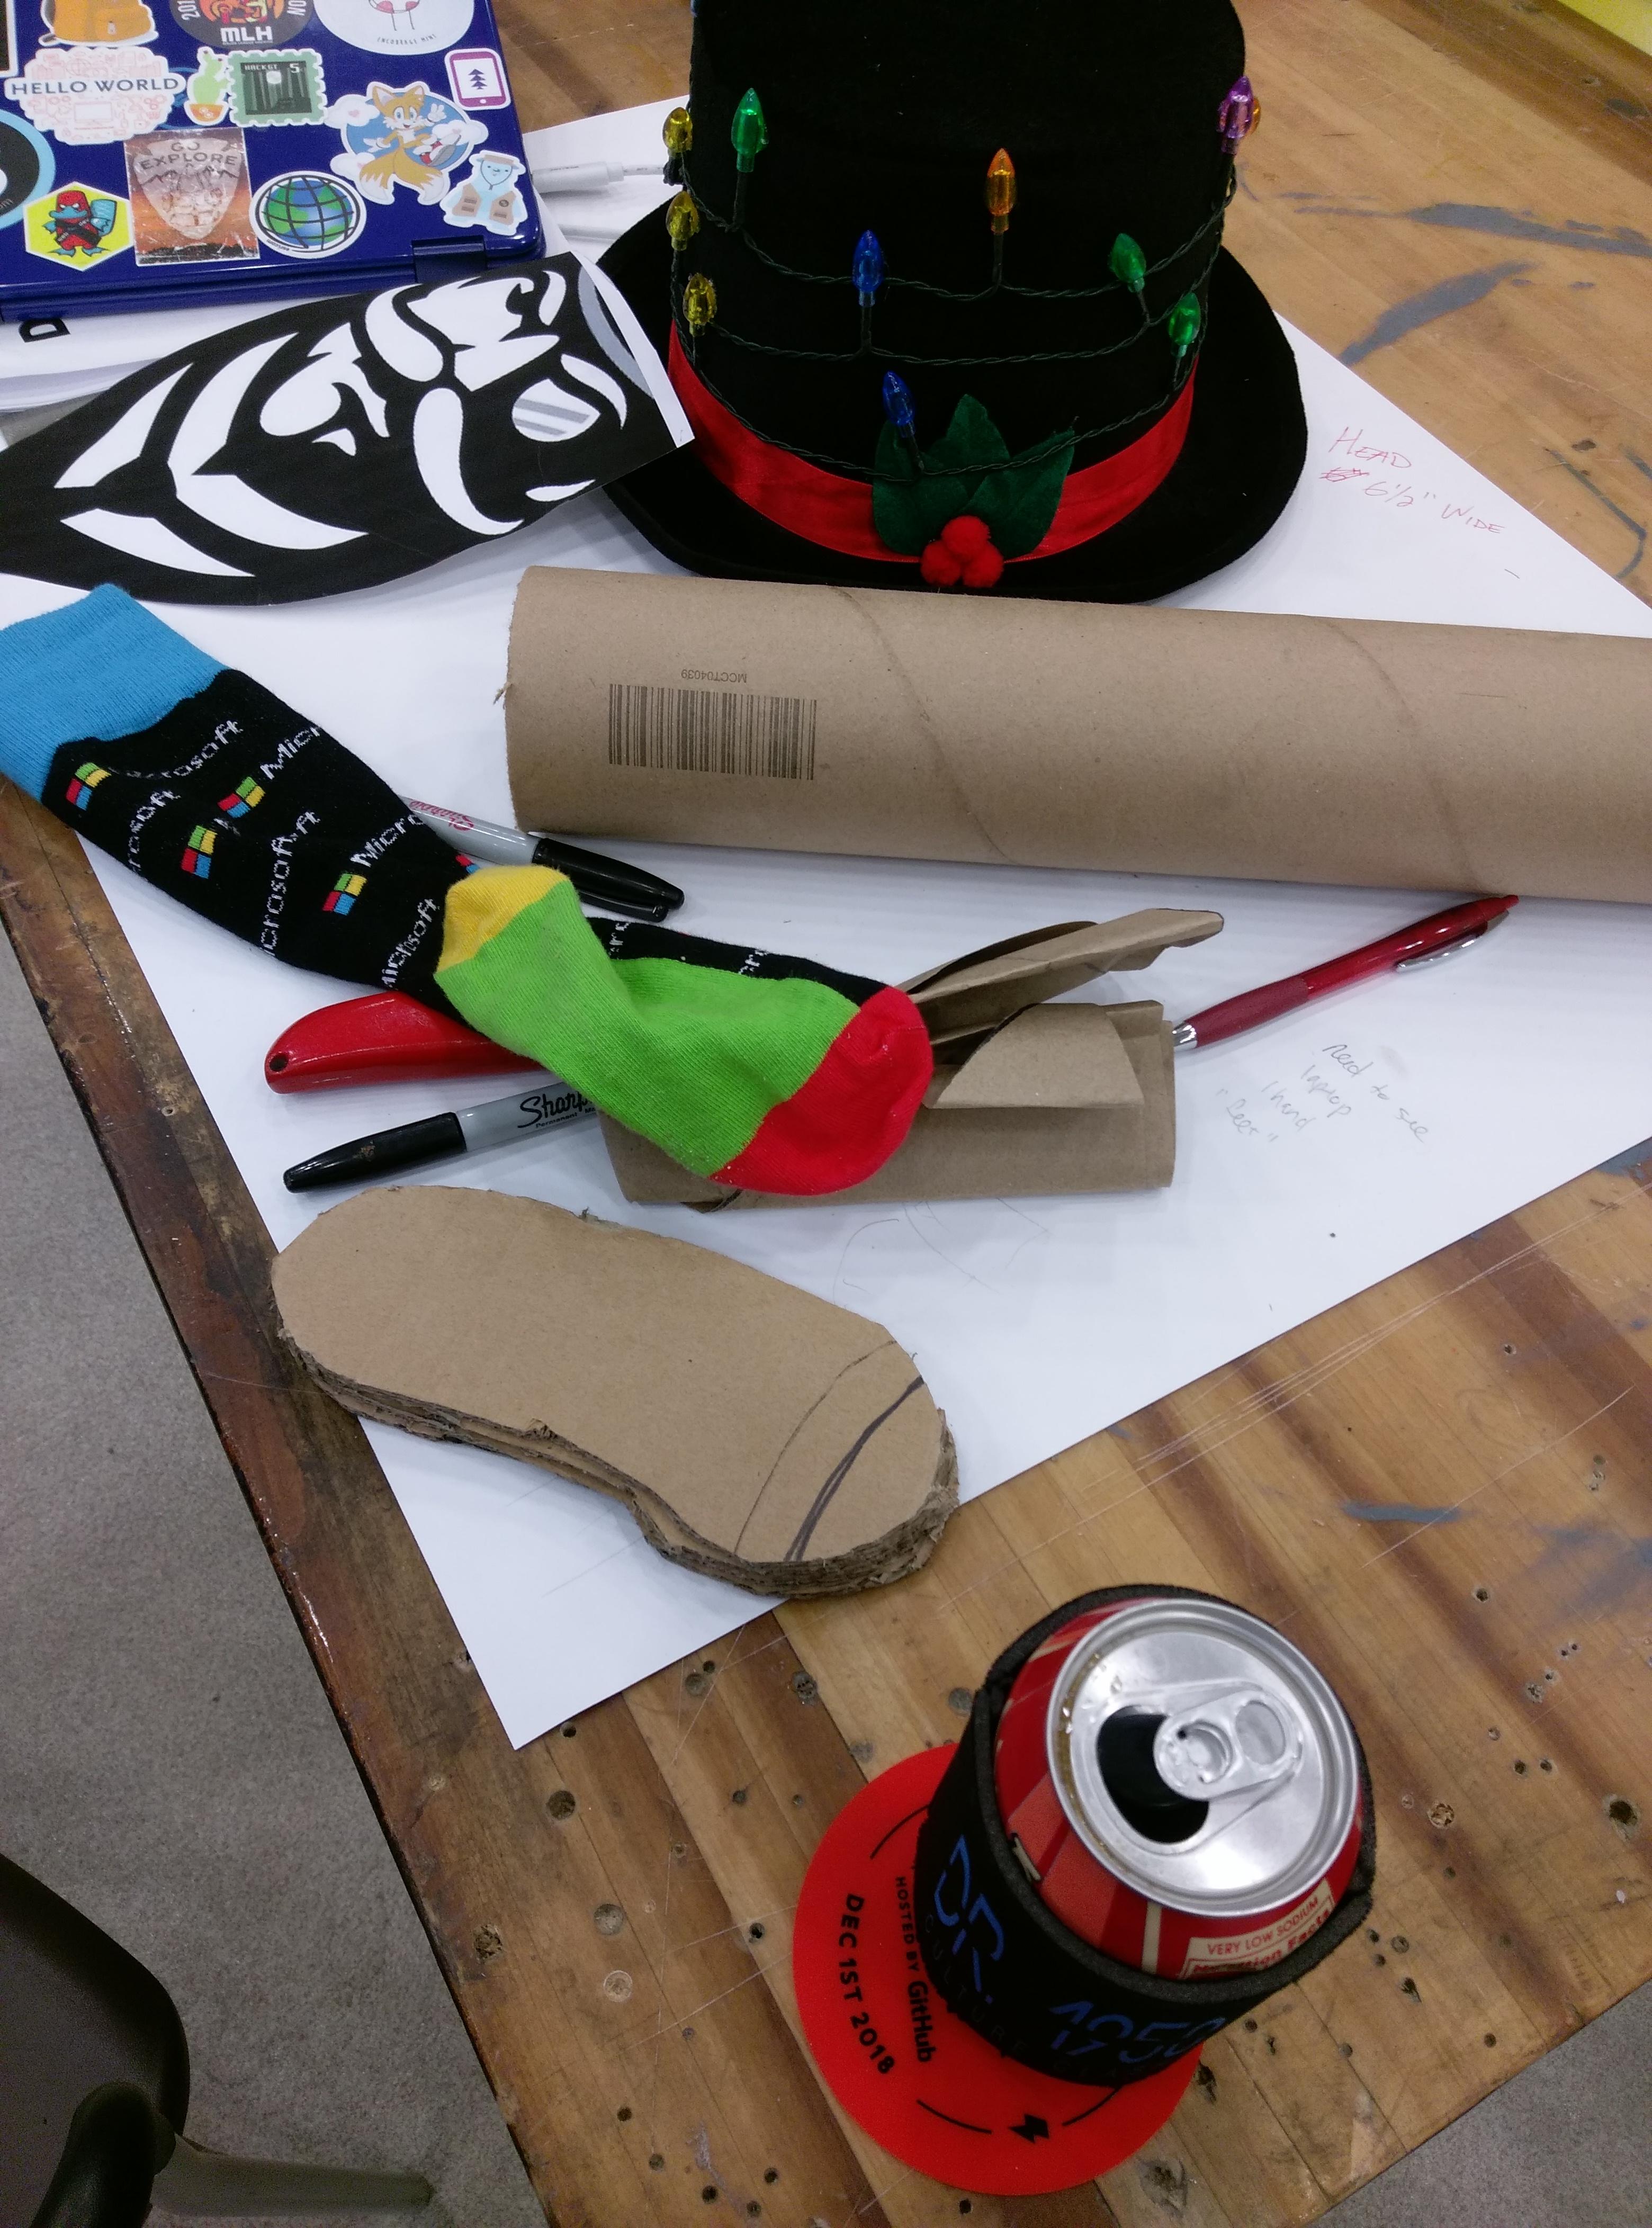
Working on the soles and ankles.
-
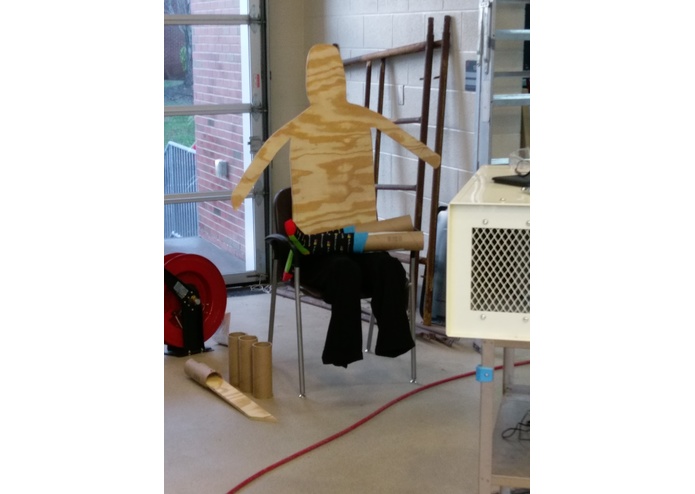
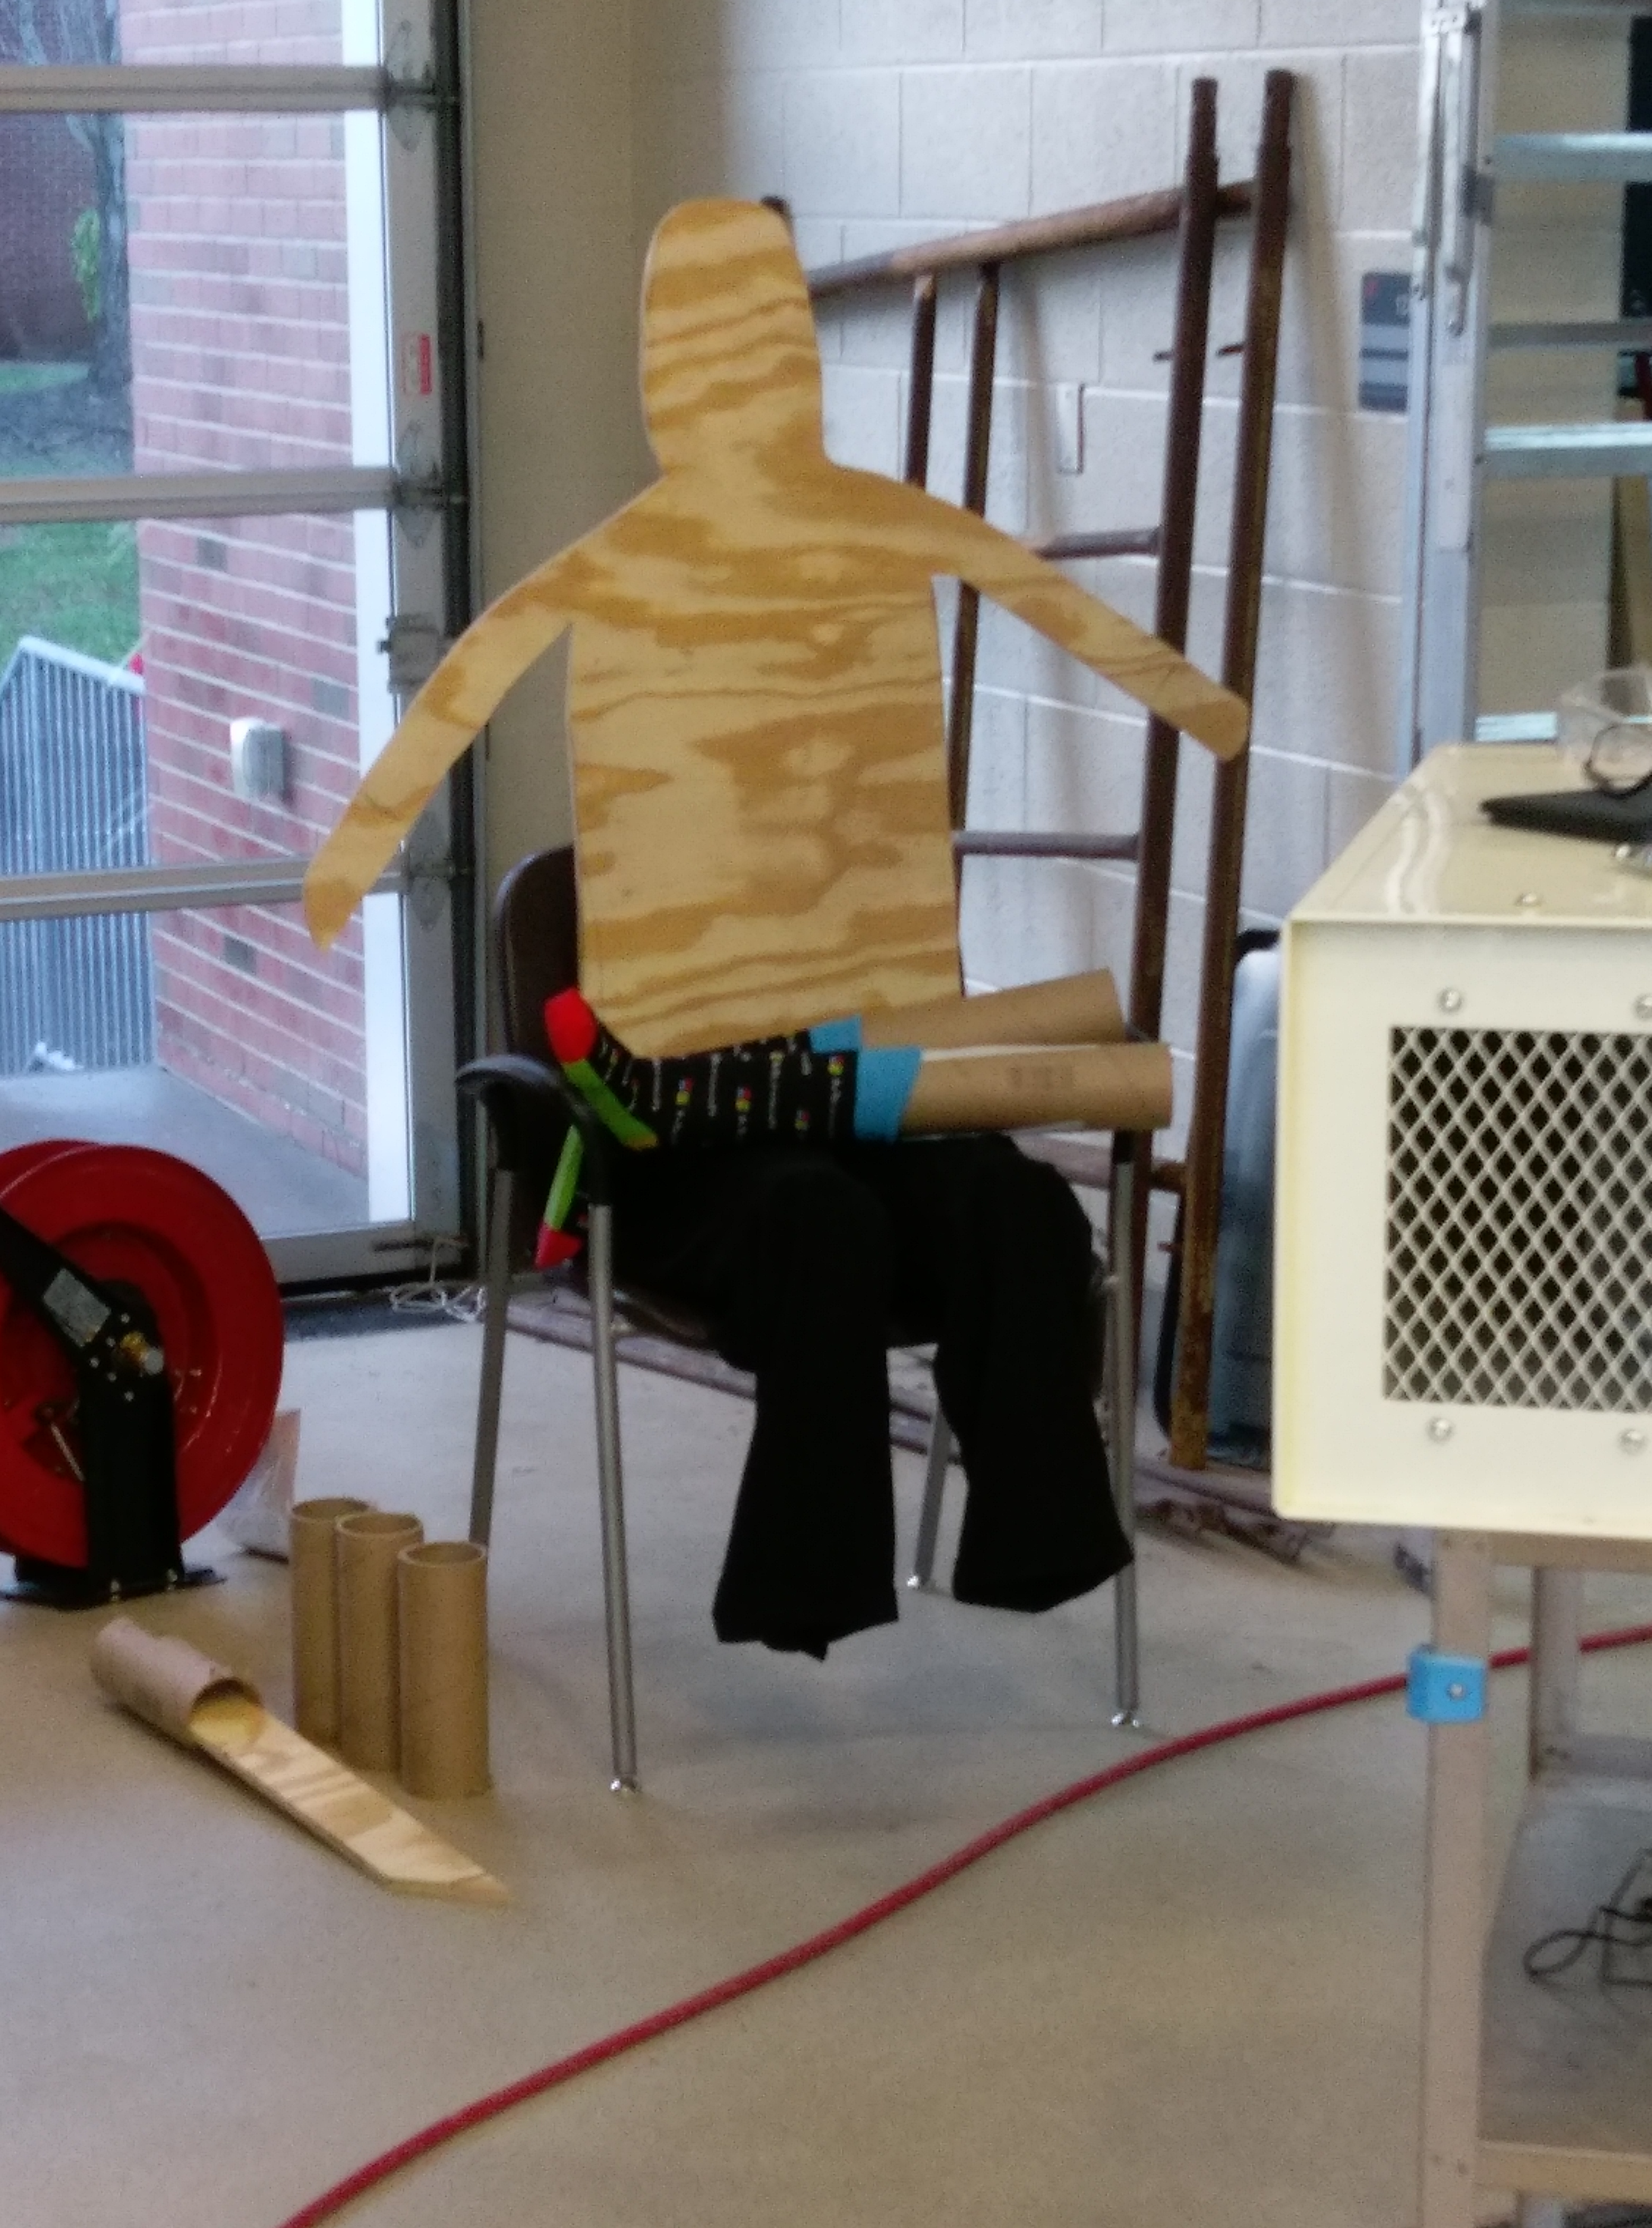
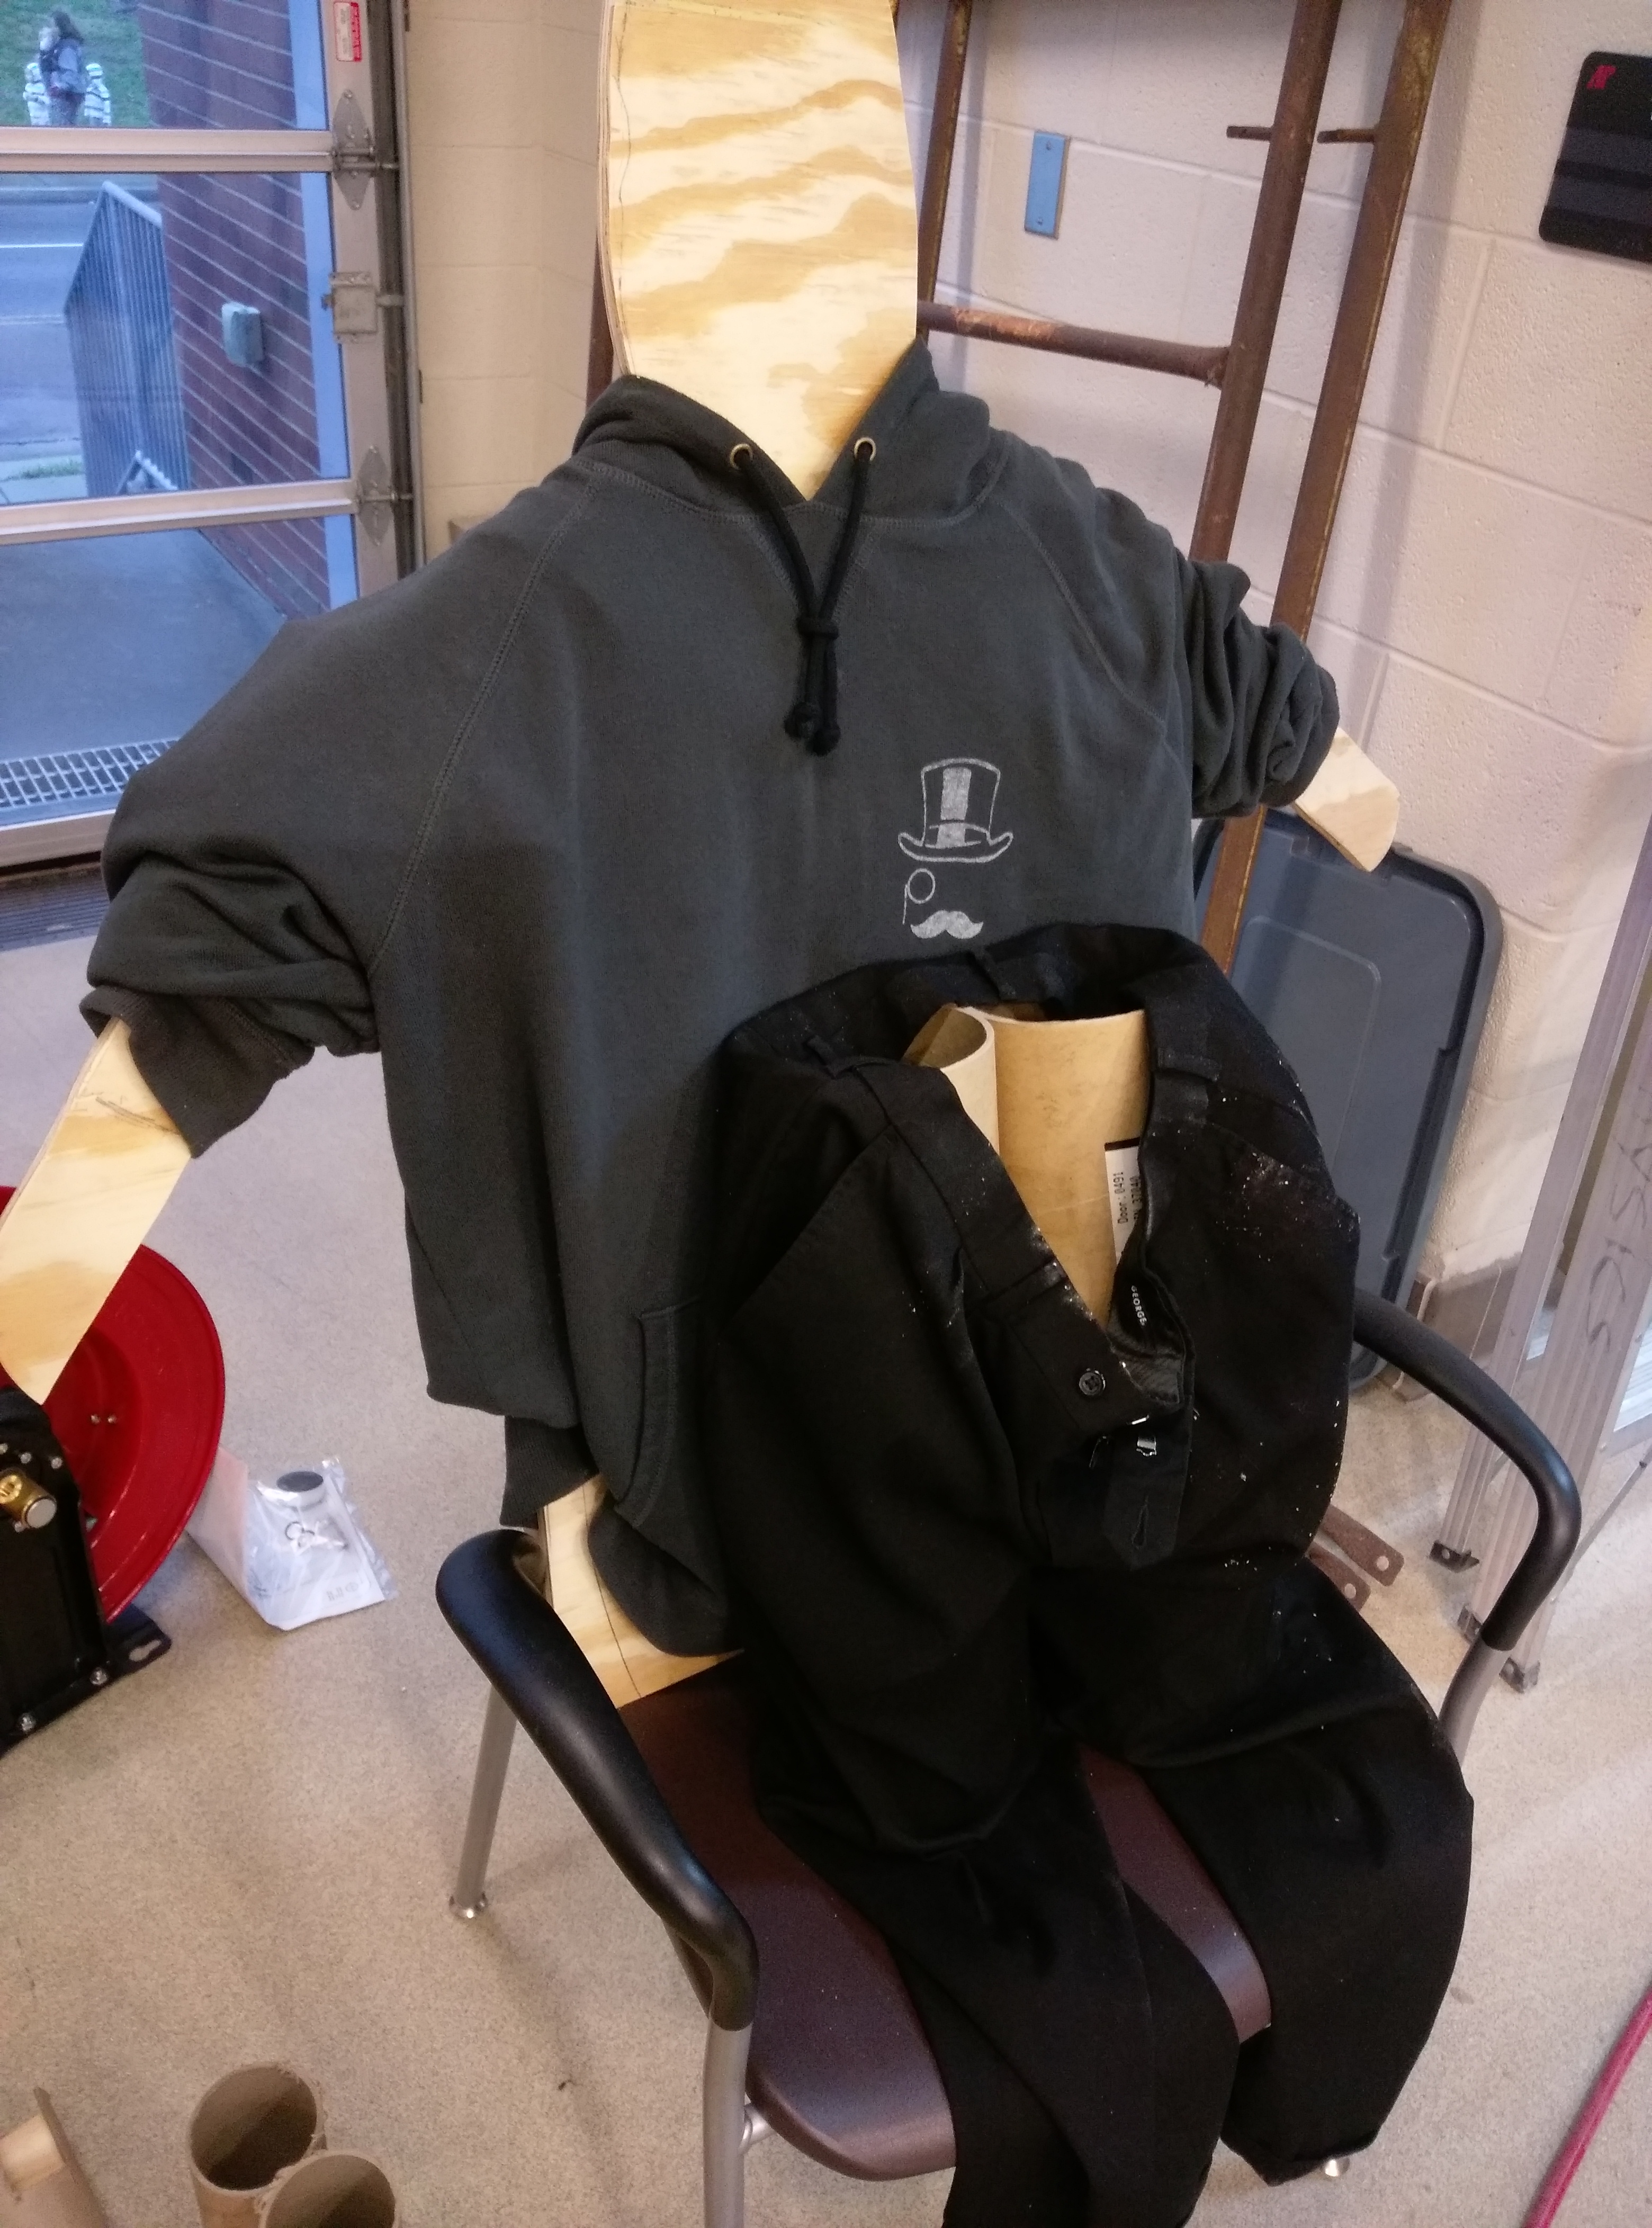
Cut out of torso.
-
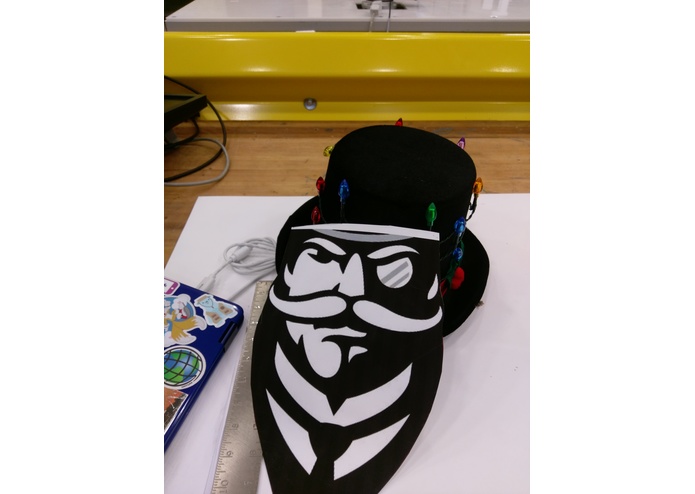
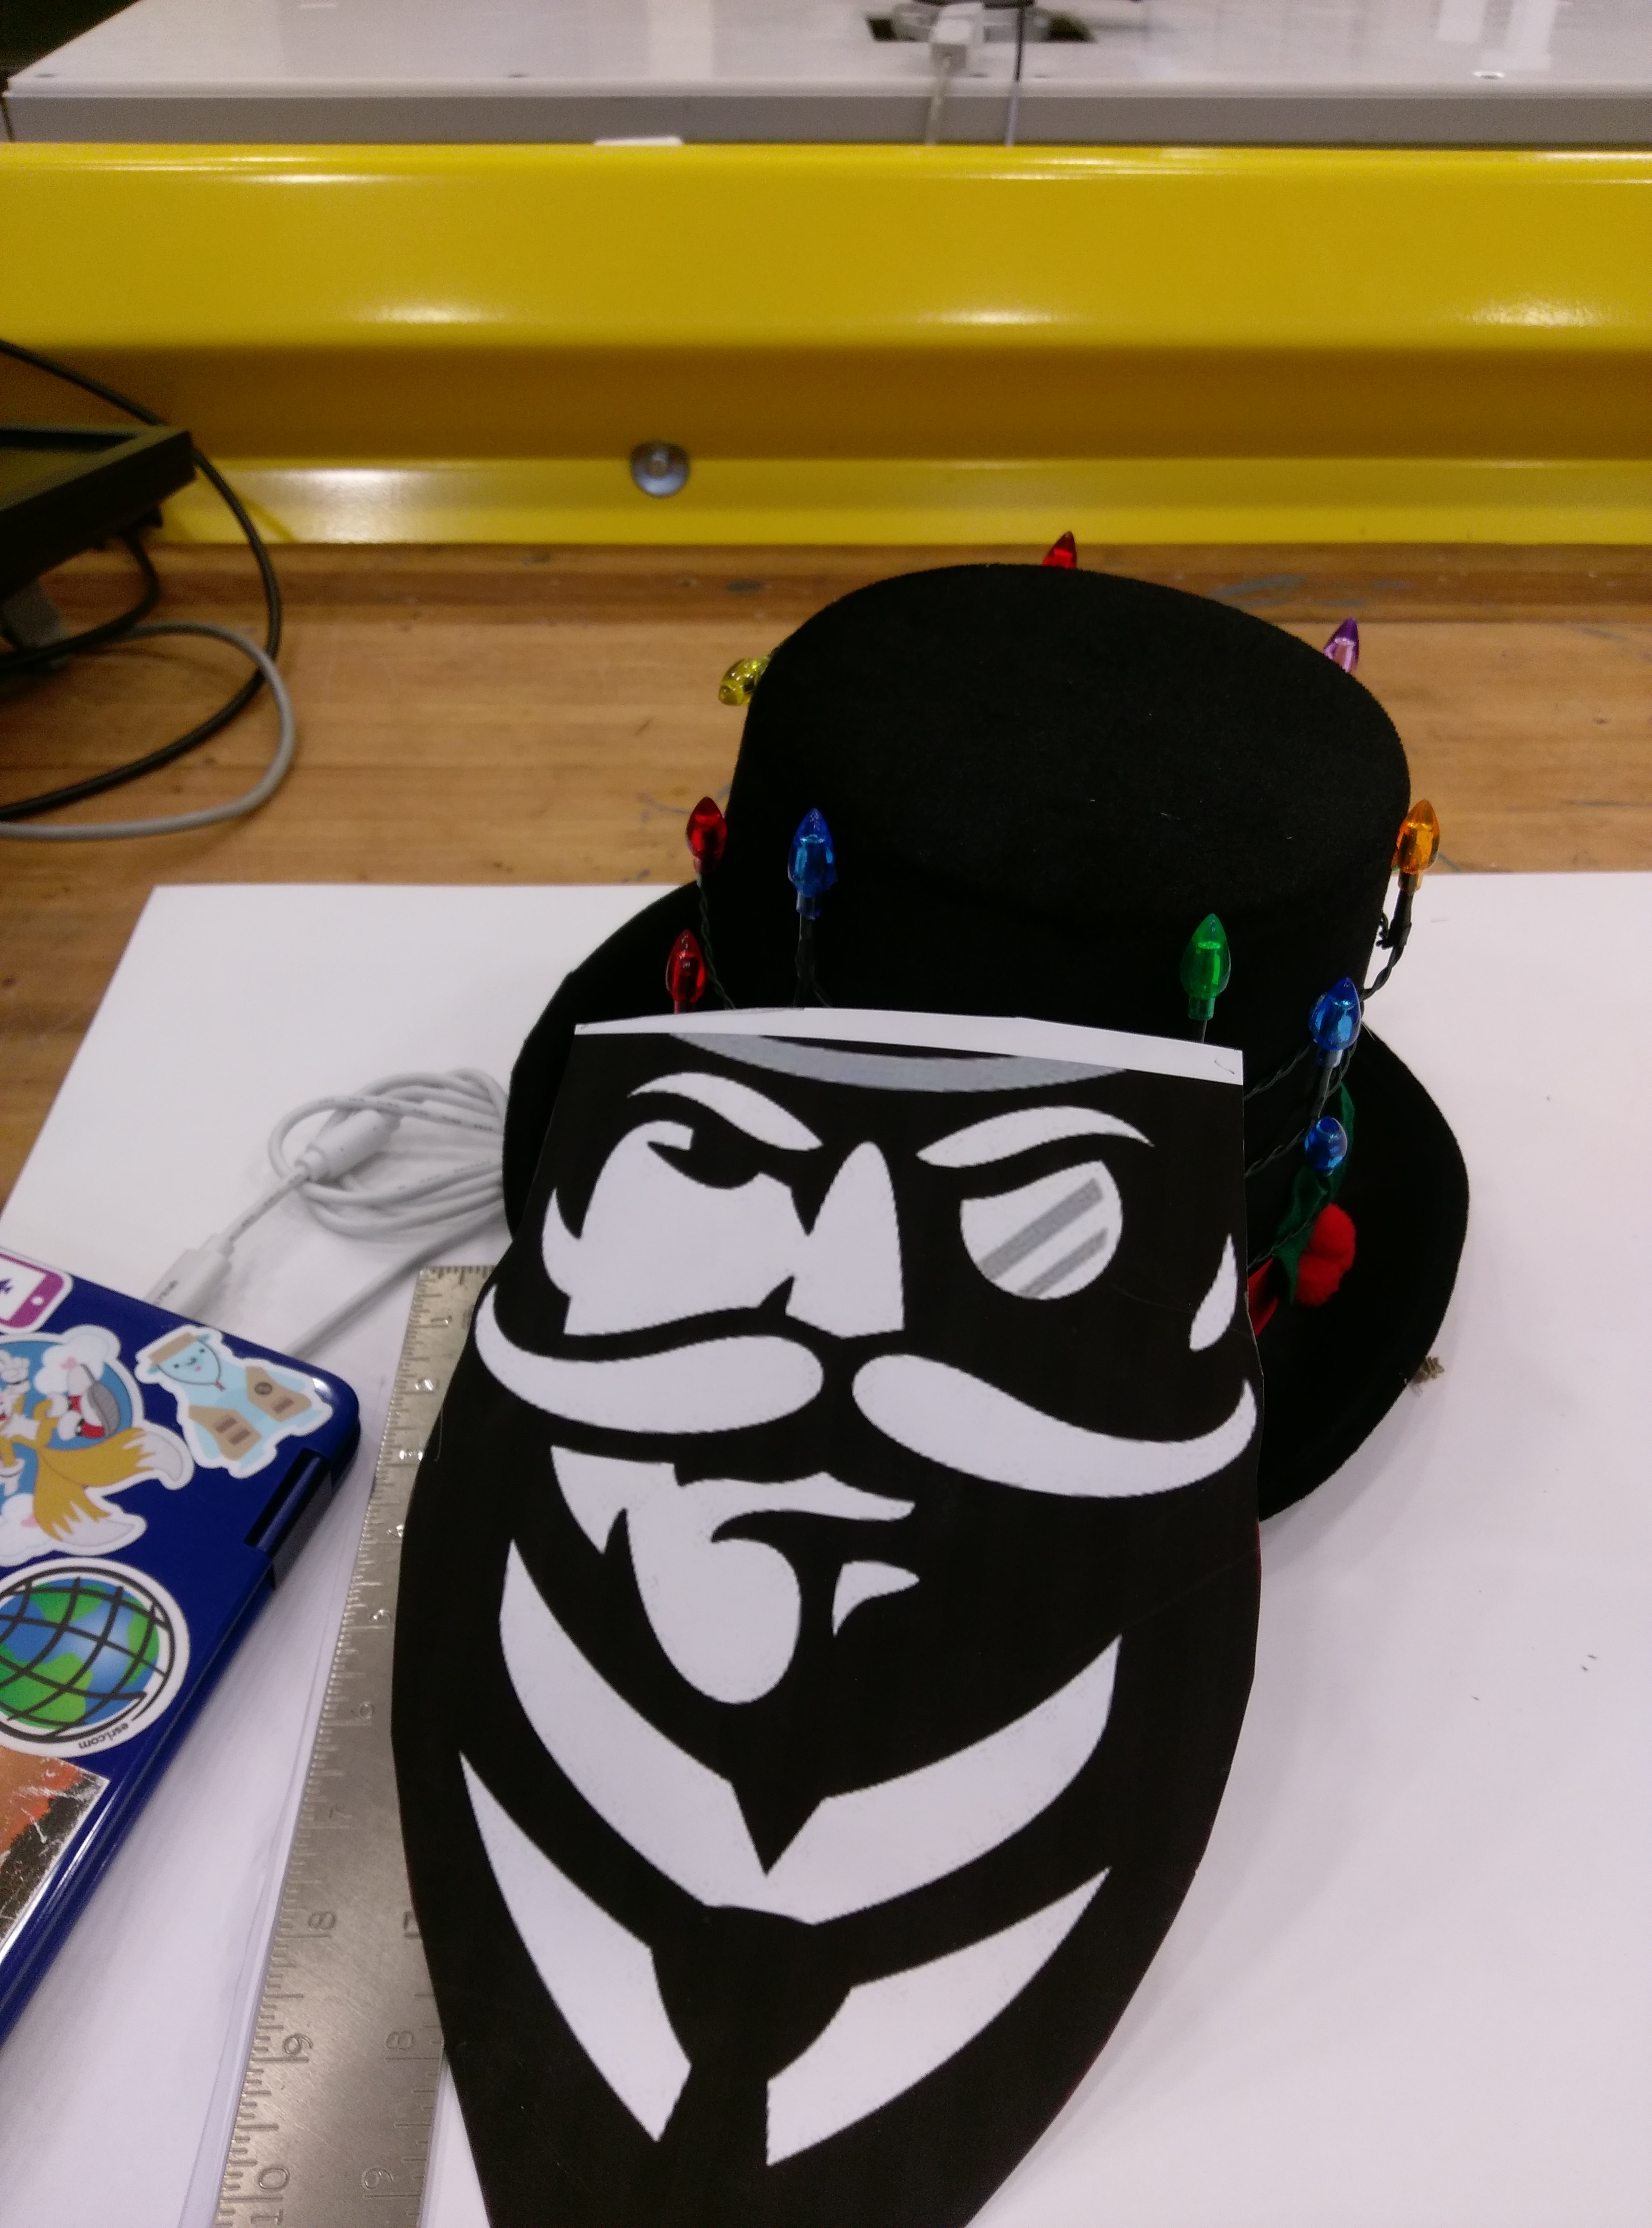
Gov face
-
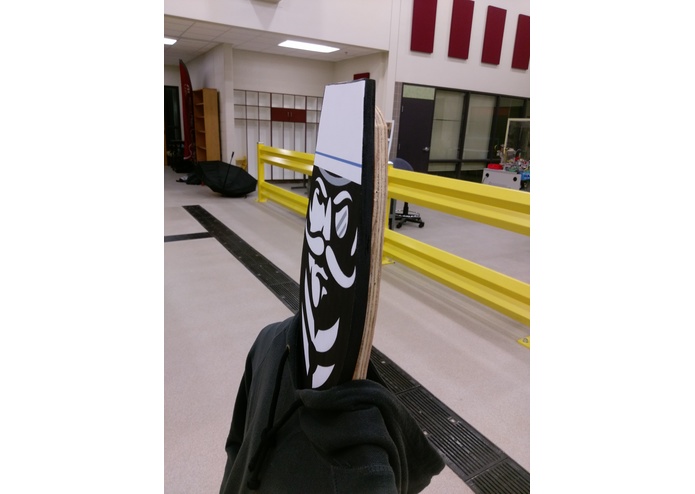
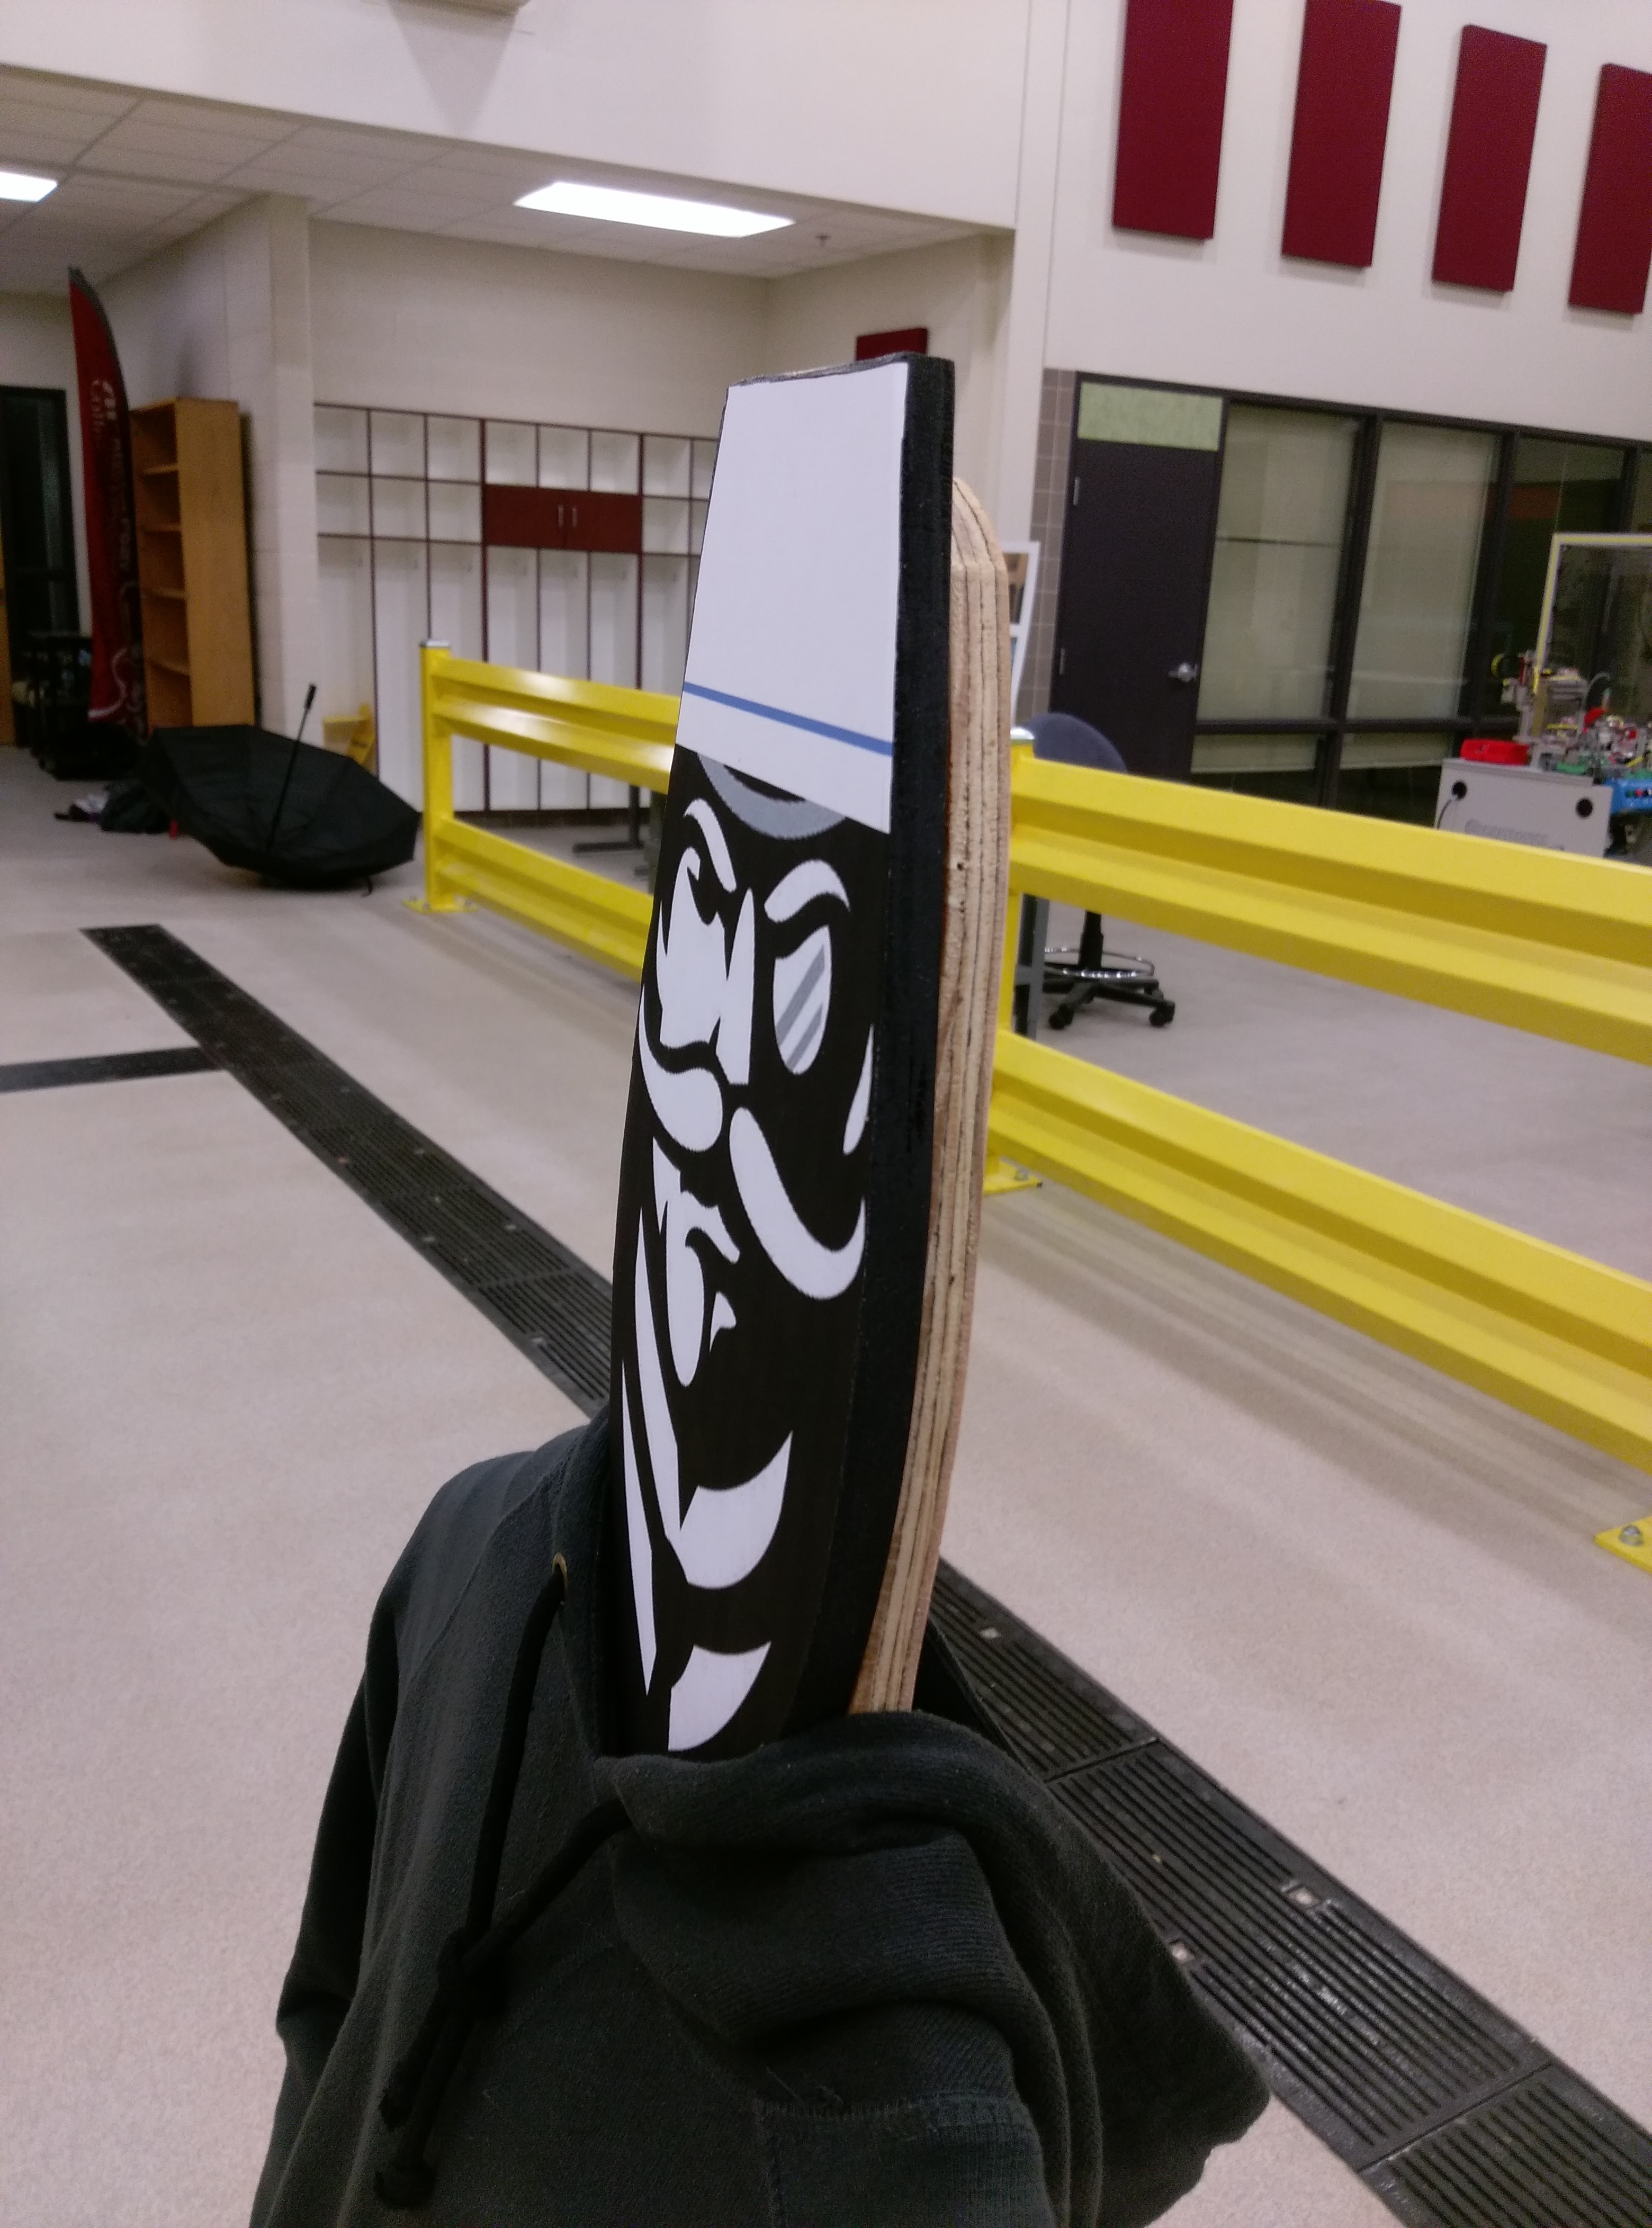
Gov face applied to Gov head
-
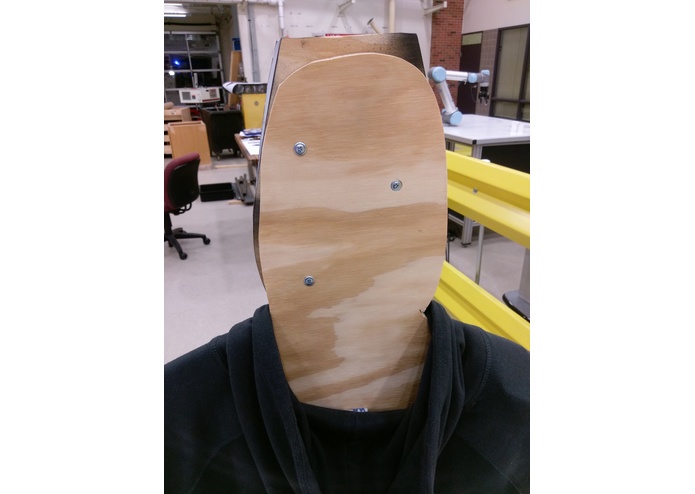
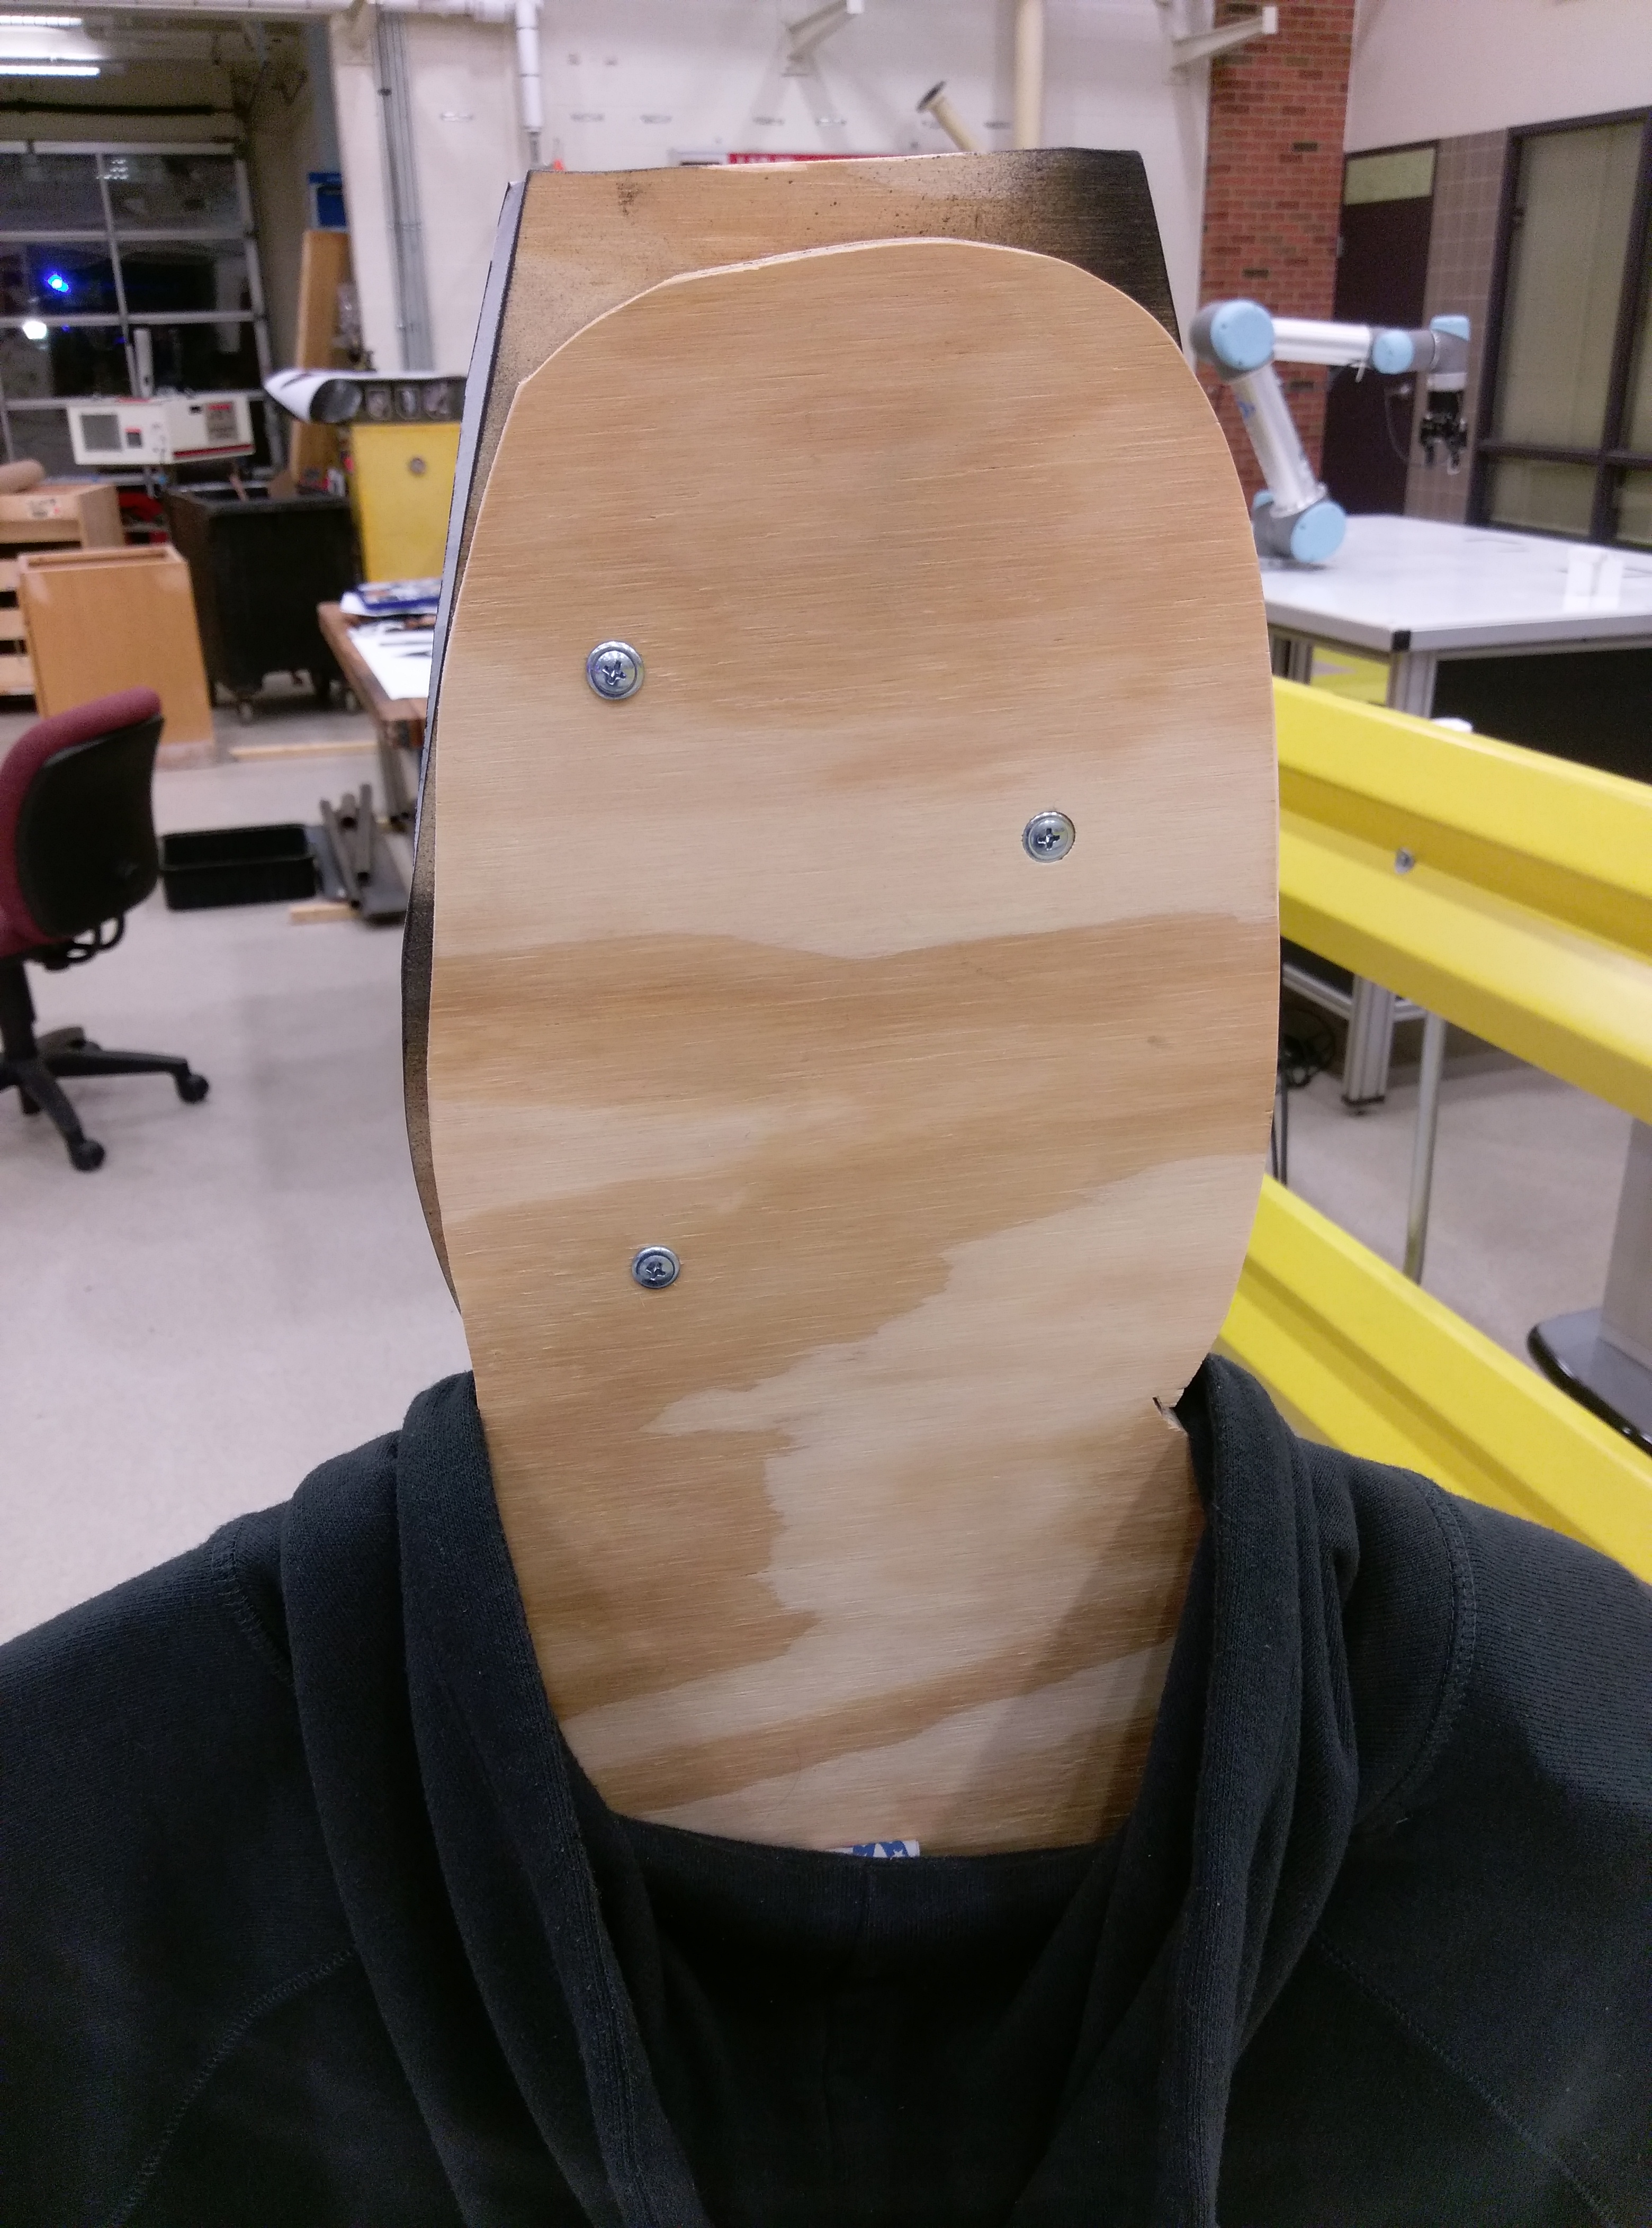
Gov face attachment
-
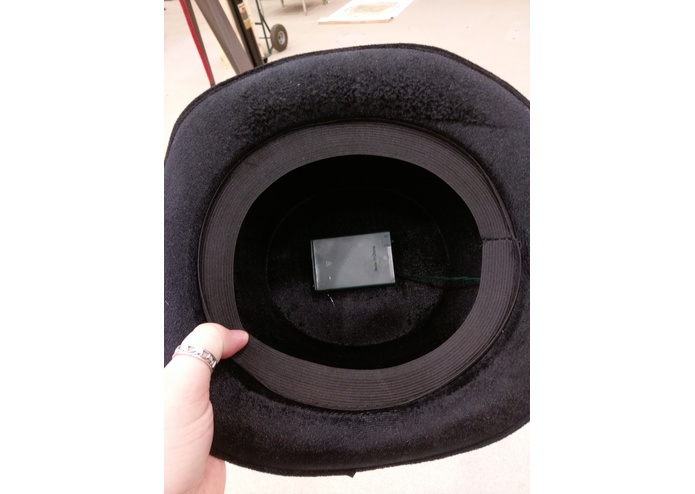
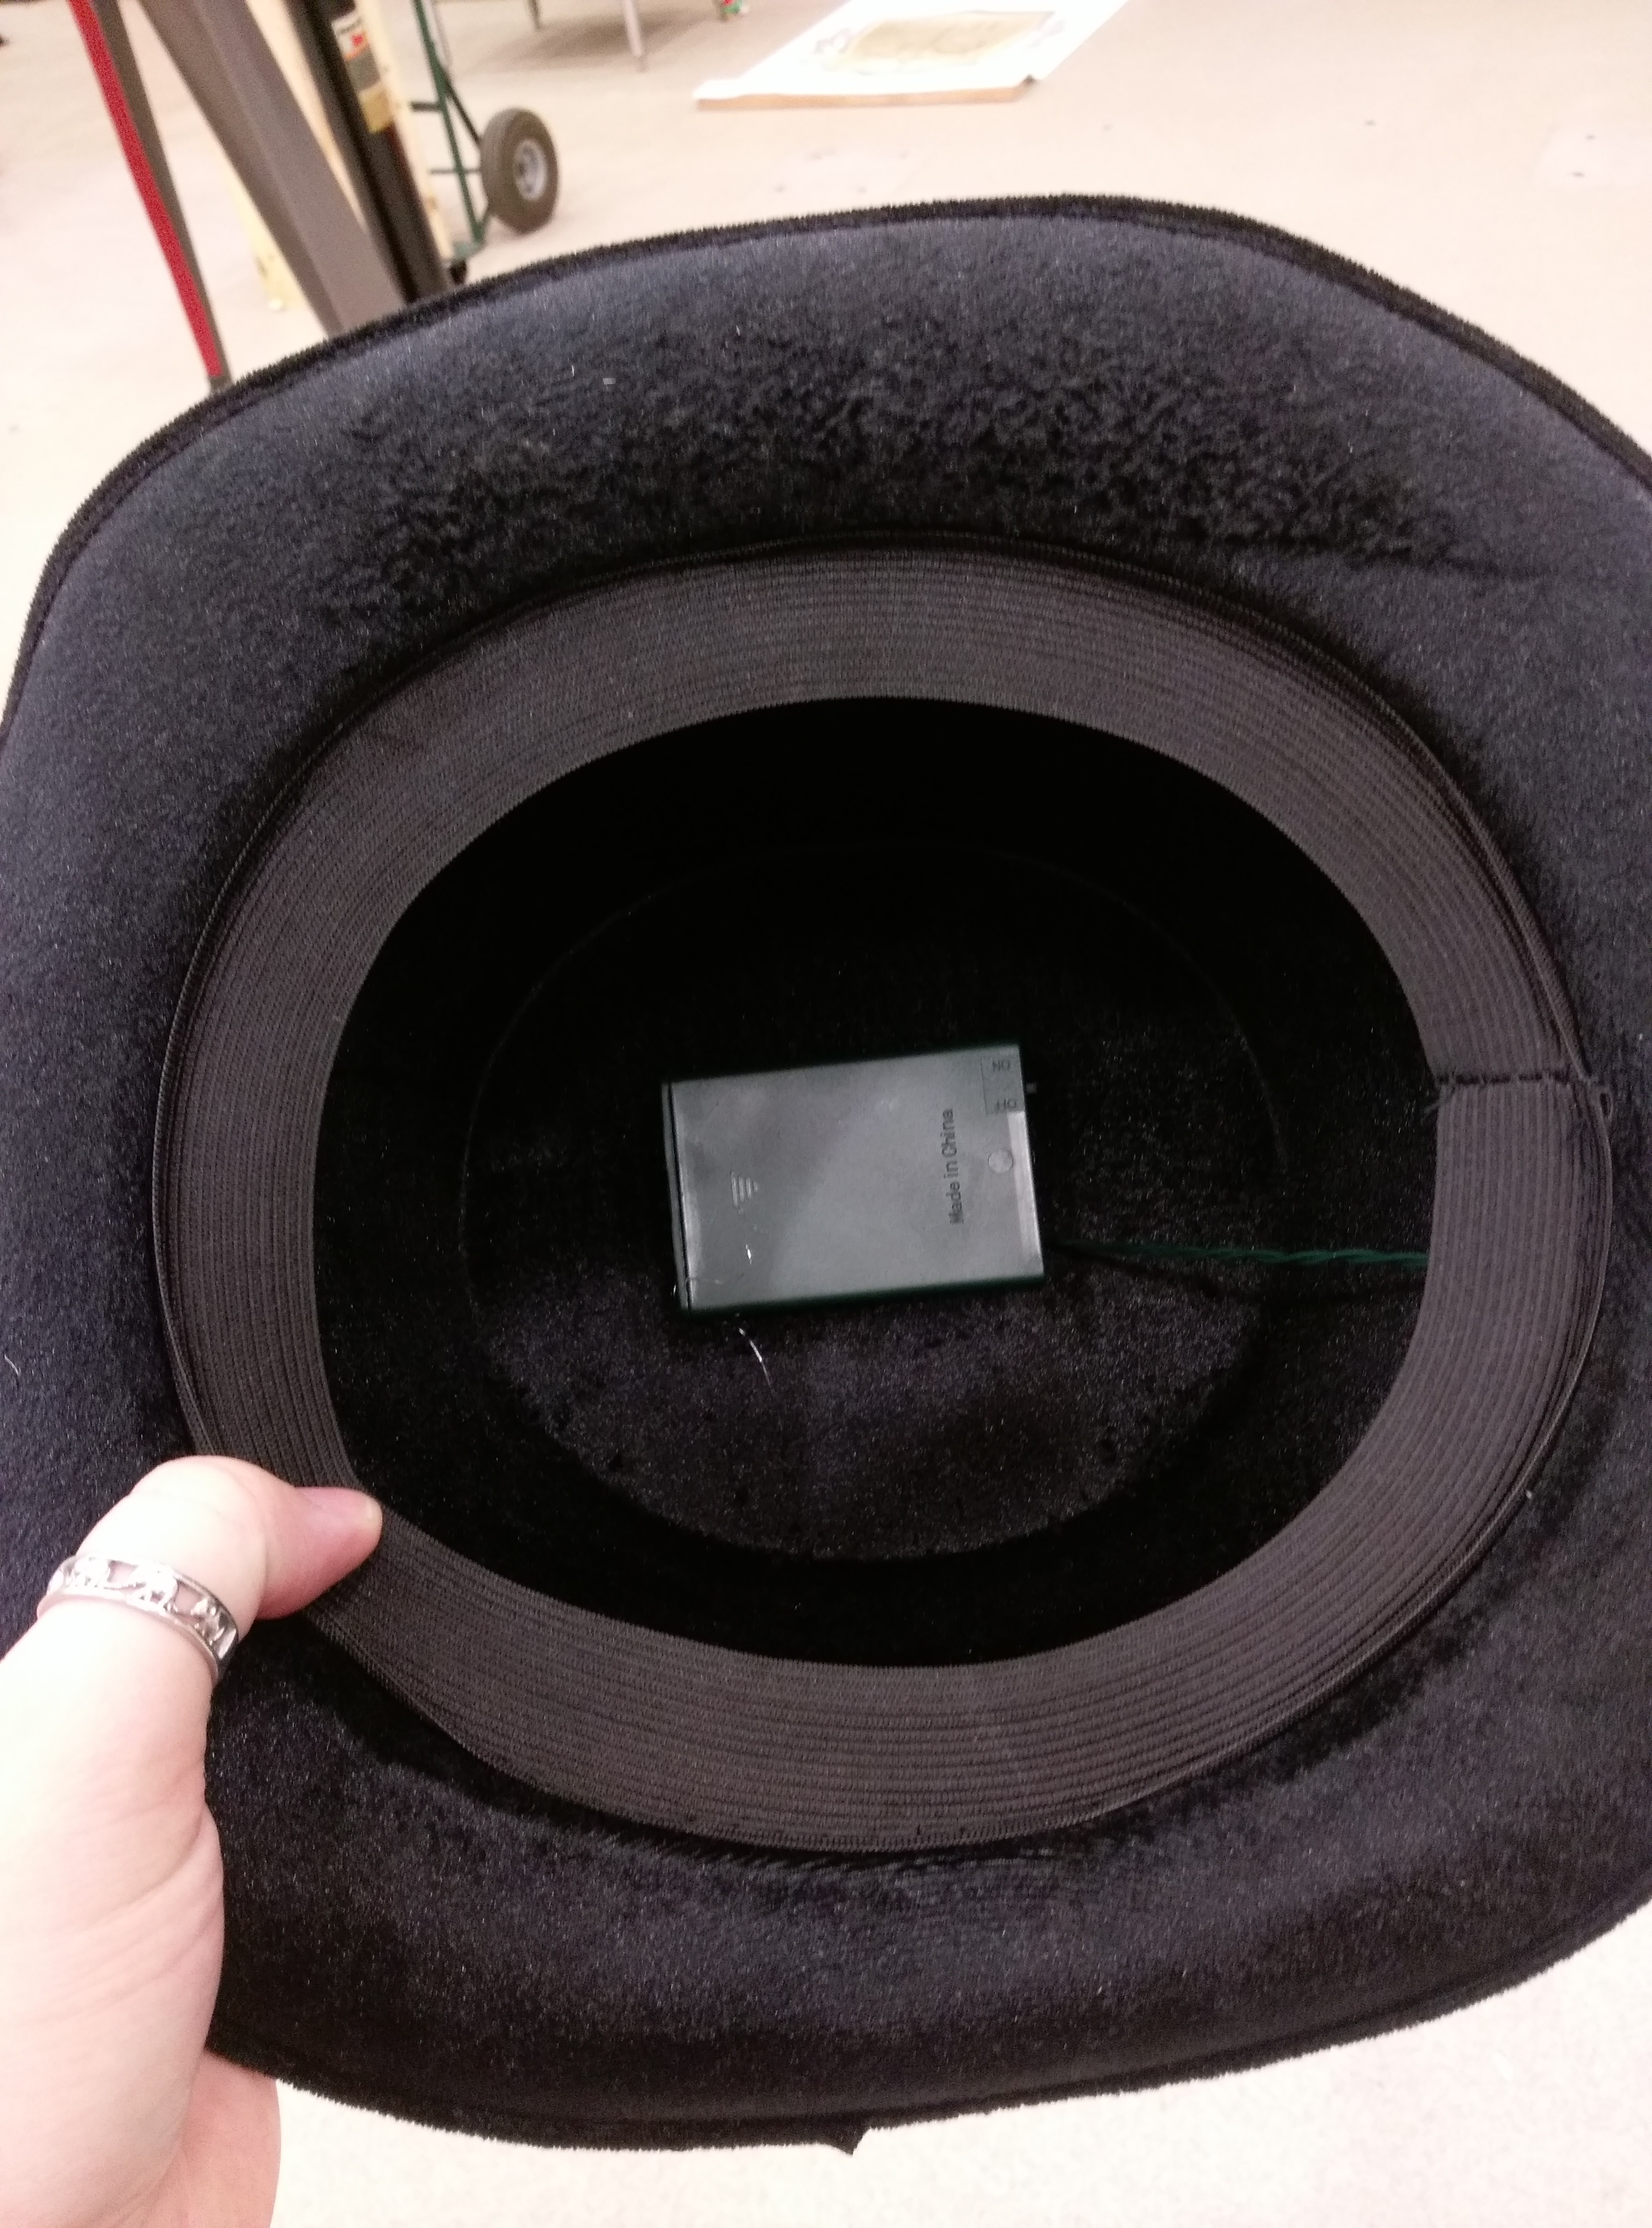
Light up hat rig
-

Light up hat
-
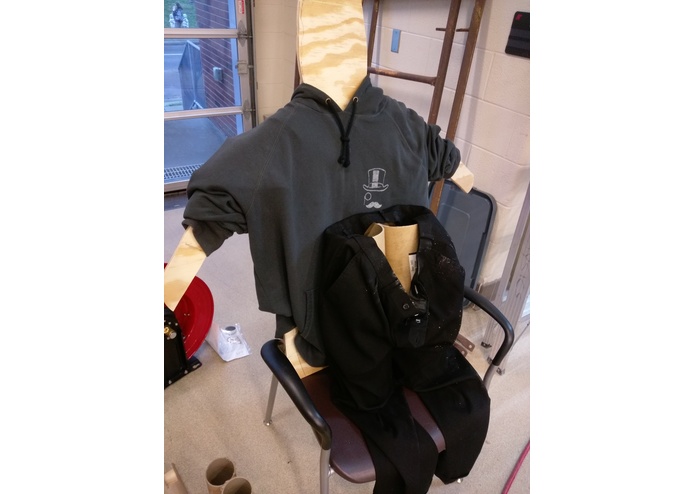
Working on placement.
-
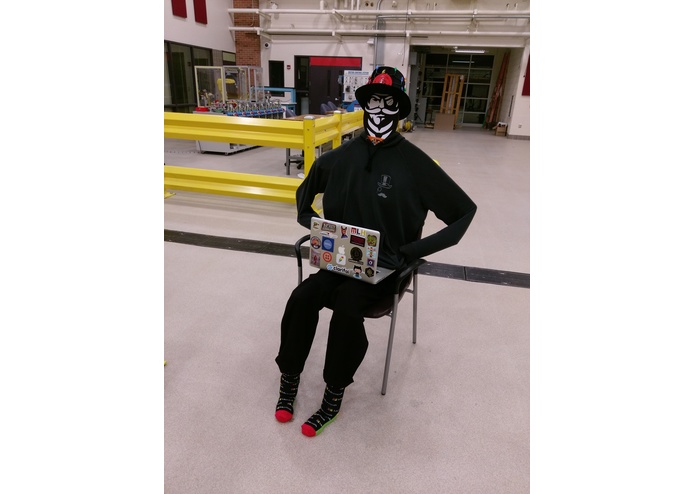
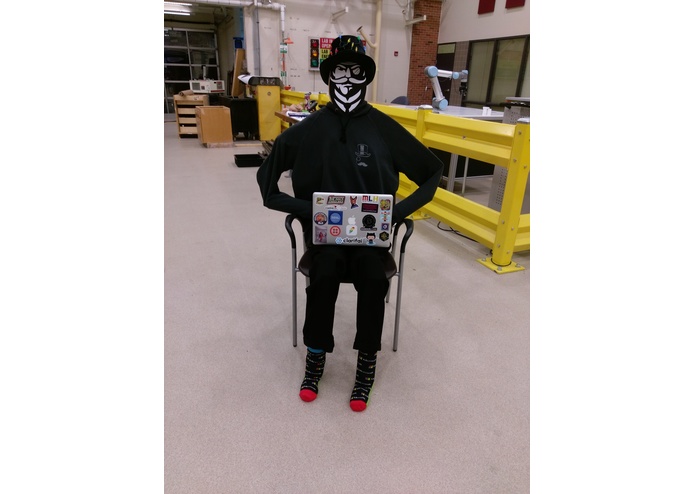
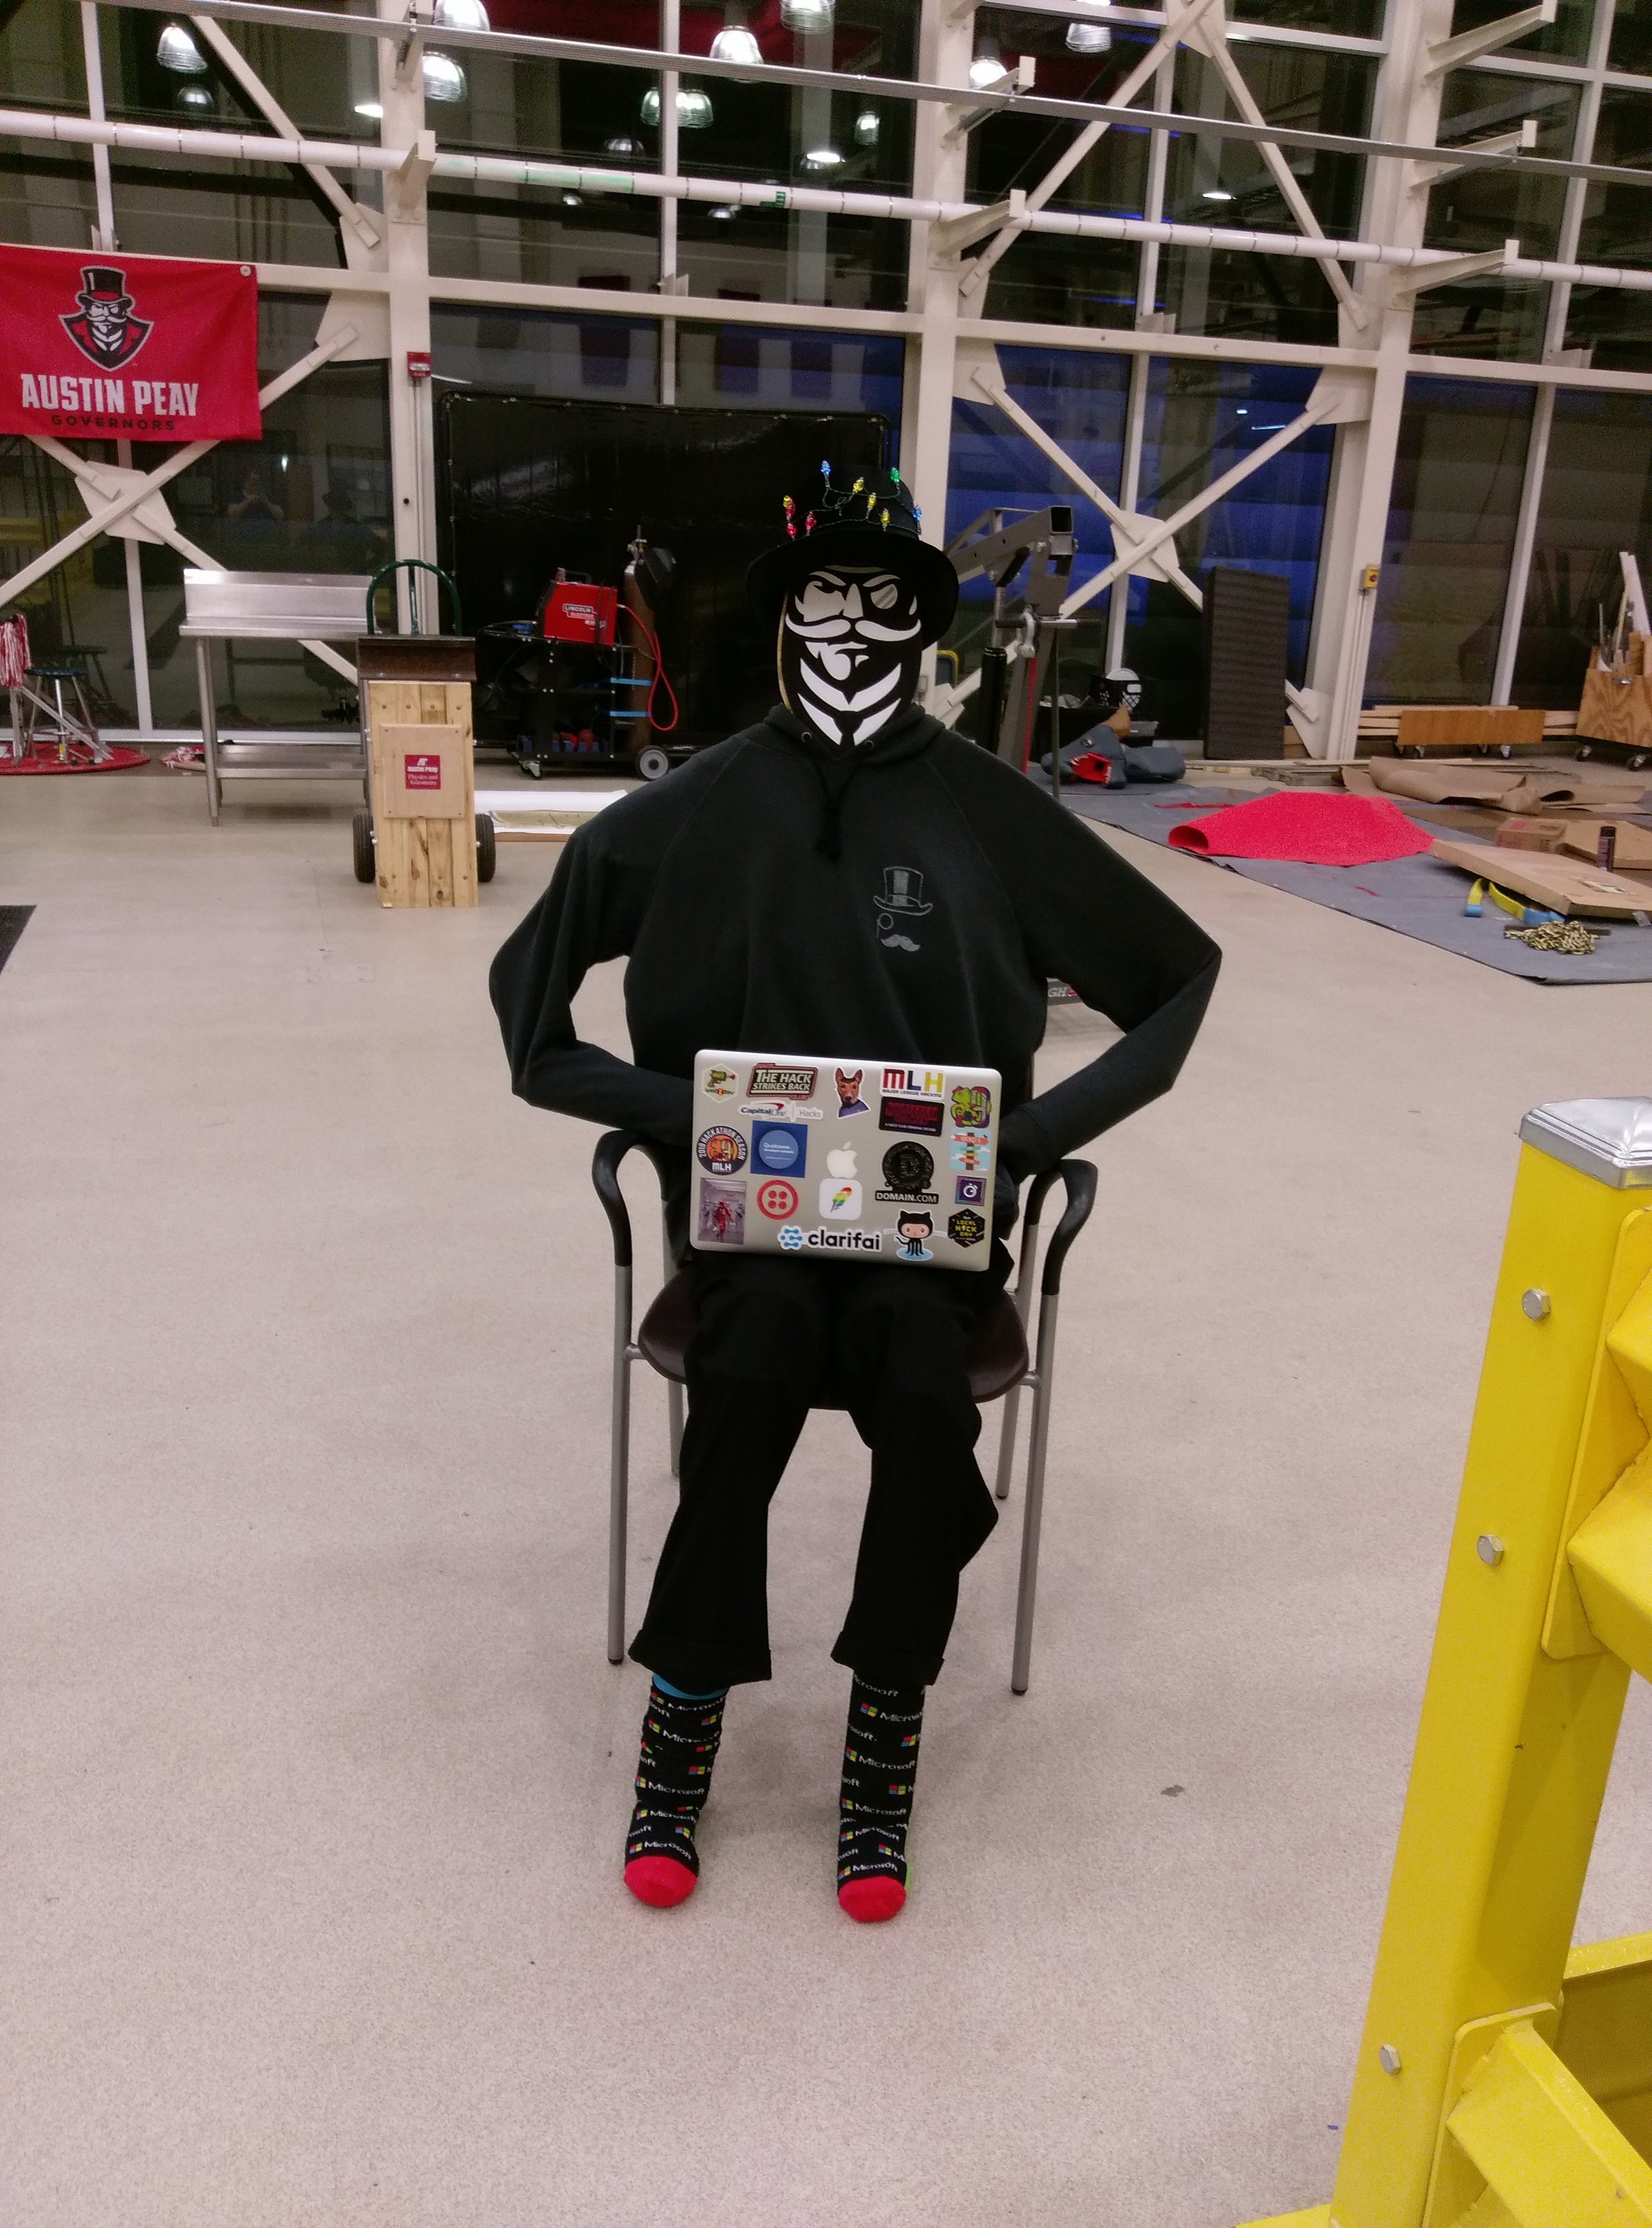
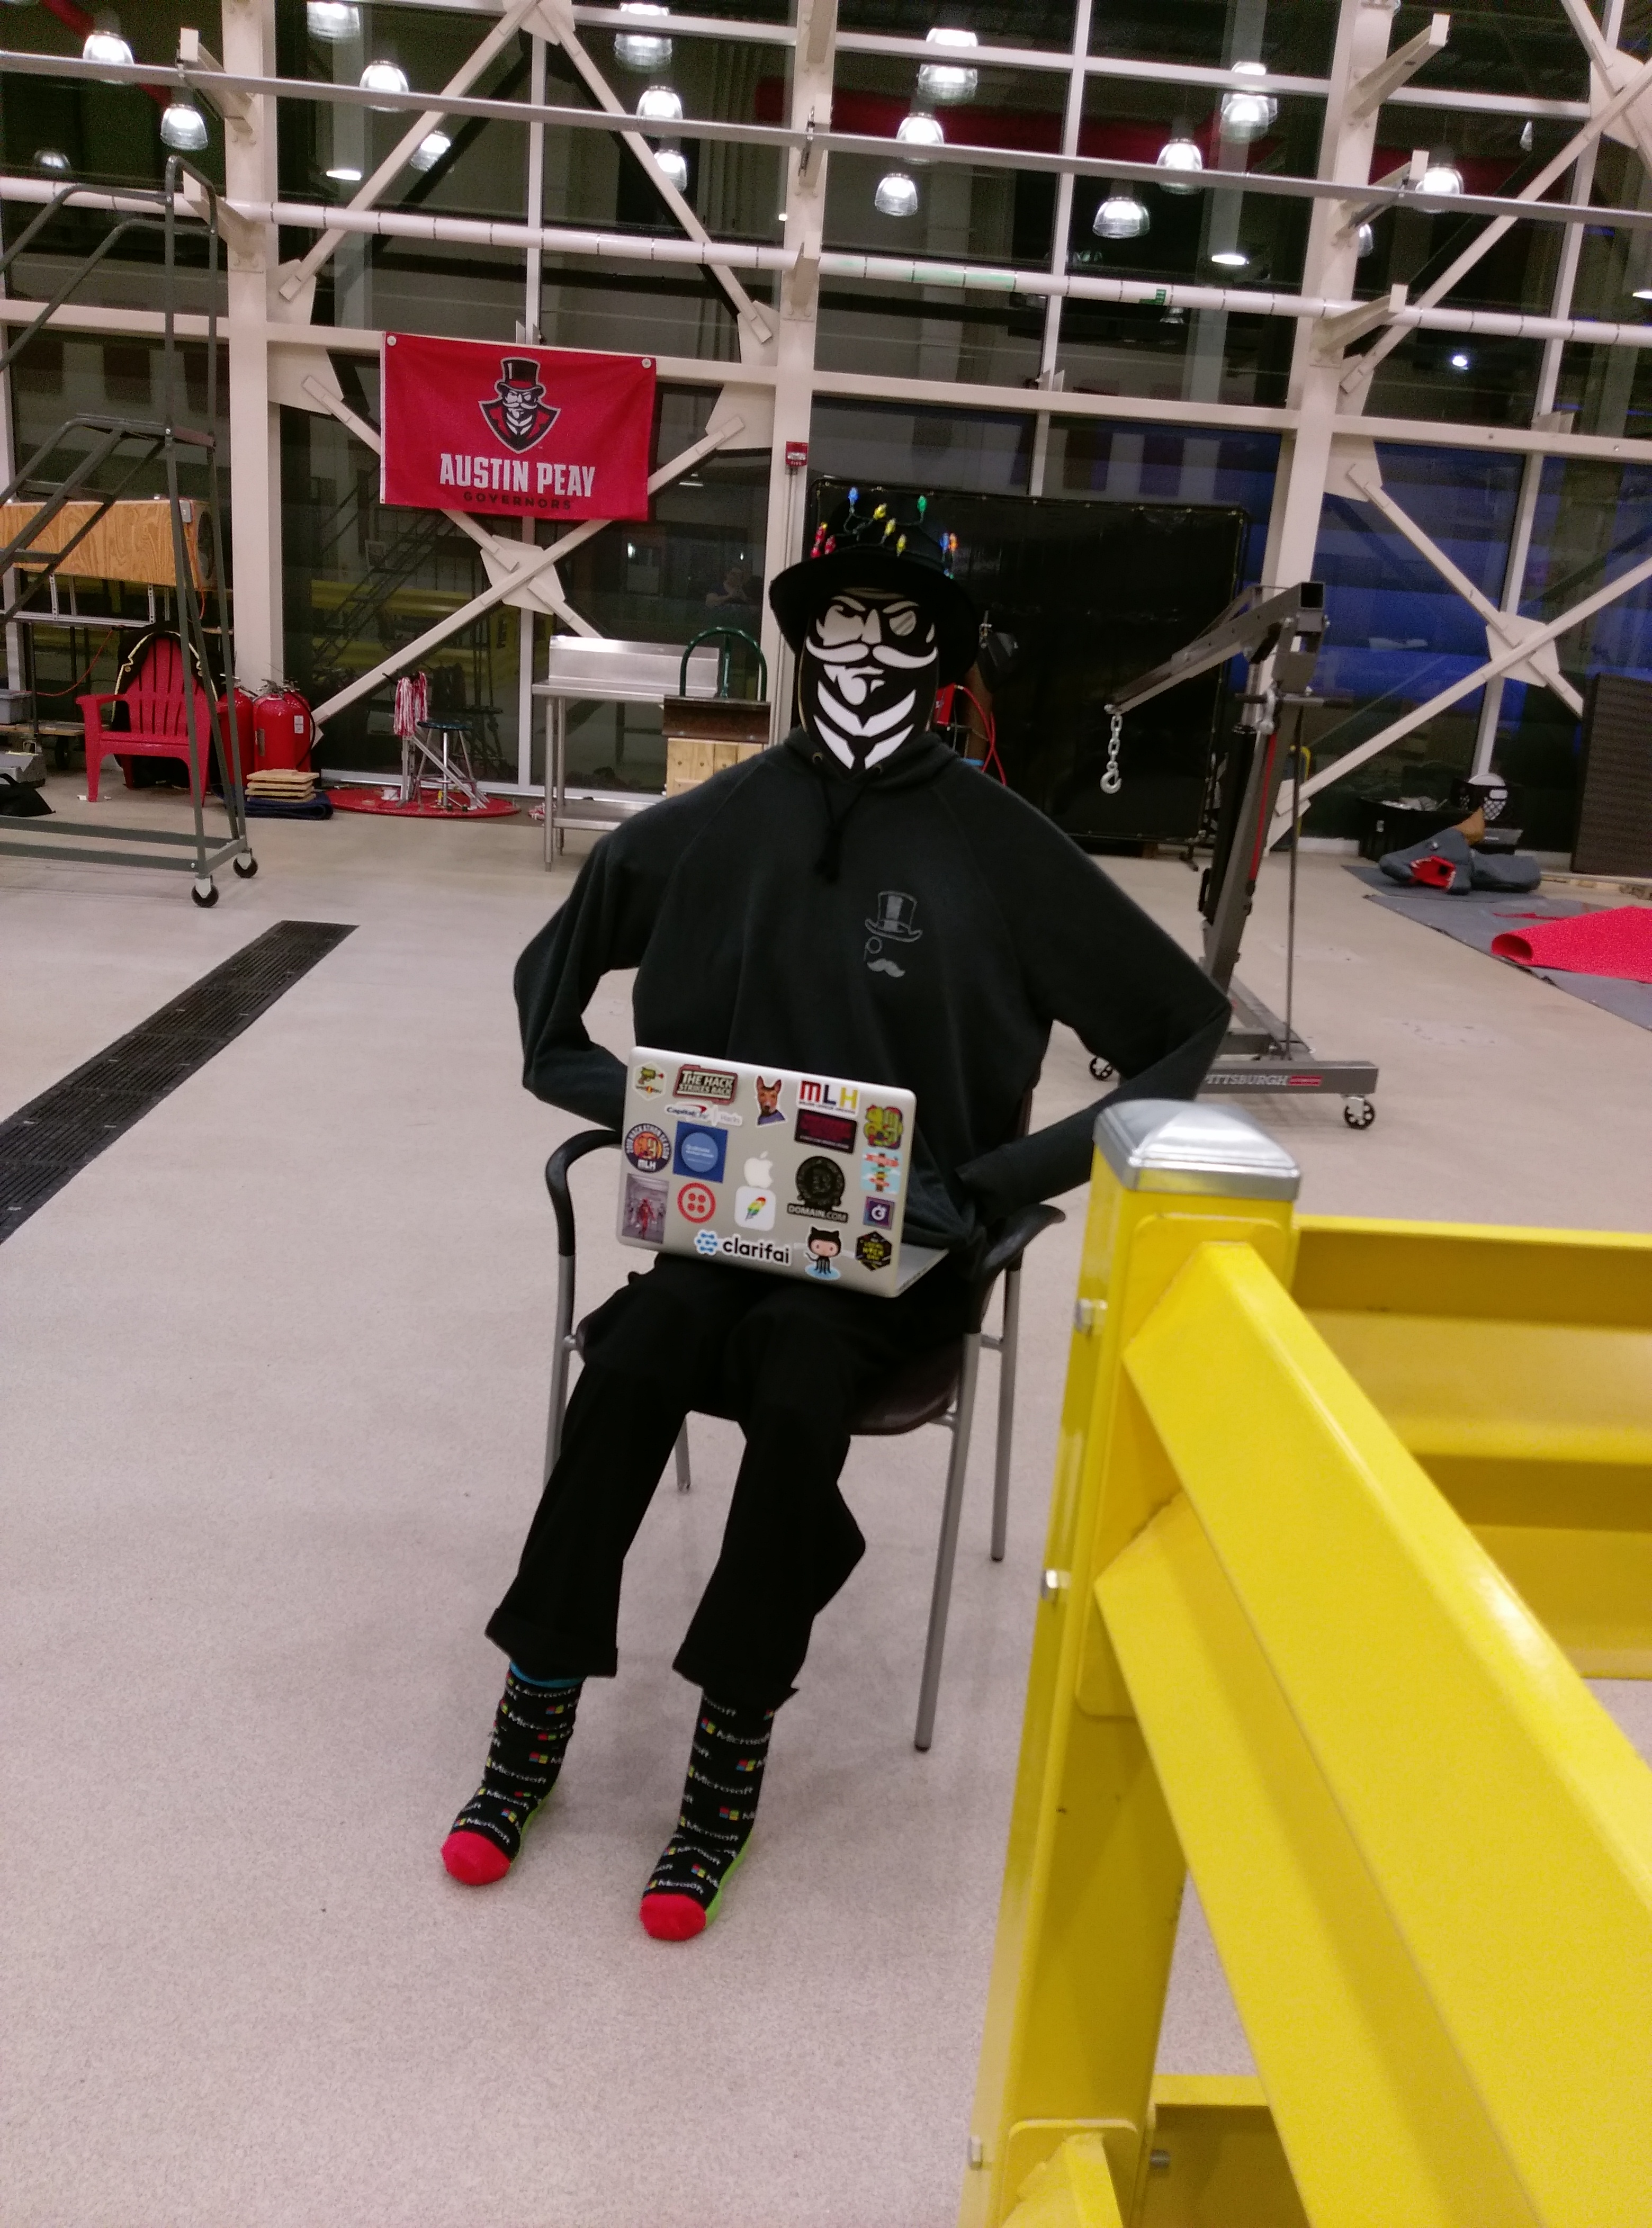
Hi! I'm here to show off my sweet swag and the Fantasy Factory at Austin Peay.
-
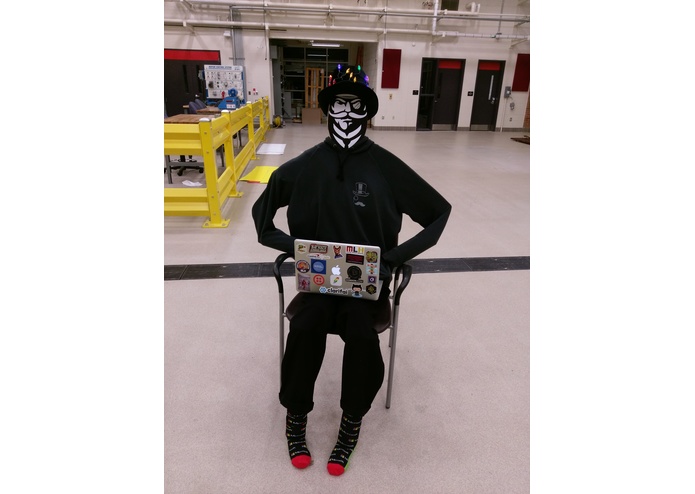
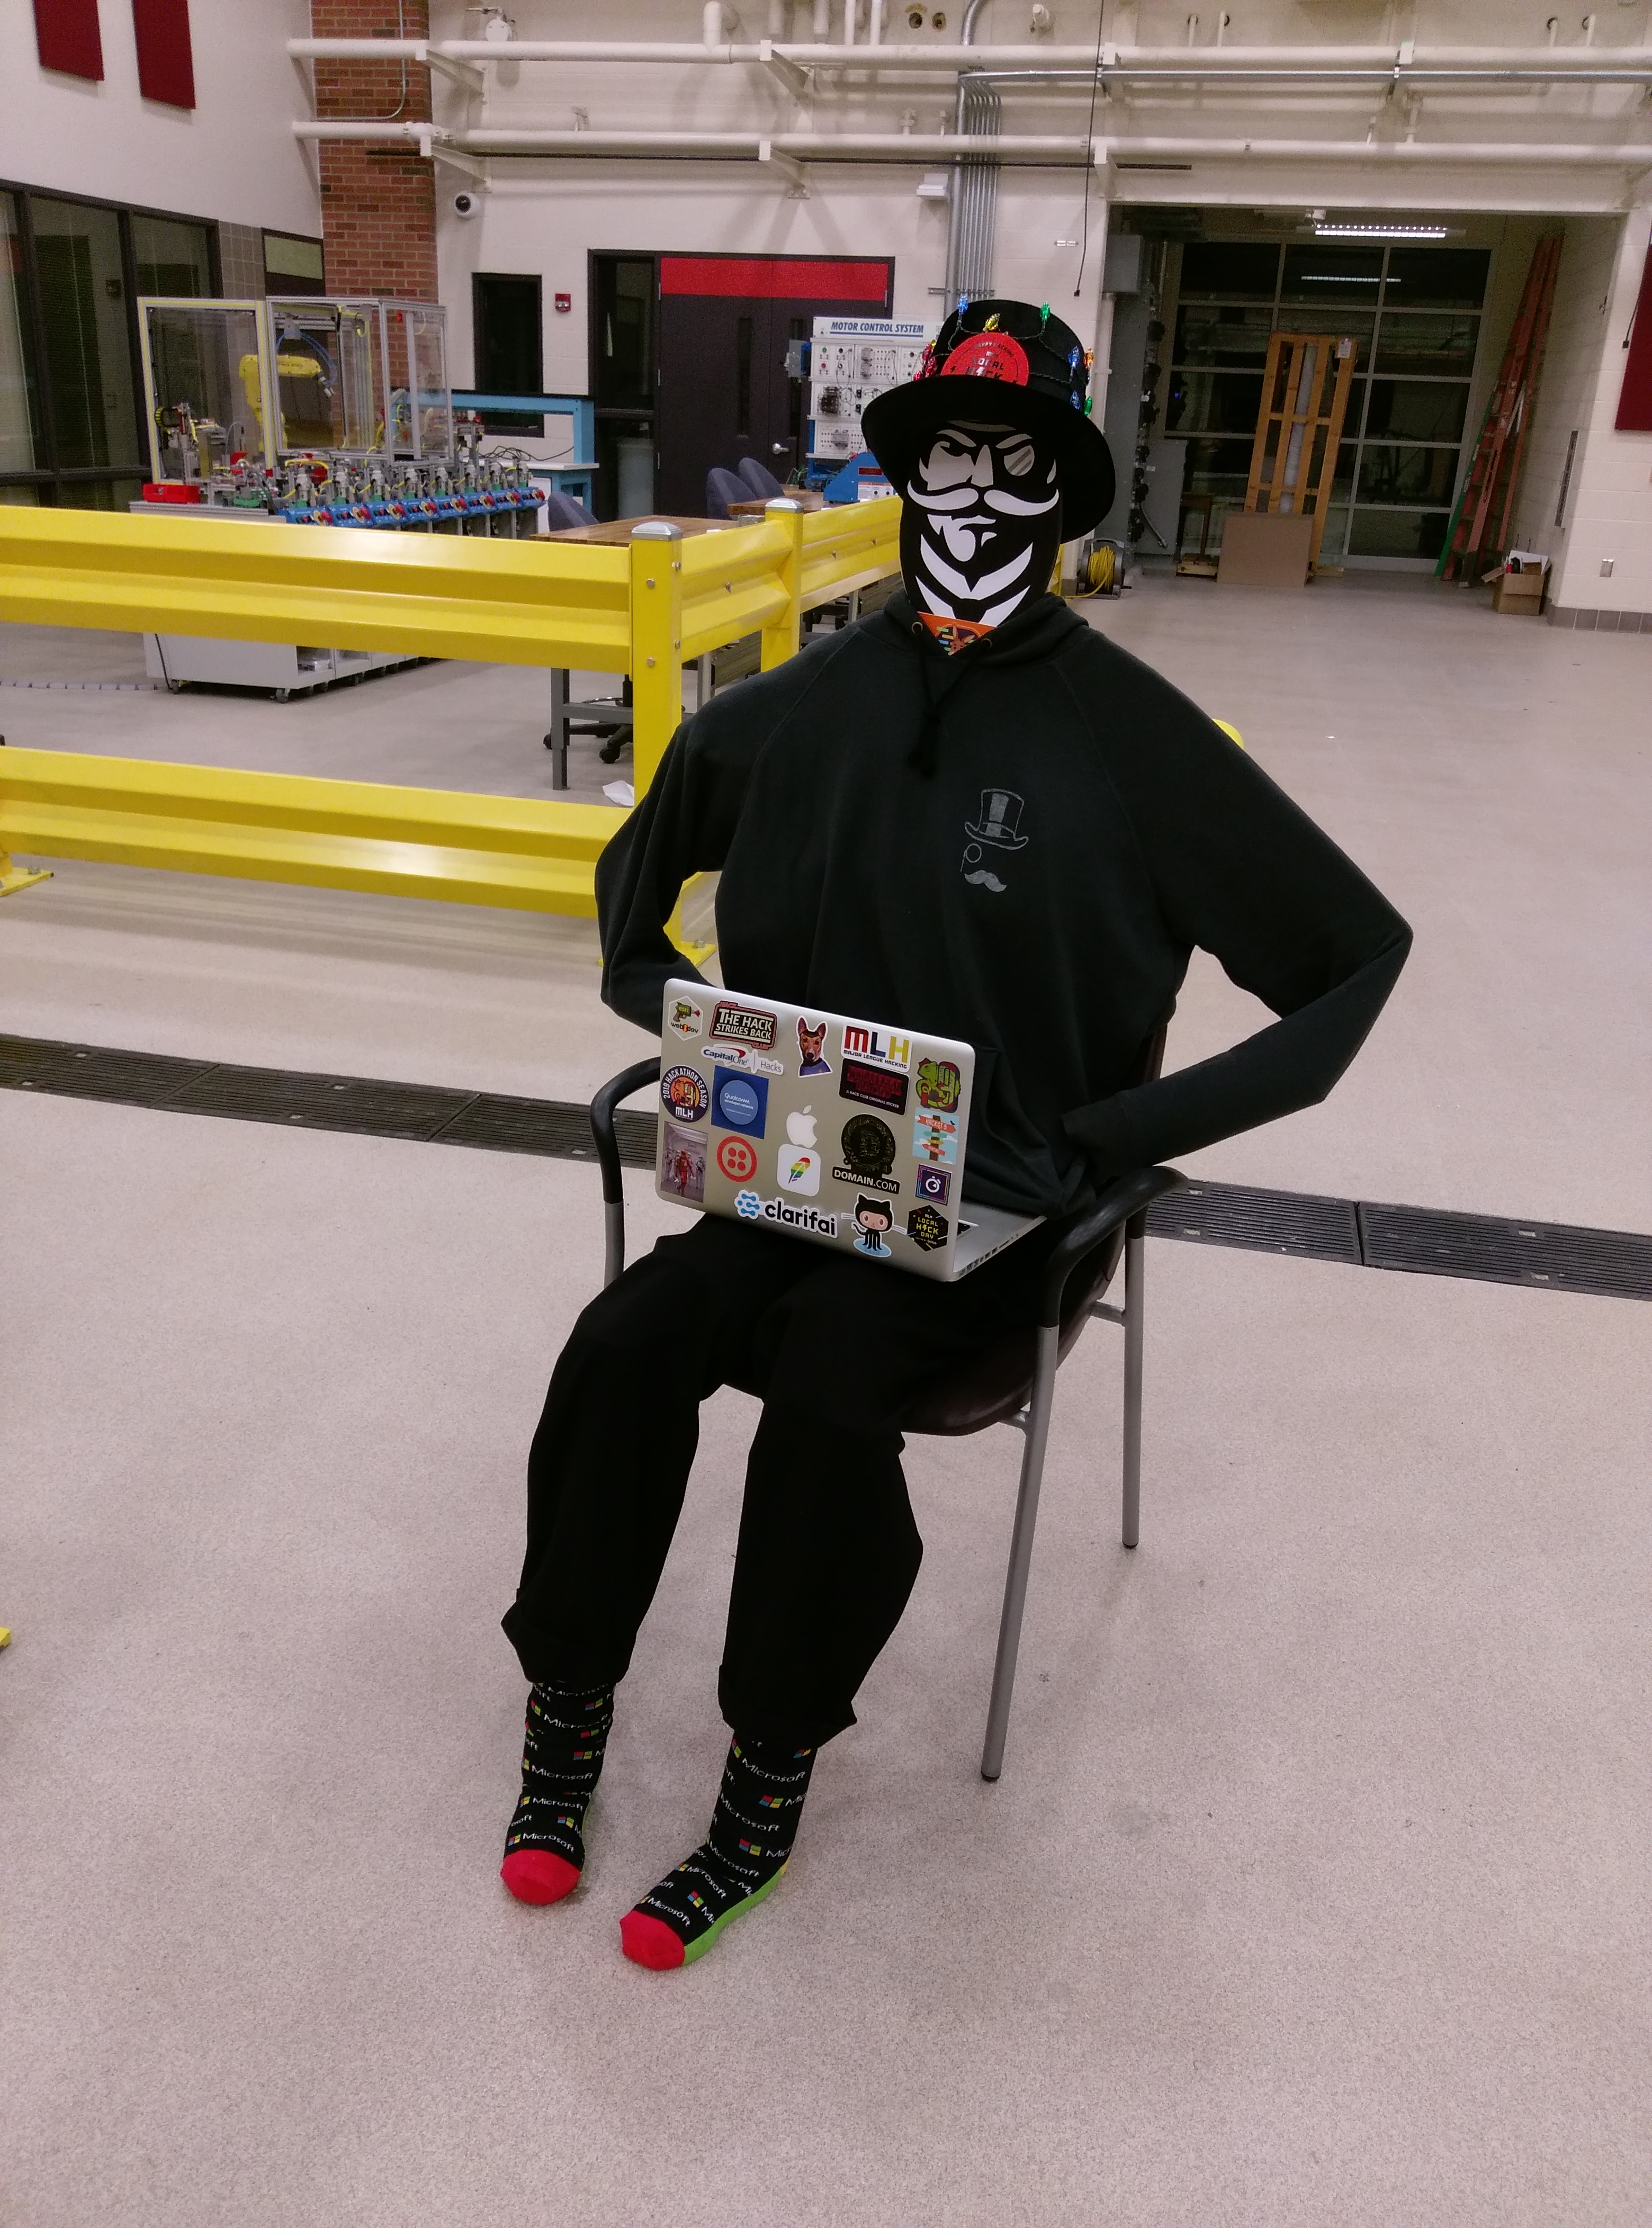
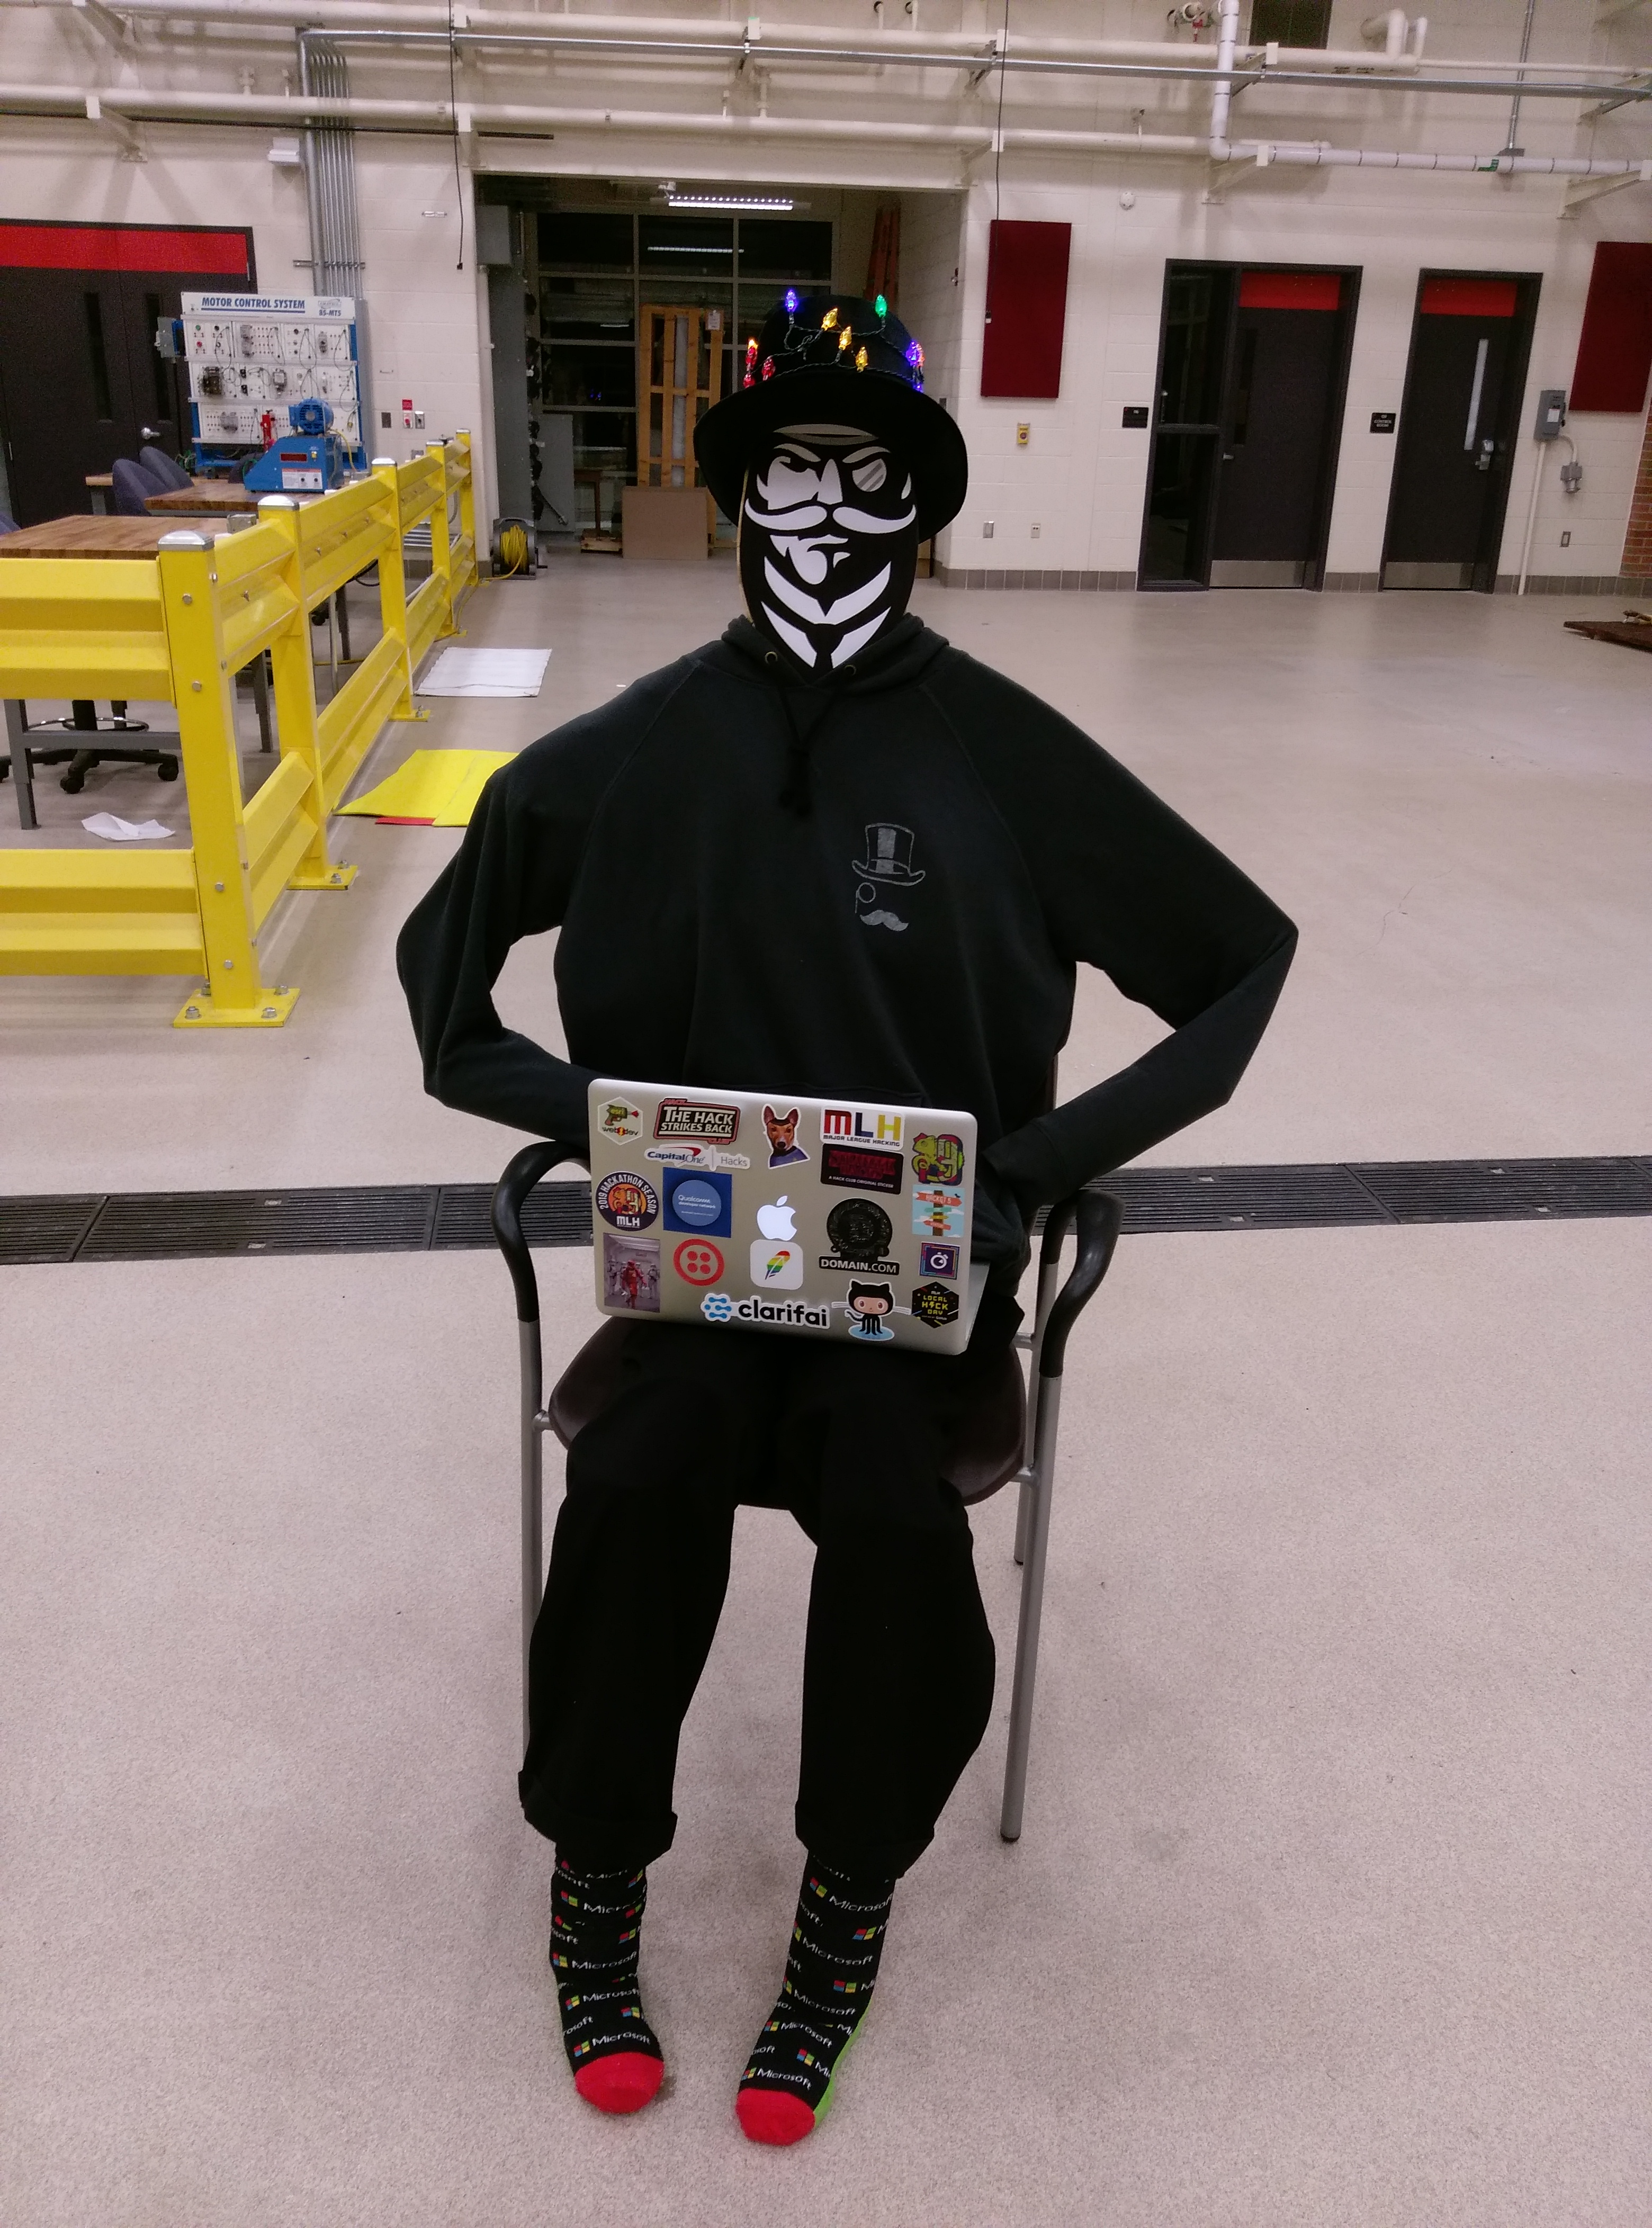
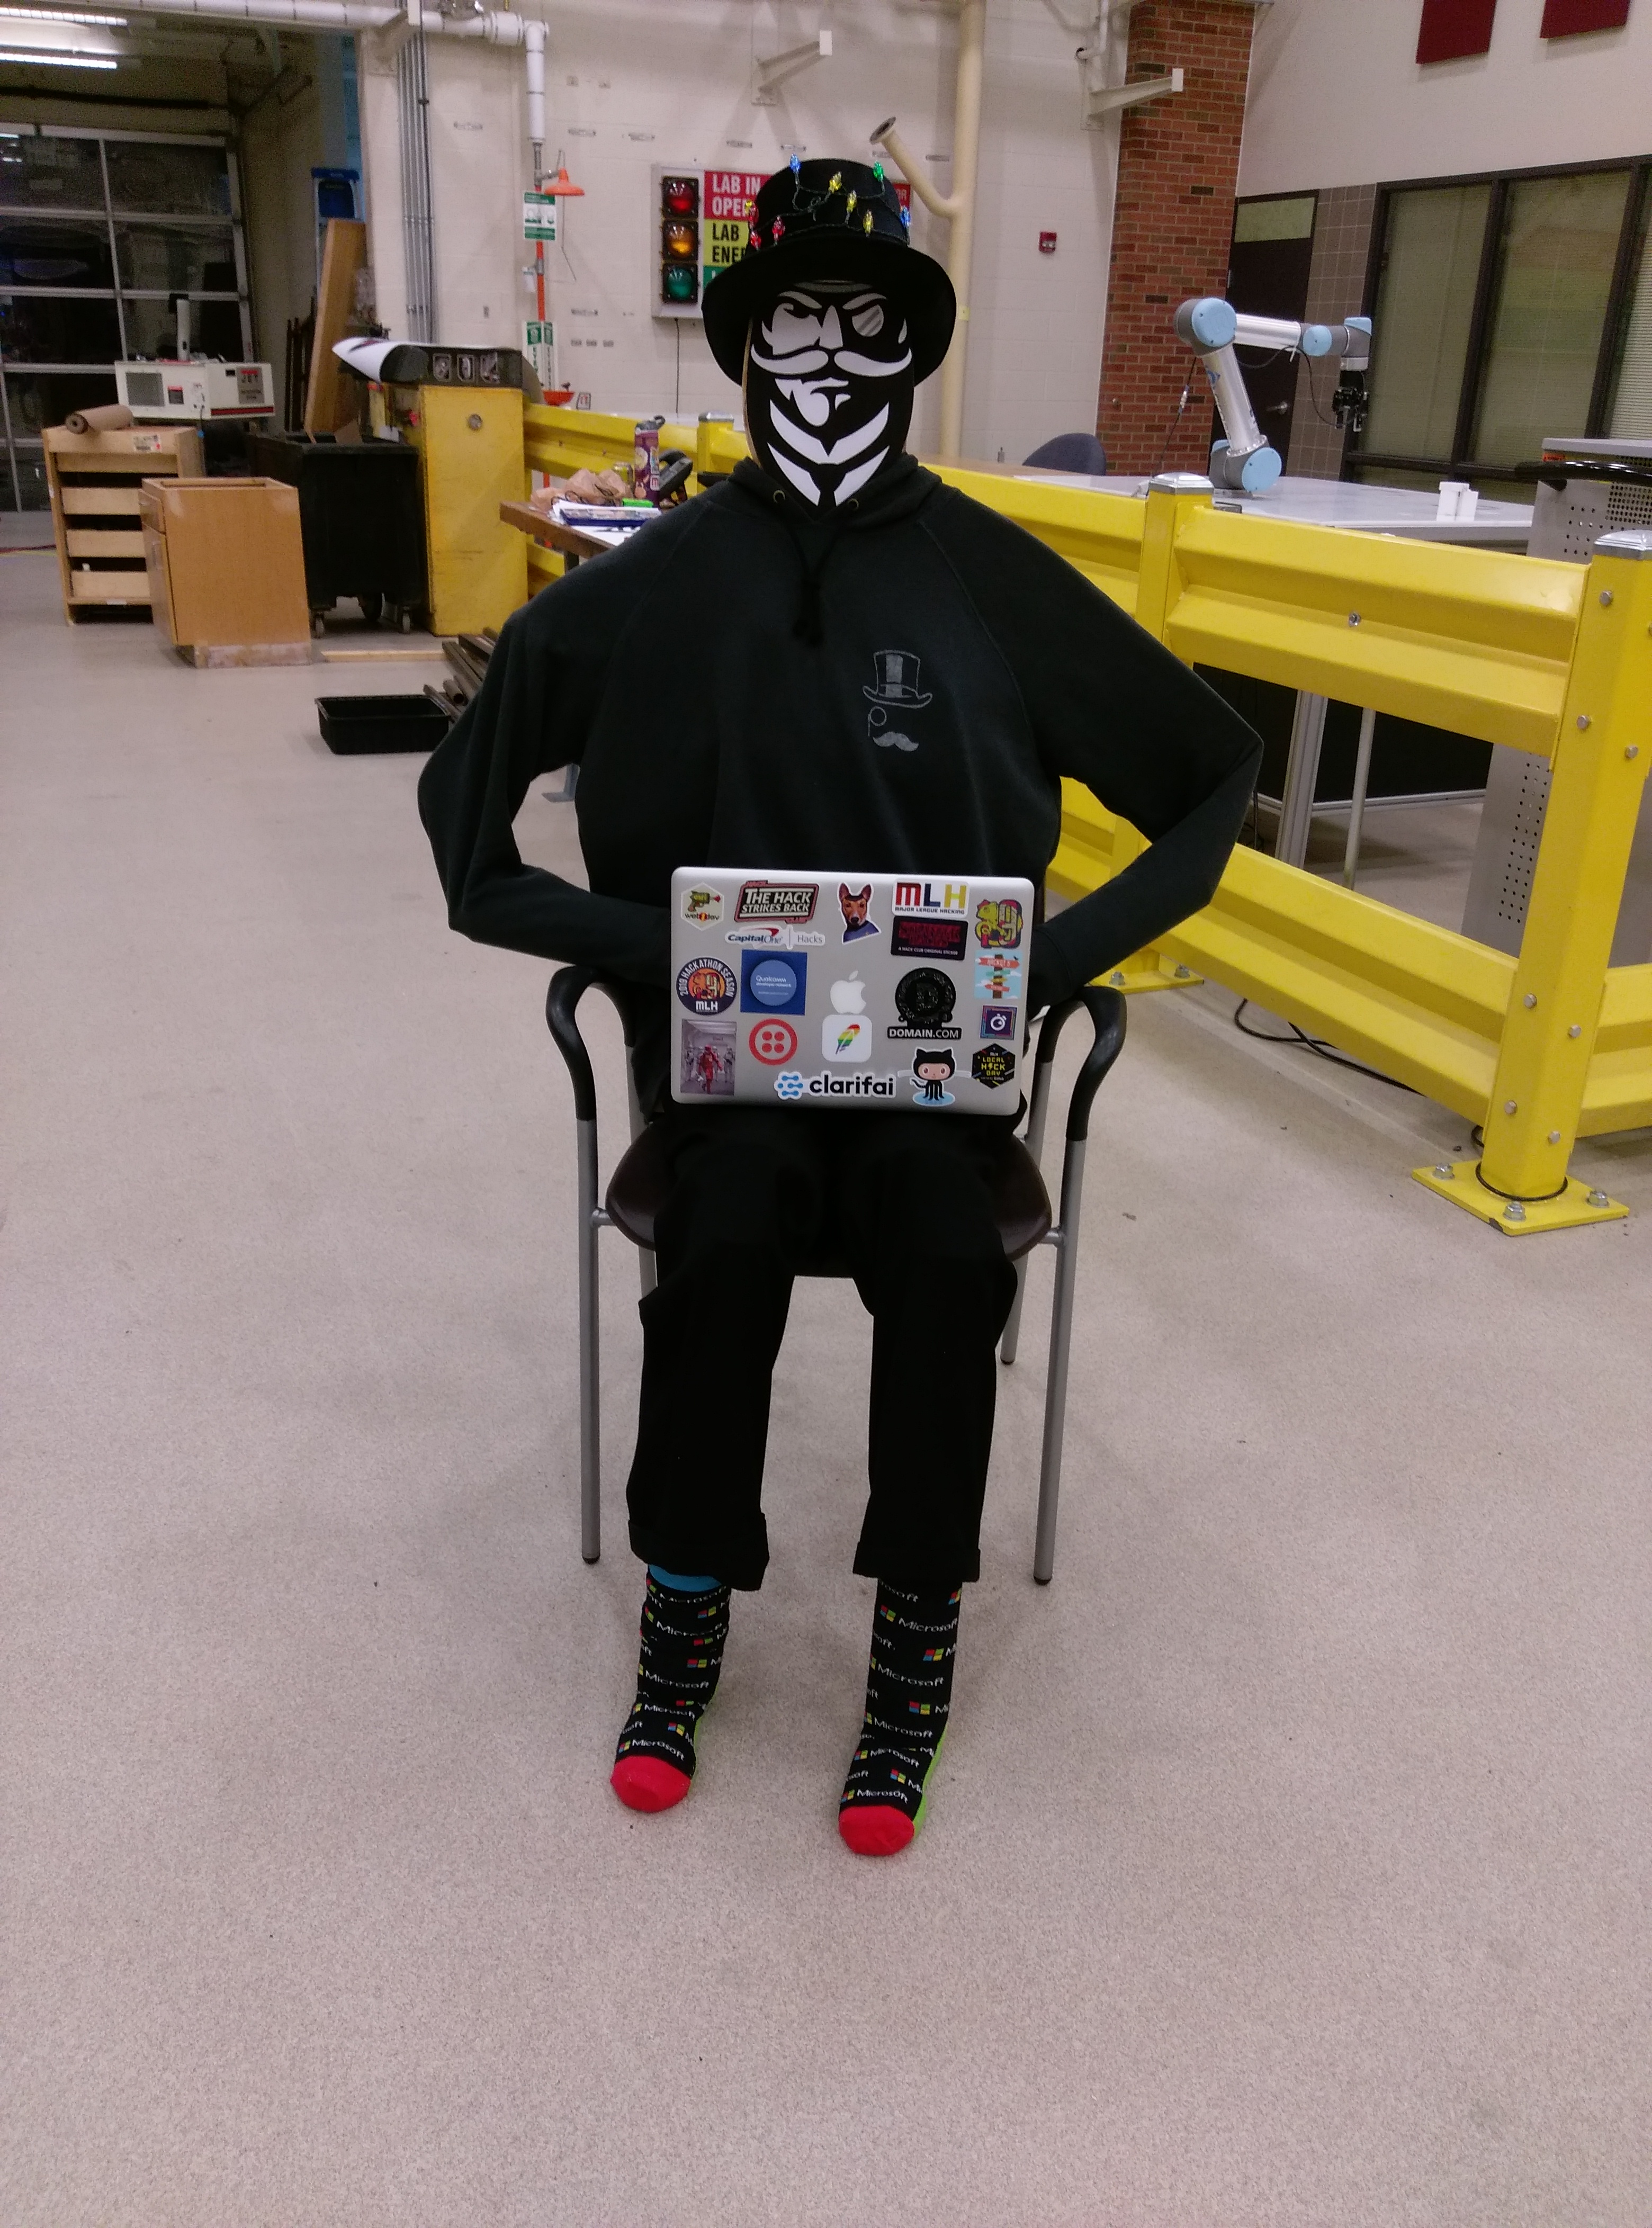
Gov Hacker
-
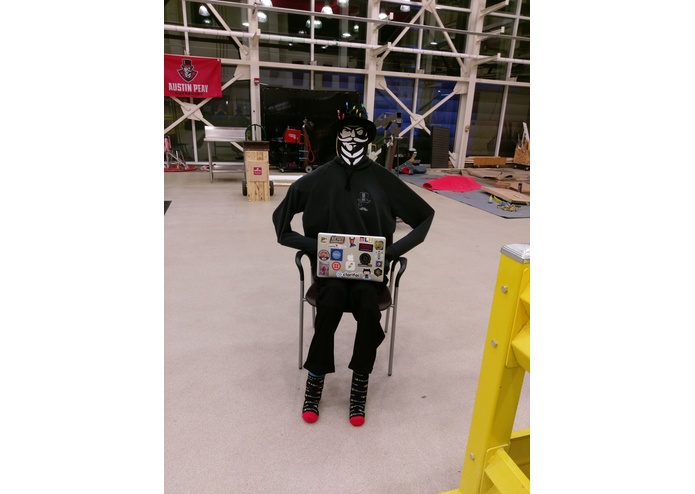
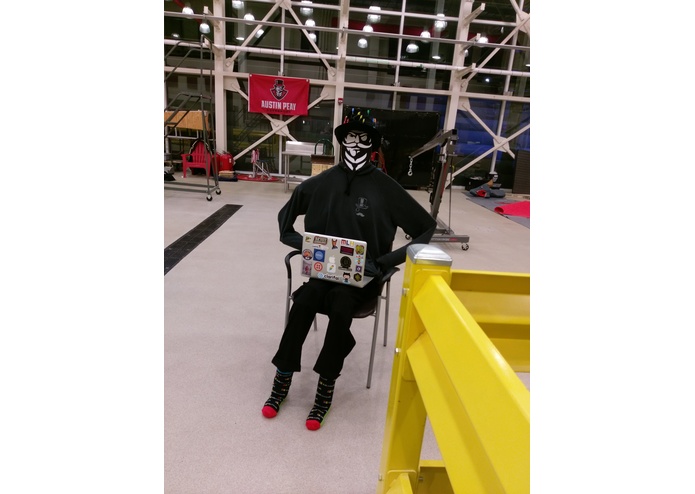
Gov Hacker and his amazing workspace
-
-

Inspiration
I wasn't sure I was able to commit to a full development project on my own, and my attention was caught by the swag contest, and I thought it would be fun to really commit to a creative way to show off all of the great stuff provided at my Local Hack Day. My school, Austin Peay State University has a number of really great resources for hands-on, practical learning, and mistake-making and one of those resources is the Fantasy Factory (real name) in our Technology Building. It has EVERYTHING. So I got the idea to build a Gov Hacker, since the Gov is our mascot, and have him really commit to showing off everything.
What it does
Basically? Gov Hacker is a show-off. He doesn't do anything, except have cute feet, a great hat, and sweet, sweet swag.
How I built it
The feet are built to show off the awesome Microsoft socks, and I wanted them to be realistic, so I traced a real foot, and cut it out in cardboard 8 times. Then I took four of them and glued them together with a hot glue gun ( repeat), cut the edges as neatly as possible and used them as the base for my feet. I made the ankles out of craft paper in a tube shape.
The torso and head were made from a template I traced of a fellow hacker. I used the template to cut the shape of the head and torso from a piece of plywood, making sure the top of the head matched the widest circumference of the light up top hat so it wouldn't slide down. The light up top hat was just lying around the Fantasy Factory already, so I was able to move on to talking people out of a hoodie and some pants.
The face was printed on a high-quality printer from one of our logo files and scaled to fit on the "face" The face was another piece of plywood cut in the template of the head and bolted on to the main torso/head piece.
The legs are cardboard cylinders in two sizes, one for the thighs and one for the calves, and the socked foot structure was attached to the calf tubes and held in place by the superior craftsmanship and elastic of the Microsoft Swag Socks.
I positioned as much of the sticker swag, and the coaster, in the shot as possible, with Gov Hacker using my laptop. I then stuffed the torso using craft paper to approximate a chest shape and used two smaller cardboard tubes attached to wood scraps as the lower part of the arms for "typing."
Challenges I ran into
It is rather more difficult to talk a hacker out of their sweet, sweet hoodie than you would think. Additionally, I had never used a jigsaw, cut plywood, made shoe soles from cardboard, or applied a large number of stickers to a laptop before. It was excellent to just dive in and try, but it was very daunting and at times physically challenging to get the build accomplished and source all the materials.
Accomplishments that I'm proud of
I'm proud of the anatomically similar shape of the feet, the number of new things I tried, and taking an idea, even a silly, fun one, and running as far as I could with it.
What I learned
How to use a jigsaw. ( not well, but I can do it), how to use DevPost, who the members of my local community were, and a little bit of code.
What's next for GovSwag
This isn't a project that needs continuing, but I will happily continue working with my local hackers on projects and real coding and development.
Built With
- cardboard
- chutzpah
- glue
- hoodies
- pants
- rivets
- socks
- stickers
- wood

Log in or sign up for Devpost to join the conversation.