-
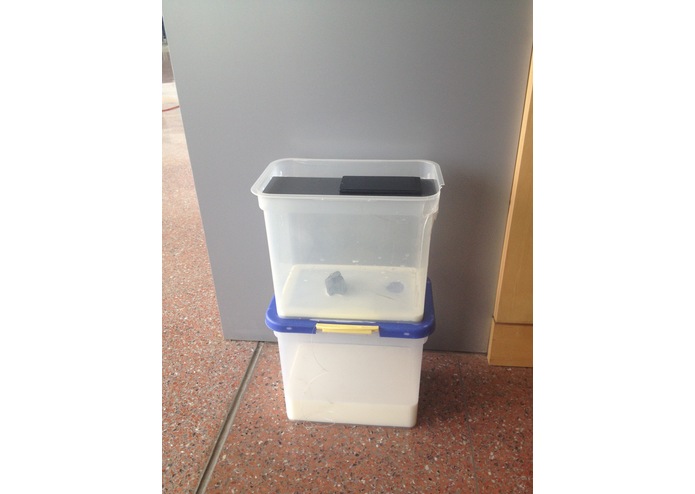
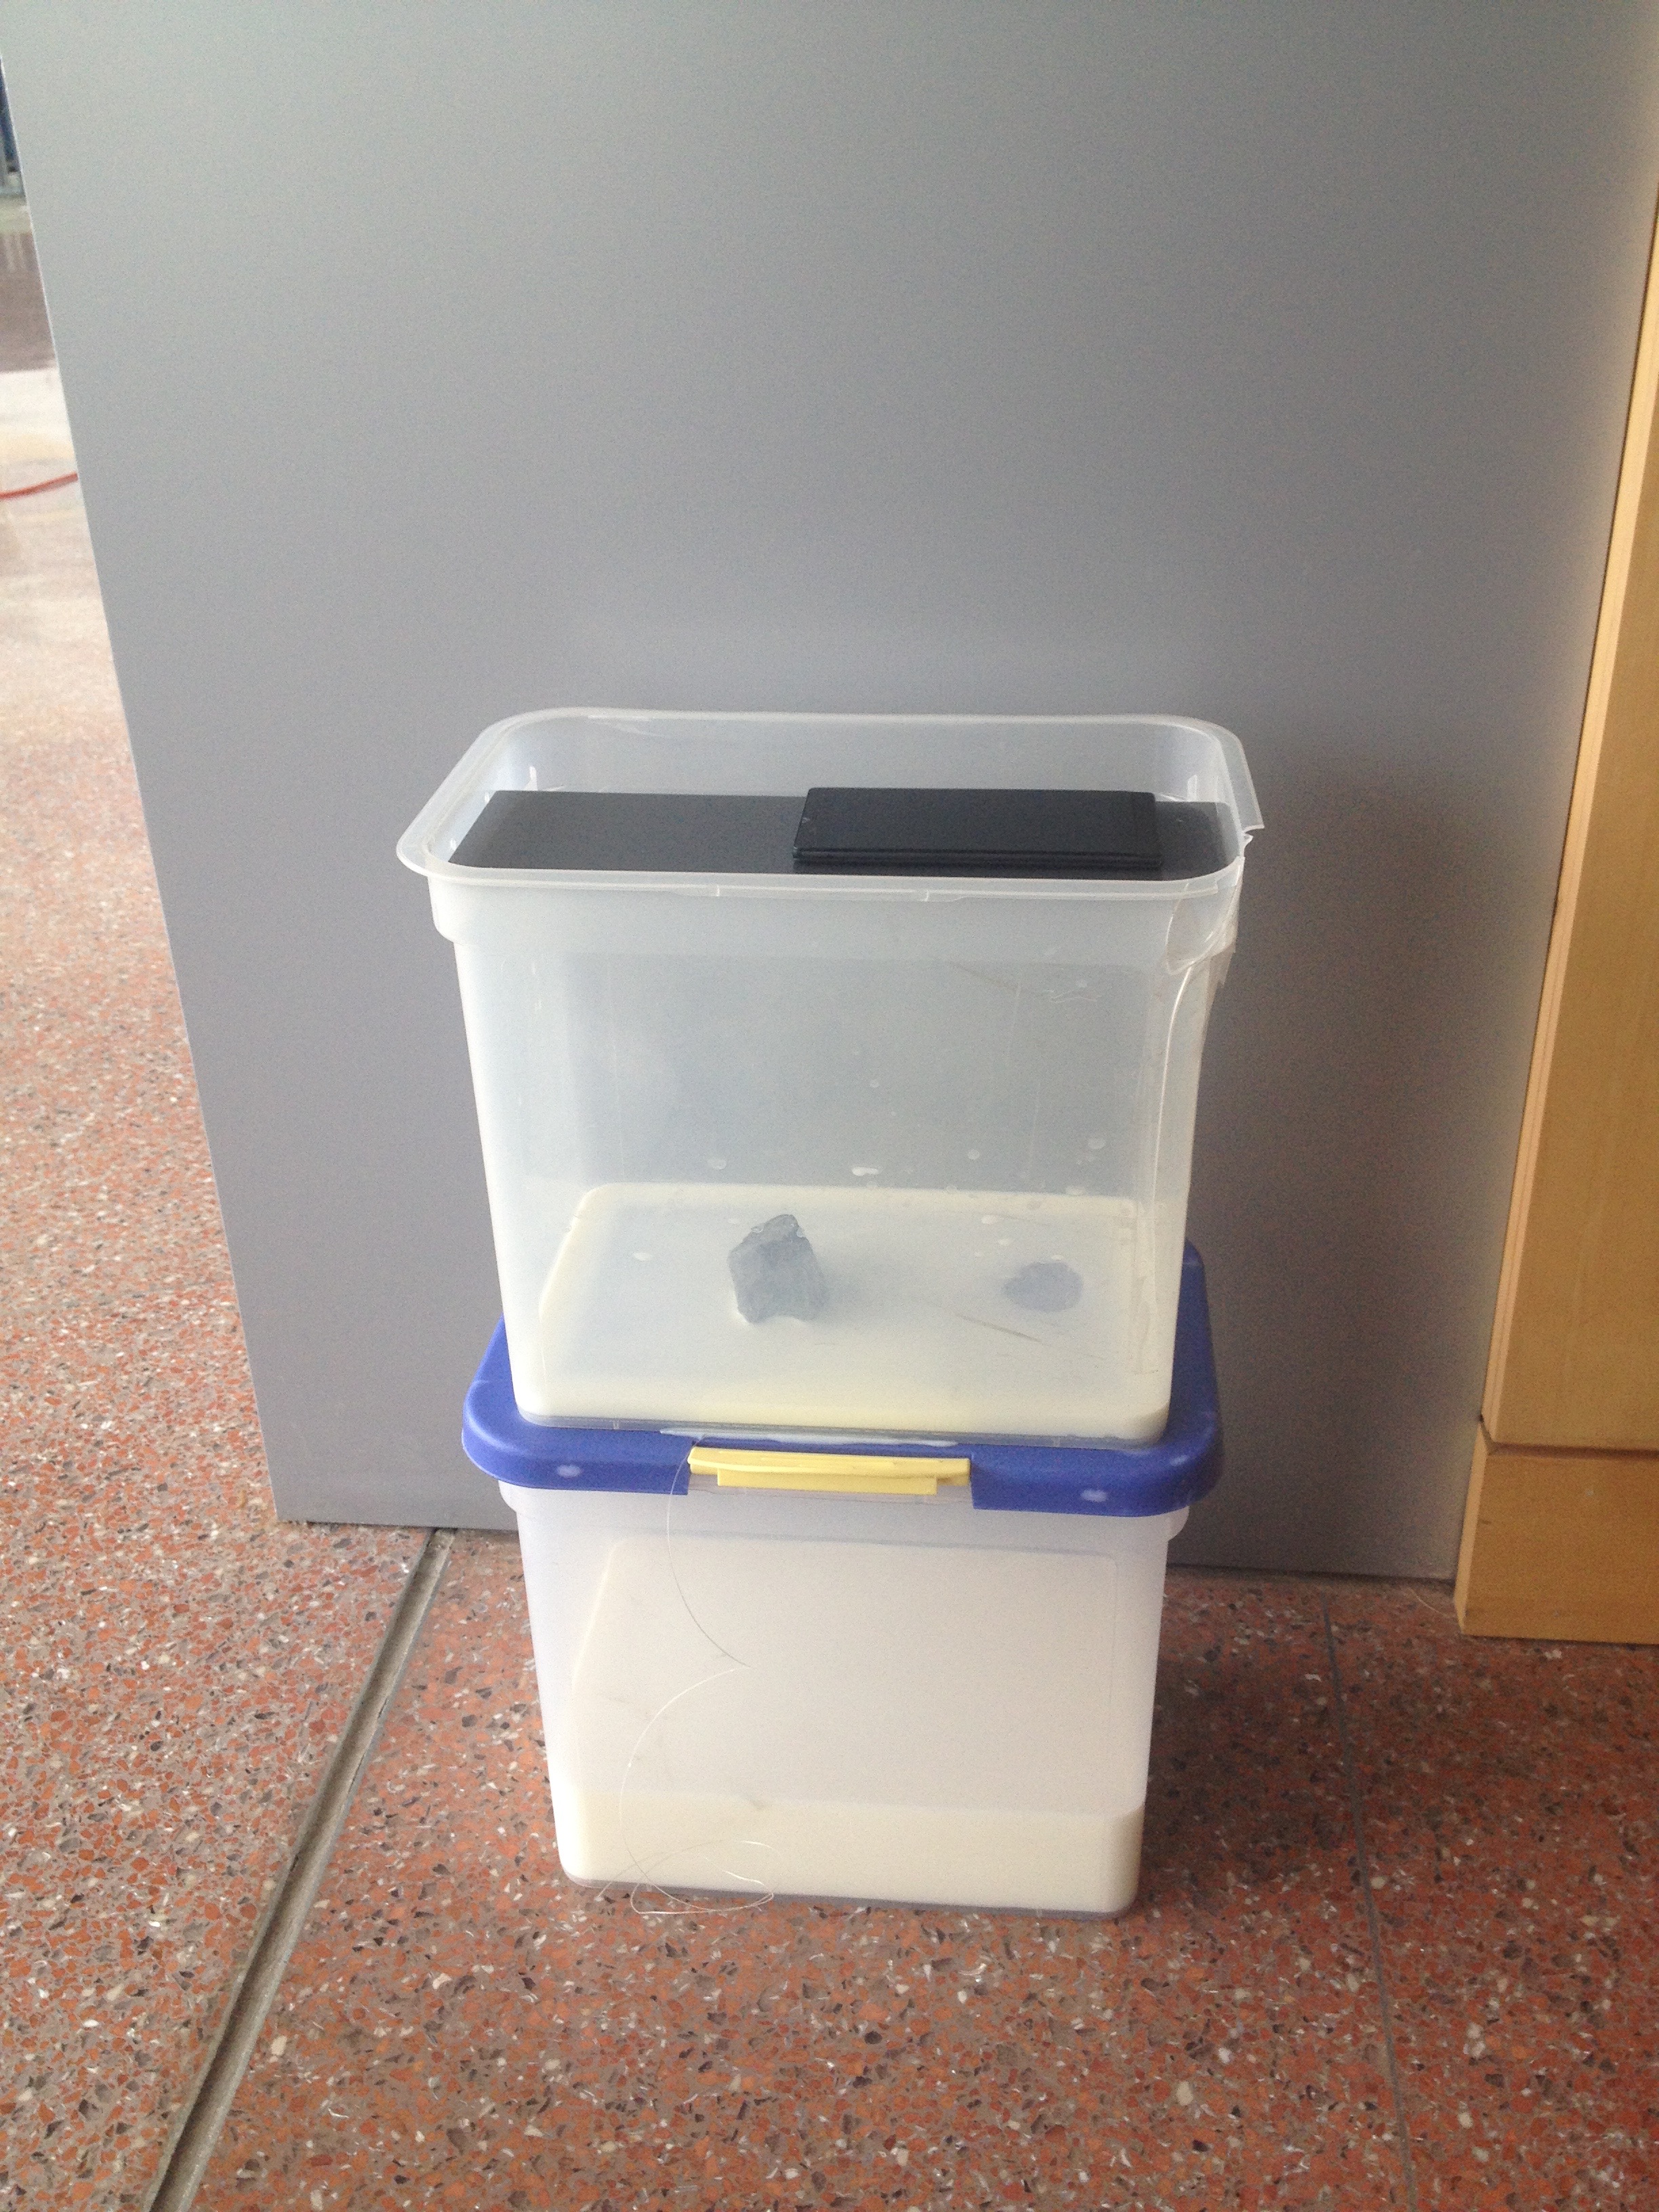
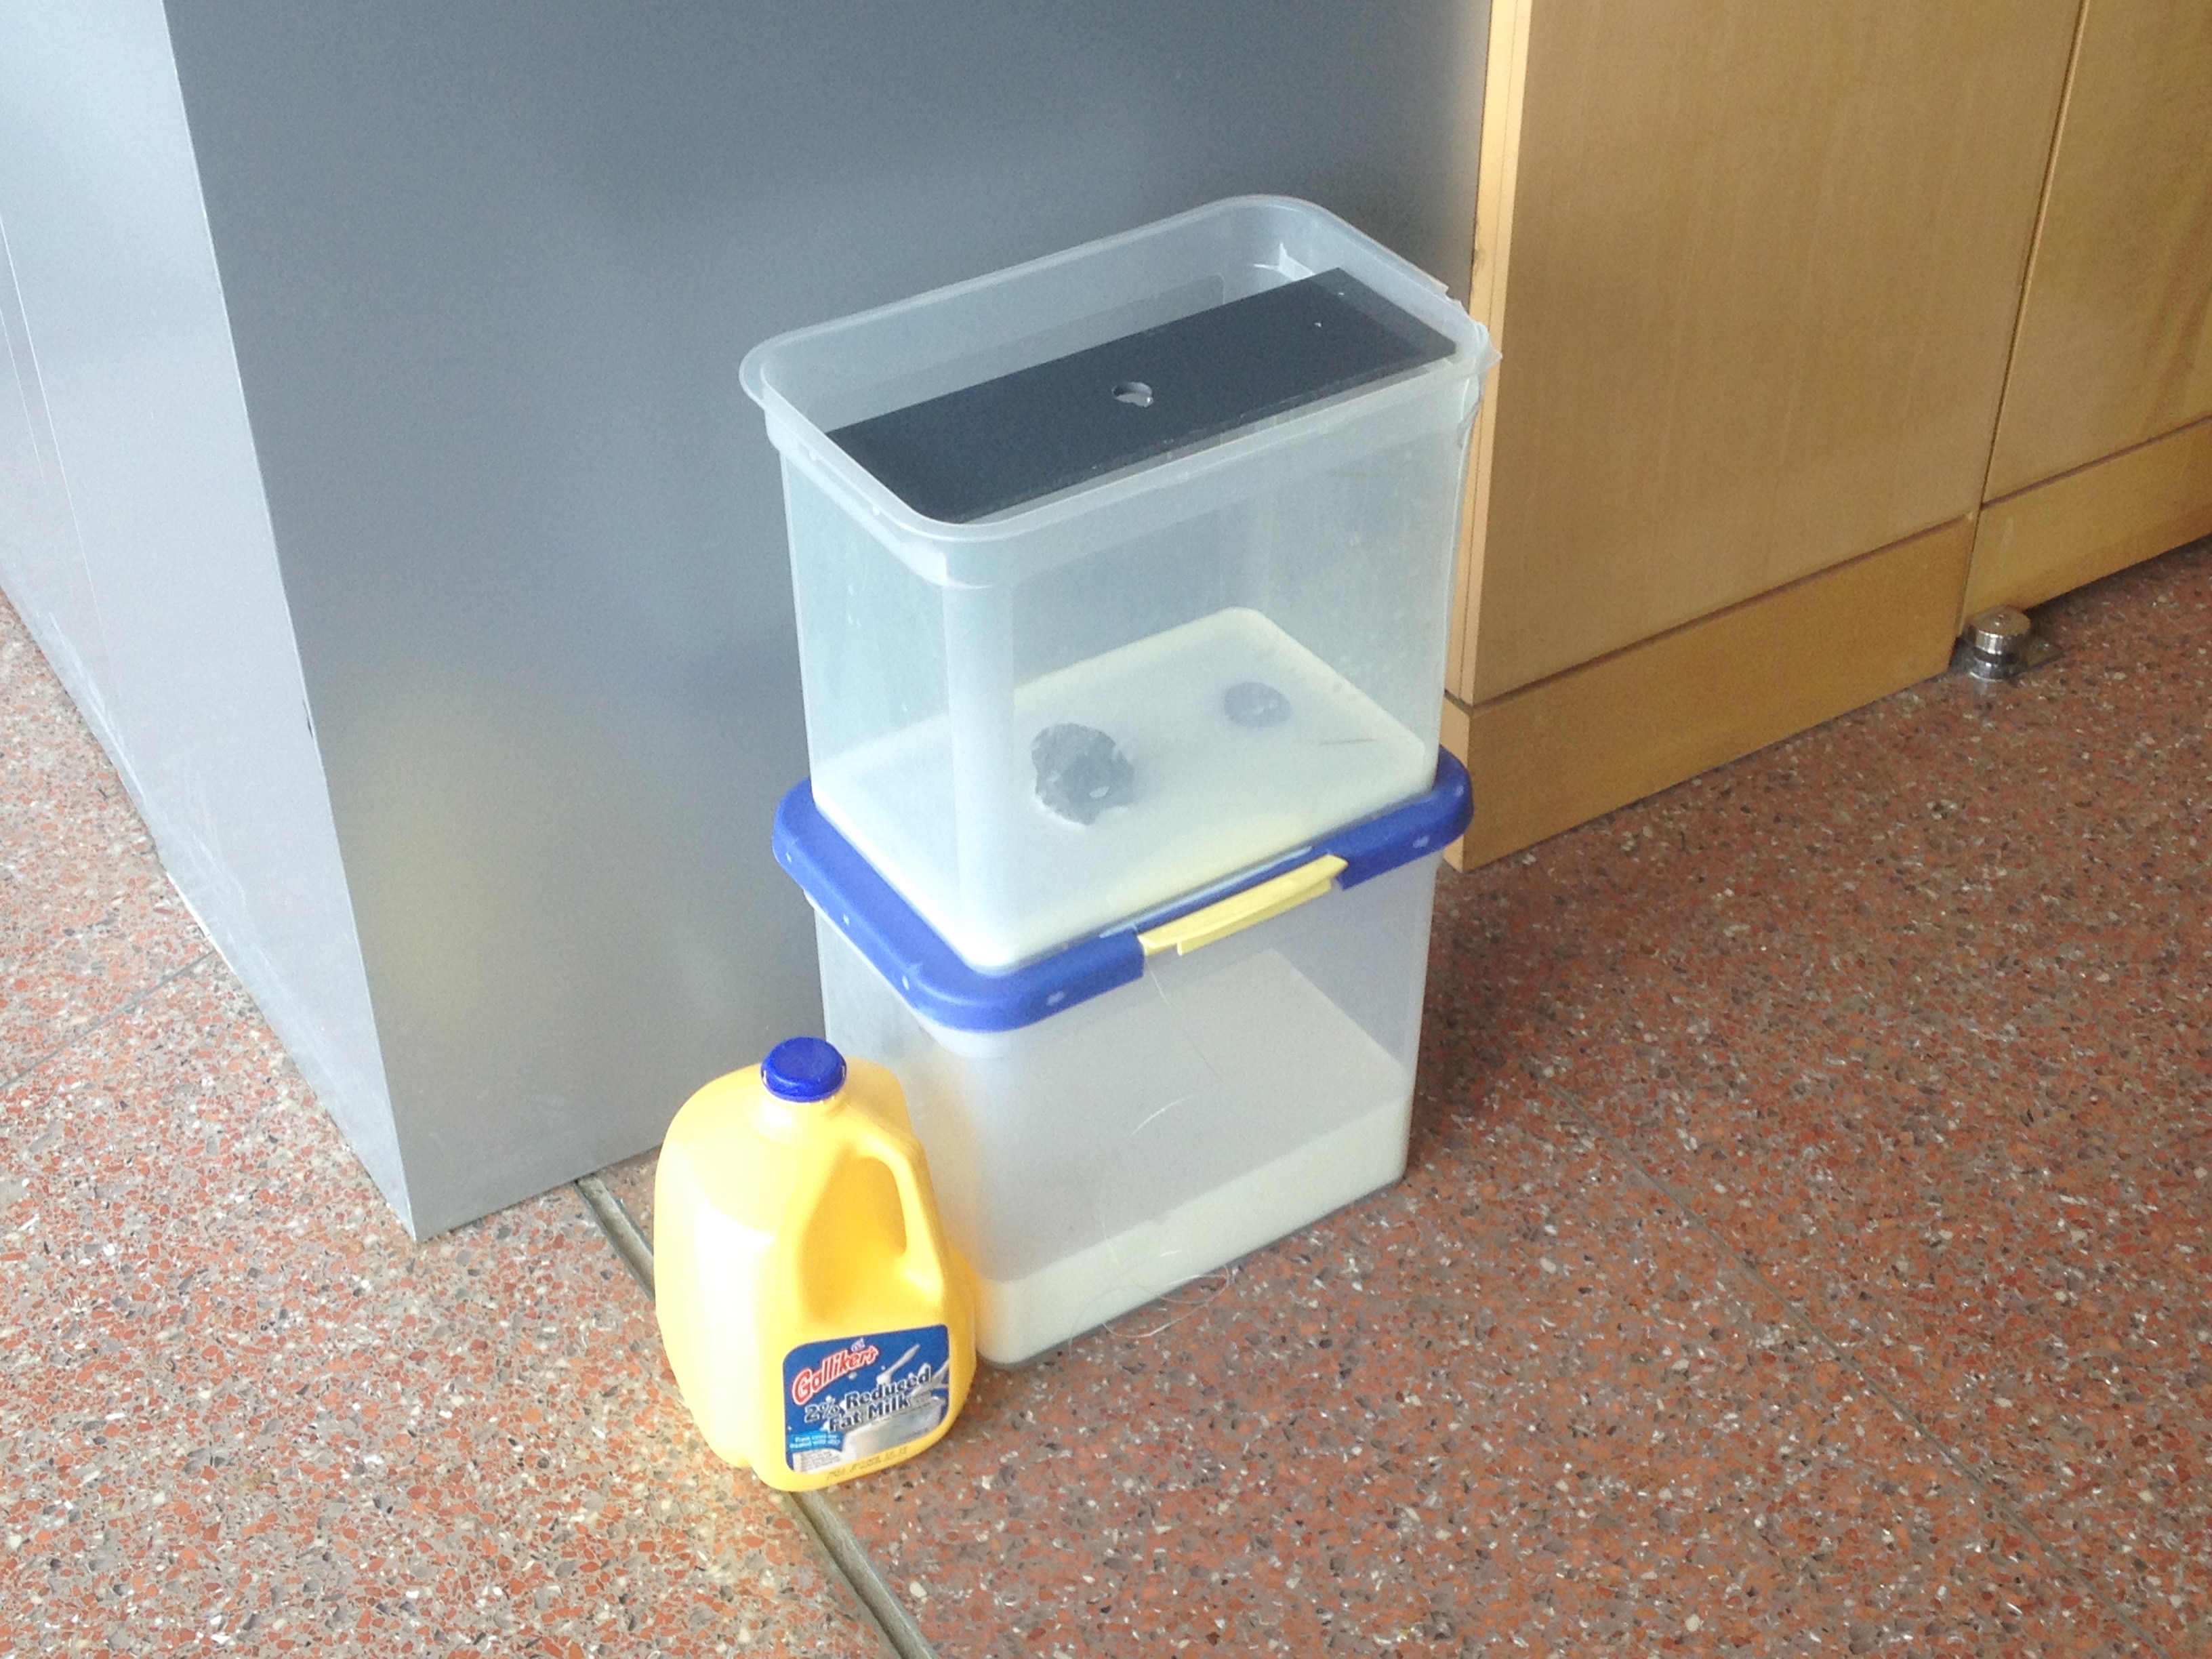
Final prototype
-
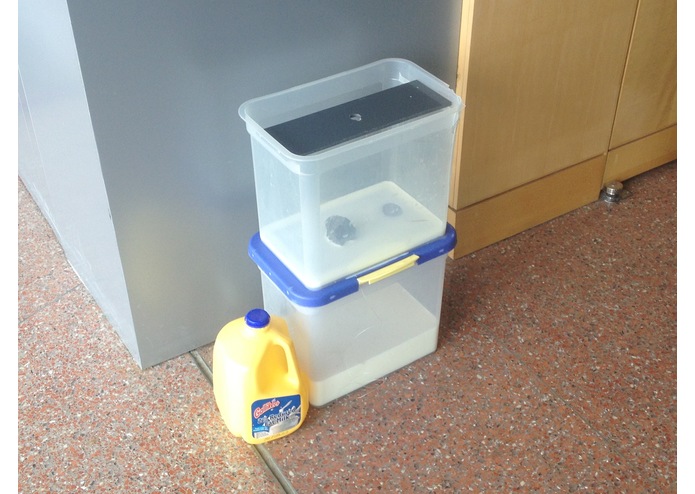
Filled with milk
-
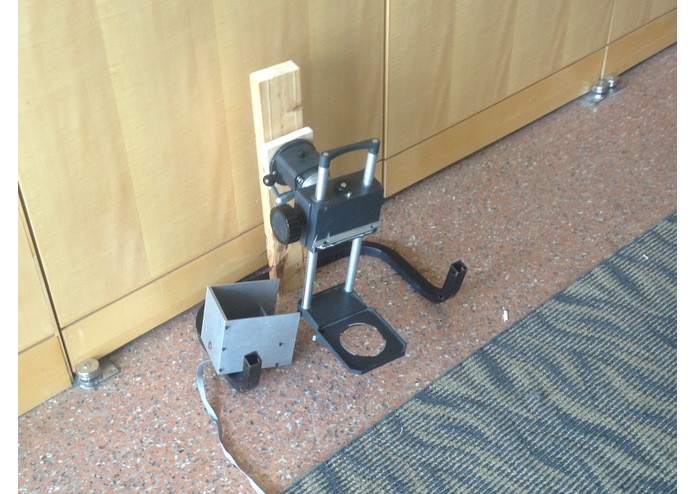
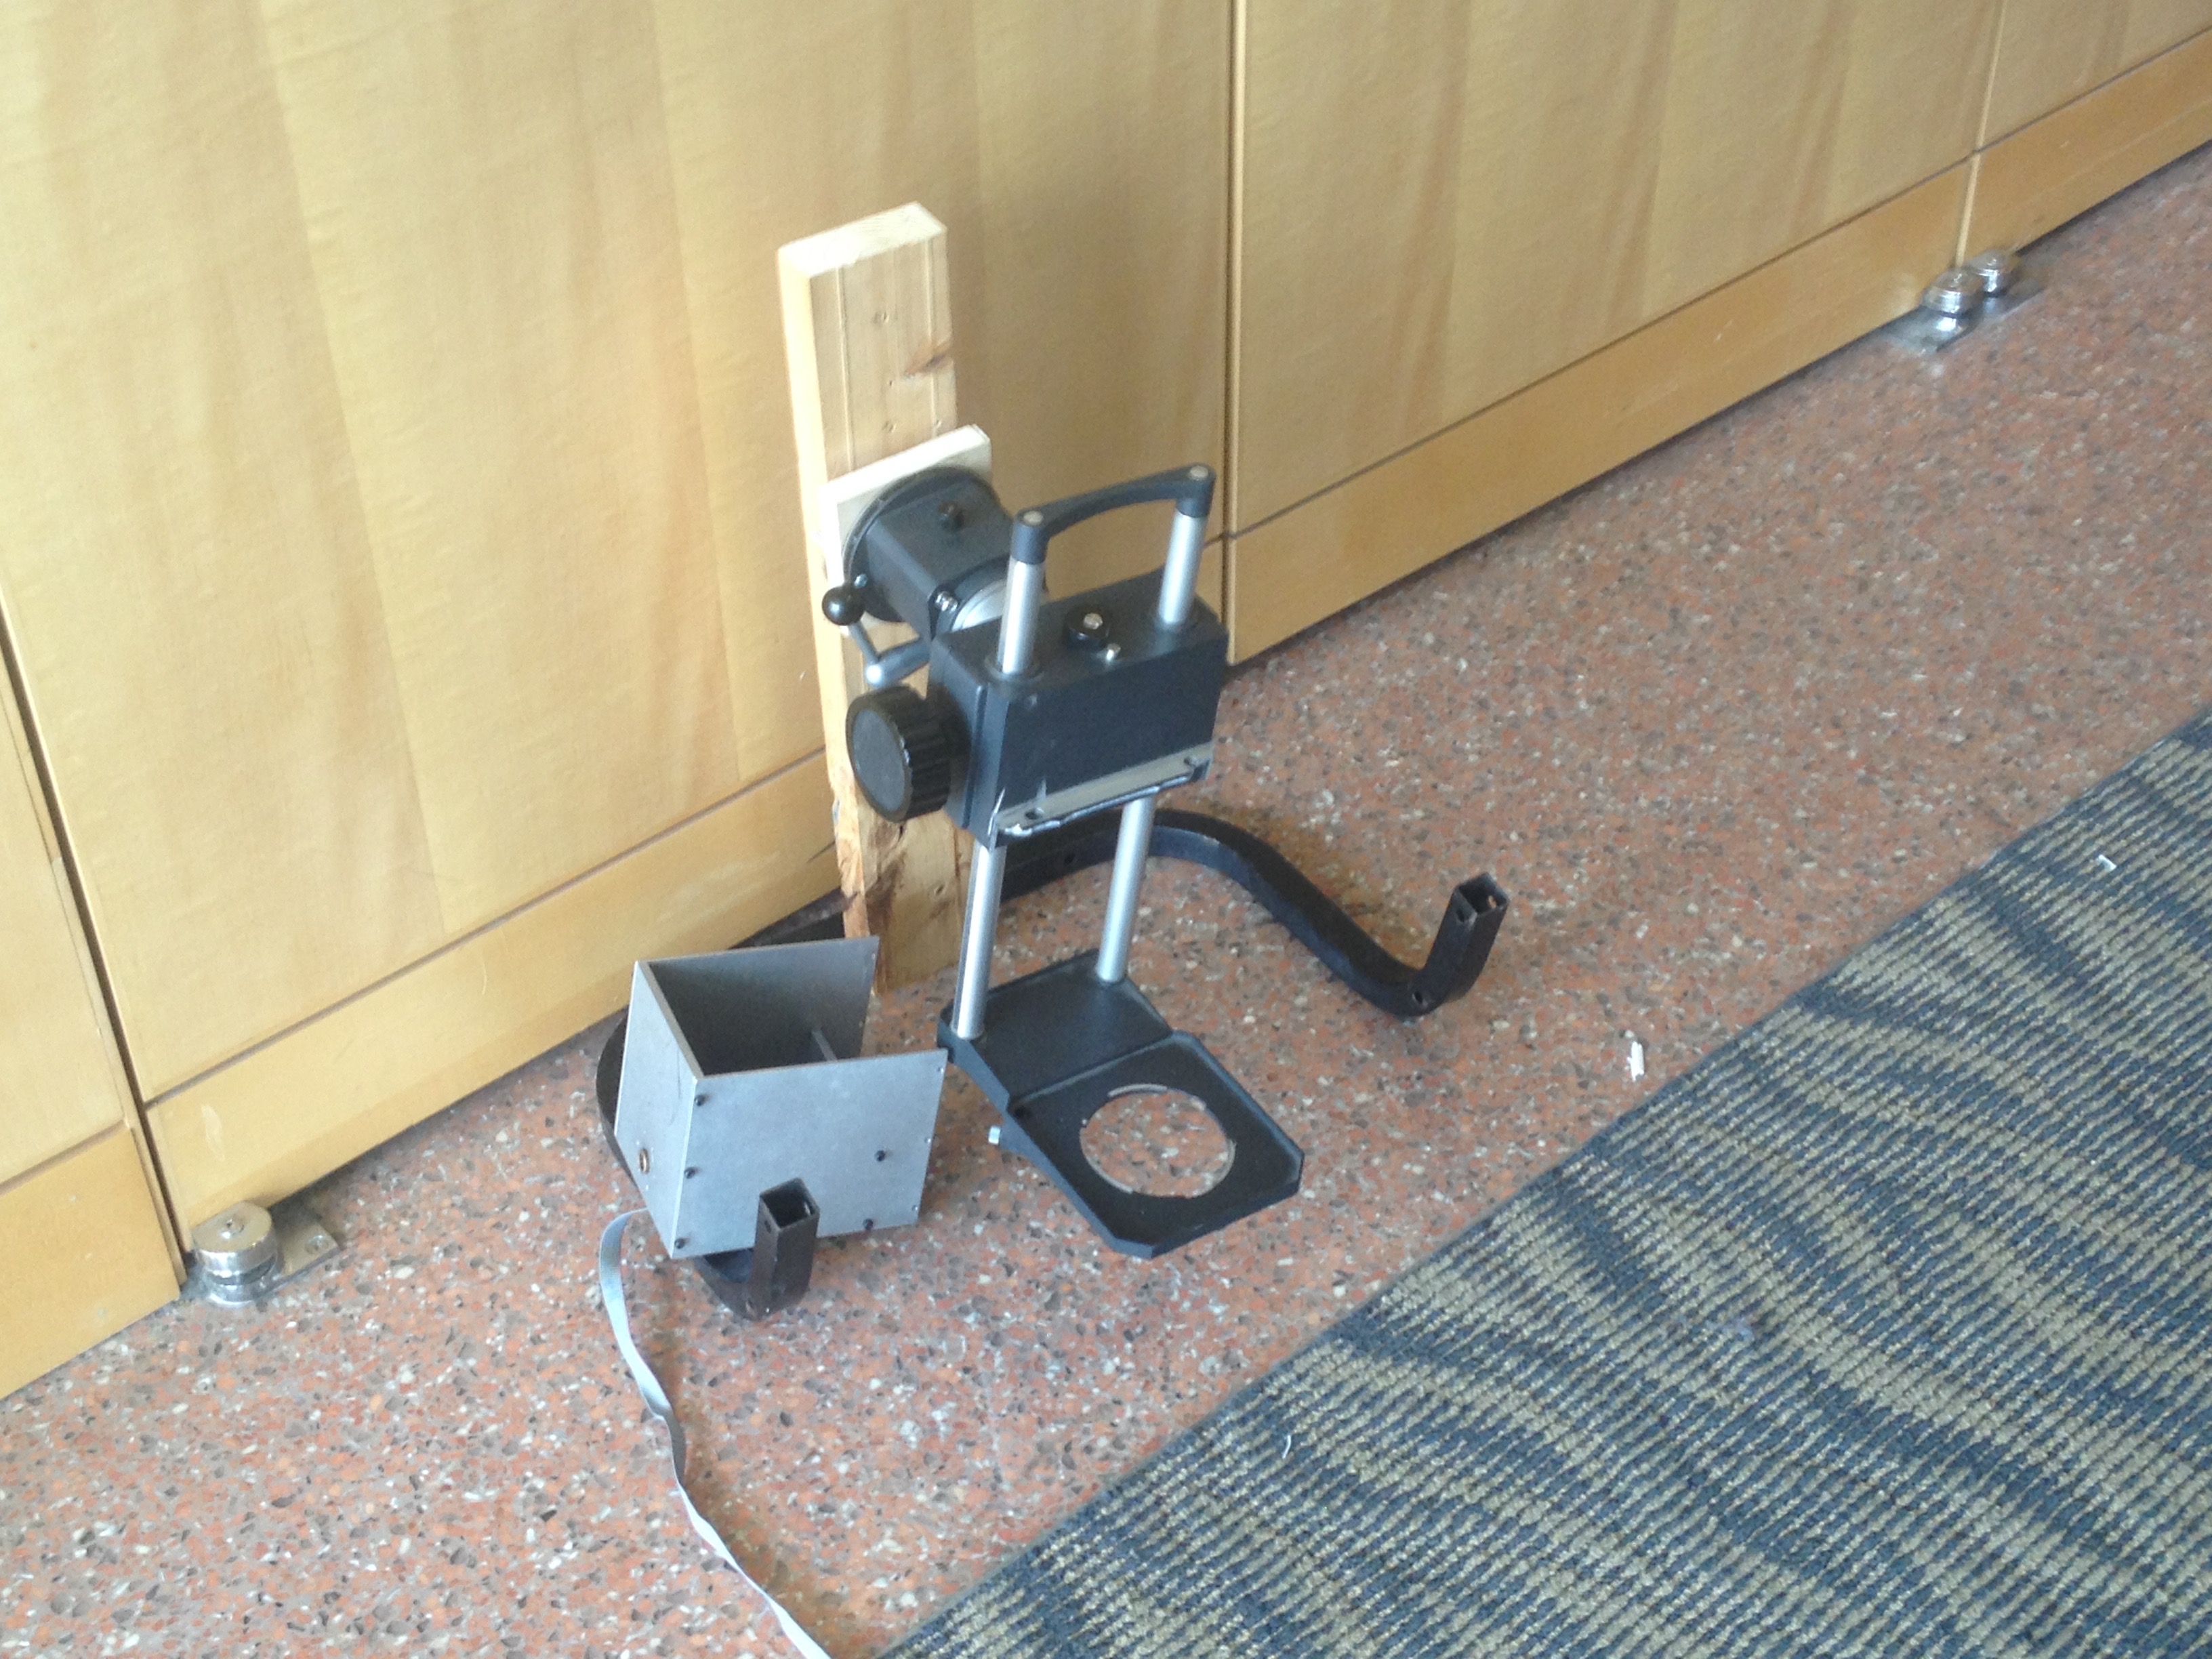
First prototype
-
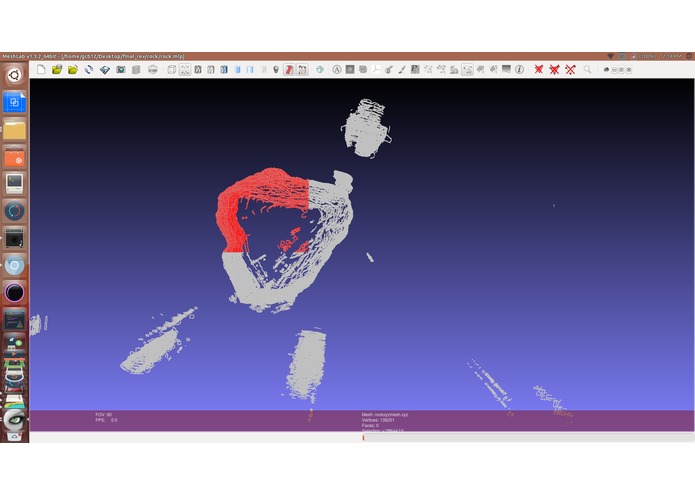
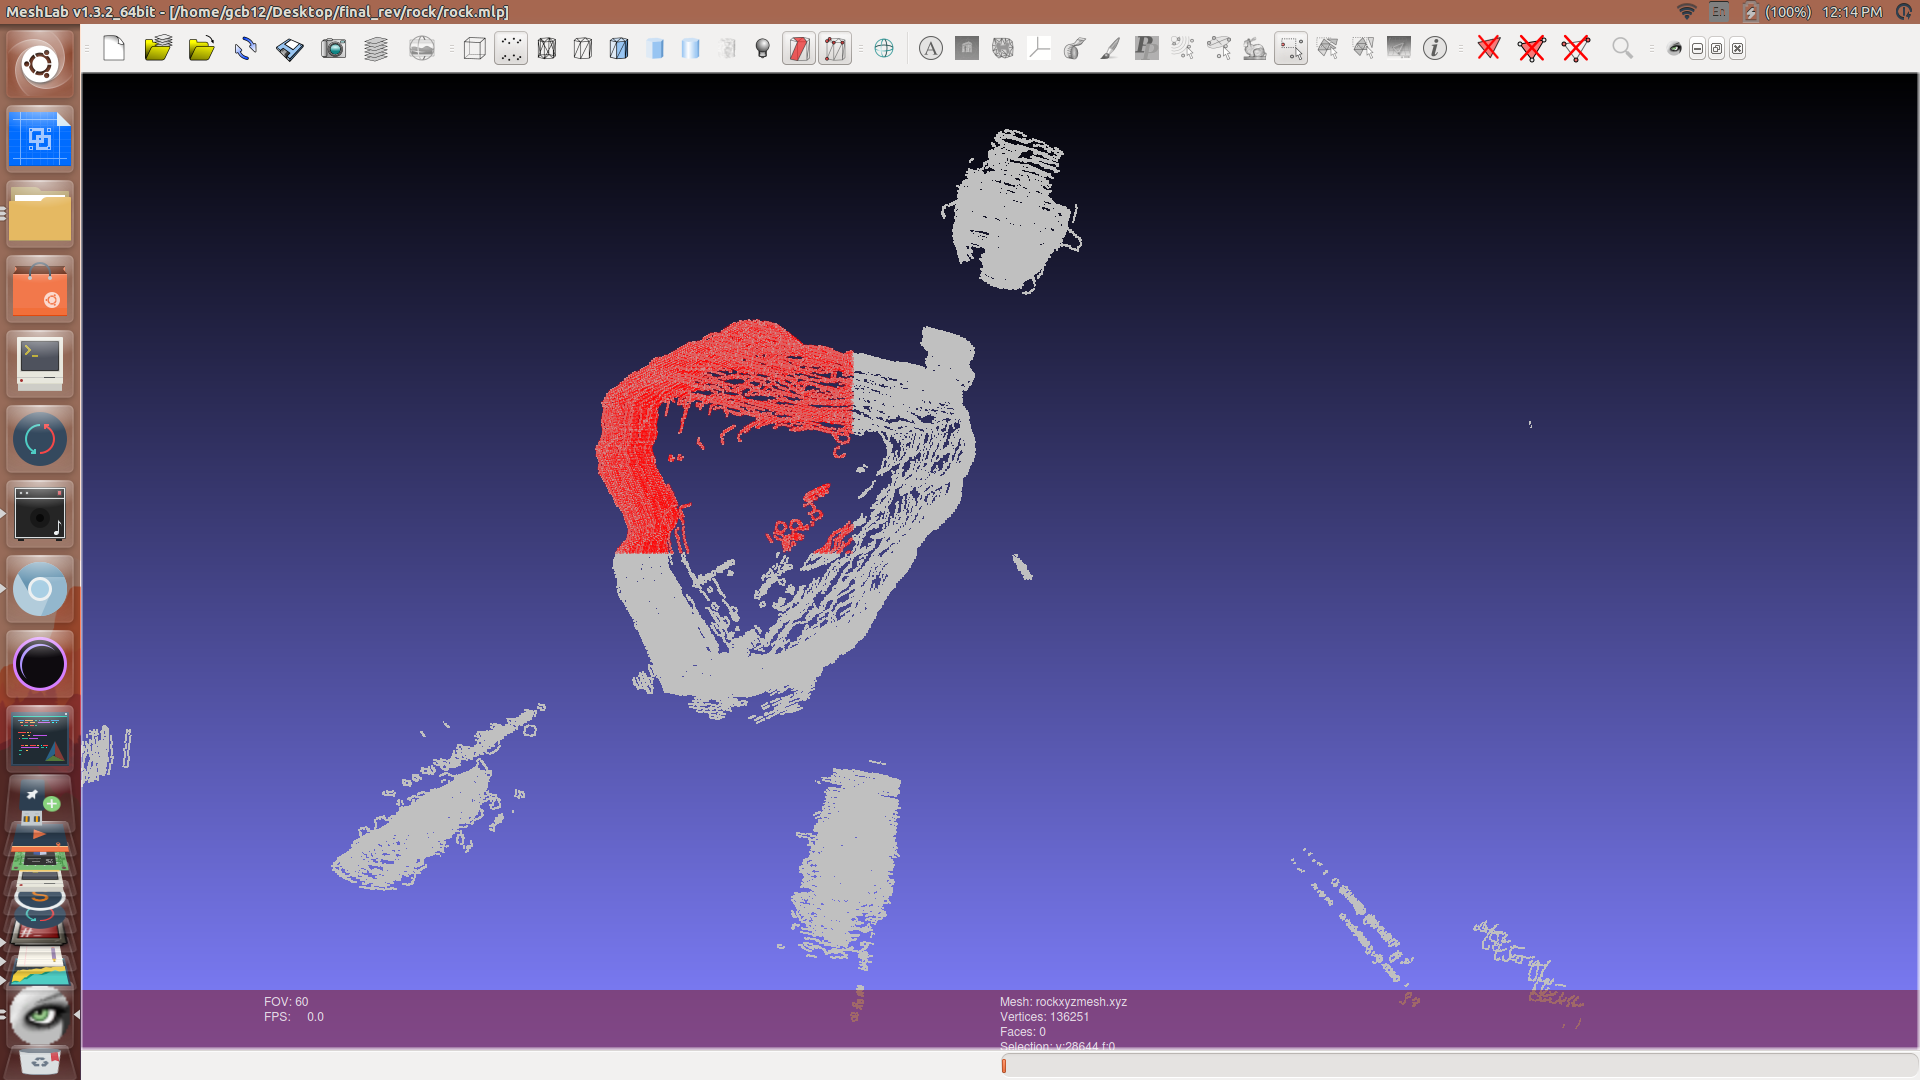
Crashing of the point cloud after waiting 8 minutes to select half of the rock model
-
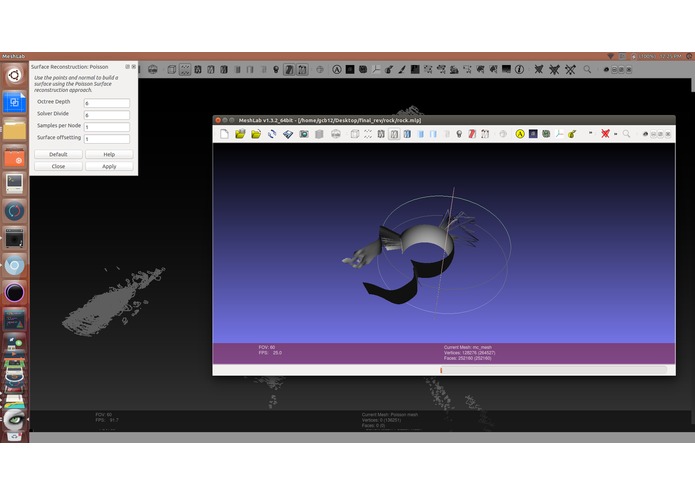
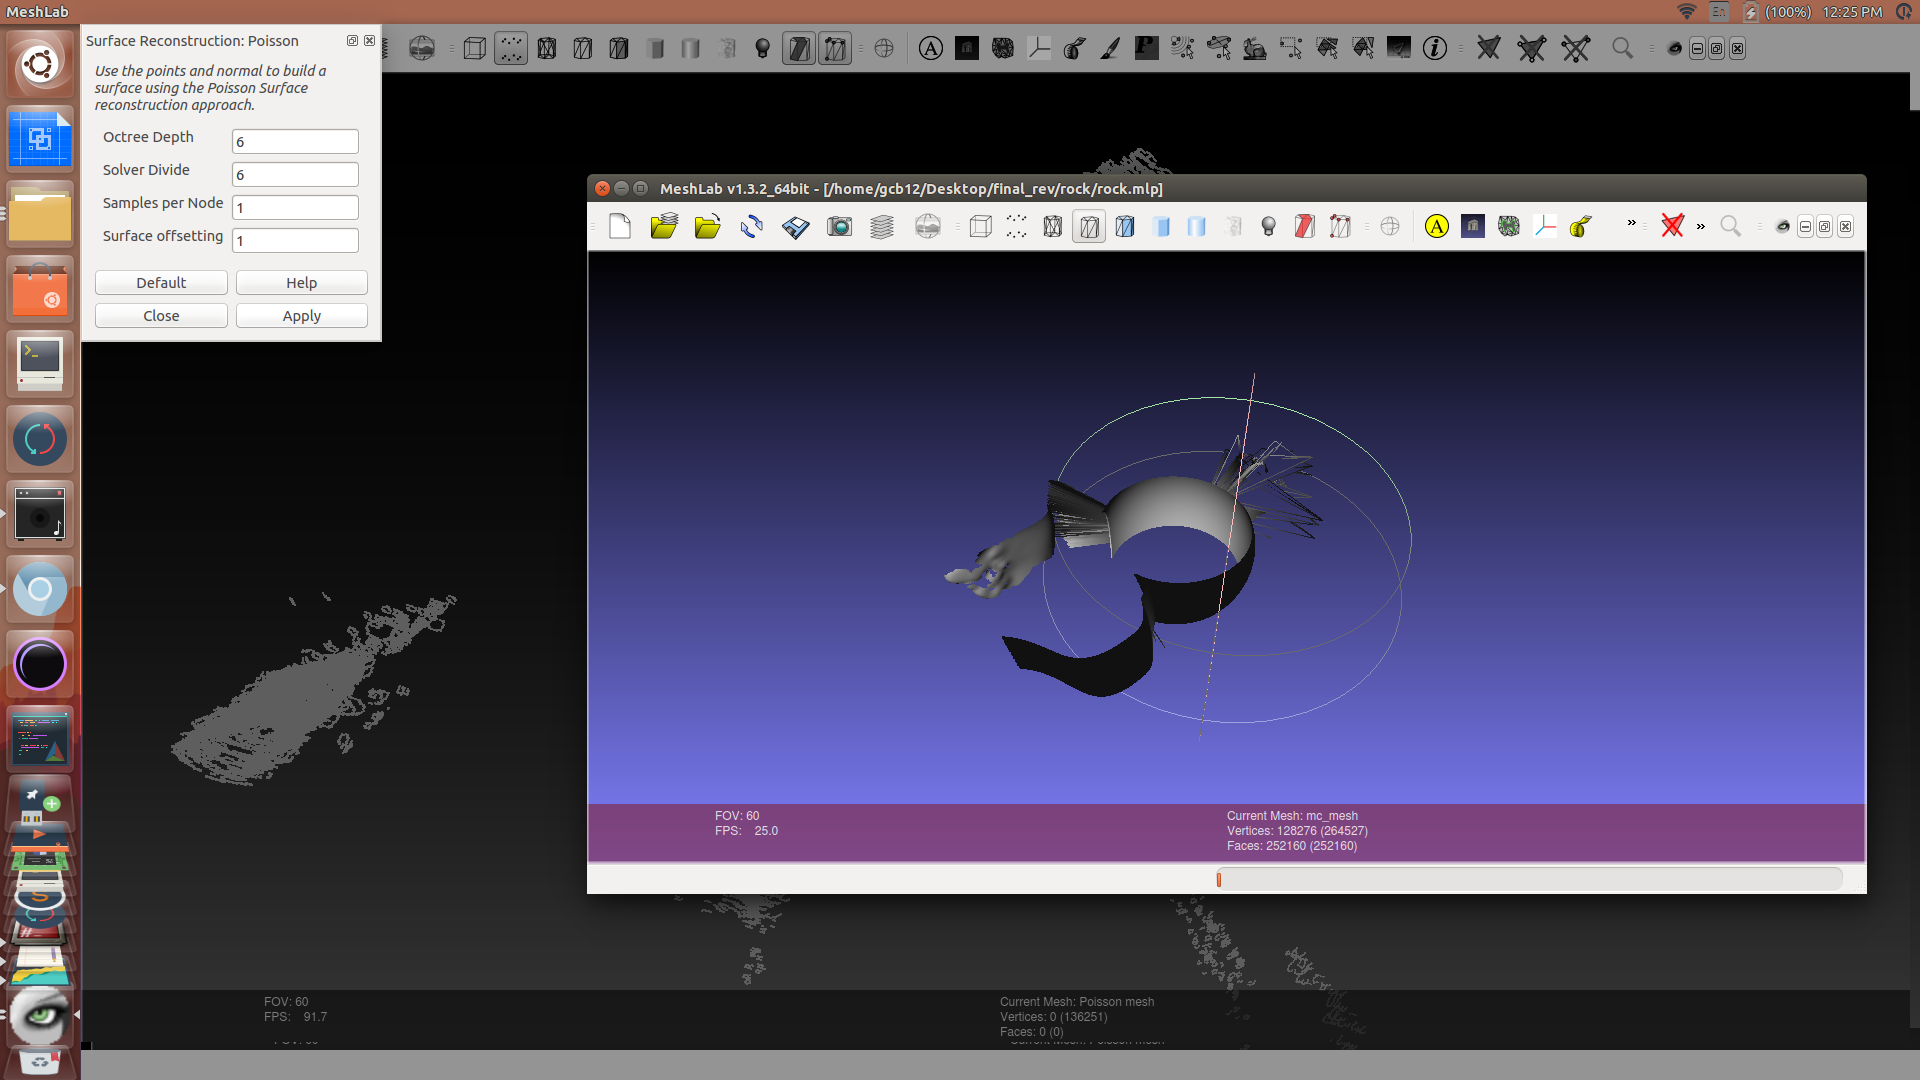
Our worst .stl by far
Inspiration
Sitting in an introductory first year engineering design class, we were assigned to create a digital model of a mug from a 3D rough scanned one. It was infuriating to have such an ambiguous model to recreate just from guessing at inaccurate dimensions. Therefore a solution was sought out to create high resolution scans with minimal complexity and cost. The solution found uses no motors to scan a side of an object in 3D. This is accomplished by just using any image taking time lapse device or app.
What it does
The device essentially drains a tub of liquid around a solid object of different color to produce multiple 2D traceable contours continuously until a series of "sliced" images are formed. An accompanying python script then takes the series of image slices, finds the edge boundary of the object to the fluid, extracts it into a 3D array and outputs the data into a standard point cloud file format.
How we built it
Our first design used a mechanical gearbox and linear actuator to control the relative fluid depth to make the depth based contours. Because we wanted to maintain simplicity, repeat-ability and low cost we switched our design. Our design is solely two tubs stacked on one another with a drain hole in the middle of them. This allows for the fluid to be drained from the top bucket to the bottom, without the use of motors. The only other part is a phone holder securely resting on top of the top bucket to take the time lapse. In the future, higher end DSLR time lapse cameras could be employed with better lighting
Challenges we ran into
Primarily we had trouble with tuning the image correctly for the poor lighting conditions, inherent noise and a poor camera. This lead to sub-optimal conditions to produce a good mesh object. A lot of artifacts appeared that were related to glare or shadows that we could not avoid at hack-PSU. Our camera used was a lousy camera from an Android phone as that was all we had which reduced the quality of the image slices. Our other major problem was post rendering of the 3D point cloud as we could not remove the clearly isolated artifacts as the open source program we were using to convert our 3D point cloud files to .stl 3D printable files, MeshLab, crashed too many times. I feel confident that if we found another solution to handle inherent artifacts, create proper lighting conditions and use a more stable program, we could have produced a much better mesh.
Accomplishments that we're proud of
We are proud of the simplicity and automation of the scanning process. Unique to our solution, we were able to model the flow rate out of the container and filter the photos taken to reduce distortion of the object stl based on the non-linear flow rate. Since the time-lapse app takes photos at constant time intervals, and the fluid level in the tub lowers at a square root function rate from a nonlinear pressure decrease with height, we included the ability to select photos at a decreasing rate according to this function.
What we learned
During this challenge, we learned how to use canny edge detection to find the contour of an image. We also learned how important dealing with small artifacts in an image recognition software is.
What's next for got mesh?
We would like to improve the design to accommodate external lighting to solve the glare issue. We would also like to have a way in the python script to deal with artifacts directly. Finally we would like to share our work with others so everyone may have access to 3D object scanning.


Log in or sign up for Devpost to join the conversation.