TEAM Gesture Authentication
Kyle Emanuele, Lawrence Elentukh, Ania Petruczynik
Inspiration
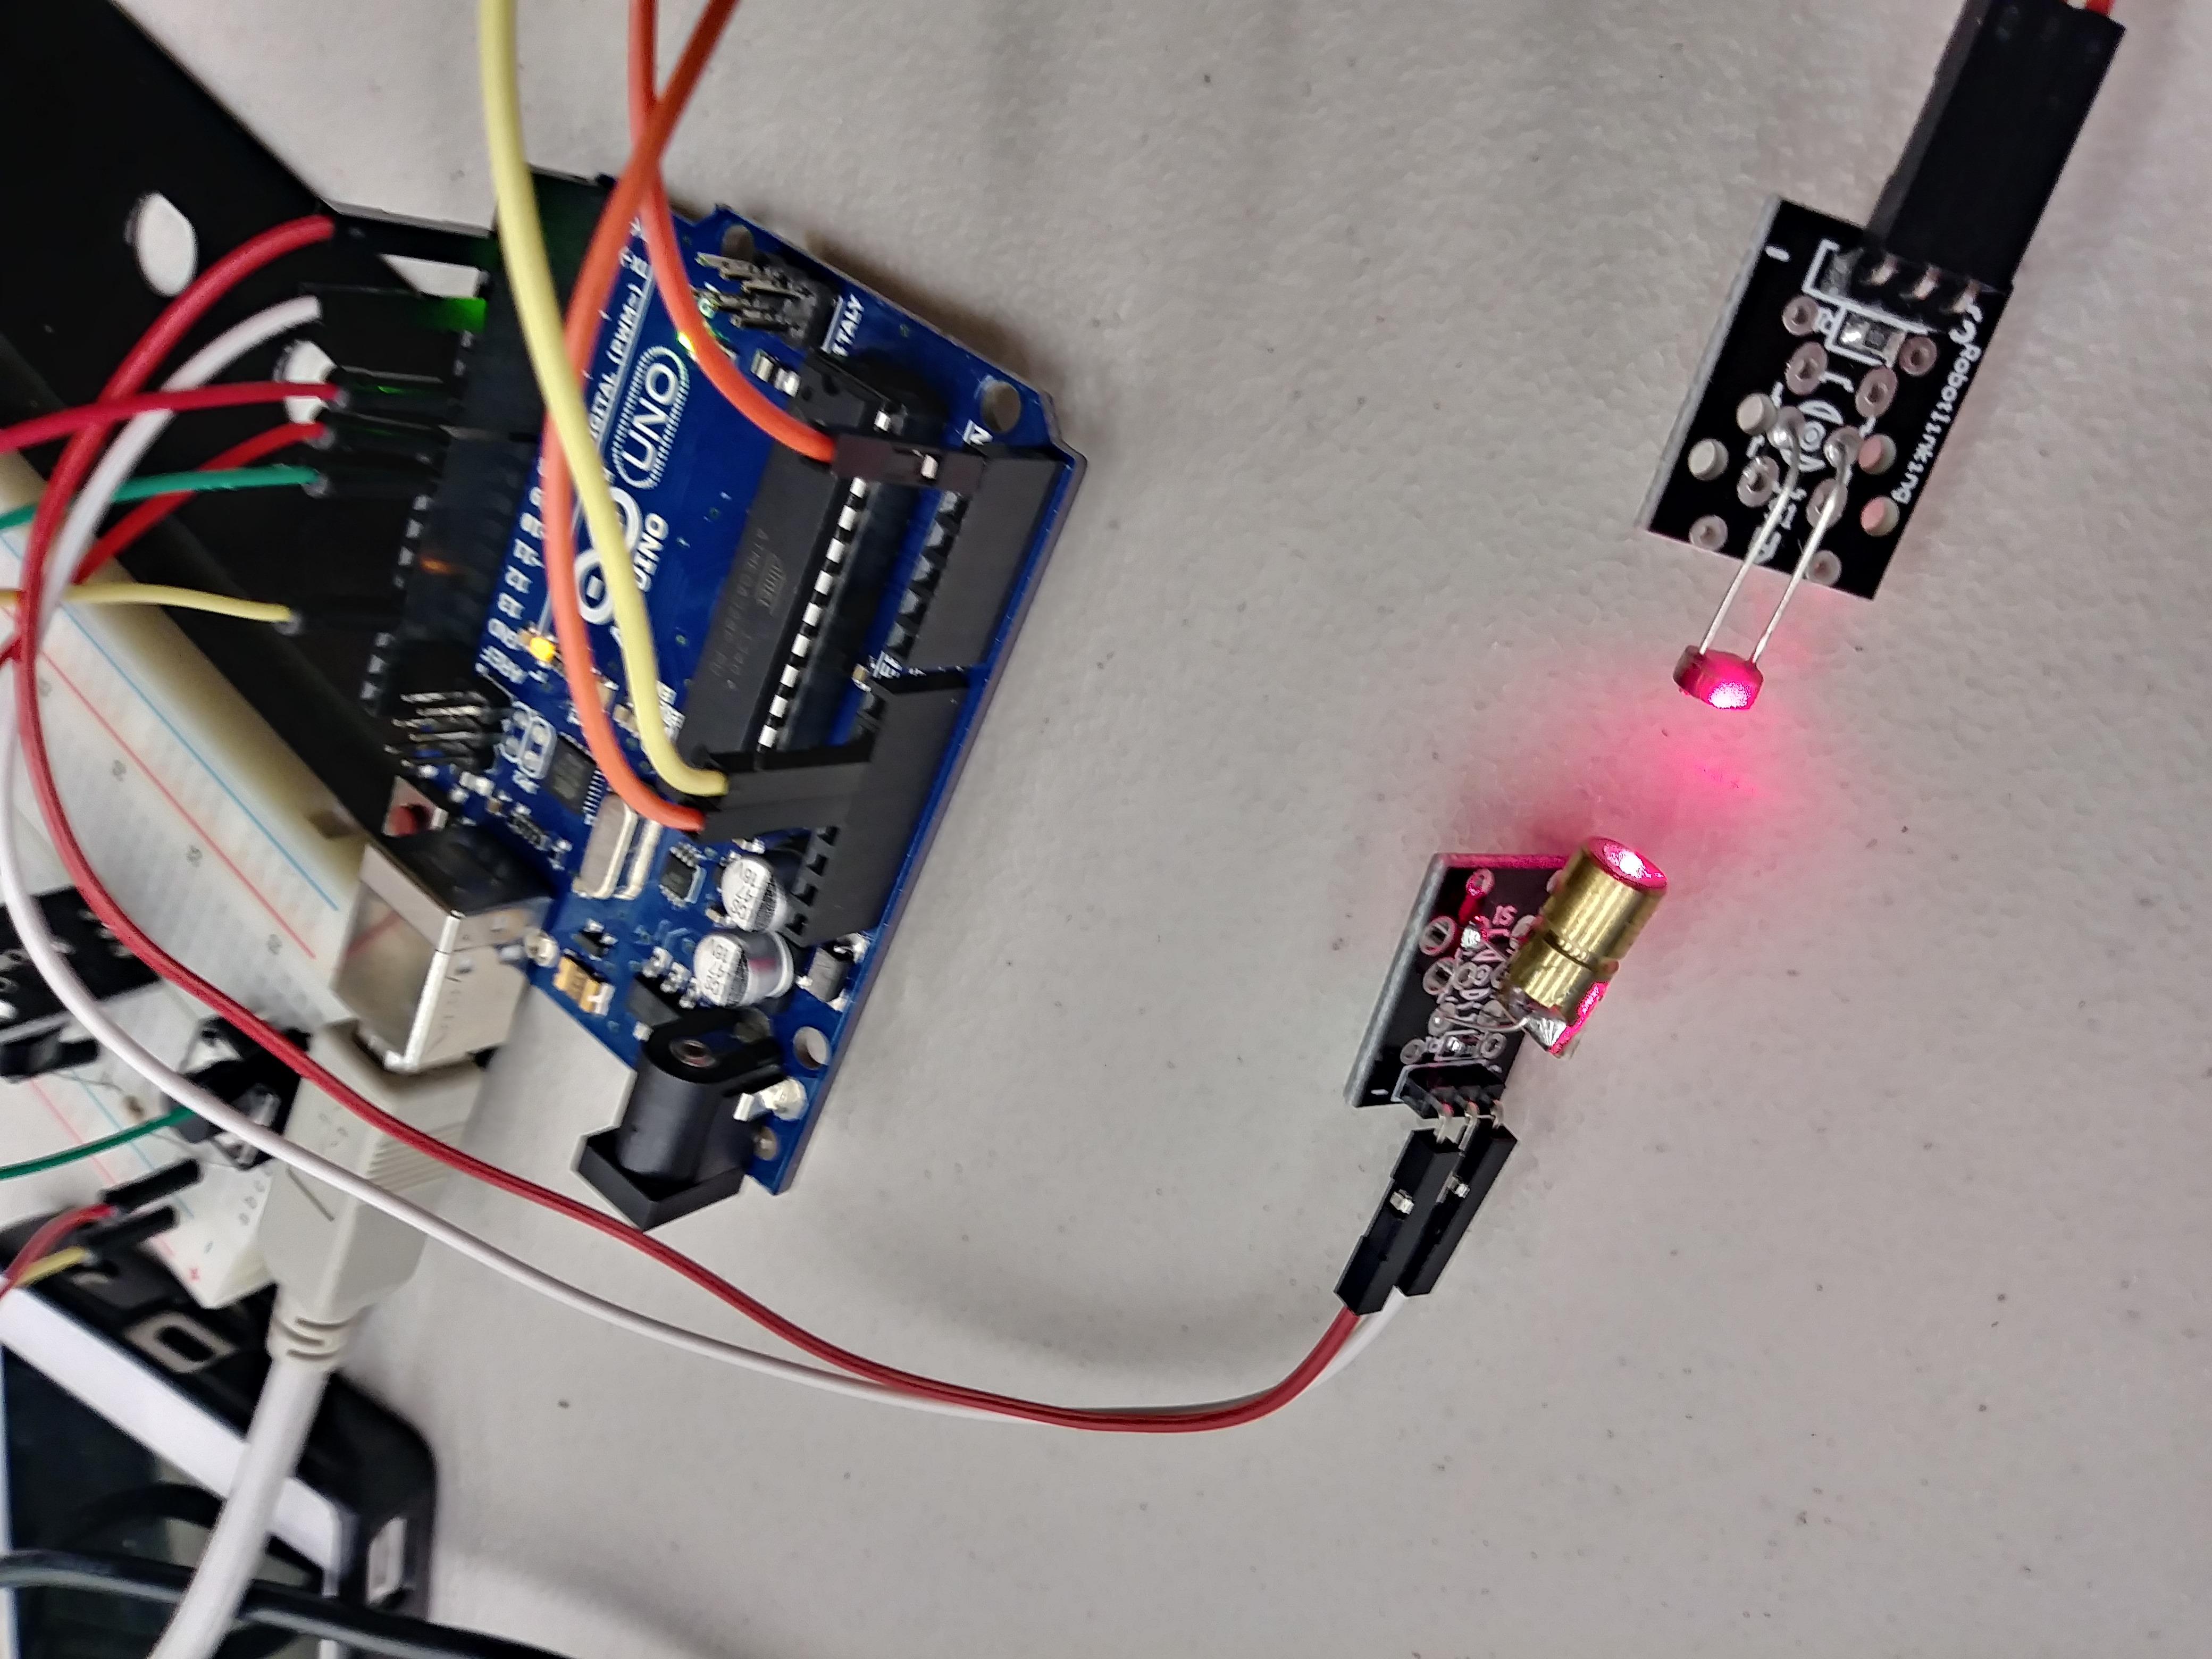
Home security systems are moving away from lock and key and into the digital realm employing technology that ranges from simple RFID to complex acoustic-resonance to unlock our doors. After seeing the Myo gesture band we decided to attempt a gesture based authentication system using a laser and photodiode as our "security system."
How we built it
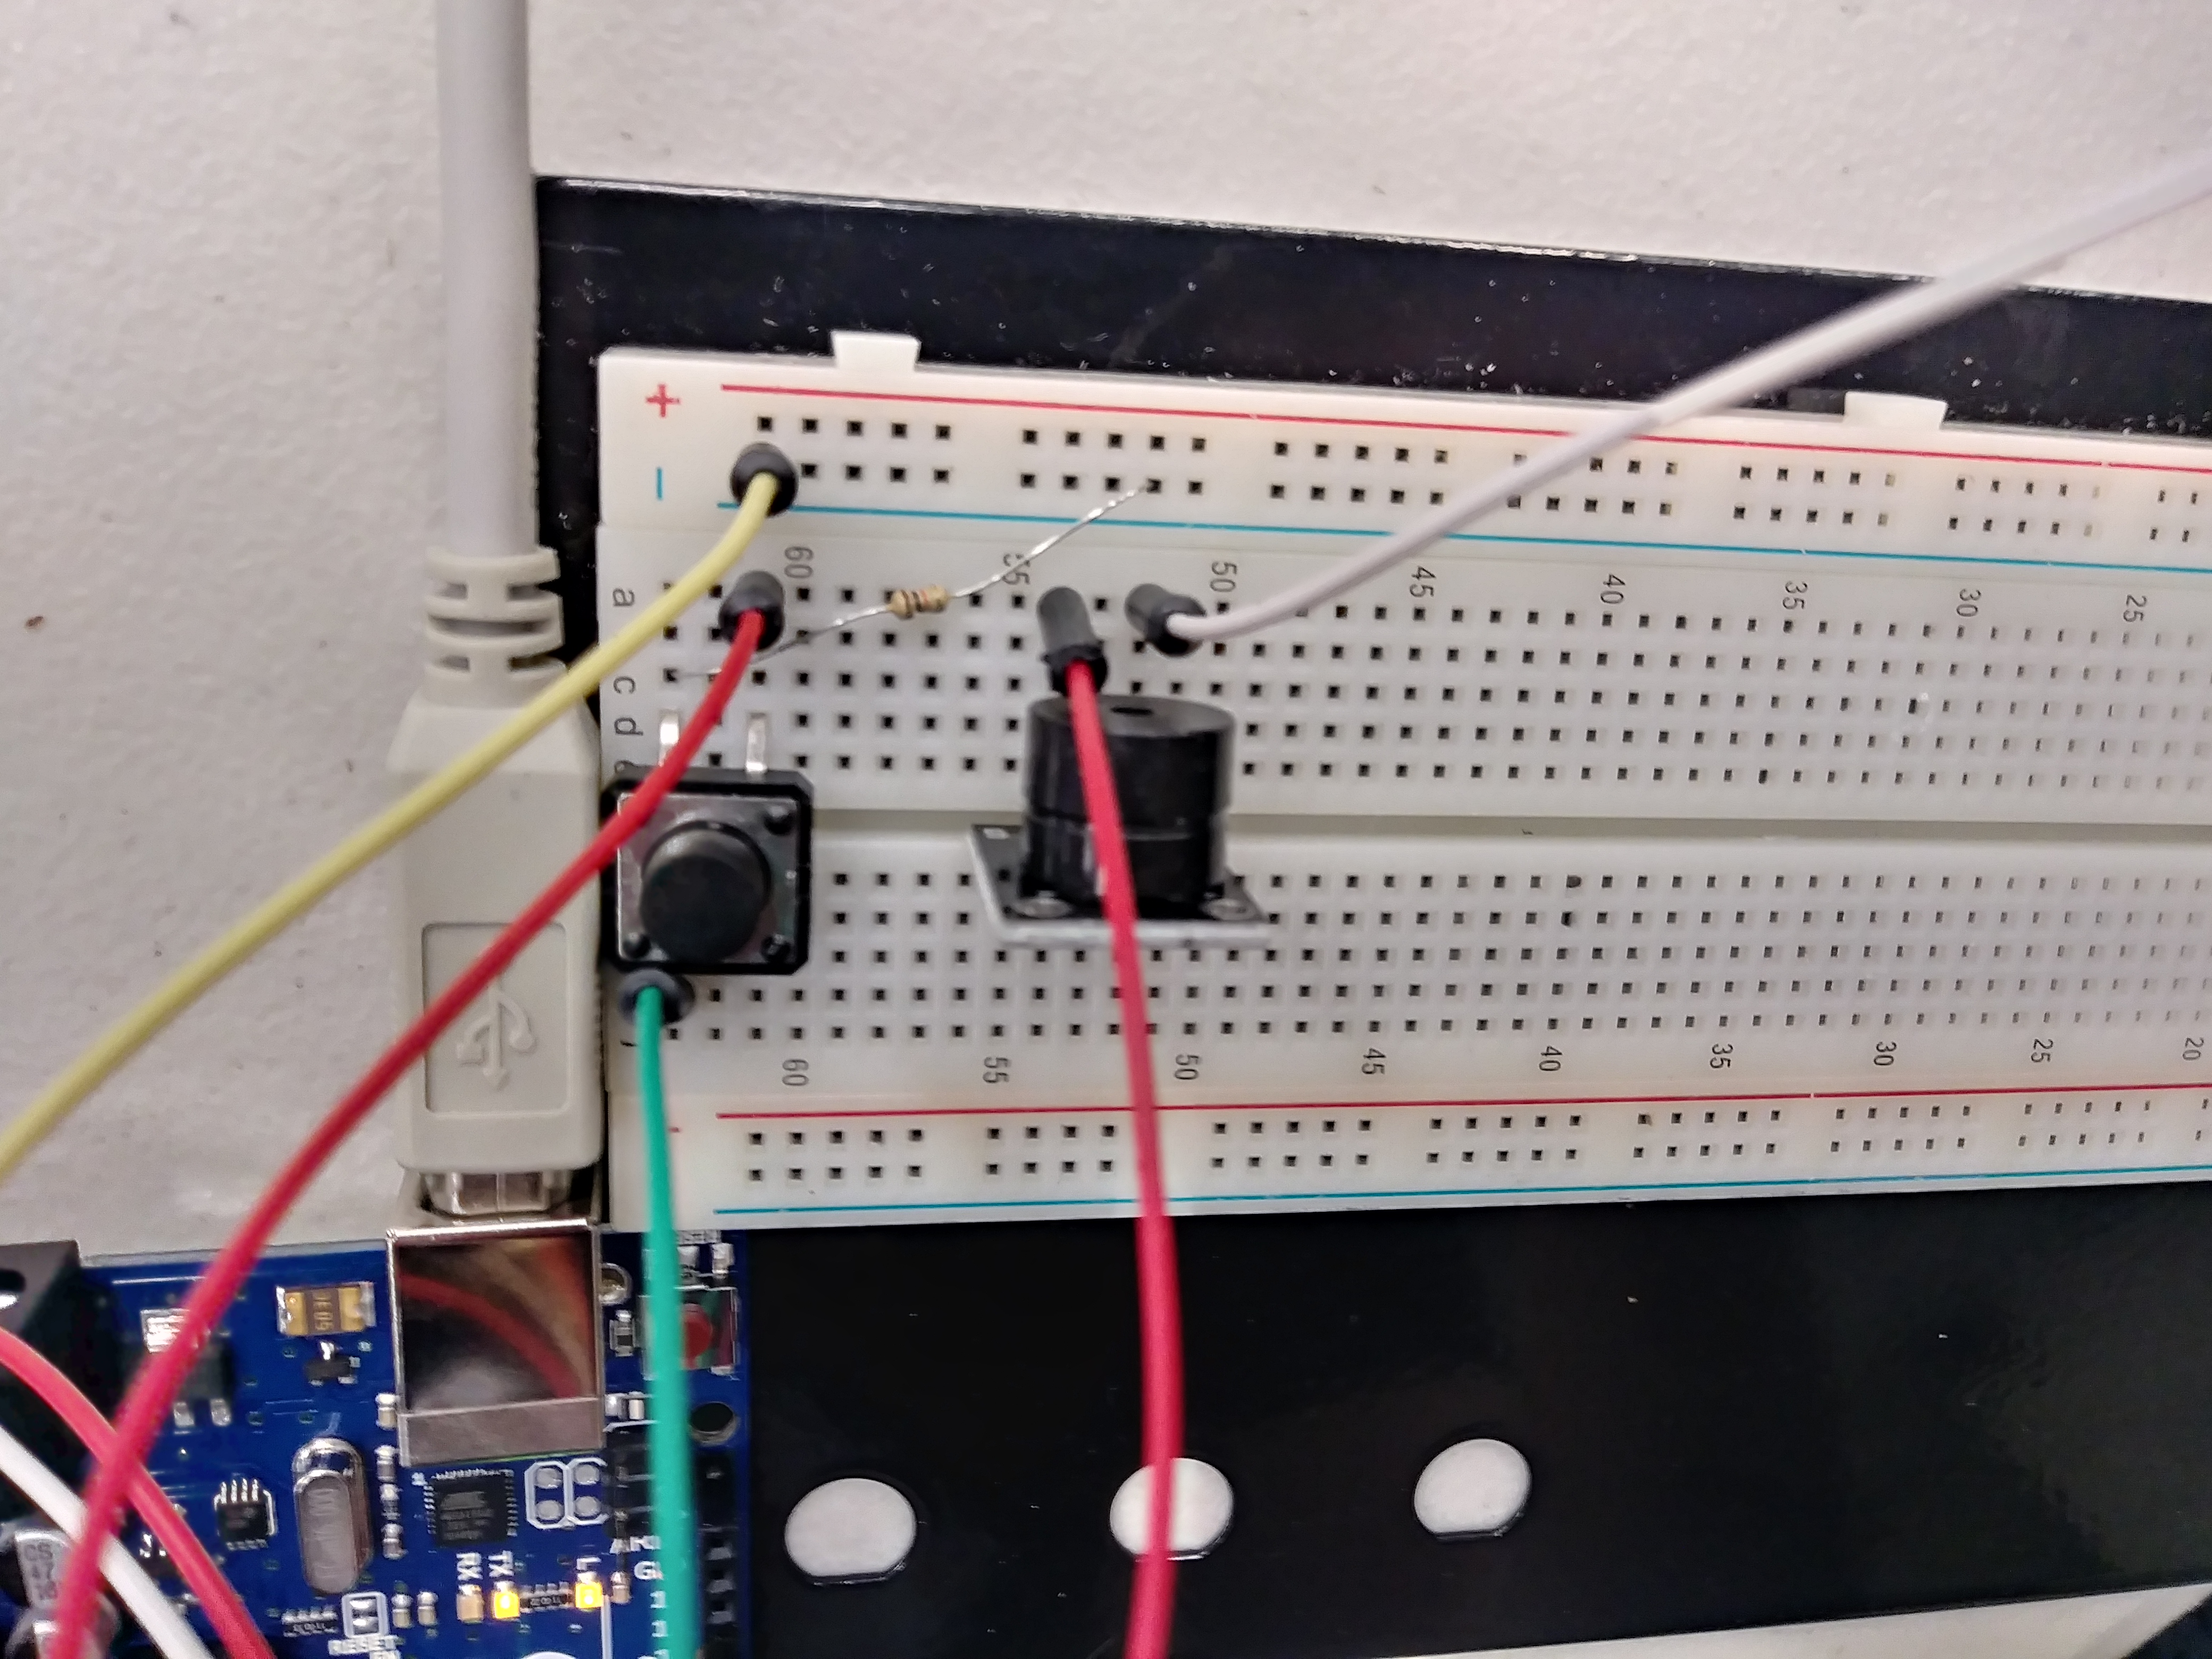
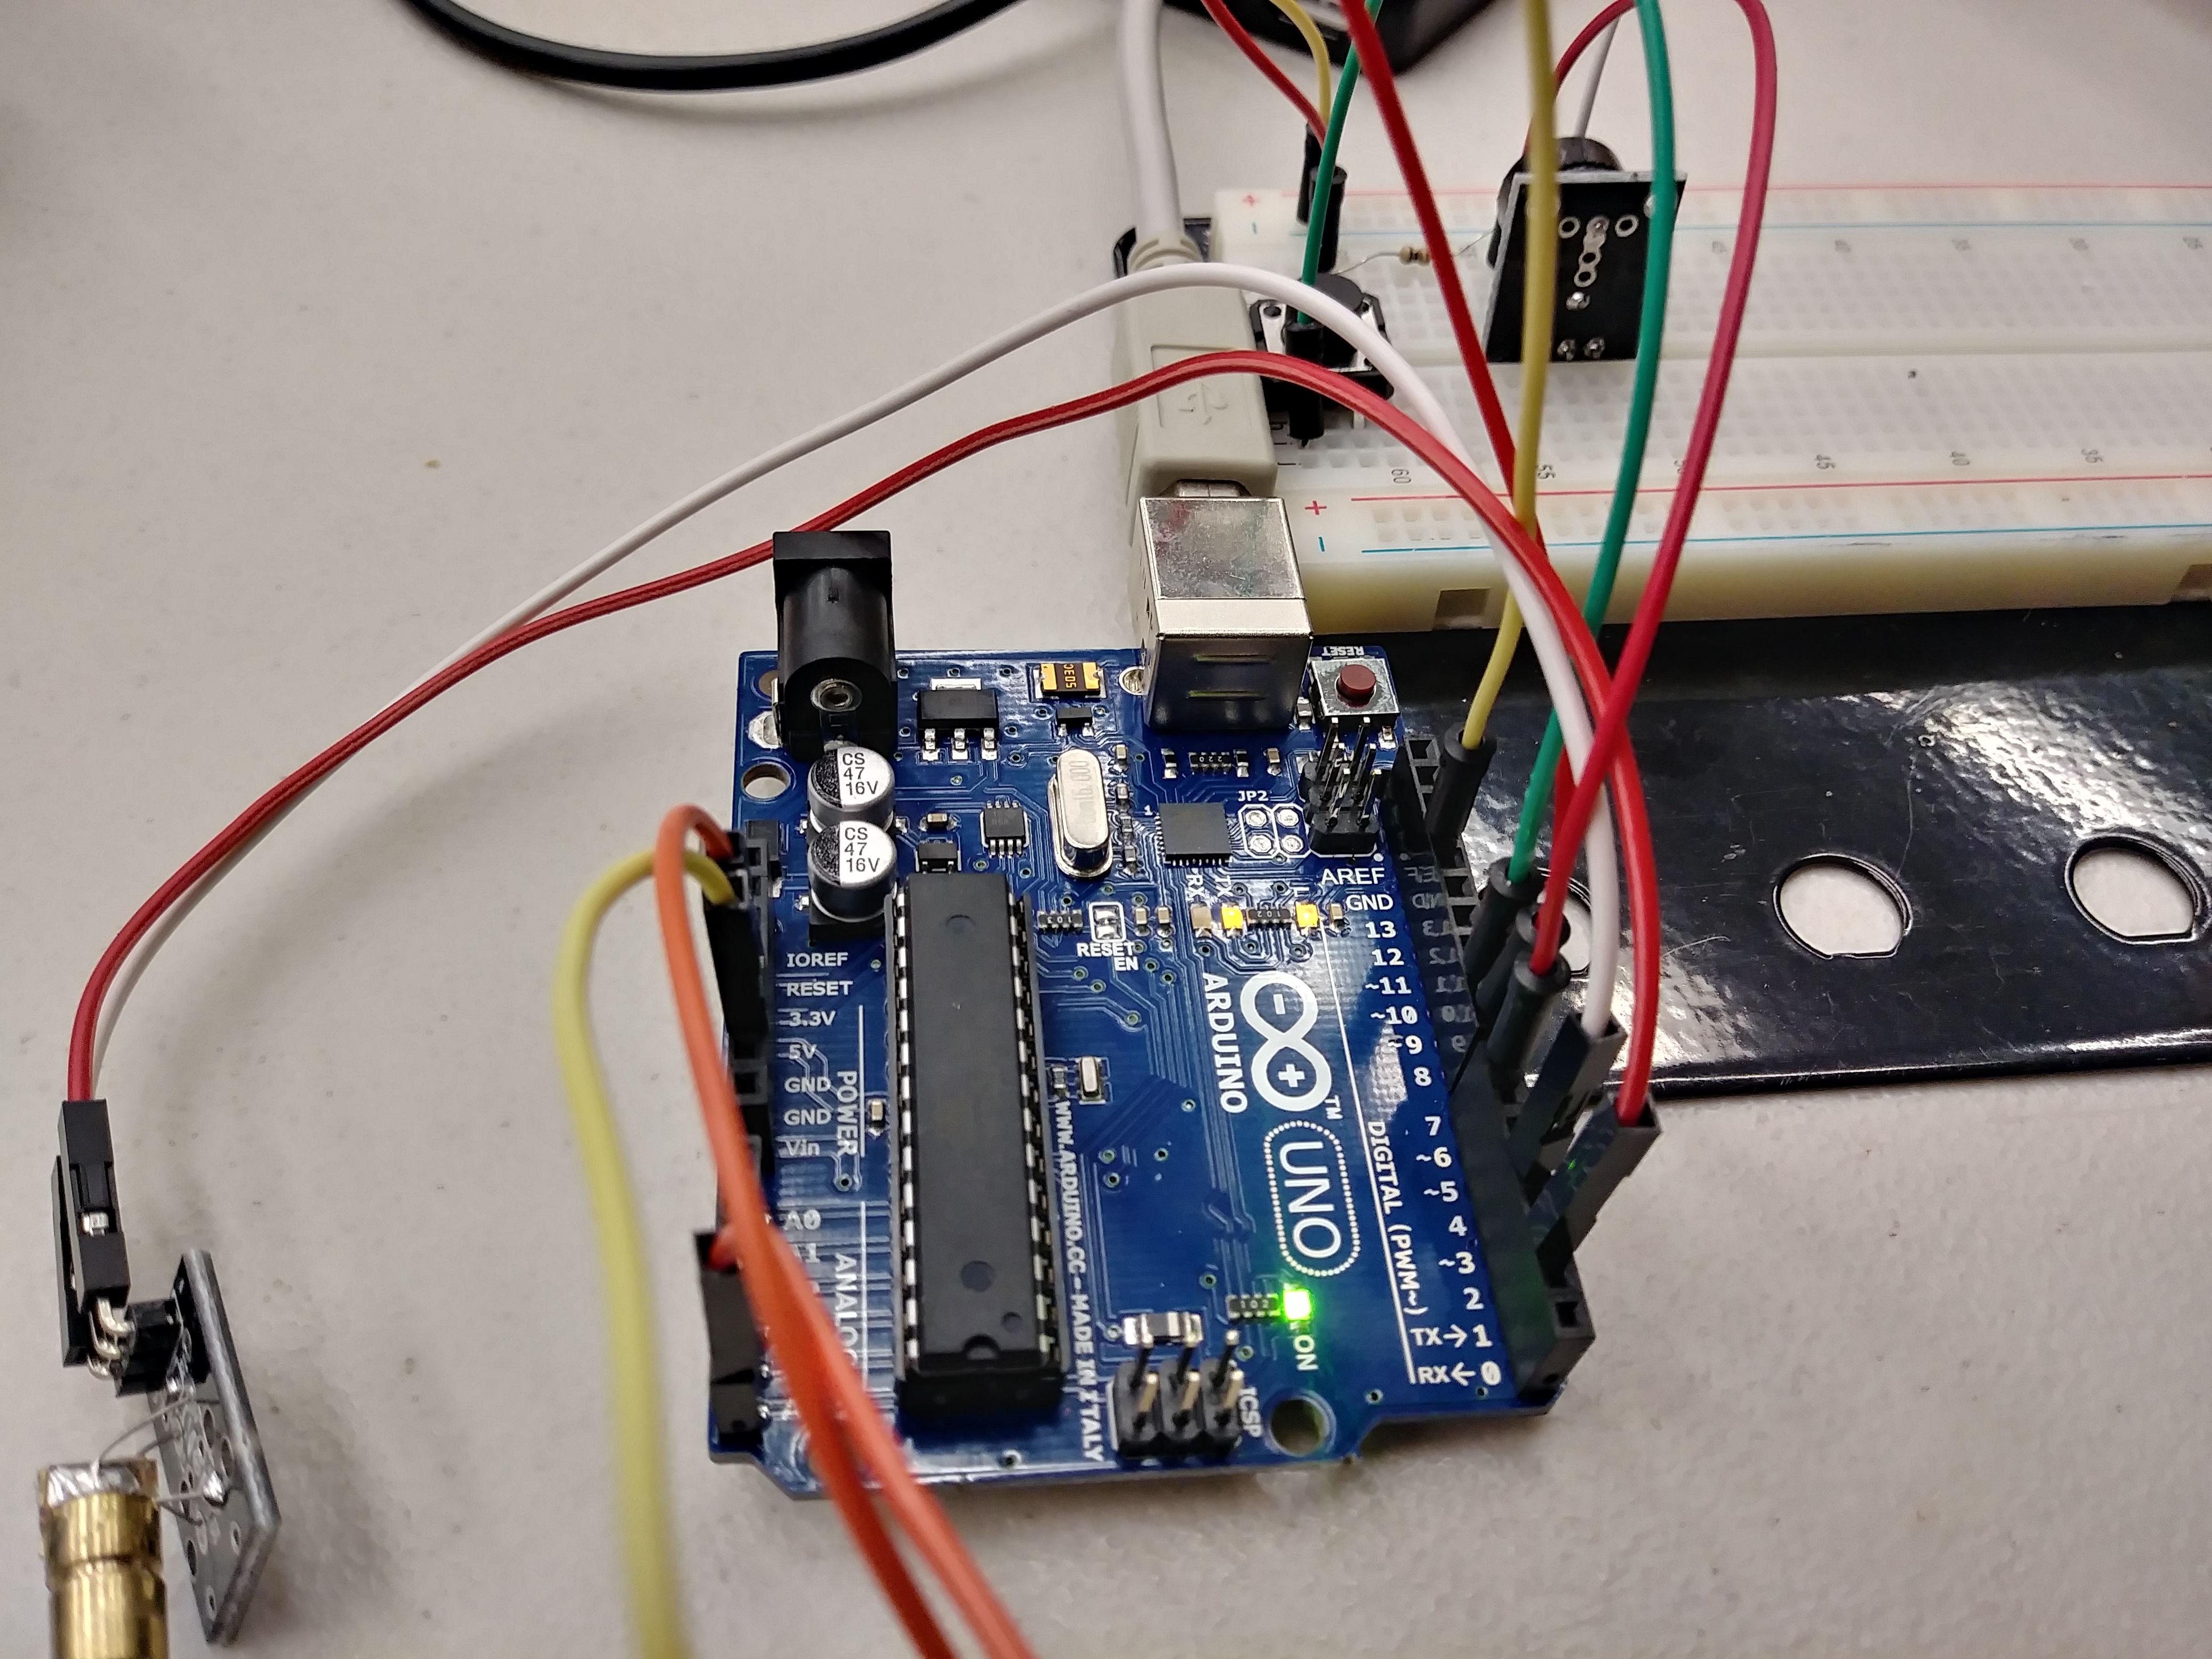
We used an arduino to power a laser and photodiode as well as a buzzer for when someone "breaks in." We used out alternate authentication system (tm) to authenticate the user from the laptop and if the authentication is not received the buzzer will go off.
Challenges we ran into
The Myo system did not work at all for us, especially since it had no SDK for Linux. Additionally, we figured we could use a phone gyro for gestures but there were no bluetooth modules. We instead used a touchpad drawing program and a shape identifying program to create a frankenstein authentication system.
Accomplishments that we're proud of
Not having any errors when compiling.
What we learned
A little but of OpenCV.
What's next for Gesture Authentication
Actually being able to use gestures instead of having to resort to what we did.
CODE
ARDUINO: int threshold = 100; int laserPin = 2; int laserGround = 4; int sensorPin = 5; int switchOut = 8; int switchIn = 9; int alarmPin = 7; int p_value; int timer = 1000 * 10; int state = 0; // 0 = setup; 1 = locked; 2 = breached; 3 = deactivated; 4 = alarm; void setup() { // Console Debug Serial.begin(9600); // Setup Laser pinMode(laserPin, OUTPUT); //define 2 pin as output pinMode(laserGround, OUTPUT); pinMode(switchOut, OUTPUT); pinMode(alarmPin, OUTPUT); pinMode(switchIn, INPUT); state = 1; // Debug Serial.print("state: "); Serial.println(state); }
bool checkForGesture() { digitalWrite(switchOut, HIGH); if ( Serial.read() != '1') { digitalWrite(laserPin, LOW); return 0; } digitalWrite(switchOut, LOW); return 1; } void loop() { //Turn on Laser digitalWrite(laserPin, HIGH); // open laser digitalWrite(laserGround, LOW); p_value = analogRead(sensorPin);
// Debug Serial.print("state: "); Serial.println(state); if ( state == 1 ) { if (p_value < threshold) { state = 1; } else if (p_value >= threshold) { state = 2; //alarm breached } } else if ( state == 2) { digitalWrite(laserPin, LOW); //turn off laser int counter = 0; while ( counter < timer && state == 2) { delay(9); if ( checkForGesture() == 1 ) { state = 3; break; } counter += 10; } if (state != 3) { state = 4; } } else if (state == 3) { digitalWrite(switchOut, HIGH); while ( digitalRead(switchIn) != 1) { digitalWrite(laserPin, LOW); } state = 1; digitalWrite(switchOut, LOW); } else { while ( checkForGesture() == 0) { digitalWrite(alarmPin, HIGH); delay(2); digitalWrite(alarmPin, LOW); } state = 1; } }
PYTHON:
import the necessary packages

import serial
import numpy as np
import argparse
import cv2

port='/dev/ttyACM0'
s=serial.Serial(port,9600,timeout=5)

construct the argument parser and parse the arguments

ap = argparse.ArgumentParser()
ap.add_argument("-i", "--image", required = True, help = "Path to the image")
args = vars(ap.parse_args())

load the image, clone it for output, and then convert it to grayscale

image = cv2.imread(args["image"])
output = image.copy()
gray = cv2.cvtColor(image, cv2.COLOR_BGR2GRAY)

detect circles in the image

circles = cv2.HoughCircles(gray, cv2.HOUGH_GRADIENT, 1.2, 50)

ensure at least some circles were found

if circles is not None:
    # convert the (x, y) coordinates and radius of the circles to integers
    circles = np.round(circles[0, :]).astype("int")
# loop over the (x, y) coordinates and radius of the circles
for (x, y, r) in circles:
    # draw the circle in the output image, then draw a rectangle
    # corresponding to the center of the circle
    cv2.circle(output, (x, y), r, (0, 255, 0), 4)
    cv2.rectangle(output, (x - 5, y - 5), (x + 5, y + 5), (0, 128, 255), -1)

# show the output image
cv2.imshow("output", np.hstack([image, output]))
print circles
s.write('1')
cv2.waitKey(0)
else:
        cv2.imshow("output", np.hstack([image, output]))
        s.write('0')
        cv2.waitKey(0)

Log in or sign up for Devpost to join the conversation.