
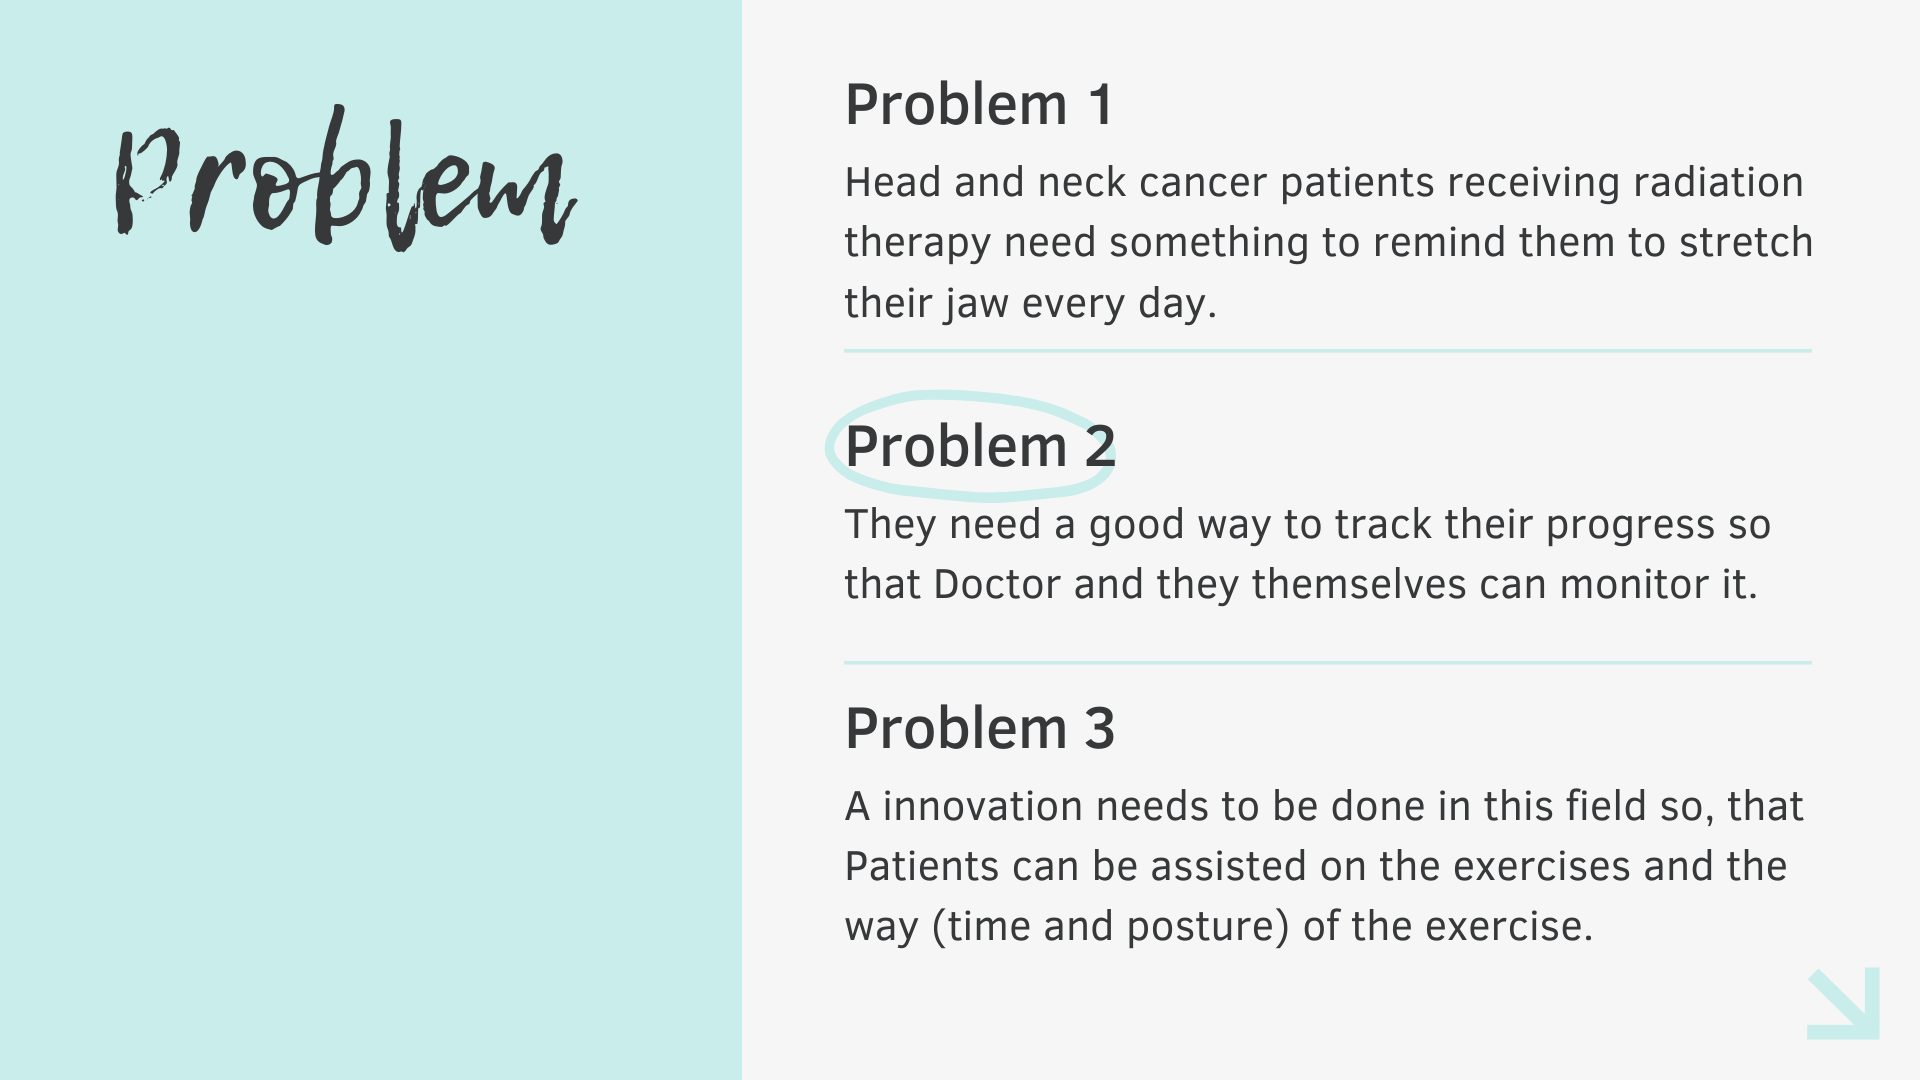


Problem Addressed
Head and neck cancer patients receiving radiation therapy need something to remind them to stretch their jaw every day. Additionally they need a good way to track their progress. Otolaryngologists and speech-language therapists have ways to measure progress in the clinic, but patients need a way to exercise their jaw muscles and track their progress from home on a daily basis.
Overview
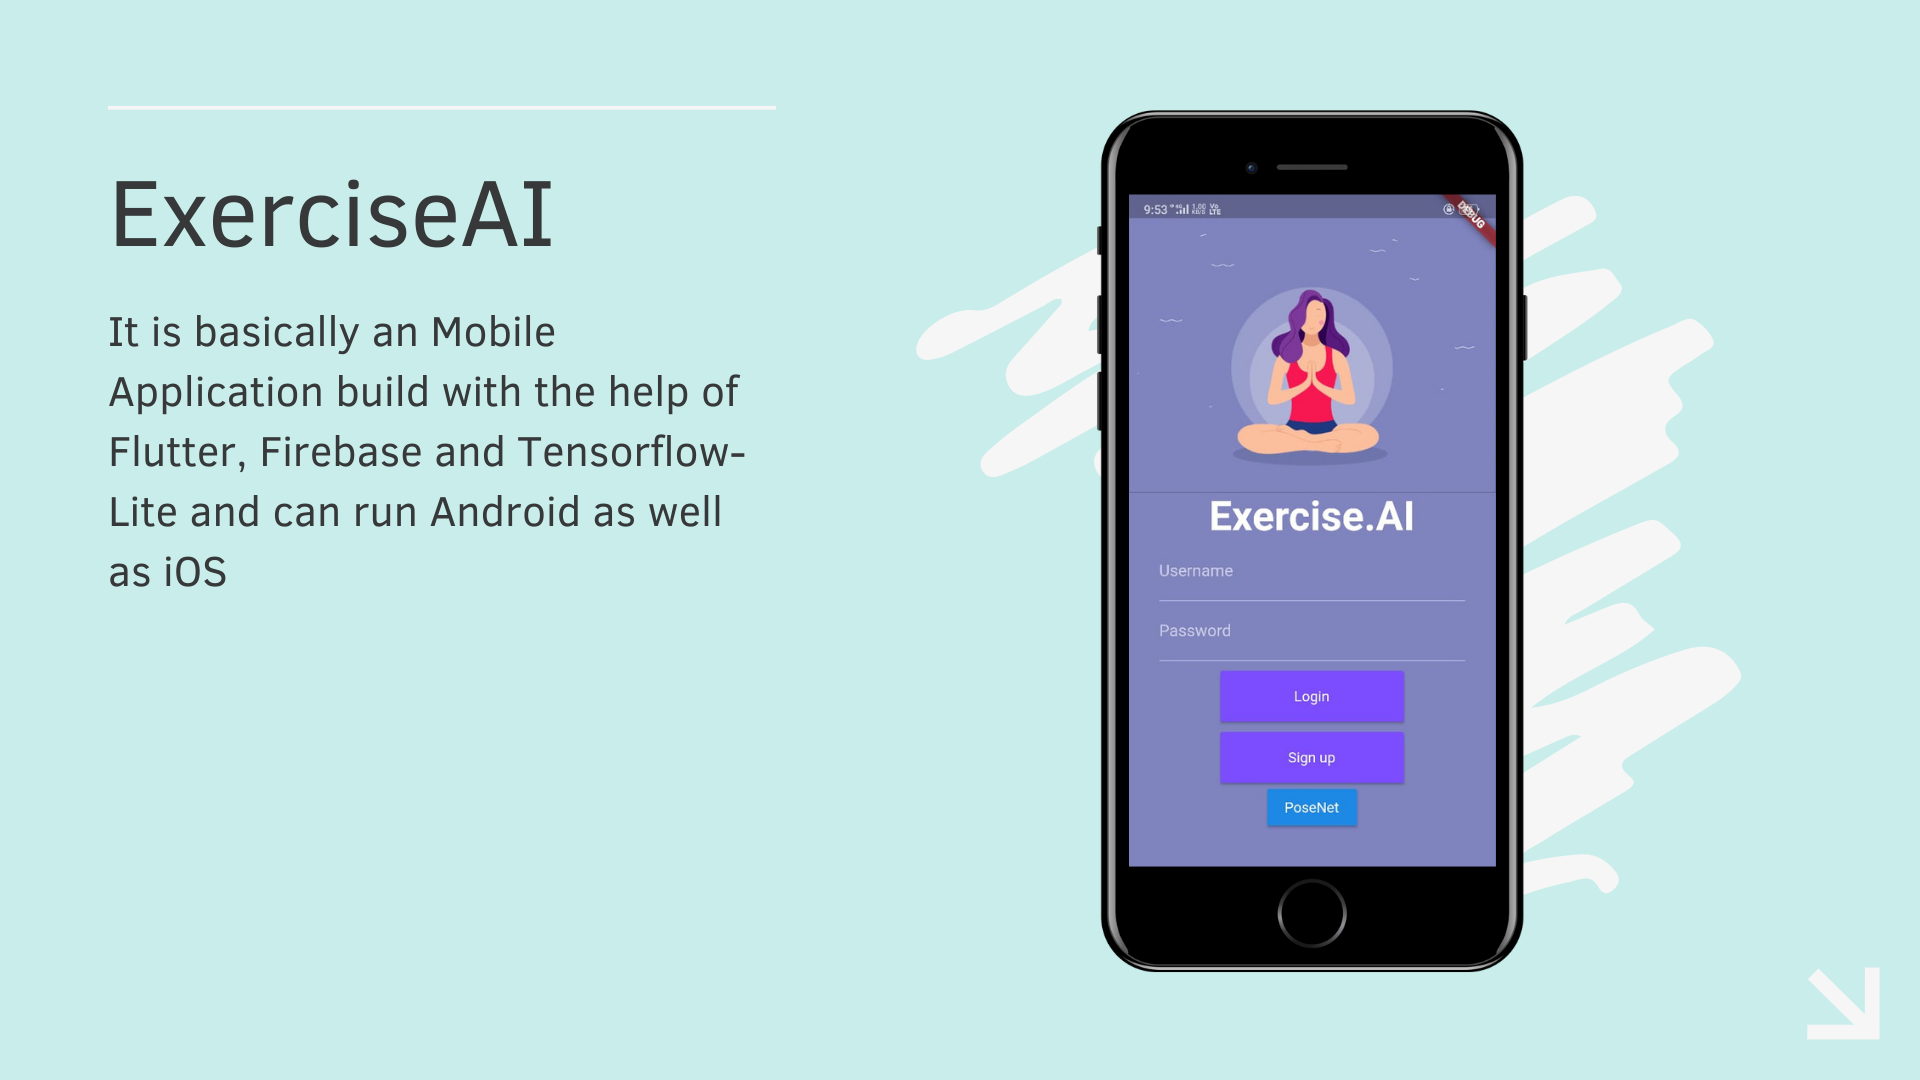
Hello World, This is Amit Patel and I and Ajay Kumar has Build an App which can help Patients with Head and Neck Cancer, do the required exercises as prescribed by the Doctor so,
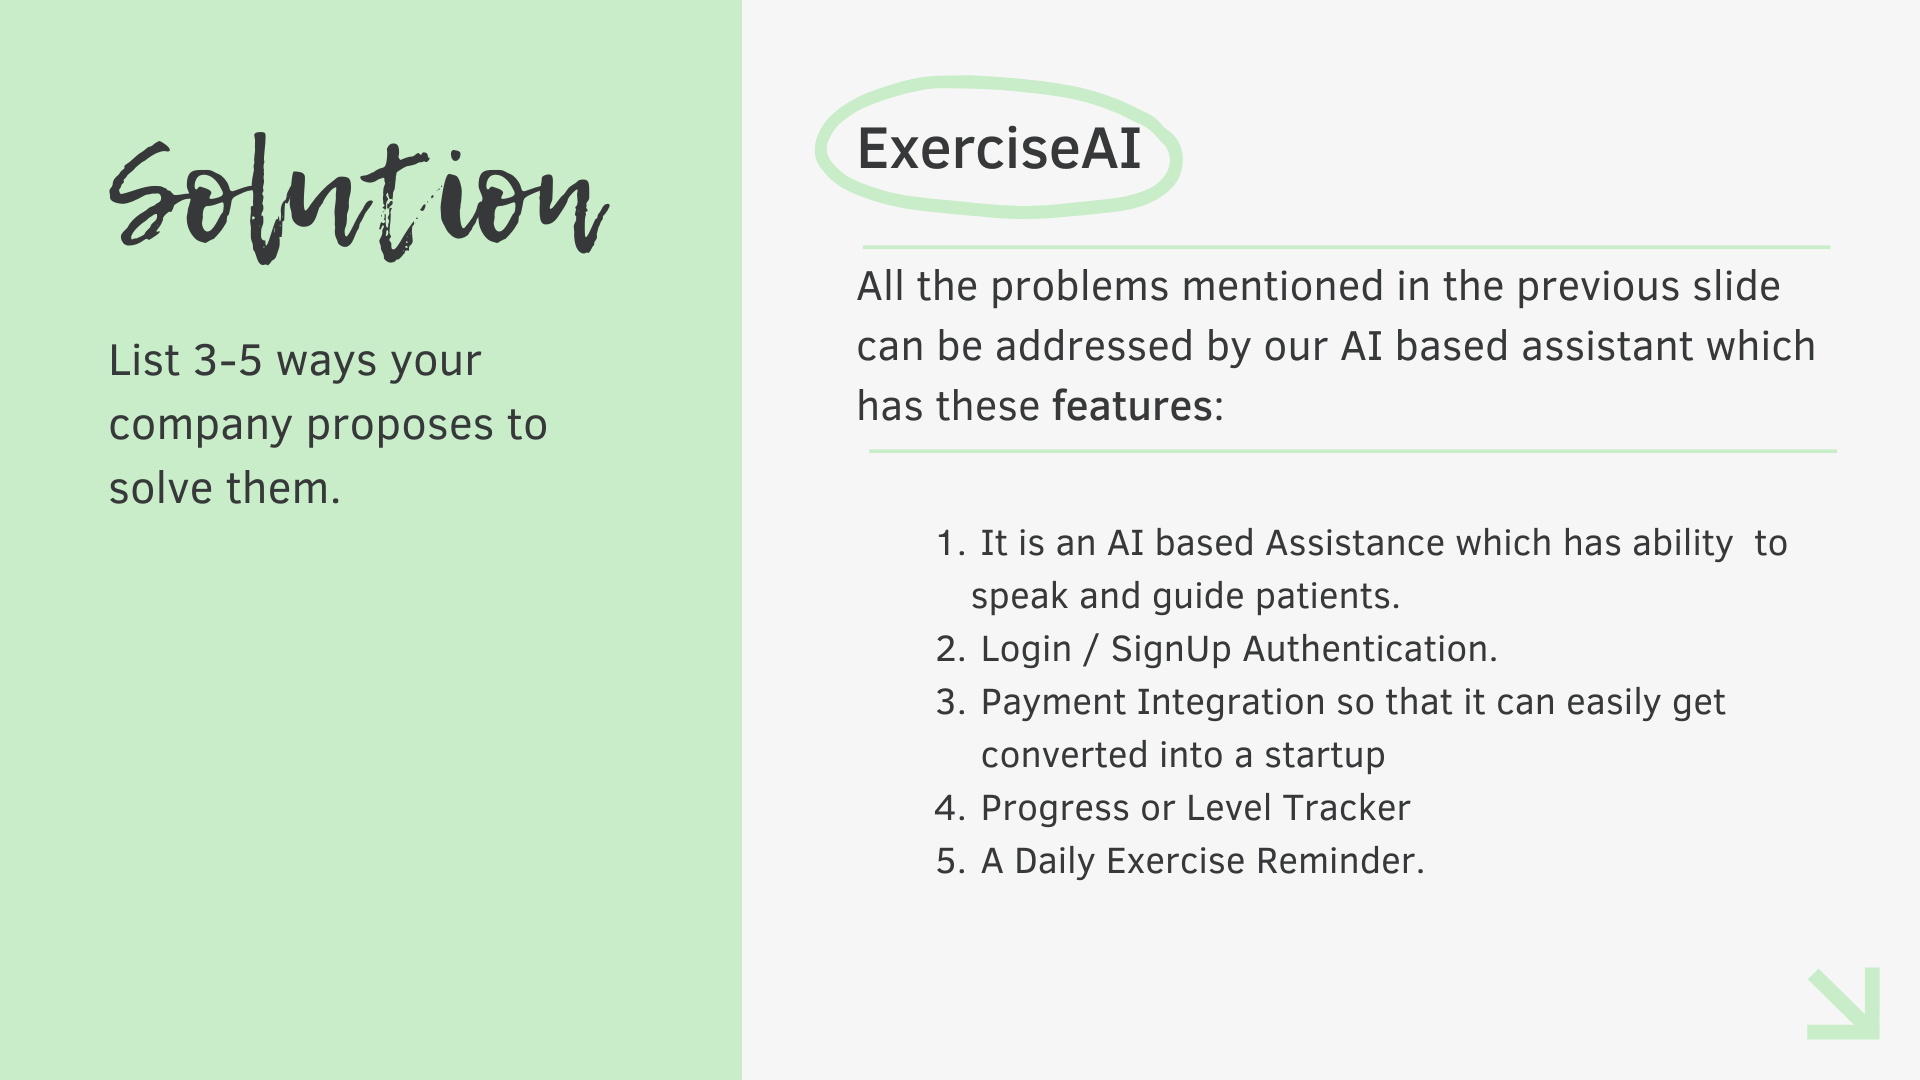
My App has basically these many features :
- It is an AI based Assistance which has ability to speak and guide patients.
- Login / SignUp Authentication.
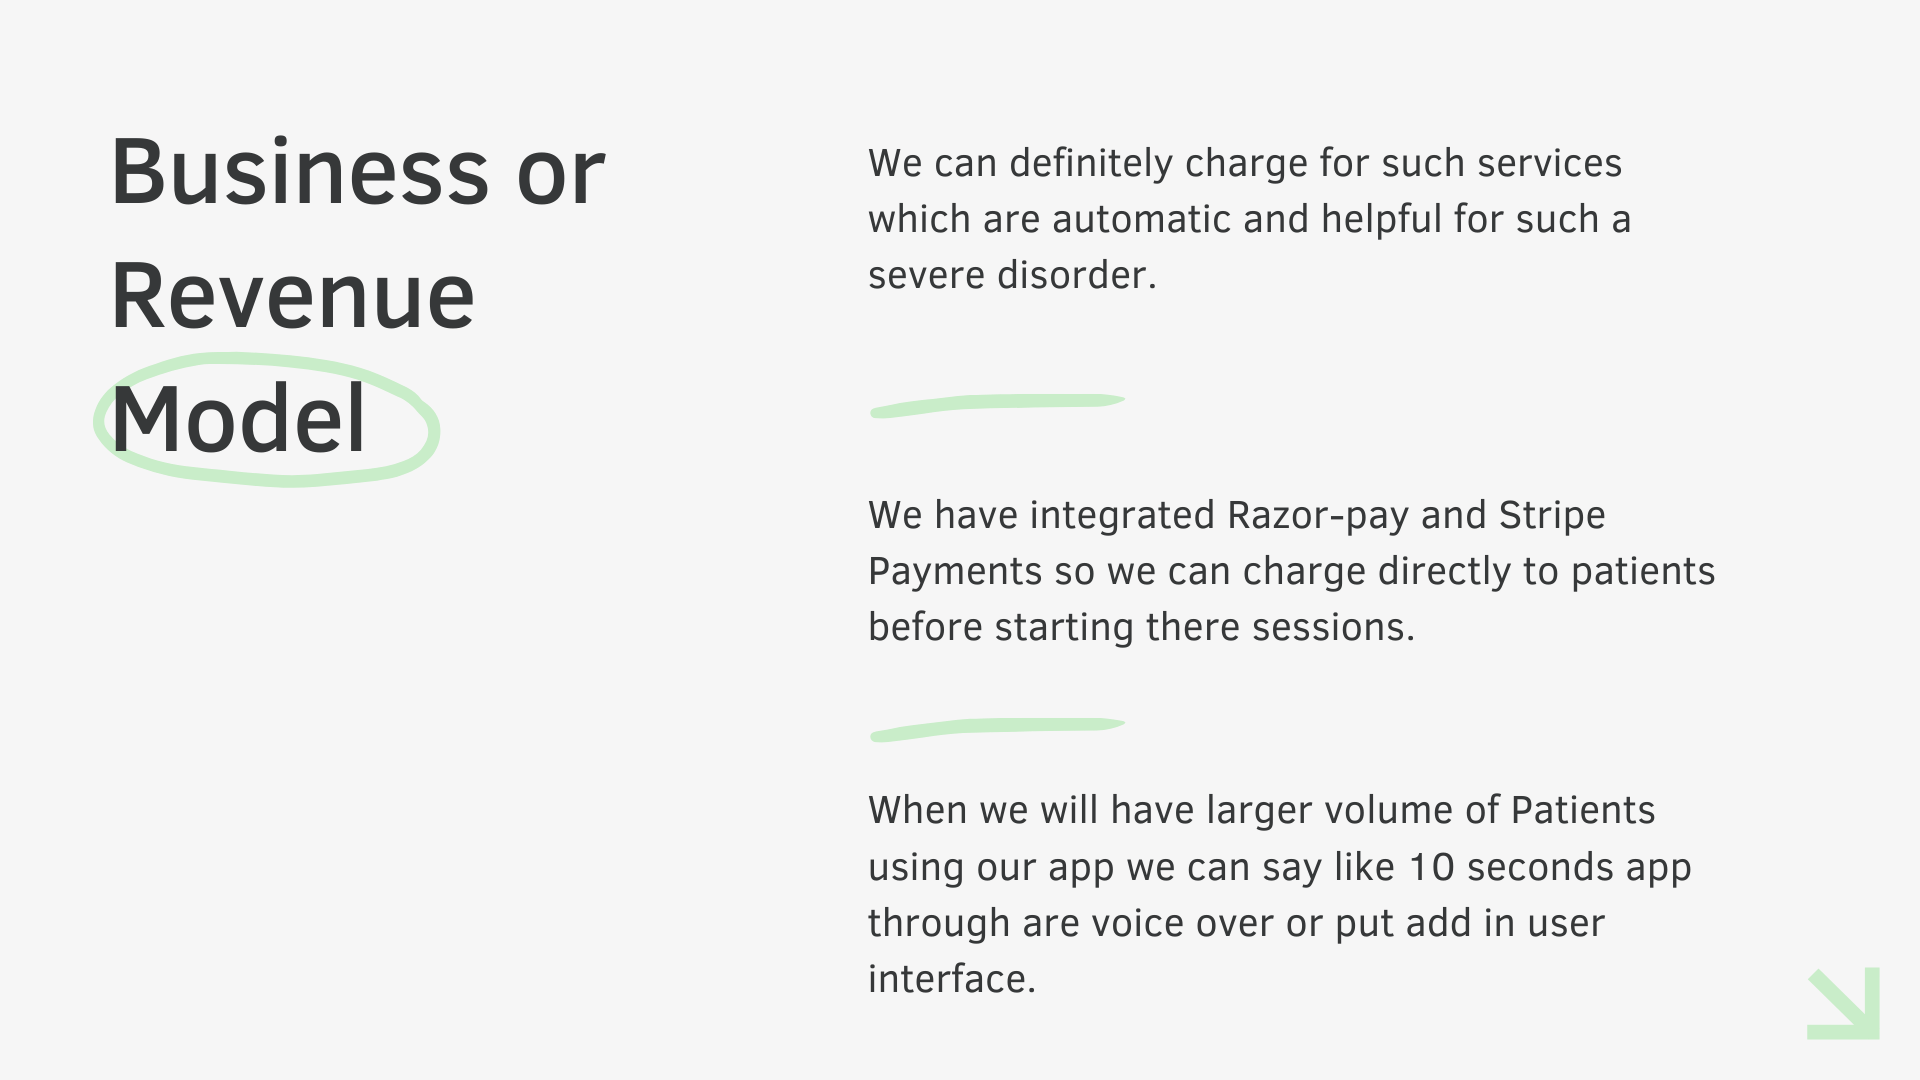
- Payment Integration so that it can easily get converted into a startup
- Progress or Level Tracker
- A Daily Exercise Reminder.
Tools Used
- Flutter (framework to deploy a service to iOS and Android)

- Firebase (Cloud data store for User data)
- Stripe (payments service for the West)

- RazorPay (payments service for India)

- Tensorflow Lite (Run model on-device)

- PoseNet (Detect pose of user)

- Yoga Pose Image Dataset (transfer learning)

- Text to Speech (Give the assistant a voice)


How Does the PoseNet model work? (images, english, math, code)
The Pipeline

Dependencies
- Deep Learning
- Calculus
- Graph Theory
- Set Theory
Terms
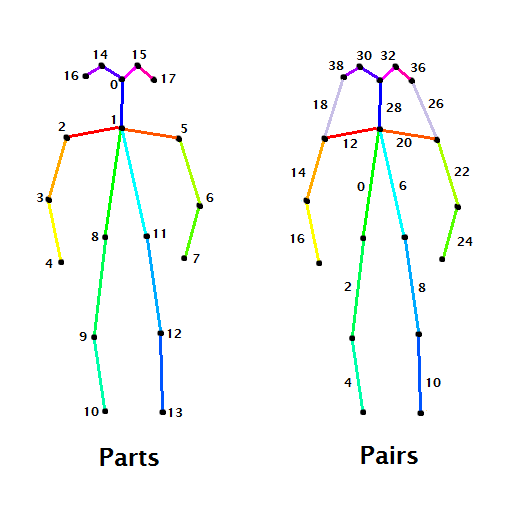
- A body part is an element of the body, like neck, left shoulder or right hip.
- A pair is a couple of parts. A connection between parts.
These skeletons show the indeces of parts and pairs on the COCO dataset. For the MPII dataset these skeletons vary slightly: there is one more body part corresponding to lower abs.
Step 1 - Preprocessing
Convert the image from [0,255] to [-1,1]
img = img * (2.0 / 255.0) — 1.0
Step 2 - Neural network
- The last operation of the neural network returns a tensor consisting of 57 matrices.
- However, this last op is just a concatenation of two different tensors: heatmaps and PAFs.
- The understanding of these two tensors is essential.

- A heatmap is a matrix that stores the confidence the network has that a certain pixel contains a certain part. There are 18 (+1) heatmaps associated with each one of the parts and indexed as we showed in the drawing of the skeletons. We will extract the location of the body parts out of these 18 matrices.

- PAFs (Part Affinity Fields) are matrices that give information about the position and orientation of pairs. They come in couples: for each part we have a PAF in the ‘x’ direction and a PAF in the ‘y’ direction. There are 38 PAFs associated with each one of the pairs and indexed as we showed in the drawing of the skeletons. We will associate couples of parts into pairs thanks to these 38 matrices.


Step 3 - Detecting Parts in the image
We need to extract parts locations out of a heatmap. Or, in other words, we need to extract points out of a function. What are these points? The local maximums.

We apply a non-maximum suppression (NMS) algorithm to get those peaks.
- Start in the first pixel of the heatmap.
- Surround the pixel with a window of side 5 and find the maximum value in that area.
- Substitute the value of the center pixel for that maximum
- Slide the window one pixel and repeat these steps after we’ve covered the entire heatmap.
- Compare the result with the original heatmap. Those pixels staying with same value are the peaks we are looking for. Suppress the other pixels setting them with a value of 0.
- After all the process, the non-zero pixels denote the location of the part candidates.

Step 4 - Connect Body parts (Bipartite graph)
- Now that we have found the candidates for each one of the body parts, we need to connect them to form pairs.
- This is where graph theory steps into.
- Say that, for a given image, we have located a set of neck candidates and a set of right hip candidates.
- For each neck there is a possible association, or connection candidate, with each one of the right hips.
- So, what we have, is a complete bipartite graph, where the vertices are the part candidates, and the edges are the connection candidates.

- How can we find the right connections?
- Finding the best matching between vertices of a bipartite graph is a well-known problem in graph theory known as the assignment problem.
- In order to solve it, each edge on the graph should have a weight.
- Let’s put some weights on those edges.
Step 5 - Score each connection (Line Integral)

- This is where PAFs enter the pipeline.
- We will compute the line integral along the segment connecting each couple of part candidates, over the corresponding PAFs (x and y) for that pair.
- As Wikipedia says, a line integral measures the effect of a given field (in our case, the Part Affinity Fields) along a given curve (in our case, the possible connections between part candidates).
khan academy example https://www.youtube.com/watch?v=uXjQ8yc9Pdg

- The line integral will give each connection a score, that will be saved in a weighted bipartite graph and will allow us to solve the assignment problem.
- In the code, we approximate the line integral by taking samples of the dot product and sum them all.

Step 6 - Finds Connections that Maximize total score (Assignment)
- The weighted bipartite graph shows all possible connections between candidates of two parts, and holds a score for every connection.
- The mission now is to find the connections that maximize the total score, that is, solving the assignment problem.
- There are plenty of good solutions to this problem, but we are going to pick the most intuitive one:
- Sort each possible connection by its score.
- The connection with the highest score is indeed a final connection.
- Move to next possible connection. If no parts of this connection have been assigned to a final connection before, this is a final connection.
- Repeat step 3 until we are done.

- As you see, there may be part candidates that will finally not fit into a pair.

Step 7 Merge the detected connection into a skeleton!
- The final step is to transform these detected connections into the final skeletons.
- We will start with a naive assumption: at first, every connection belongs to a different human.
- This way, we have the same number of humans as connections we have detected.
Let Humans be a collection of sets {H1, H2, …, Hk}. Each one of these sets — that is, each human — contains, at first, two parts (a pair). And let’s describe a part as a tuple of an index, a coordinate in the ‘x’ direction and a coordinate in the ‘y’ direction.

Here comes the merging: if humans H1 and H2 share a part index with the same coordinates, they are sharing the same part! H1 and H2 are, therefore, the same humans. So we merge both sets into H1 and remove H2.

- We continue to do this for every couple of humans until no couple share a part.
- In the code, for some sensible reasons, we first define a human as a set of connections, not as set of parts. After all the merging is done, we finally describe a human as a set of parts.

- Finally what you get is a collection of human sets, where each human is a set of parts, where each part contains its index, its relative coordinates and its score.
PoseNet Transfer Learning on Yoga
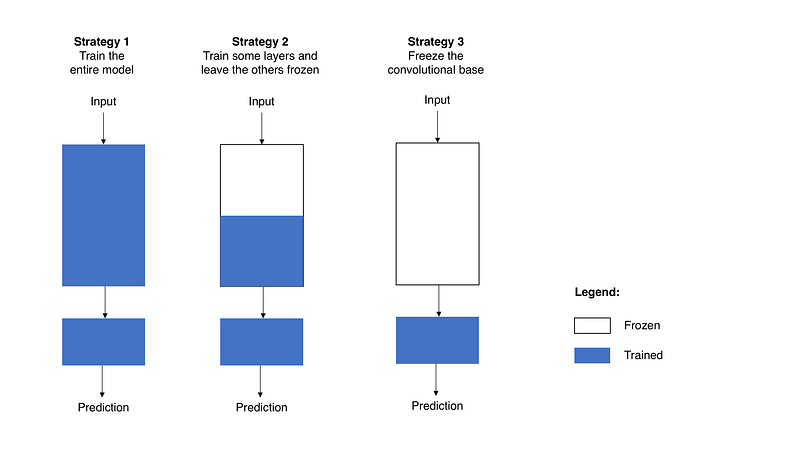
Train the entire model. In this case, you use the architecture of the pre-trained model and train it according to your dataset. You’re learning the model from scratch, so you’ll need a large dataset (and a lot of computational power).
Train some layers and leave the others frozen. As you remember, lower layers refer to general features (problem independent), while higher layers refer to specific features (problem dependent). Here, we play with that dichotomy by choosing how much we want to adjust the weights of the network (a frozen layer does not change during training). Usually, if you’ve a small dataset and a large number of parameters, you’ll leave more layers frozen to avoid overfitting. By contrast, if the dataset is large and the number of parameters is small, you can improve your model by training more layers to the new task since overfitting is not an issue.
Freeze the convolutional base. This case corresponds to an extreme situation of the train/freeze trade-off. The main idea is to keep the convolutional base in its original form and then use its outputs to feed the classifier. You’re using the pre-trained model as a fixed feature extraction mechanism, which can be useful if you’re short on computational power, your dataset is small, and/or pre-trained model solves a problem very similar to the one you want to solve. Figure 2 presents these three strategies in
How to Improve the app, conclusion
- Generative Model for 3D Yoga Pose Generation (Adversarial Network)
- More interactive dialogue (Dialogflow)
- More personalization & poses (add more poses, personalize them using recommender system/matrix factorization)
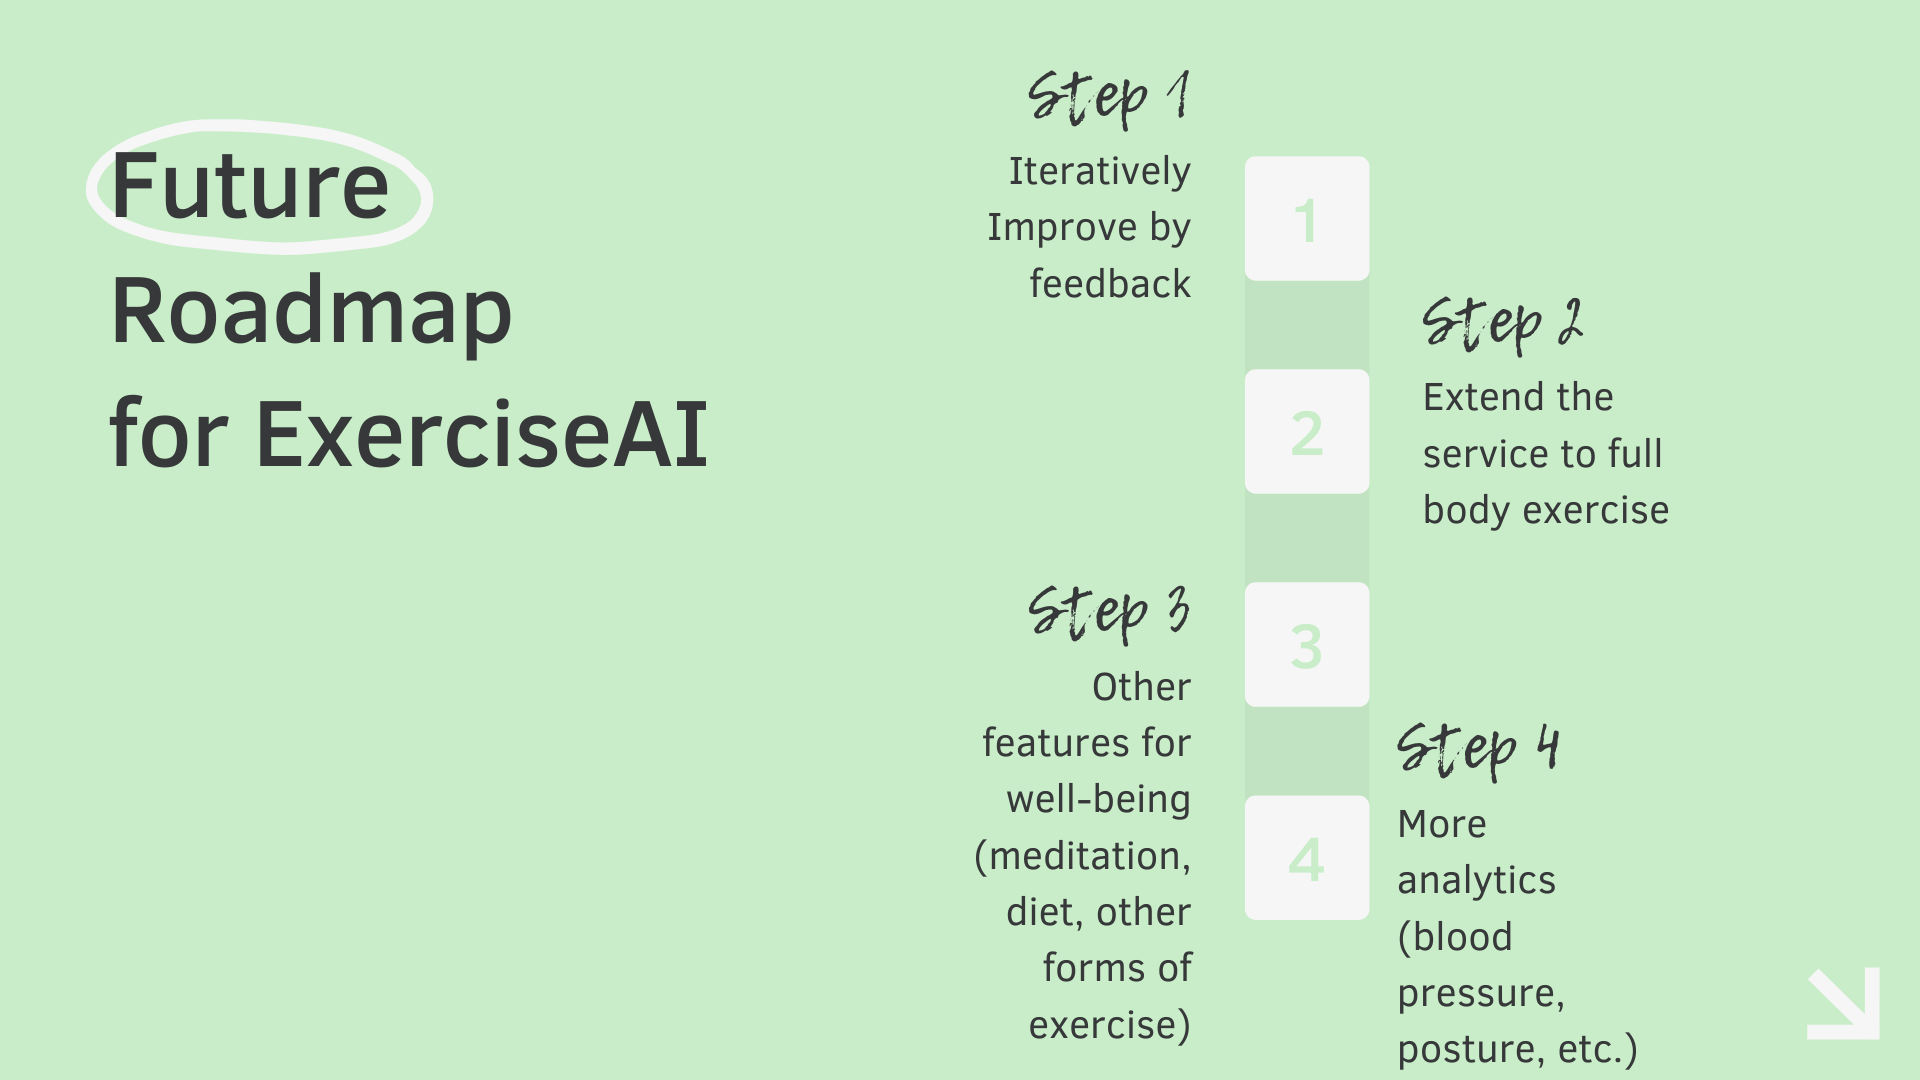
- Other features for well-being (meditation, diet, other forms of exercise)
- More analytics (blood pressure, posture, etc.)
Built With
- android-studio
- deep-learning
- firebase
- flutter
- machine-learning
- python
- tensorflow.js
- tensorflowlite


Log in or sign up for Devpost to join the conversation.