Ember - AI-Powered Memory Assistance System
Inspiration
- Inspired by the daily challenges people with dementia face with memory, routine, and misplaced items
- Wanted to build something that does more than remind users and can actively help them find important objects
- Focused on reducing stress for both users and caregivers
- Aimed to combine assistive technology, computer vision, and embedded systems into one practical product
- Wanted Ember to feel like a small home assistant that supports independence and everyday memory tasks
What it does
- Ember is an AI-powered pan/tilt assistant for people with dementia and memory-related challenges
- Uses a camera mounted on a pan/tilt system to scan the environment for requested objects
- Detects familiar objects and captures an image when the item is found
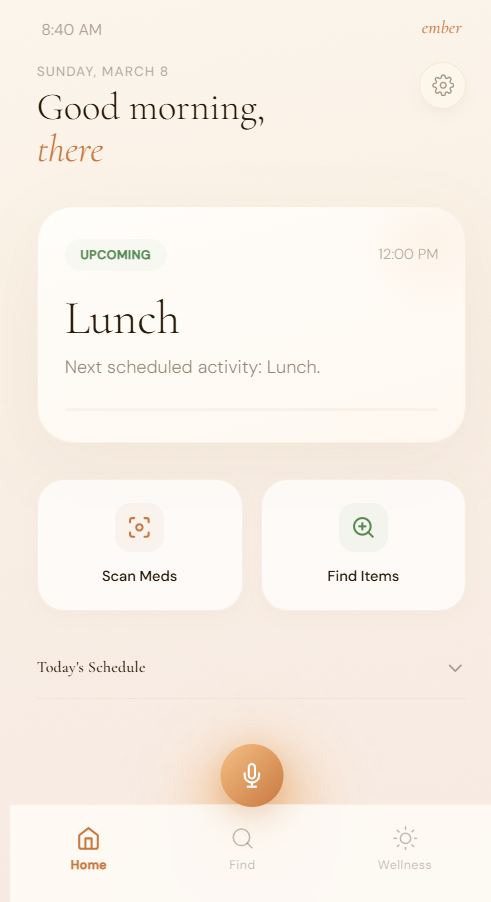
- Sends the found image to the companion app so the user can see where the object is located
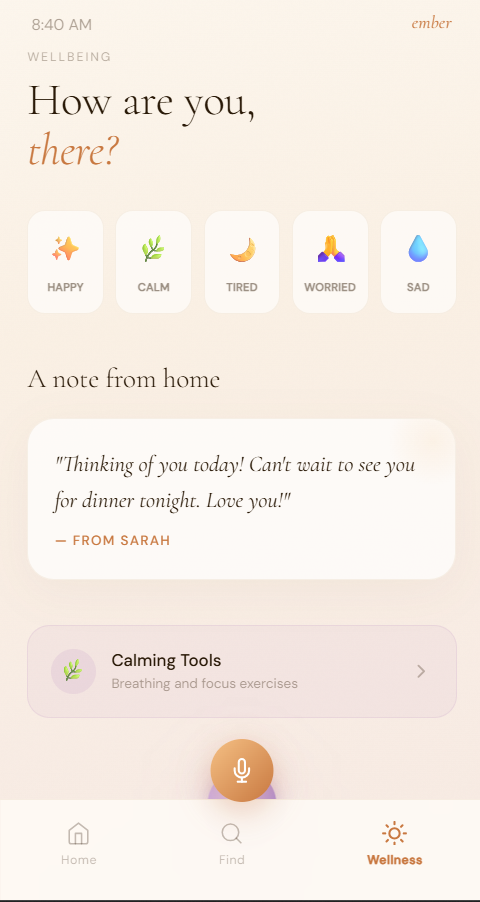
- Includes a to do list for tracking daily tasks
- Includes medication reminders to help users remember what to take
- Tracks which medication has already been taken
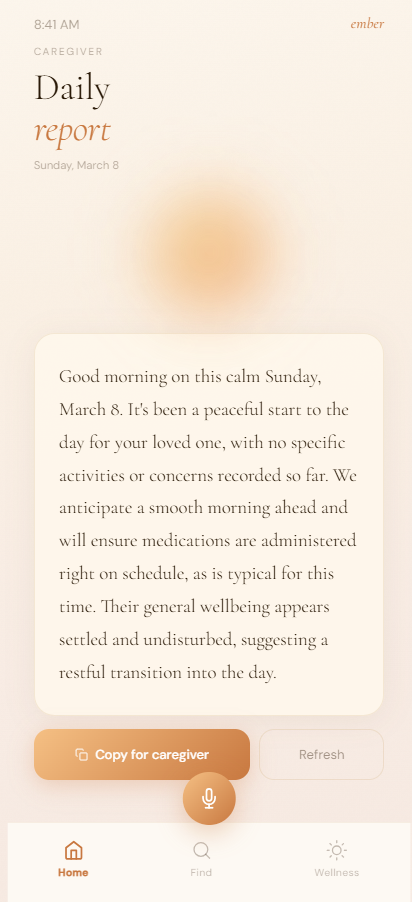
- Generates a medication report/log for better routine tracking
How we built it
Raspberry Pi
- Used for camera input and object detection
- Runs the vision pipeline with YOLO
- Captures and saves images when a target object is found
ESP32
- Used for pan/tilt motor control
- Controls 2 motors for horizontal and vertical movement
- Handles scanning movement of the camera system
Mechanical system
- Designed custom mounts and structure in CAD
- 3D printed the parts for the pan/tilt assembly
- Built the physical housing and support system for the device
App
- Displays saved images of found objects
- Includes to do list features
- Includes medicine reminders and tracking
- Supports barcode-based medicine lookup and verification
System integration
- Connected Raspberry Pi vision processing with ESP32 controls
- Synced object detection, movement, image saving, and app display into one workflow
Tailscale Integration
We used Tailscale as the secure networking layer for remembR so that our Raspberry Pi backend could be reached reliably from teammate devices across different networks. This let us avoid relying on local WiFi addresses or port forwarding, which made the system much easier to demo in a hackathon setting.
Each project device joined the same shared tailnet, including the Raspberry Pi and teammate laptops and phones. This gave us a stable way to communicate with the Pi even when devices were on different WiFi networks or mobile data. We used the Pi's MagicDNS hostname as the main connection target so the frontend could consistently reach the backend without needing to reconfigure IP addresses.
Tailscale was especially useful for our architecture because the Pi hosts the local sensing and control backend, while teammate devices connect remotely to send commands and receive results. In our case, that included object-finding requests, state updates, and backend communication for the room companion workflow.
We also used Tailscale access controls to scope who could reach the Pi service. This let us keep the main backend private to approved tailnet members rather than exposing it publicly. That was important for our project because the backend handles real-time device control and room-aware data, so private access was the right default.
Challenges we ran into
Mechanical design issues
- Some 3D printed parts did not fit properly
- Some parts were loose or unstable
- Some components would fall off or not stay aligned
- Required multiple redesigns and reprints
Limited hardware
- Had to work with the components available
- Short project timeline limited how much optimization we could do
- Needed to adapt the design around hardware constraints
System integration
- Syncing the frontend app, ESP32 motor movement, and Raspberry Pi detection was difficult
- Communication between different subsystems took a lot of testing
- Getting everything to work together smoothly was one of the hardest parts
Debugging complexity
- Hardware debugging took a lot of time
- Problems could come from wiring, software, motor control, power, communication, or physical assembly
- Had to isolate each subsystem step by step to find the actual issue
Accomplishments that we're proud of
- Built a working prototype with a meaningful real-world purpose
- Combined computer vision, embedded systems, app development, CAD, and 3D printing into one project
- Created a system that can search for and locate requested objects
- Added useful assistive features beyond tracking, like medication reminders and task management
- Successfully integrated Raspberry Pi object detection with ESP32 motor control
- Designed a project centered around helping people with dementia in daily life
What we learned
- Learned how challenging hardware-software integration can be
- Learned that mechanical fit and physical design are just as important as code
- Gained experience with YOLO-based object detection on Raspberry Pi
- Improved our understanding of ESP32 motor control and embedded coordination
- Learned how much structured debugging matters in hardware projects
- Saw the importance of designing around real user needs instead of only technical features
What's next for Ember
- Improve the stability and fit of the mechanical design
- Make the pan/tilt system more compact and reliable
- Improve object detection accuracy in real home environments
- Make the app more polished and user-friendly
- Expand the medication system with smarter reminders and clearer reports
- Improve barcode support for medicine identification and verification
- Add more caregiver-focused features for monitoring and assistance
- Continue developing Ember into a more complete assistive home companion
Built With
- 3d-printed-parts
- arduino
- barcode
- c++
- cad
- camera-module
- esp32
- mobile-app
- opencv
- pan-tilt-motor-control
- python
- raspberry-pi
- tailscale
- yolo


Log in or sign up for Devpost to join the conversation.