
DroneX
Design a drone from real parts, know whether it flies before you print it, then fly it over a real city.
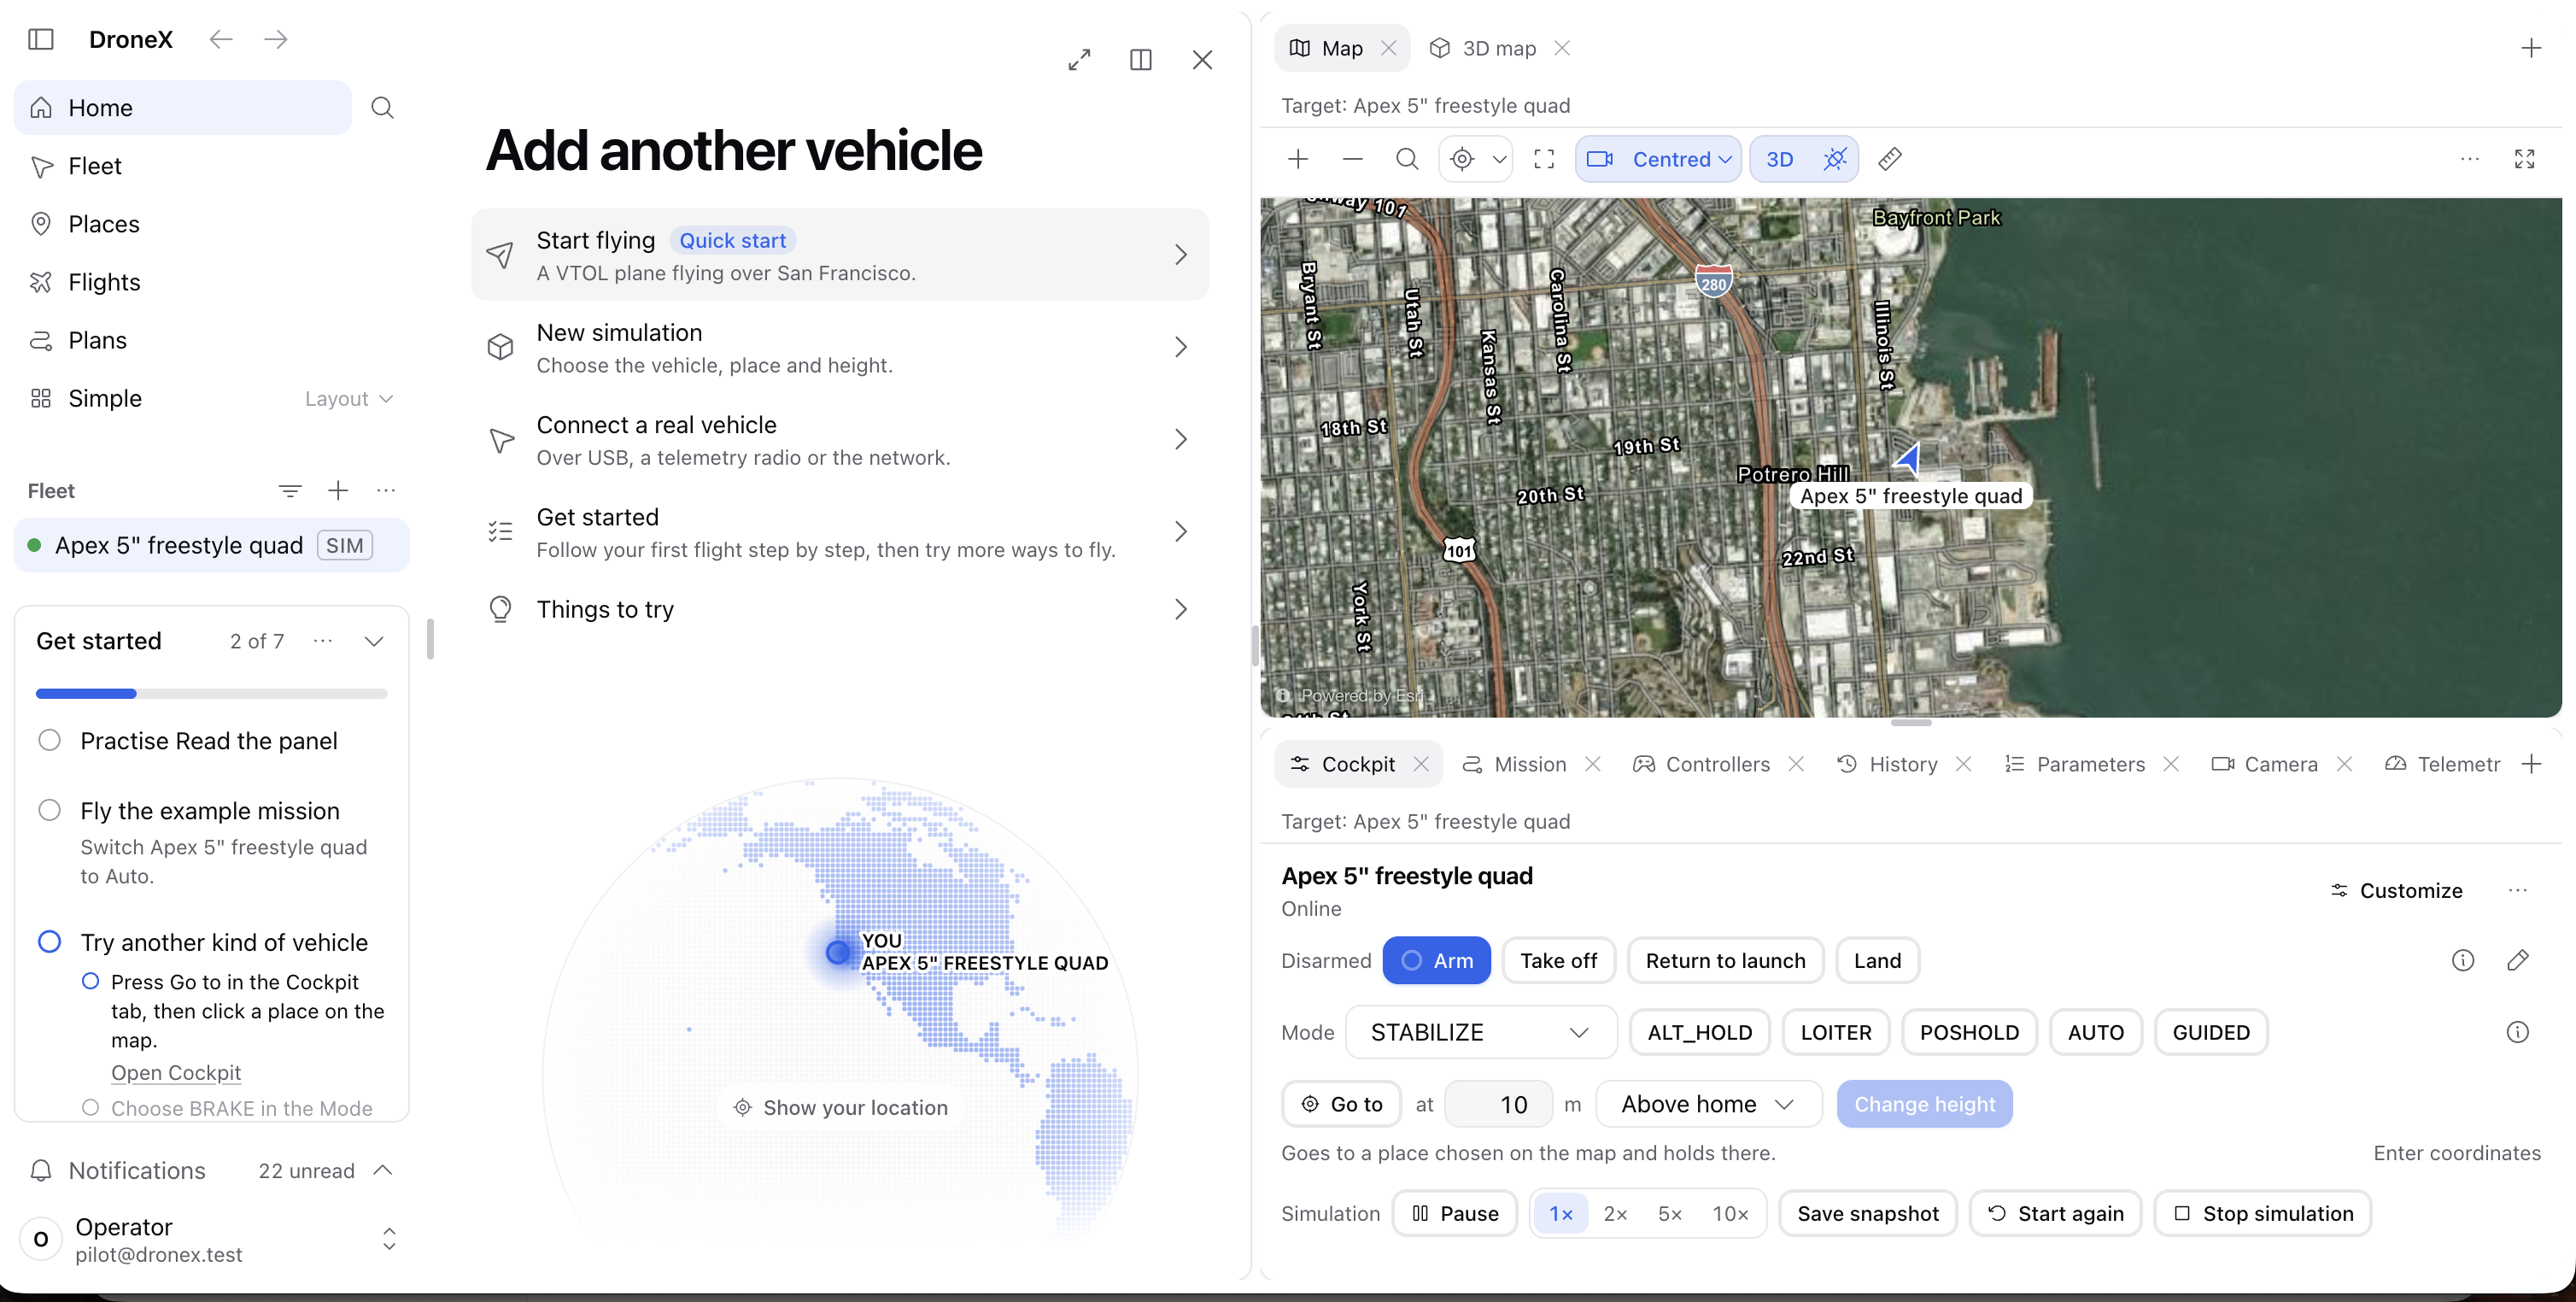
DroneX is two engines stitched into one flow. A rendering engine where you build a drone part by part from sourced, real-world components and get a verdict computed by physics, not by a model. And a simulation engine where that exact drone, every arm and propeller of it, flies on ArduPilot's own flight code over photorealistic 3D tiles of a real place, with real buildings in its way.
The story
Drones have quietly become one of the most important autonomous vehicles in the world.
They defend borders. They carry Walmart orders to doorsteps. They launch at a 911 call and arrive before the ambulance does, streaming what the dispatcher needs to know. They fly over fields that no longer have enough hands to walk them, spotting disease and dry rows while labour shortages grow and AI gets better at reading what the camera sees.
And then something changed. The hardware went open.
Today anyone with a 3D printer, an ArduPilot or PX4 flight controller, and a weekend can print an airframe, bolt on motors, flash open-source firmware, and have a working aircraft. Not a toy. A vehicle that can carry a camera, a sensor, a package. A small town can print its own fire-watch drone. A rural clinic can print a courier for blood samples. A farm cooperative in Kenya can print a mapper instead of waiting for an import. The purpose is found locally; the design is shared globally.
That is the promise. Here is what actually happens.
The problem
Printing is slow, and failure is expensive. A 3D-printed airframe takes hours to print and a day to cure, sand and assemble. If the motor is too weak for the propeller, or the battery too heavy for the frame, you find out at the first hover attempt, with the aircraft on its back in the grass. Then you print again. Each iteration costs a day and a spool of filament.
You cannot bend plastic back into shape. Metal prototypes can be re-cut, re-drilled, re-welded. A printed part that is wrong is scrap. Melting it down is not a real recycling path for most filaments; it goes in the bin. Debugging by printing is debugging by throwing things away.
There is no test drive. A car buyer drives before buying. A drone builder prints, assembles, and hopes. There is no way to take a schematic, put it in the air, and watch what it does in wind, over terrain, between buildings, on a mission with a real payload, before a single gram is printed.
The numbers are scattered or made up. Motor thrust tables live on one manufacturer's site, propeller coefficients on a forum, battery discharge ratings on a label. Most builders guess. Many online calculators invent constants. A wrong guess is a crash.
The design and the flight live in different worlds. CAD on one screen. A flight simulator, if any, on another, flying a stock quadcopter that looks nothing like what you built and weighs nothing like it. There is no path from "this is my drone" to "this is my drone flying."
For a hobbyist this is a frustrating weekend. For a clinic that printed its only courier, or a farm that budgeted for one airframe, it is the difference between the programme working and the programme being abandoned.
The solution
DroneX closes the loop between design and flight, with no printing in between.
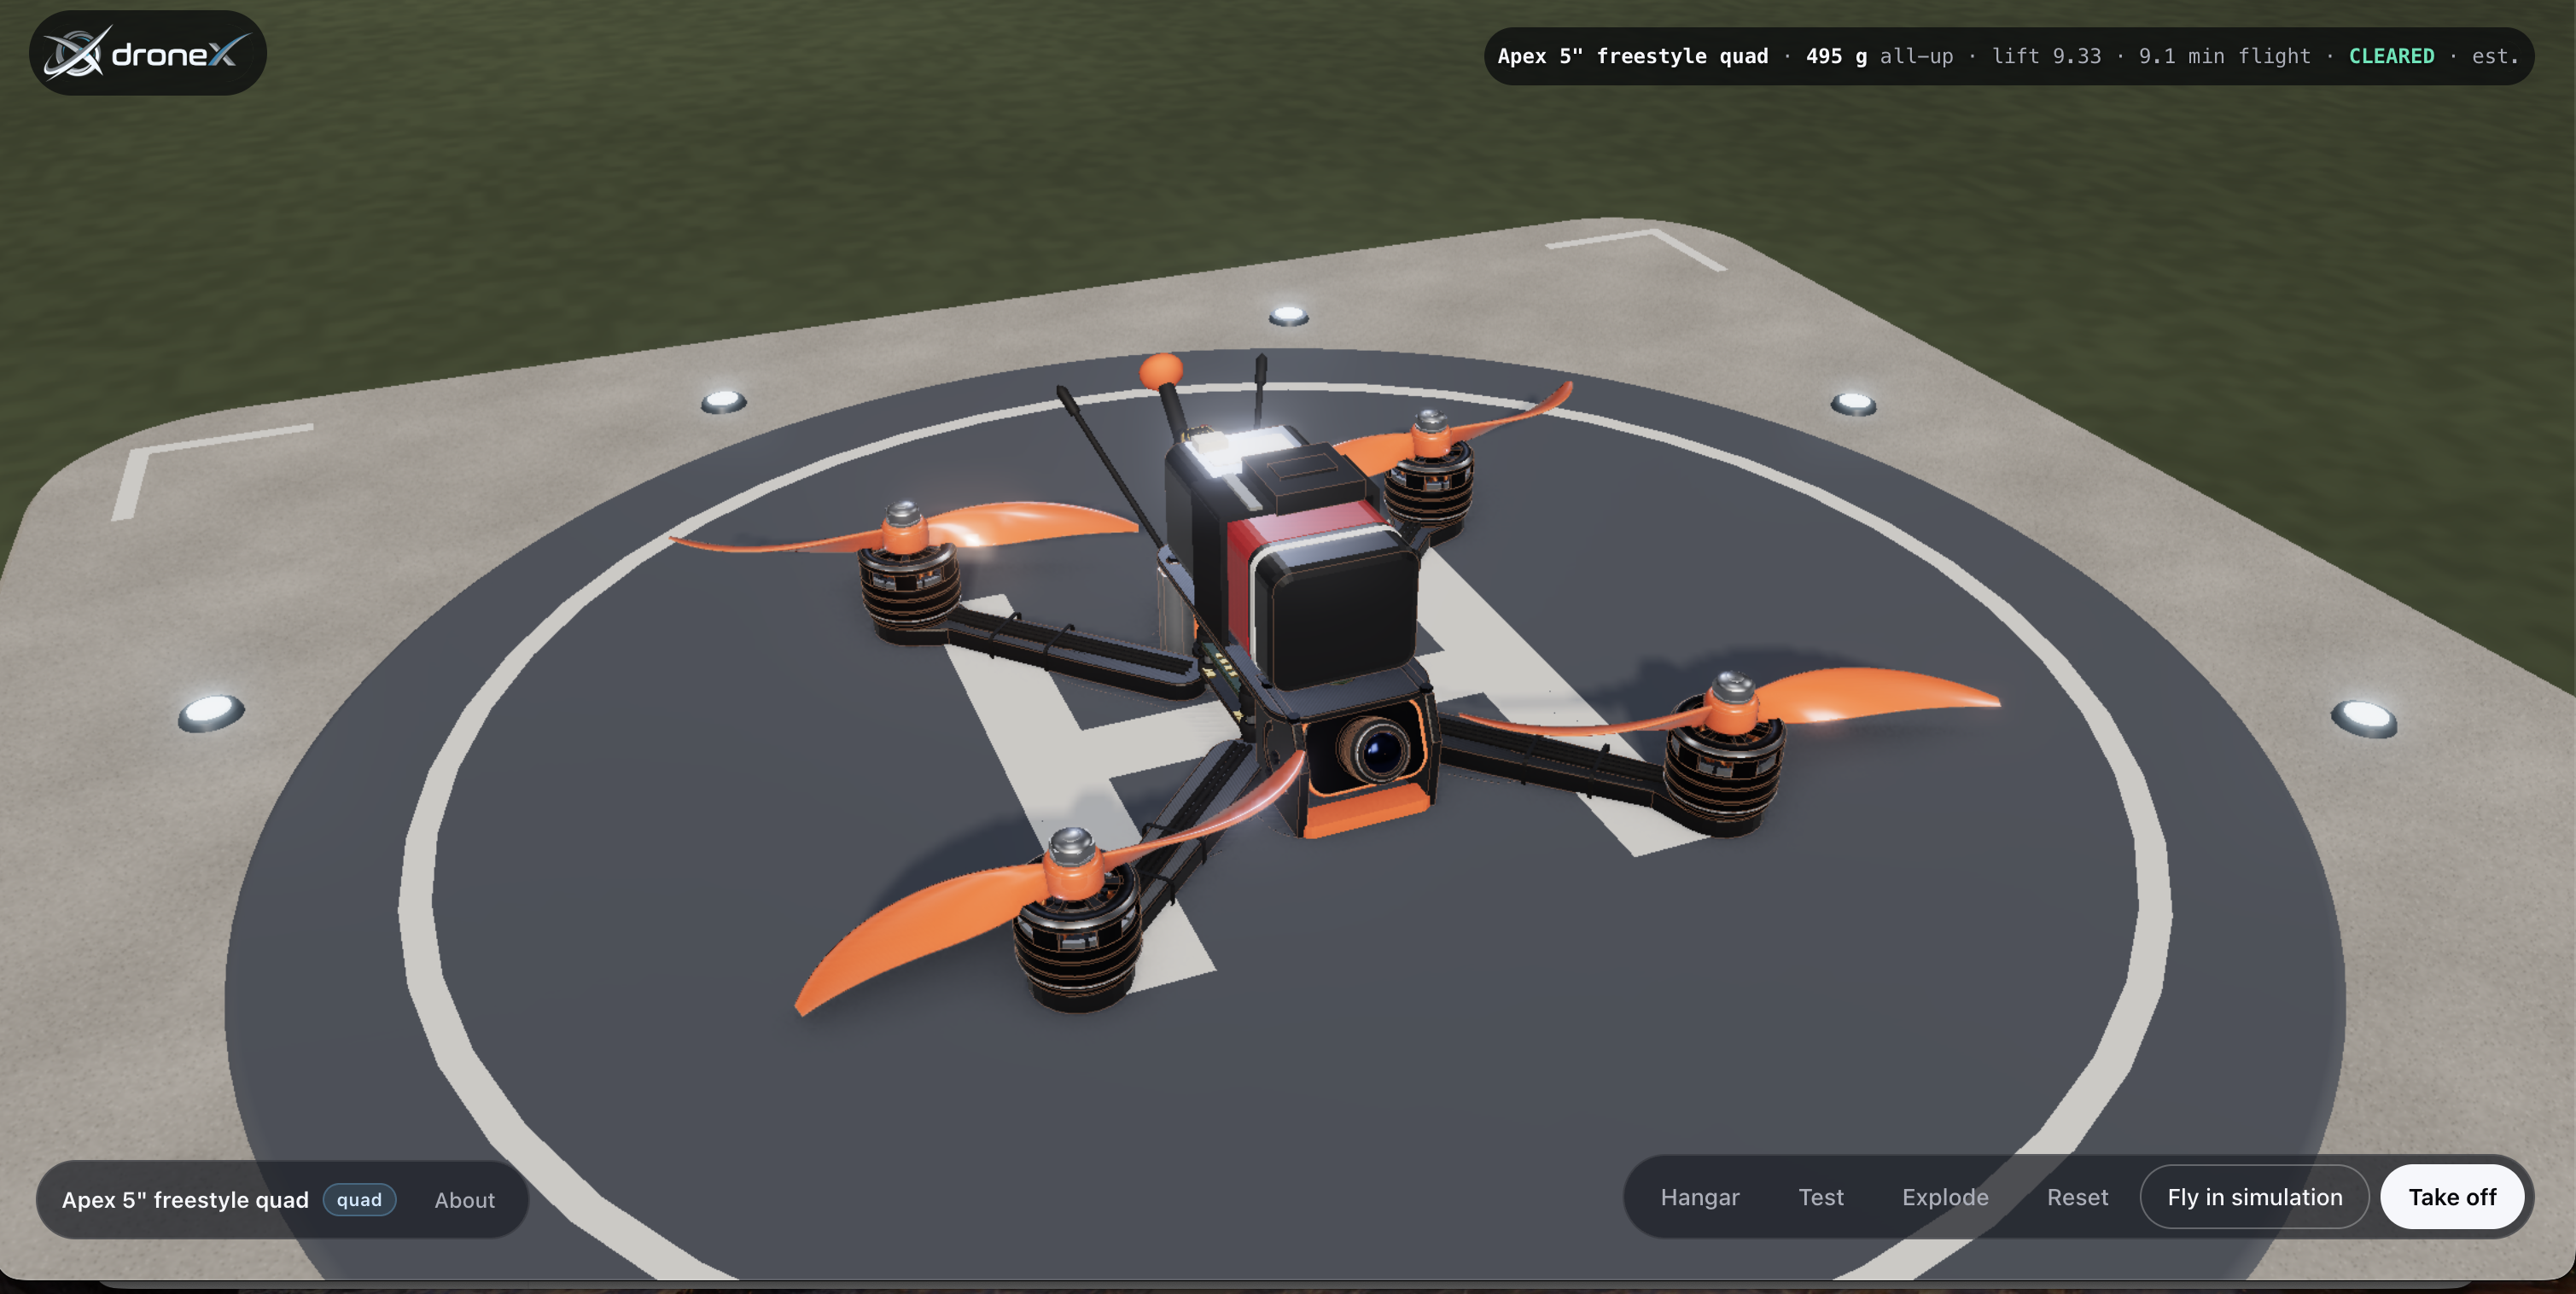
1. Build from real parts, with their sources. The Hangar holds real drones: a 5-inch freestyle quad, an urban light quad, a medical courier, a 3D-printed fixed-wing scout, a cinewhoop, a 7-inch long-range quad, a folding hexacopter, a 4+1 VTOL quadplane. Every motor, propeller, battery, airframe and payload is a dataset record with a source. You build the drone part by part in 3D, explode it, click any part and see what it does and where its numbers come from. Unknown values say so. Nothing is invented.
2. Swap parts and get a verdict from physics. Change the motor, the propeller, the pack, the payload. Compatibility is checked as you pick. The verdict is computed in code from standard formulas over the dataset: all-up weight, thrust per motor, hover thrust-to-weight, hover power and current, endurance, range, discharge margin, wing loading. Every computed number is labelled as an estimate. Then test the build against missions: a sprint, an urban survey, a medical delivery, a mapping run. Pass or fail, per requirement, with the reason.
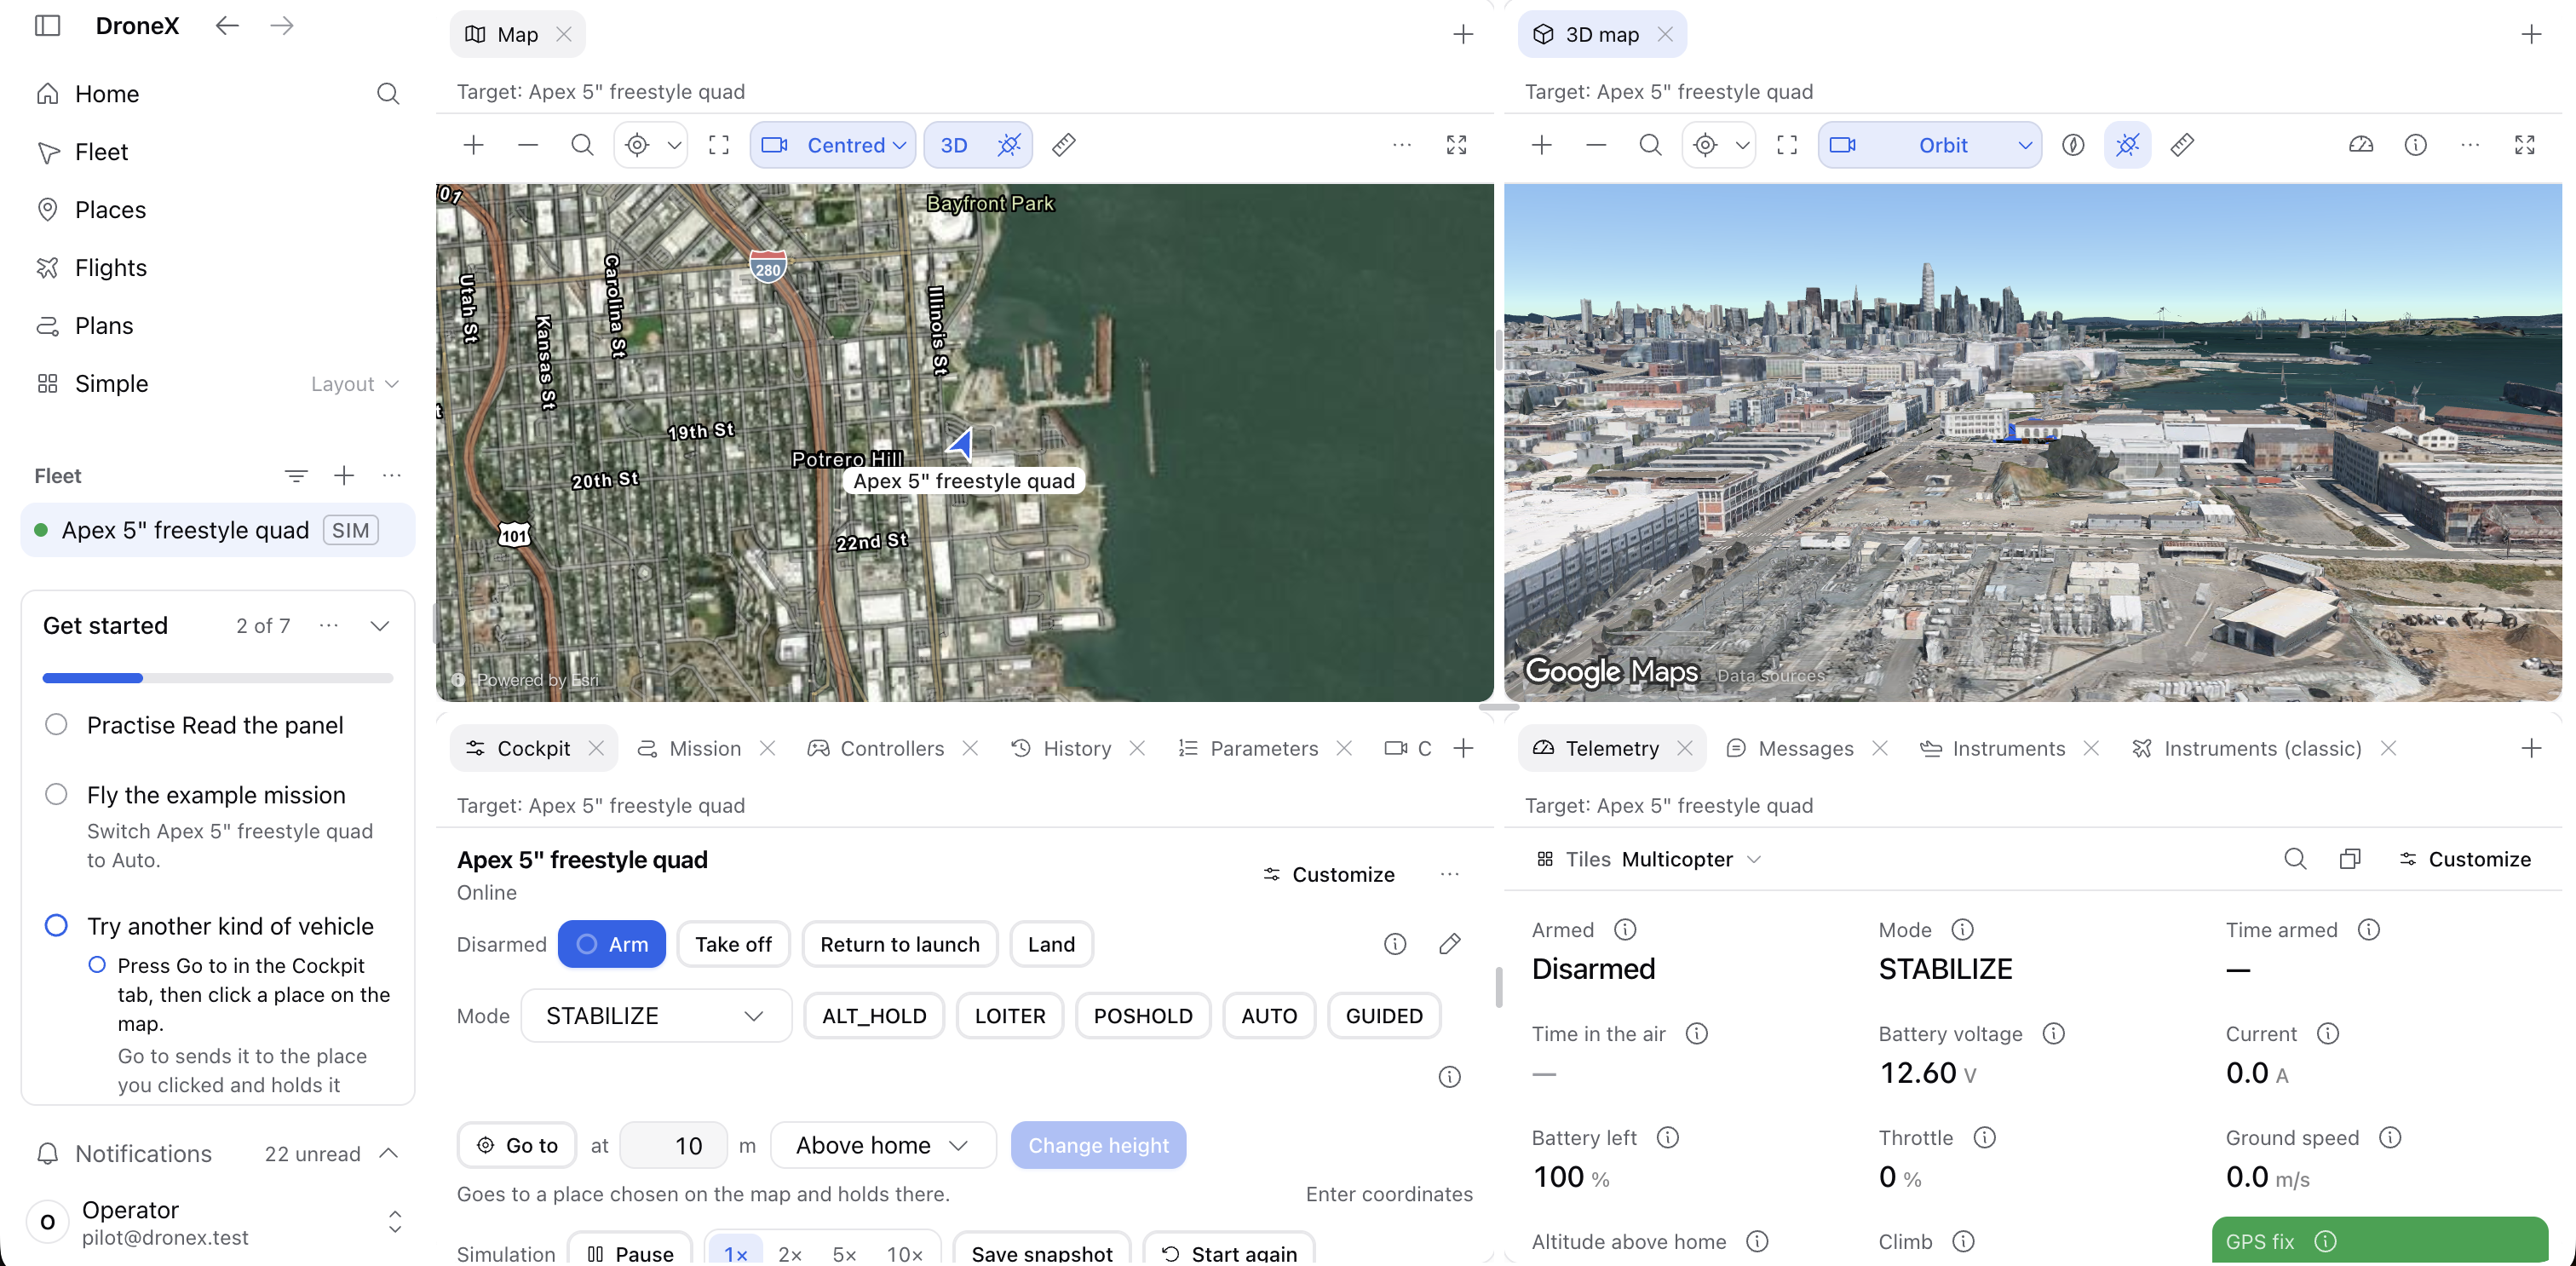
3. Press Fly in simulation. Your drone, not a stand-in. One button. The exact drone on the pad is packed as a miniature in true metres, every propeller a named part, and sent to the simulation engine. The browser follows. Your drone appears on a photorealistic 3D map of a real place, as a simulated vehicle running ArduPilot's real flight code. Its battery capacity, hover throttle and airspeeds come from your design. You arm it, take off, send it somewhere, change modes, fly a mission, drive it from the keyboard, ask the AI assistant what the telemetry means.
4. Buildings are solid. The simulator only knows the ground, so DroneX taught it the city. Building outlines and heights come from OpenStreetMap. A copter about to fly into a wall is stopped. A Go to is planned around the buildings taller than it flies, or over them with a gentle climb. A mission leg through a building gets a warning and a one-click reroute. This is where a design proves it can do the job, not just that it can hover.
5. Bring it back and change it. The simulated vehicle carries a link back to its design. Something wrong? Open it in the configurator, swap the part, fly again. Minutes, not days. No filament.
Only when the design survives the simulation do you print it. Once.
Who this is for
- The rural clinic that needs one courier drone to work the first time.
- The farm cooperative choosing between a quad and a fixed wing for a 40-hectare survey, with the battery it can actually buy.
- The volunteer fire department sizing a payload for a thermal camera and a 20-minute loiter.
- The student who has a printer, a flight controller and no budget for a second airframe.
- The engineer at a logistics or defence contractor who wants to iterate a schematic against a real mission profile before committing a fabrication run.
Pros
What DroneX gives you
- Zero-cost iteration. Swap a part and refly in under a minute. Each avoided reprint saves a day and a spool.
- Real numbers, with receipts. Every value traces to a datasheet or a named formula. The verdict is deterministic code, never a language model's opinion.
- The real autopilot. The simulation runs ArduPilot's own firmware in software-in-the-loop, so modes, failsafes, mission logic and parameters behave as they will on the bench.
- A real place. Photorealistic 3D tiles, terrain, and solid buildings. You test the mission, not just the hover.
- Your drone, visibly. The thing flying on the map is the thing you built, in true scale, propellers spinning with the motor outputs.
- Open stack. Open datasets, open flight code, open simulation core. Fork it, extend it, run it on a laptop in a town with no cloud.
- One flow. Landing page to flying vehicle with no export, no import, no file juggling.
The demo, in one breath
Open the landing page. Dive from orbit to the pad. Pick the medical courier. Swap its battery for a bigger one, watch the weight go up and the endurance go up with it. Run the delivery mission: pass. Press Fly in simulation. Watch the same drone, same orange props, appear on a San Francisco pier. Take off. Send it across the water toward downtown. Watch it climb and go around the towers on its own. Bring it home. Open it back in the configurator. Print it once.
The two engines
| Folder | Engine | What it is |
|---|---|---|
DroneX_render/ |
Rendering | The landing page and the drone configurator (Next.js + three.js). Browse real drones, build them part by part, swap parts, test against missions, send to simulation. |
dronex/DroneX_1/ |
Simulation |
How the two connect
DroneX_render/src/lib/sim/talks to Core over its local unix socket (JSON-RPC, same user, no pairing):sim/start,vehicle/save,vehicle/size,vehicle/bookmarks,param/set.- The model and design sent are kept in
DroneX_render/.dronex/sim/<id>/and served by/api/sim/designs/<id>/model.glb; the vehicle's "DroneX model" bookmark points there. dronex/DroneX_1/scripts/patch-interface-dronex.mjsteaches the simulation UI's model lookup to draw a vehicle from that bookmark (idempotent;git checkout -- interface/undoes it).
Docs: DroneX_render/docs/ (spec, architecture, roadmap), dronex/DroneX_1/docs/backend/ (the cloud API Core
expects).
Built With
- elastic
- javascript
- python
- typescript

Log in or sign up for Devpost to join the conversation.