-
-

The main page
-

The about page
-
Functioning section

Inspiration
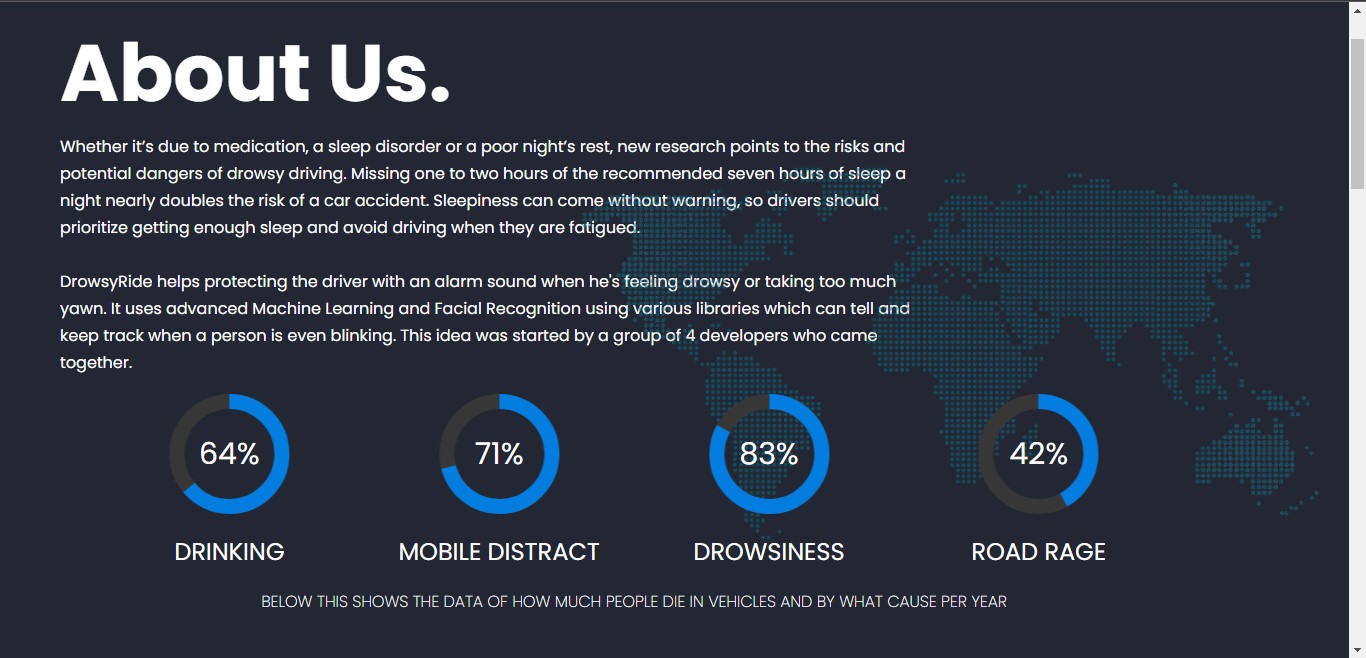
We got the idea for this project, when we're thinking what to make, and thought to have some fun with Machine learning, and we found a Life saving project. Which can save lots of lives, lost every year. According to the National Highway Traffic Safety Administration, every year about 100,000 police-reported crashes involve drowsy driving. These crashes result in more than 1,550 fatalities and 71,000 injuries. Being on road its all about focus, but sometimes that too is lost when one's worn out. Not only drivers, but everyone in the vehicle loses their lives, So, why not save them?
What it does
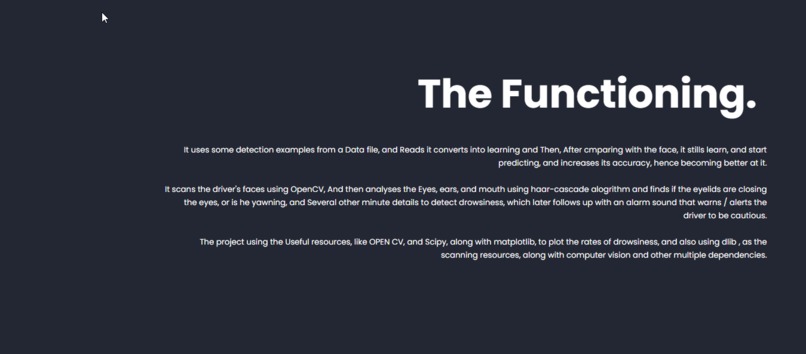
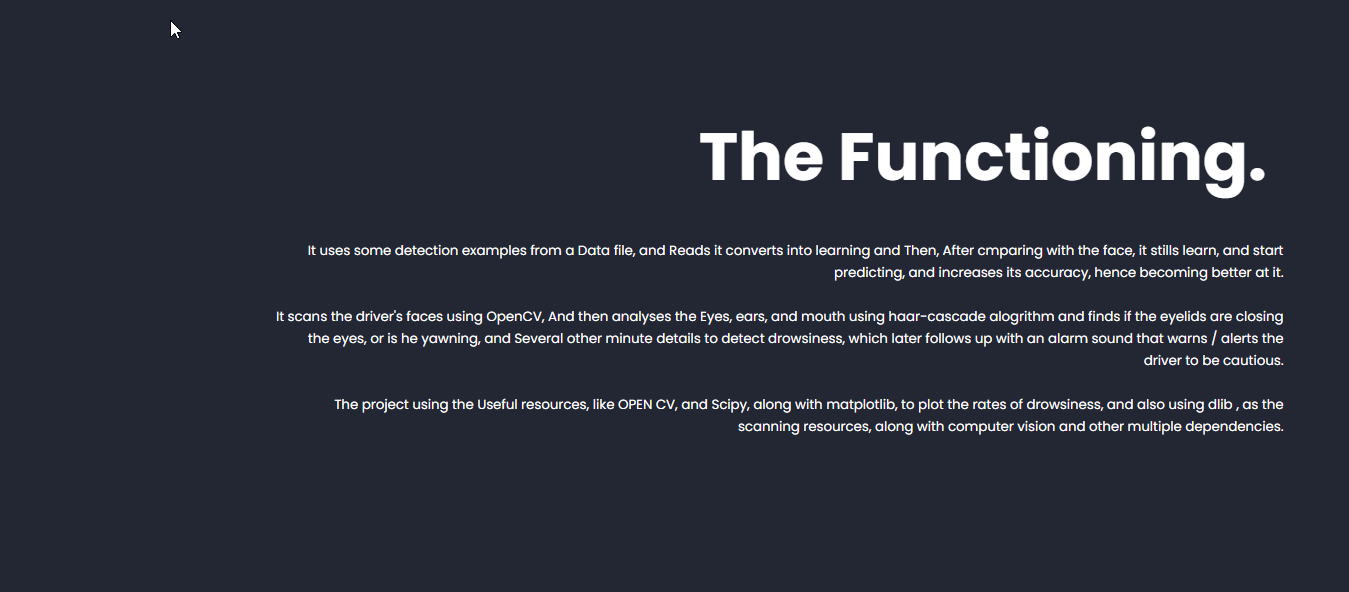
It scans the driver's faces using OpenCV, And then analyses the eyes, ears, and mouth using haar-cascade algorithm and finds if the eyelids are closing the eyes, or is he yawning, and Several other minute details to detect drowsiness, which later follows up with an alarm sound that warns / alerts the driver to be cautious.
How we built it
The project using the Useful resources, like OPEN CV, and Scipy, along with matplotlib, to plot the rates of drowsiness, and also using dlib , as the scanning resources, along with computer vision and other multiple dependencies. The webapp is built using HTML, CSS, and javascript, jquery along with flask for backend purposes
Accomplishments that we're proud of
We're proud of the accuracy this has obtained, while scanning various datasets, and learning from them, and we're also proud of learning better python, and other languages, and using for the betterment of the society, which matters most.
What we learned
We have learnt neural networks, machine learning, working with graphs, and scipy, Also using anaconda, and using the various research libraries.
Driver drowsiness detection.
You need to have anaconda installed on your system :)
Step 1: Update conda
conda update conda
Step 2: Update anaconda
conda update anaconda
Step 3: Clone the github repository
git clone https://github.com/ShobhitRathi/DrowsyRide
Step 4: Create a virtual environment
conda create -n env_dlib
Step 5: Activate the virtual environment
conda activate env_dlib
Step 6: Install dlib
conda install -c conda-forge dlib
If all these steps are completed successfully, then dlib will be installed in the virtual environment env_dlib. Make sure to use this environment to run the entire project.
Step 7: Installing packages
pip install -r requirements.txt
Step 8: Running the webserver!
python app.py
And the app runs on the localhost of port 5000, And you can visit, and see it!
Step to deactivate the virtual environment
conda deactivate
Built With
- anaconda
- css
- dlib
- flask
- html
- javascript
- jquery
- machine-learning
- matplotlib
- ml
- python
- scipy


Log in or sign up for Devpost to join the conversation.