-
-
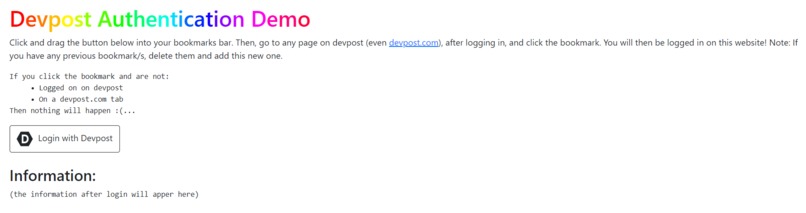
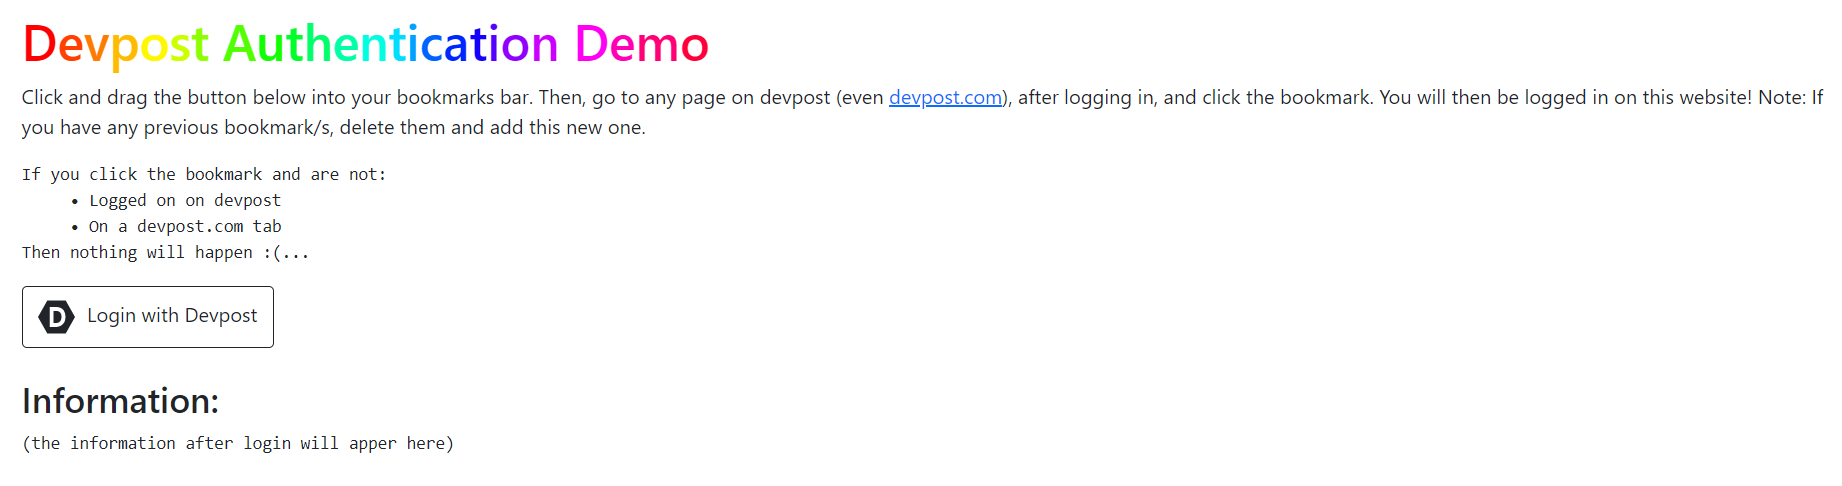
The Demo Website Before Login
-
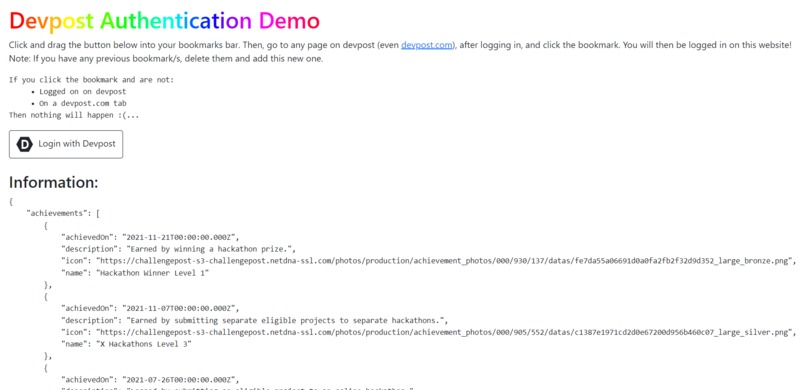
The Demo Website After Login

Ladies and gentlemen, I present to you...
The Unofficial Devpost OAuth Library
Devpost doesn't have an authentication system (I wonder why?). So, I made one. How does it work?
How It Works
This project uses sqlite3 for the database and flask_socketio for the main "logging in" code. When a user logs on the page, a session is made with a unique UUID (a UUID, or a universally unique identifier, is a 128-bit label used for information). The user logs in by dragging a link into their bookmarks bar, then pressing it when they are on a Devpost window. The user is logged in, and can now delete the bookmark from their bookmarks bar.
Challenges I Ran Into
I have used SQL before, but not python's sqlite3 library, so I spent a good piece of my time figuring how to use it. I have used flask a lot before, so flask_socketio was easier than sqlite3, but it was still confusing.
Accomplishments That I'm Proud Of
I actually finished the project (yay 🎉)! I was only planning to make a demonstration website on how the OAuth could be done, but I realized that wouldn't help you that much, as no one could use it. I decided to make a python 🐍 and javascript 🌐 library for other developers' usage.
The Python 🐍 Library
from flask_devpost_oauth import DevpostAuth
from flask import Flask, render_template
from flask_socketio import SocketIO

app = Flask(__name__)
socketio = SocketIO(app)
DevpostAuth(app, socketio)

@app.route('/')
def index():
    return render_template('index.html')

@app.route('/login')
def login():
    return render_template('login.html')

if __name__ == "__main__":
    socketio.run(app)
Installation is pip install flask_devpost_oauth.
The code above is an example. You must pass both your socketio and flask app. If you are not using flask_socketio, just create and run the app, it won't affect your flask app. Using the library is as simple as that! The user information is "given" to the javascript code, not the flask app. Note: Sometimes, you will get a CORS error. An easy fix is:
socketio.init_app(app, cors_allowed_origins="*")
# variable "app" is the flask app
# variable "socketio" is the flask_socketio app
The JavaScript 🌐 Library
<a id="bookmark">Bookmark me!</a>
<script src="https://cdnjs.cloudflare.com/ajax/libs/socket.io/2.2.0/socket.io.js"></script>
<script src="https://devpost-oauth-static.epiccodewizard.repl.co/script.js"></script>
<script>
    function infofunc(info) {
        alert(info);
    }
    main("https://mywebsite.com/", "bookmark");
    getinfo(infofunc);
</script>
Installation is just using the script tag above.
The code above is an example HTML webpage. Because the time of the user login is unknown, the information is processed by a function, which takes in one argument, info. The information is alerted, in this case. "https://mywebsite.com/" is the URL of the flask server, using the python library. As explained earlier, the user clicks and drags the link, which is inserted in the link tag with the ID specified. In this case, the provided ID is "bookmark", which will get hyperlinked. Note: In this case, socket.io.js is version 2.2.0, but it can de any 1.x and 2.x version.
What I Learned
I definitely learned a lot from this project. Web sockets and databases are hard things to completely learn in 48 hours, but I managed to do it. This project was very fun to make, and I hope it helps other developers implement this in their own projects.
Additional: Where does the information come from?
In a previous hackathon, I made a Devpost User Information API, which gets all the possible information off a user's page. This project queries my previous API, receiving information from it. Devpost Project.
Official Demo
That's it, ladies and gentlemen, thank you for your time....


Log in or sign up for Devpost to join the conversation.