
Going Full Stack with Defang
What is Defang?
Defang is a cloud application development platform designed to simplify the process of developing, deploying, and debugging applications. It offers a streamlined experience that enables developers to create applications in any programming language, deploy them with a single command, and leverage AI-assisted tools for faster iterations. Users can build and deploy their applications with a single command, significantly reducing the complexity typically associated with cloud deployments. Defang manages networking, security, and observability out of the box, allowing developers to focus on coding rather than infrastructure concerns.
Why Defang?
When comparing Defang to traditional deployment methods like AWS, several key differences emerge. In terms of complexity, Defang simplifies deployment through a one-command approach and automated configurations, effectively abstracting away much of the underlying complexity involved in cloud setups. In contrast, cloud vendors like AWS offer numerous services that can be complex to configure and manage; each service has its own set of configurations and requirements that can overwhelm new users.
Defang's Low Learning Curve
Defang is designed for ease of use, requiring minimal setup and providing an intuitive experience for developers. As a student with limited experience in production-level deployments, I found Defang to be incredibly straightforward and efficient. I was able to create my first full-stack deployment with minimal challenges. Even when I encountered errors or failed builds, the Debug with AI feature proved to be a game changer, significantly reducing the time I spent debugging issues. This functionality not only streamlined the troubleshooting process but also enhanced my overall learning experience, making it easier to understand and resolve problems as they arose.
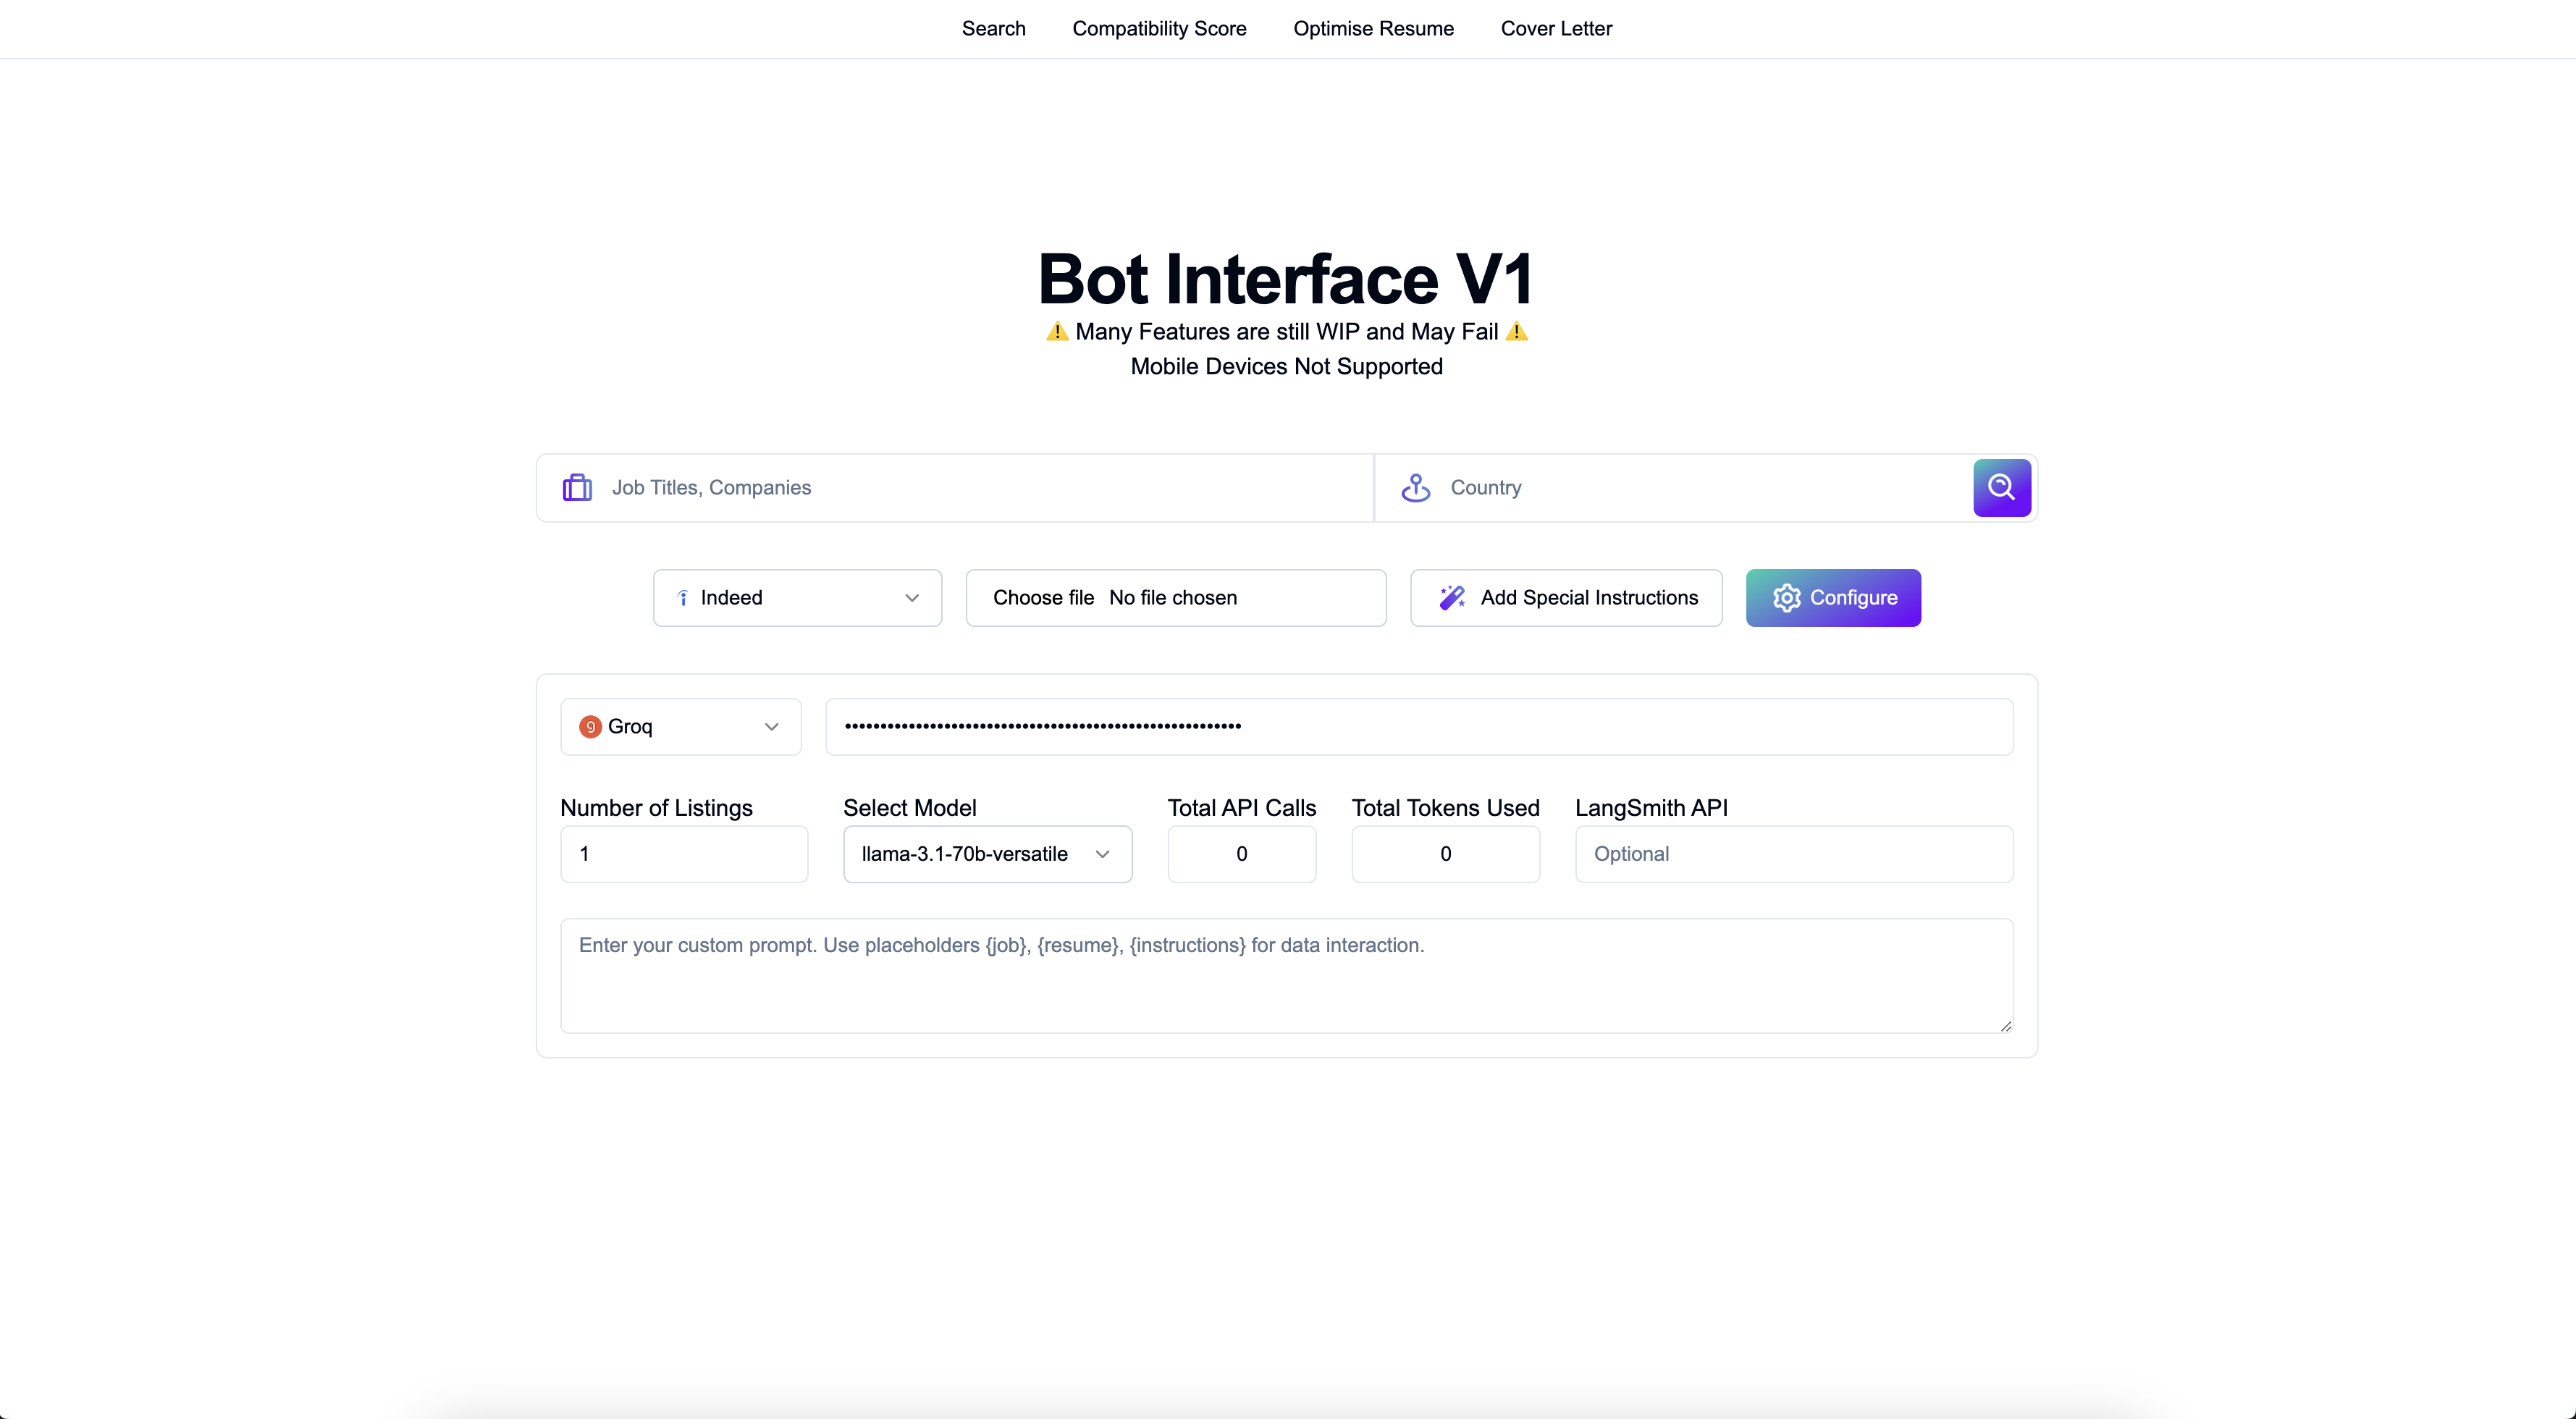
Deploying Full Stack with Defang
Project Structure
Base

├── client

├── docker-compose.yml

├── images

├── readme.md

└── server
Client: This directory encompasses the complete logic and components for the frontend of my project. The frontend is developed using Next.js and is statically typed with TypeScript, ensuring robust type safety and improved maintainability.
Server: The backend of my project is implemented in Python, utilizing FastAPI as the framework. This component handles all project functionalities, including document upload, parsing, and LLM inferencing.
docker-compose.yml: Configuration file used by Docker Compose to define and manage multi-container applications. It allows developers to specify the services, networks, and volumes required for their application in a single, human-readable YAML format. This defines the service structure when deploying to Defang.
docker-compose.yml
version: '3.8'

services:
  client:
    build:
      context: ./client
      dockerfile: Dockerfile-client
    ports:
      - '3000:3000'

  server:
    build:
      context: ./server
      dockerfile: Dockerfile-server
    ports:
      - '8000:8000'
Client
The Client folders (src) includes all frontend logic, CSS, and components that interact with the backend through API calls. For example, to send a search query along with a country parameter, the client makes a POST request to an API endpoint hosted by the server.
Structure
Client

├── Dockerfile-client - Builds the app container for Defang deployment.

├── README.md

├── src - All the frontend components, styles and scripts.
Dockerfile-client
FROM node:18-alpine

# Set the working directory
WORKDIR /app

# Copy package.json and package-lock.json
COPY package*.json ./

# Install dependencies
RUN npm install

# Copy the rest of the client application
COPY . .

# Build for Production
RUN npm run build

# Expose port 3000
EXPOSE 3000

CMD [ "npm", "start"]
The accompanying Dockerfile-client outlines the steps for building a Docker image for the frontend application. It starts from a lightweight Node.js base image, sets up the working directory, installs dependencies, builds the application for production, exposes port 3000, and specifies the command to start the application. This automation simplifies deployment within Defang by ensuring that all necessary configurations are handled seamlessly.
Server
The backend of the application is implemented using FastAPI, a modern web framework for building APIs with Python. This server handles critical functionalities such as document uploads, job scraping, and LLM (Large Language Model) inferencing, ensuring a seamless experience for users interacting with the frontend.
Structure
Server

├── Dockerfile-server - Builds the server container for Defang Deployment

Server Functionalities
├── agents.py

├── config

├── crawler.py

├── model.py

├── prompts.py

├── requirements.txt

├── server.py - The FastAPI Server
Dockerfile-server
FROM tiangolo/uvicorn-gunicorn-fastapi:python3.11-slim

# Set the working directory
WORKDIR /app

# Install Necessary Dependencies
RUN apt-get update -qq \
      && apt-get install -y \
      build-essential \
      python3-dev \
      ca-certificates \
      && apt-get clean \
      && rm -rf /var/lib/apt/lists/*

# Copy requirements.txt
COPY requirements.txt ./

# Install dependencies
RUN pip install --no-cache-dir -r requirements.txt

# Copy the rest of the application
COPY . .

# Expose port 8000
EXPOSE 8000

# Start the app
CMD [ "uvicorn", "server:app", "--host", "0.0.0.0", "--port", "8000" ]
The Dockerfile-server file creates a Docker image for deploying the FastAPI server of the application, leveraging the tiangolo/uvicorn-gunicorn-fastapi:python3.11-slim base image optimized for FastAPI. It sets the working directory to /app, installs necessary system packages, and copies the requirements.txt file to install Python dependencies. The application code is then copied into the container, and port 8000 is exposed for external access. Finally, it specifies the command to start the FastAPI application with Uvicorn. When deployed with Defang, this Dockerfile automates the build process and ensures a consistent environment, while Defang manages networking and security settings, allowing developers to focus on application logic and integration without worrying about infrastructure complexities.
Deployment
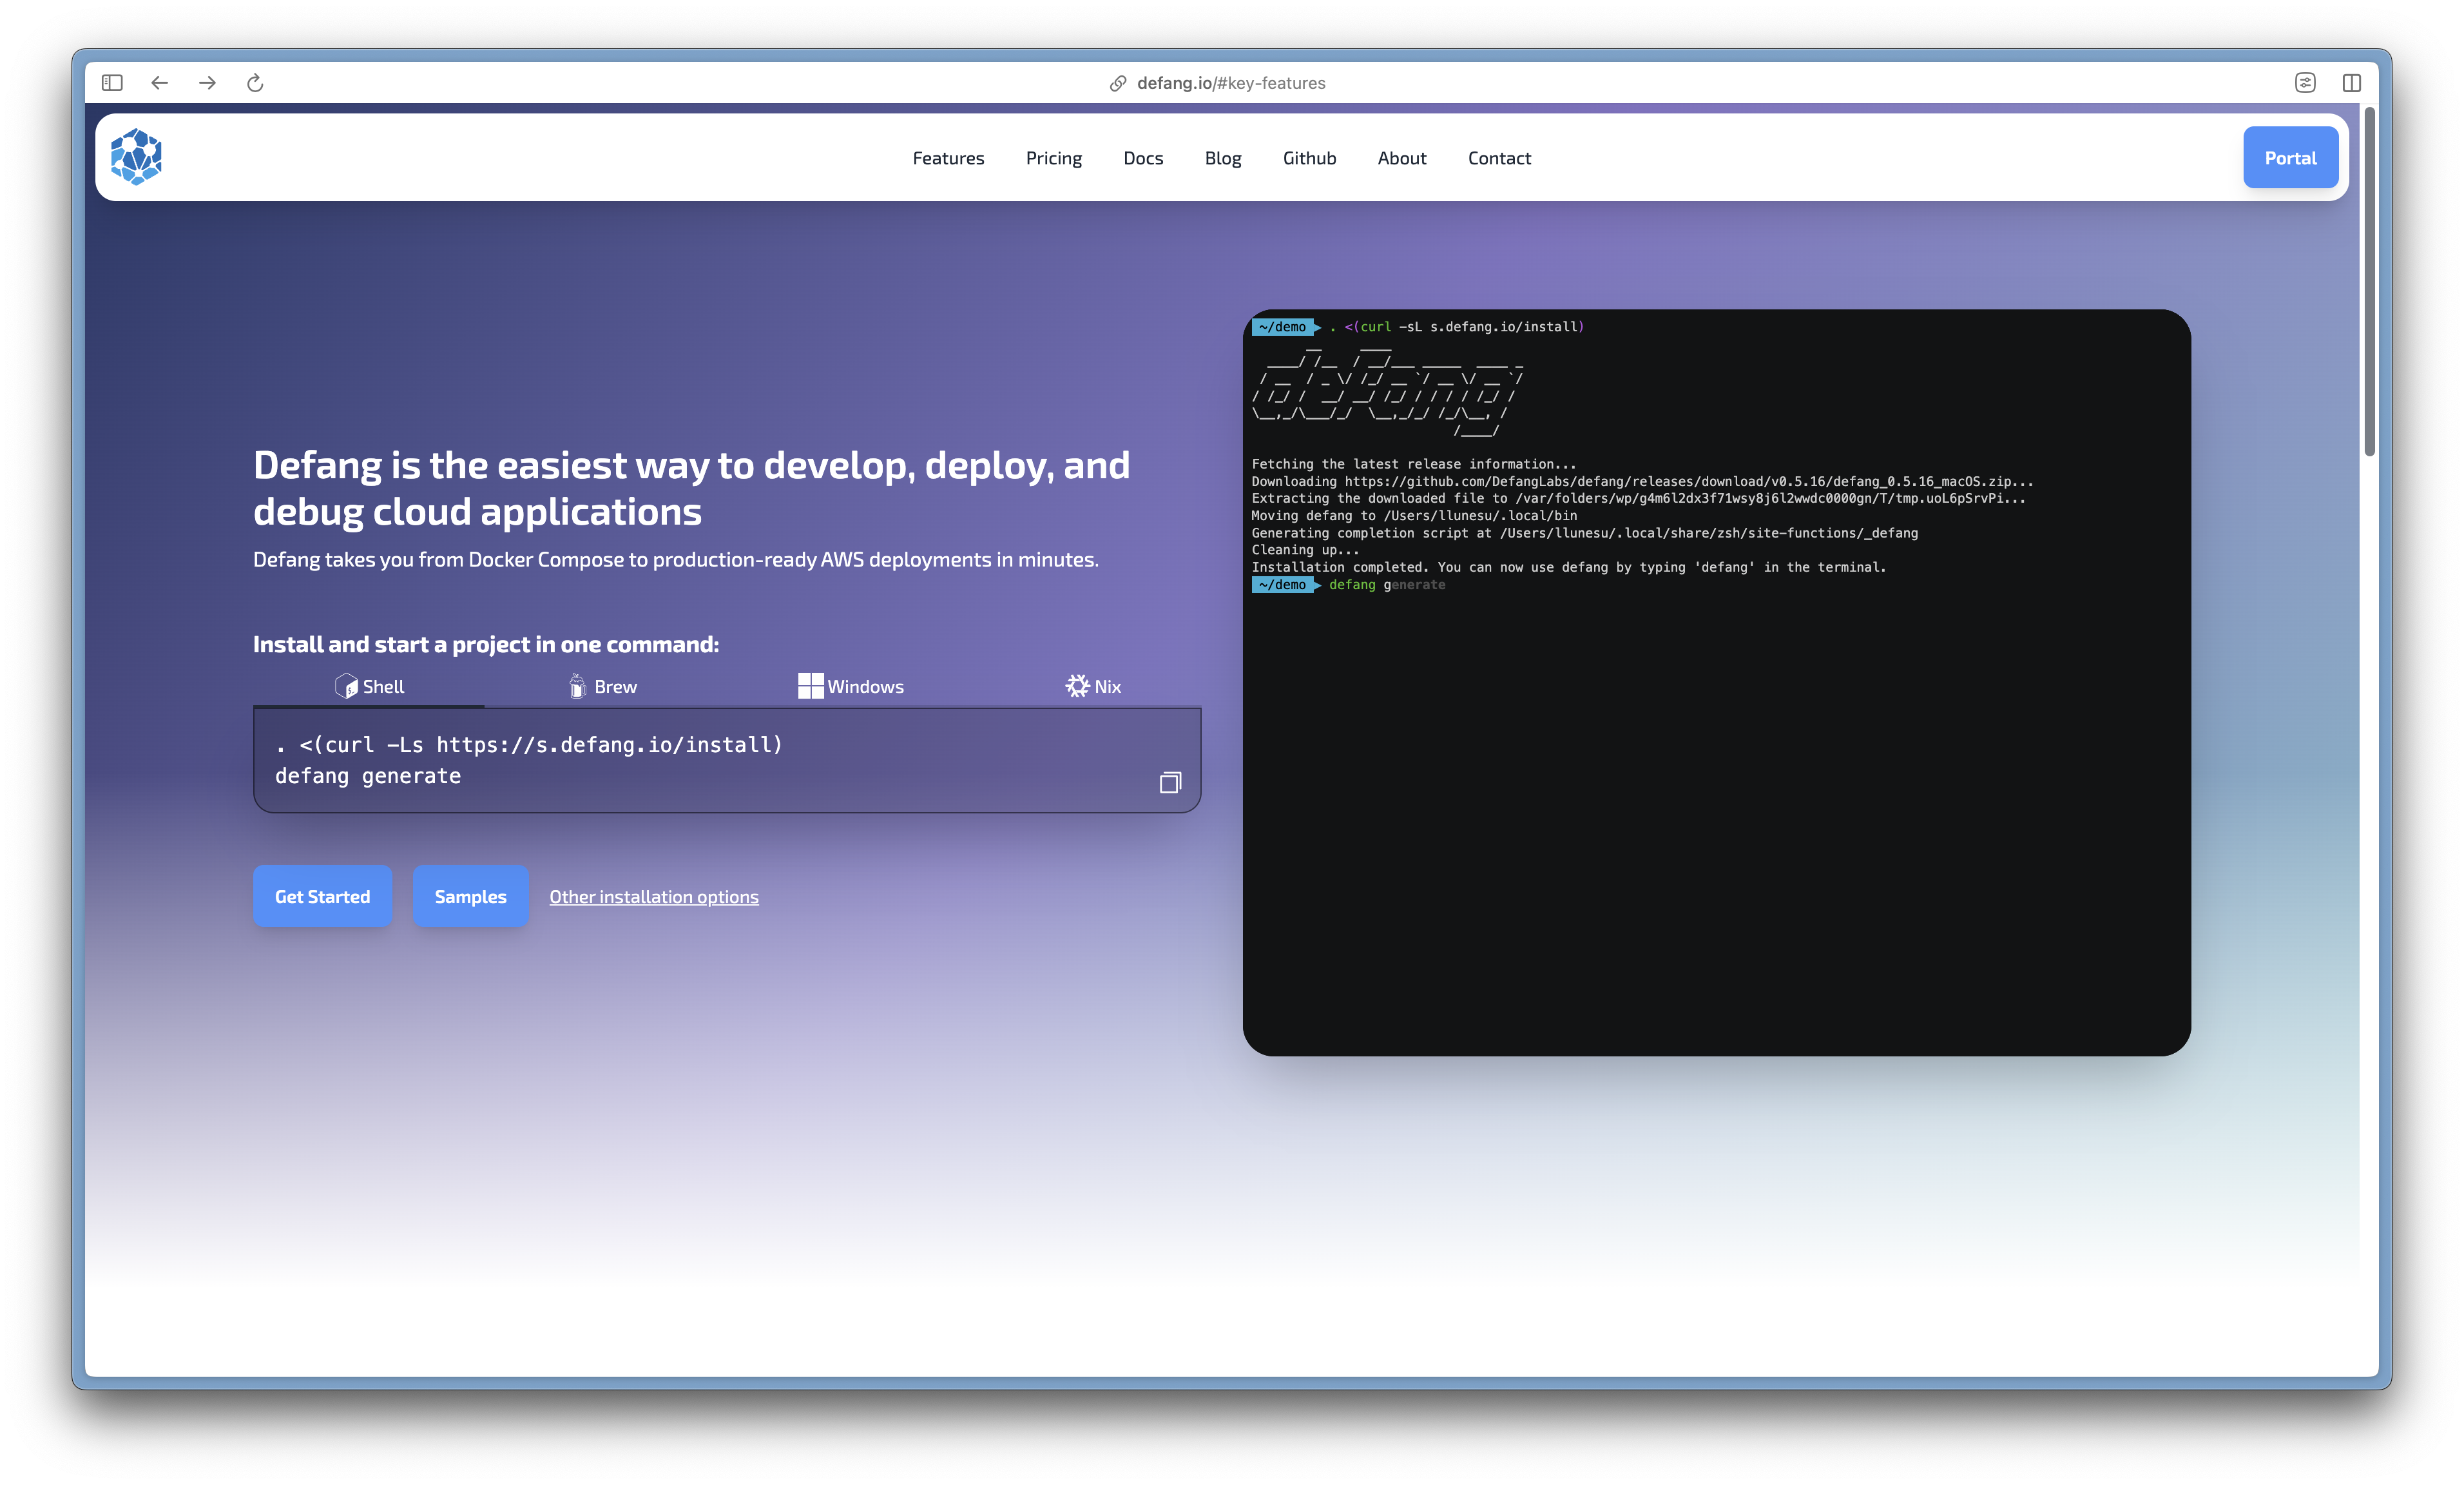
To deploy your project effortlessly using Defang, navigate to the parent directory where your Docker Compose and client-server Docker files are located. Simply execute the command:
defang compose up
This command initiates the Defang process, which takes care of all aspects of building, networking, and provisioning your application. With this single command, you can deploy any project, making it accessible over the internet with minimal effort.
Defang streamlines the deployment process by managing container lifecycles and configurations automatically. Whether you're updating your application or starting a new service, running defang compose up ensures that your project is built and deployed efficiently, allowing you to focus on development rather than infrastructure management.
Built With
- defang
- fastapi
- next.js
- python
- typescript


Log in or sign up for Devpost to join the conversation.