
Inspiration
What it does
How we built it
Development Process
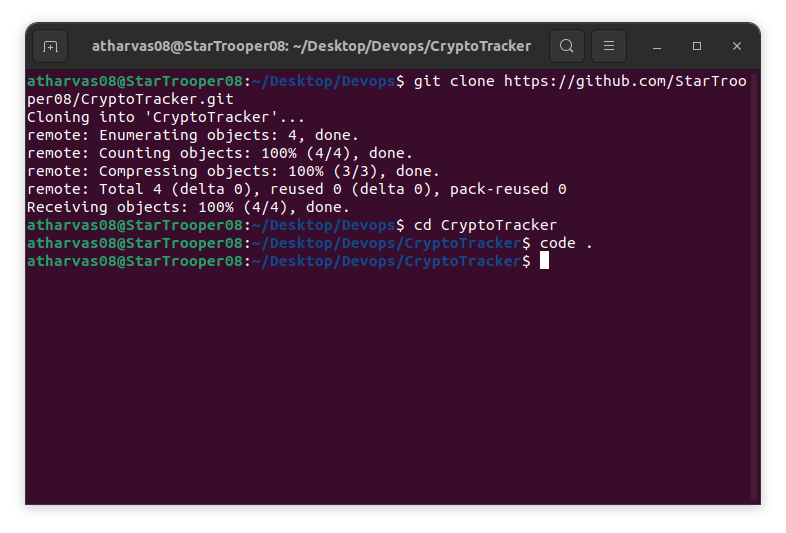
- Created Empty repository on github
- Clone it locallly
Changed directory to project folder
Initialize virtual environment
Created .gitignore file and added venv path to it because we want to push venv to be pushed to github.
installed required python libraries using pip install

created app.py
touch app.py
Code
import libs
import streamlit as st import pandas as pd import yfinance as yf import plotly.express as px from datetime import datetime from datetime import date from dateutil.relativedelta import relativedelta
crypto_mapping = {"Bitcoin":"BTC-USD","Ethereum":"ETH-USD"}
streamlit app title
st.title("Crypto Tracker") st.image("header.png", width=900)
sidebar
crypto_option = st.sidebar.selectbox( "Which Crypto currency do you want to visualize?",("Bitcoin","Ethereum") )
start and end date for tracking value
start_date = st.sidebar.date_input("Start Date", date.today() - relativedelta(month=1)) end_date = st.sidebar.date_input("End Date", date.today())
data_interval = st.sidebar.selectbox(
"Data Interval", { "1m", "2m", "5m", "15m", "30m", "60m", "90m", "1h", "1d", "5d", "1wk", "1mo", "3mo", },
)
symbol_crypto = crypto_mapping[crypto_option]
data_crypto = yf.Ticker(symbol_crypto)
value_selector = st.sidebar.selectbox( "Value Selector", ("Open","High","Low","Close","Volume") )
if st.sidebar.button("Generate"): crypto_hist = data_crypto.history( start=start_date, end=end_date, interval=data_interval )
fig = px.line(crypto_hist,
x = crypto_hist.index,y=value_selector,
labels={"x":"Date"})
st.plotly_chart(fig)
> First imported libraries then created titile of web app and sidebar for our app using streamlit, used crypto price data from yfinance library, and plotted it using plotly library
9. Created requirements.txt file and mentioned required/used libraries. So that we can easily install only required libs for this app docker image.
10. Created Dockerfile and configured it for our web app.
```Dockerfile
FROM python:3.9-slim
COPY . /app
WORKDIR /app
RUN pip3 install -r requirements.txt
EXPOSE 8501
ENTRYPOINT ["streamlit", "run", "app.py", "--server.port=8501", "--server.address=0.0.0.0"]
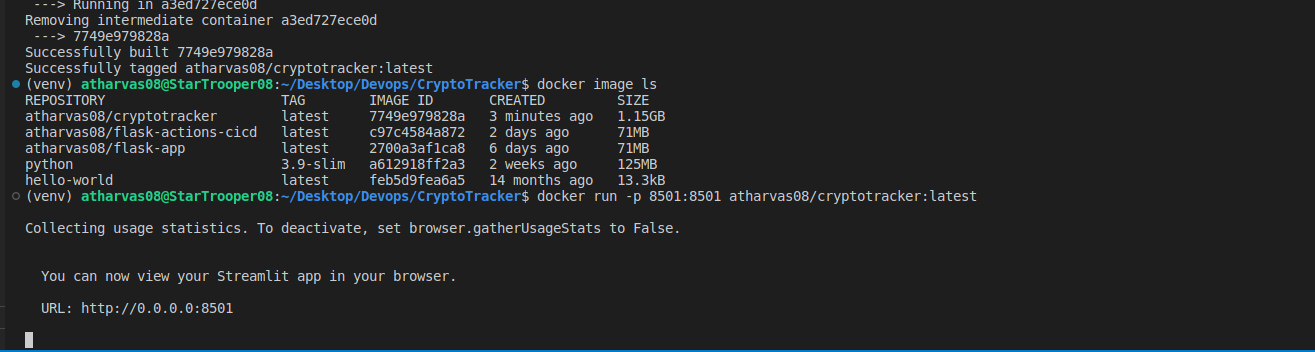
- Build Docker Image Locally

- Tested Docker Image locally whether its running properly or not.
- Used dockerslim to minimize docker size and find Vulnerabilities
- Tested slimmed image created using dockerslim running properly locally or not.
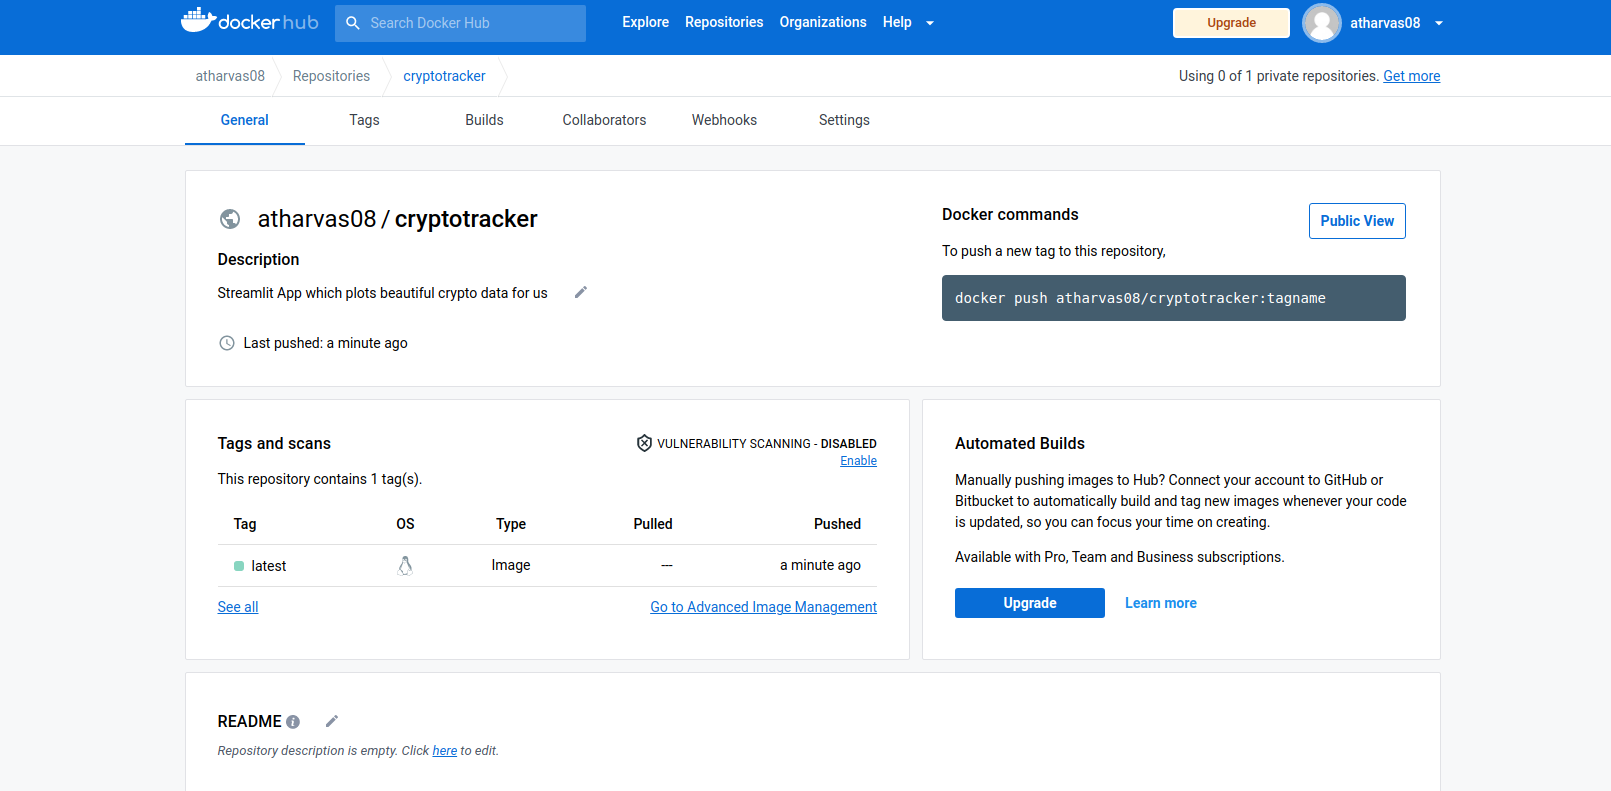
- Created Repository on Dockerhub so that we can push our image to it.
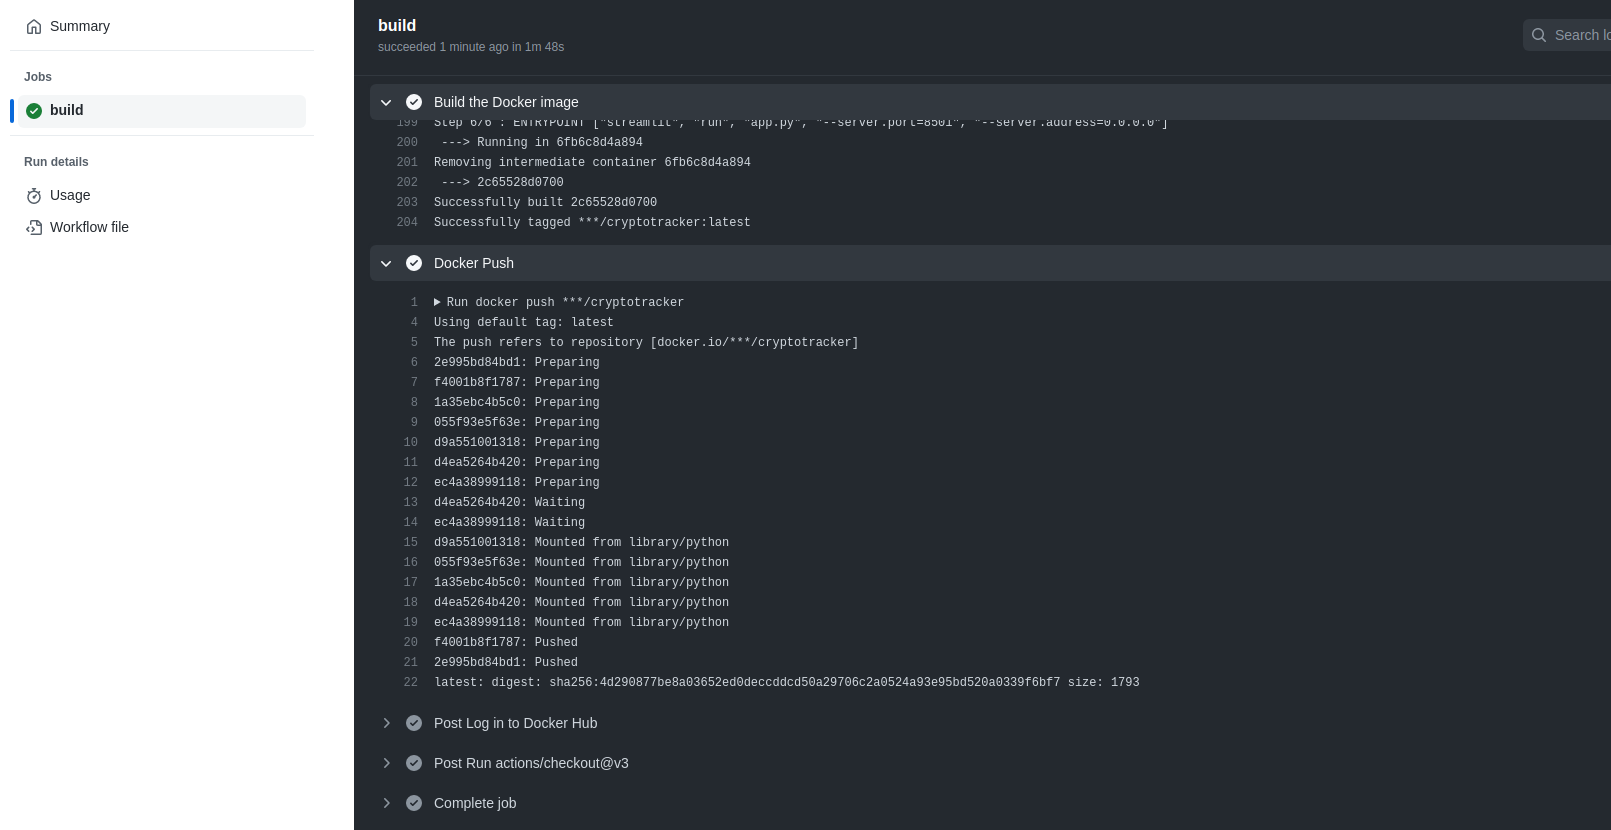
- Created Github actions CI/CD which will build and push docker image to our dockerhub registry automatically after every git commit on our main branch. ```yaml name: Build and Push Docker Image to Docker Hub
on: push: branches: ['main']
jobs: build: runs-on: ubuntu-latest
steps:
  - uses: actions/checkout@v3

  - name: Log in to Docker Hub
    uses: docker/login-action@28218f9b04b4f3f62068d7b6ce6ca5b26e35336c
    with:
      username: ${{ secrets.DOCKER_USER }}
      password: ${{ secrets.DOCKER_PASS }}

  - name: Build the Docker image
    run: docker build . --file Dockerfile --tag ${{ secrets.DOCKER_USER }}/cryptotracker

  - name: Docker Push
    run: docker push ${{ secrets.DOCKER_USER }}/cryptotracker
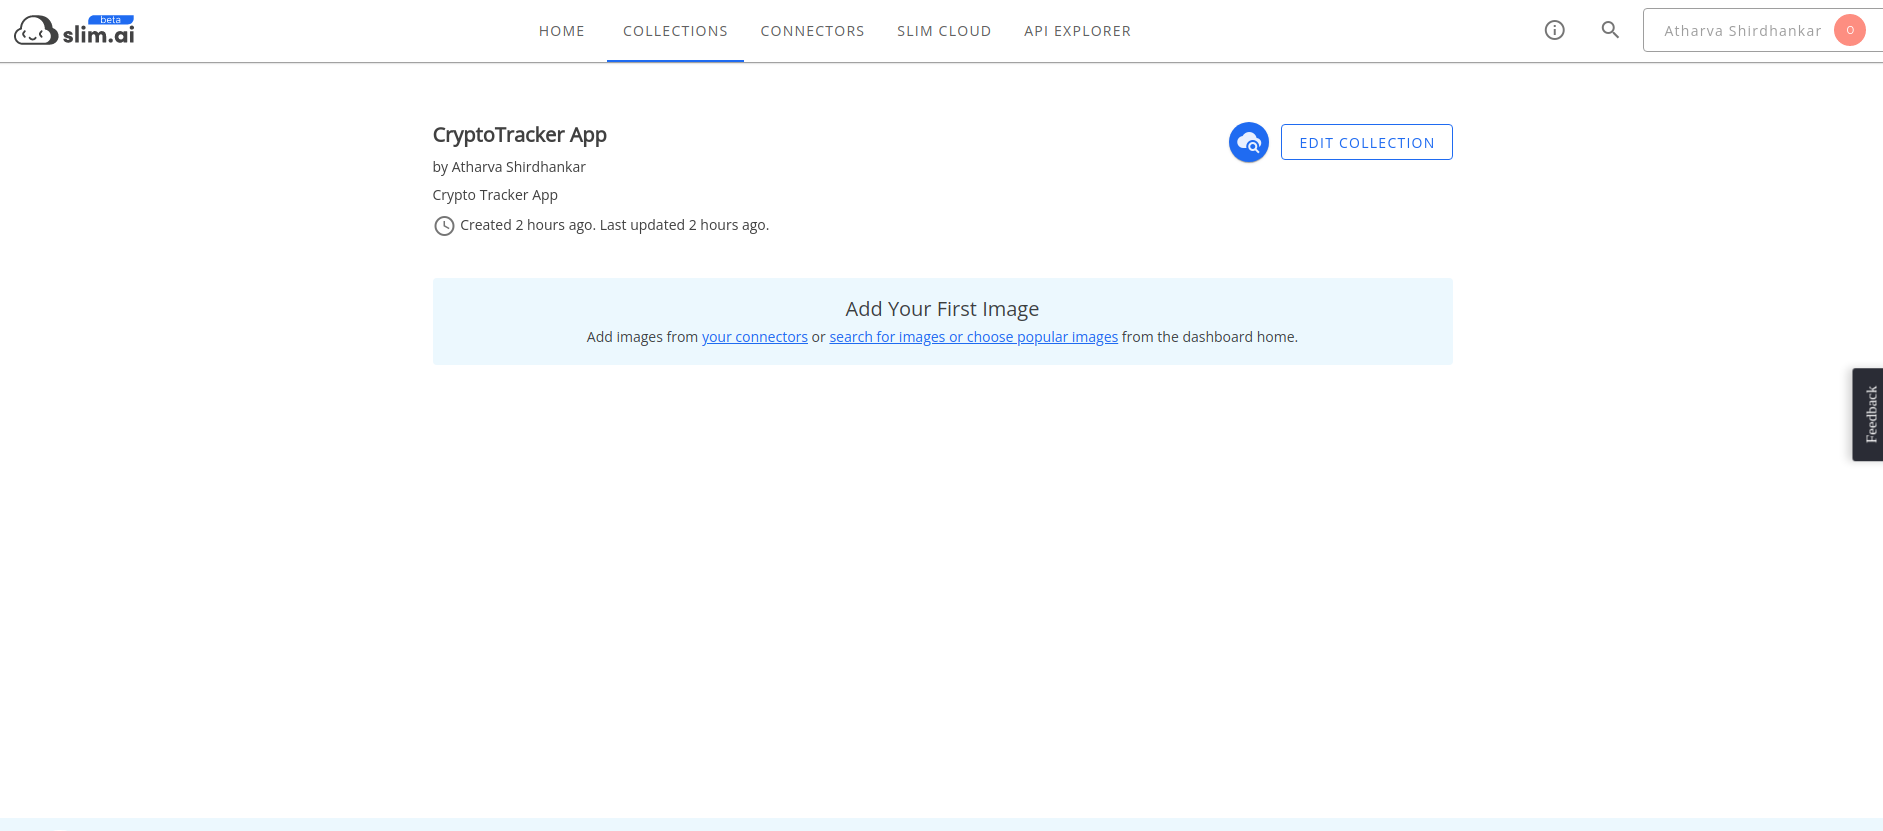
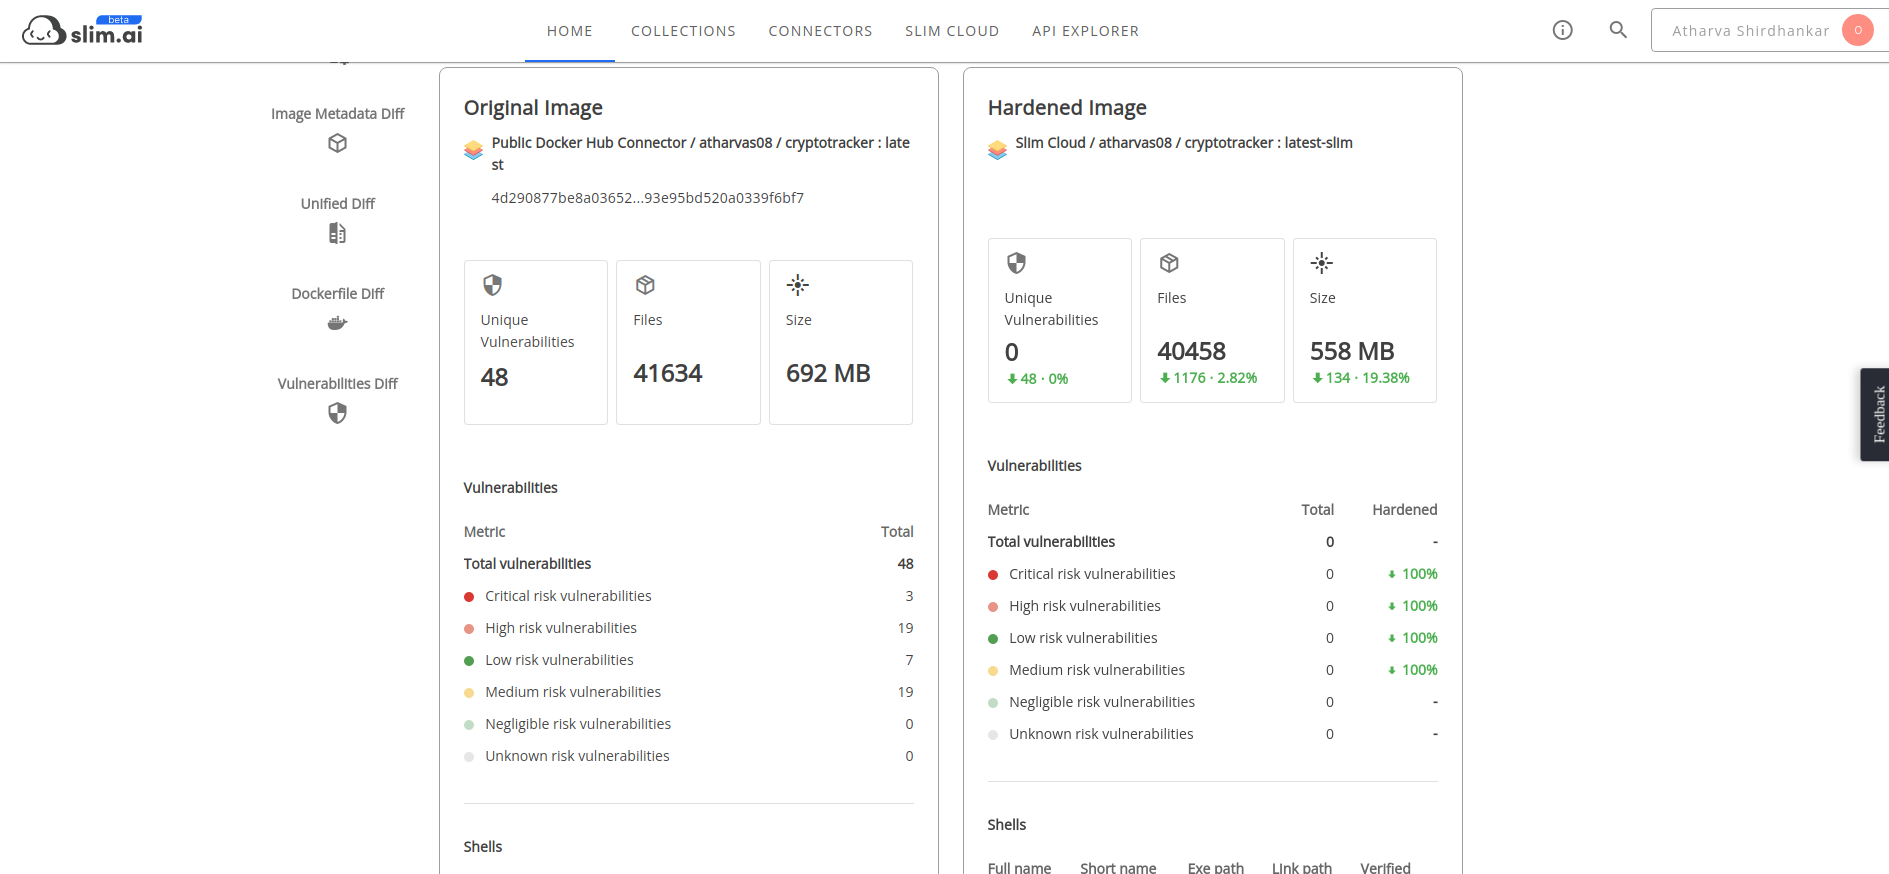
17. Added Docker Image to Slim.ai collection. And started process of hardening and optimizing docker image.
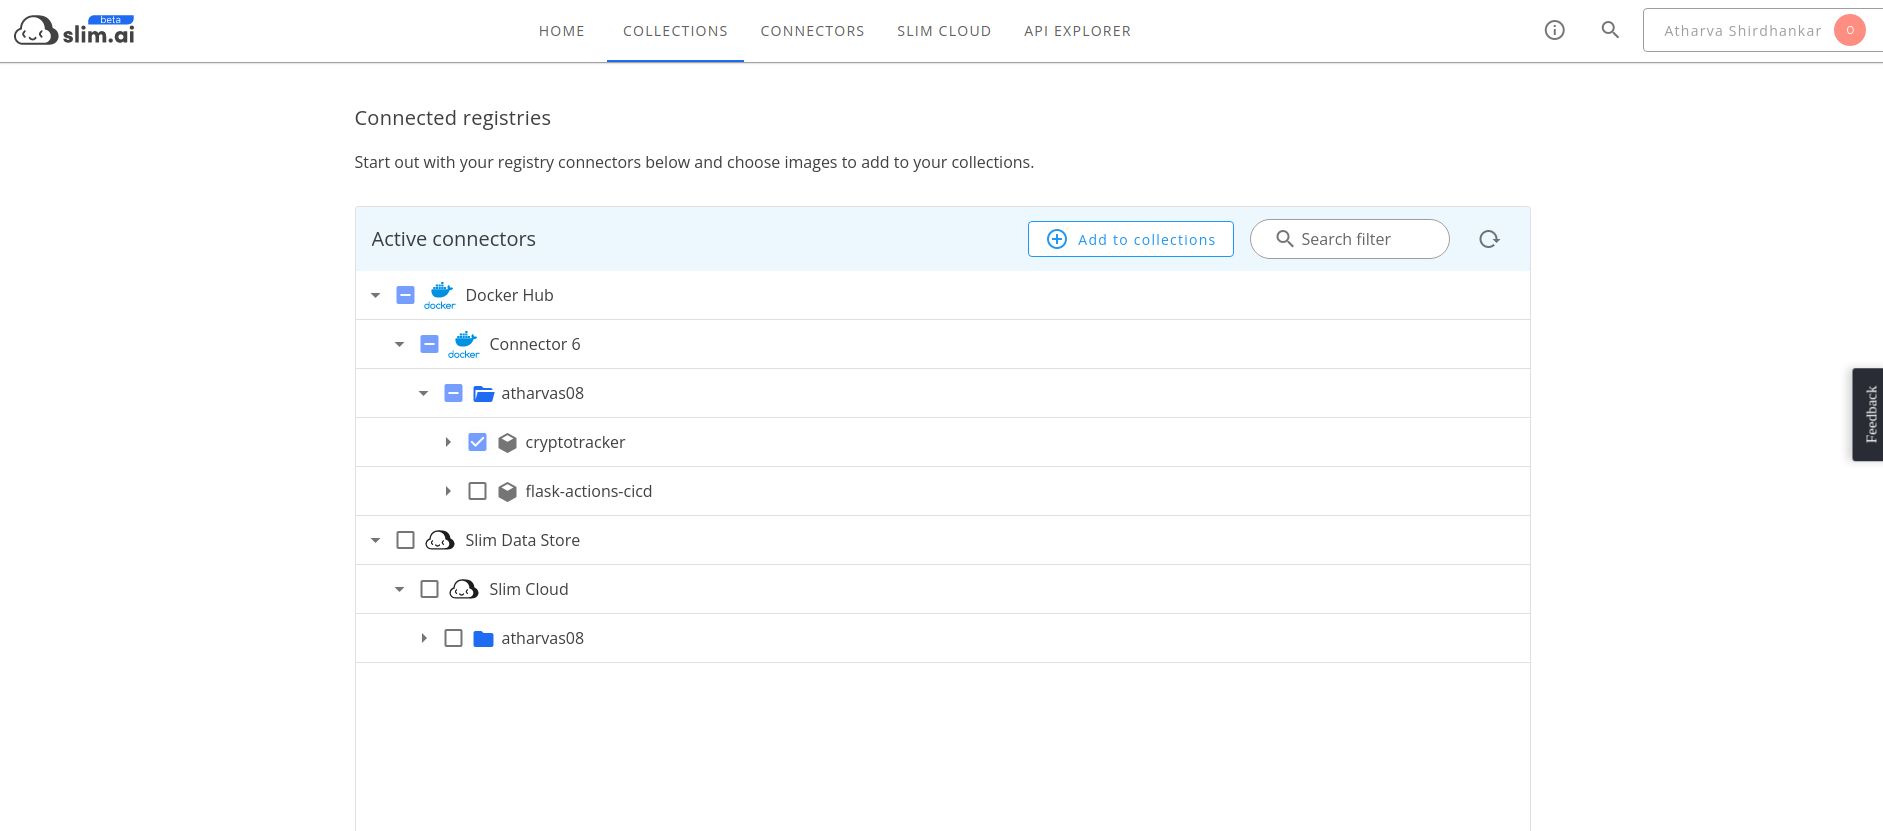
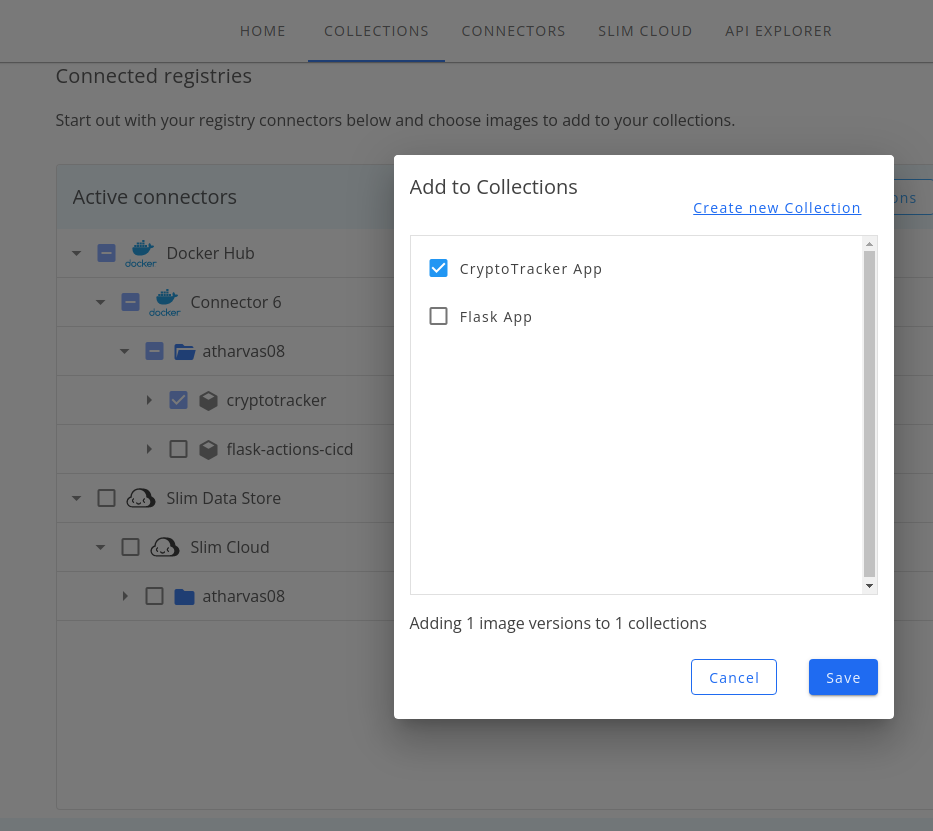
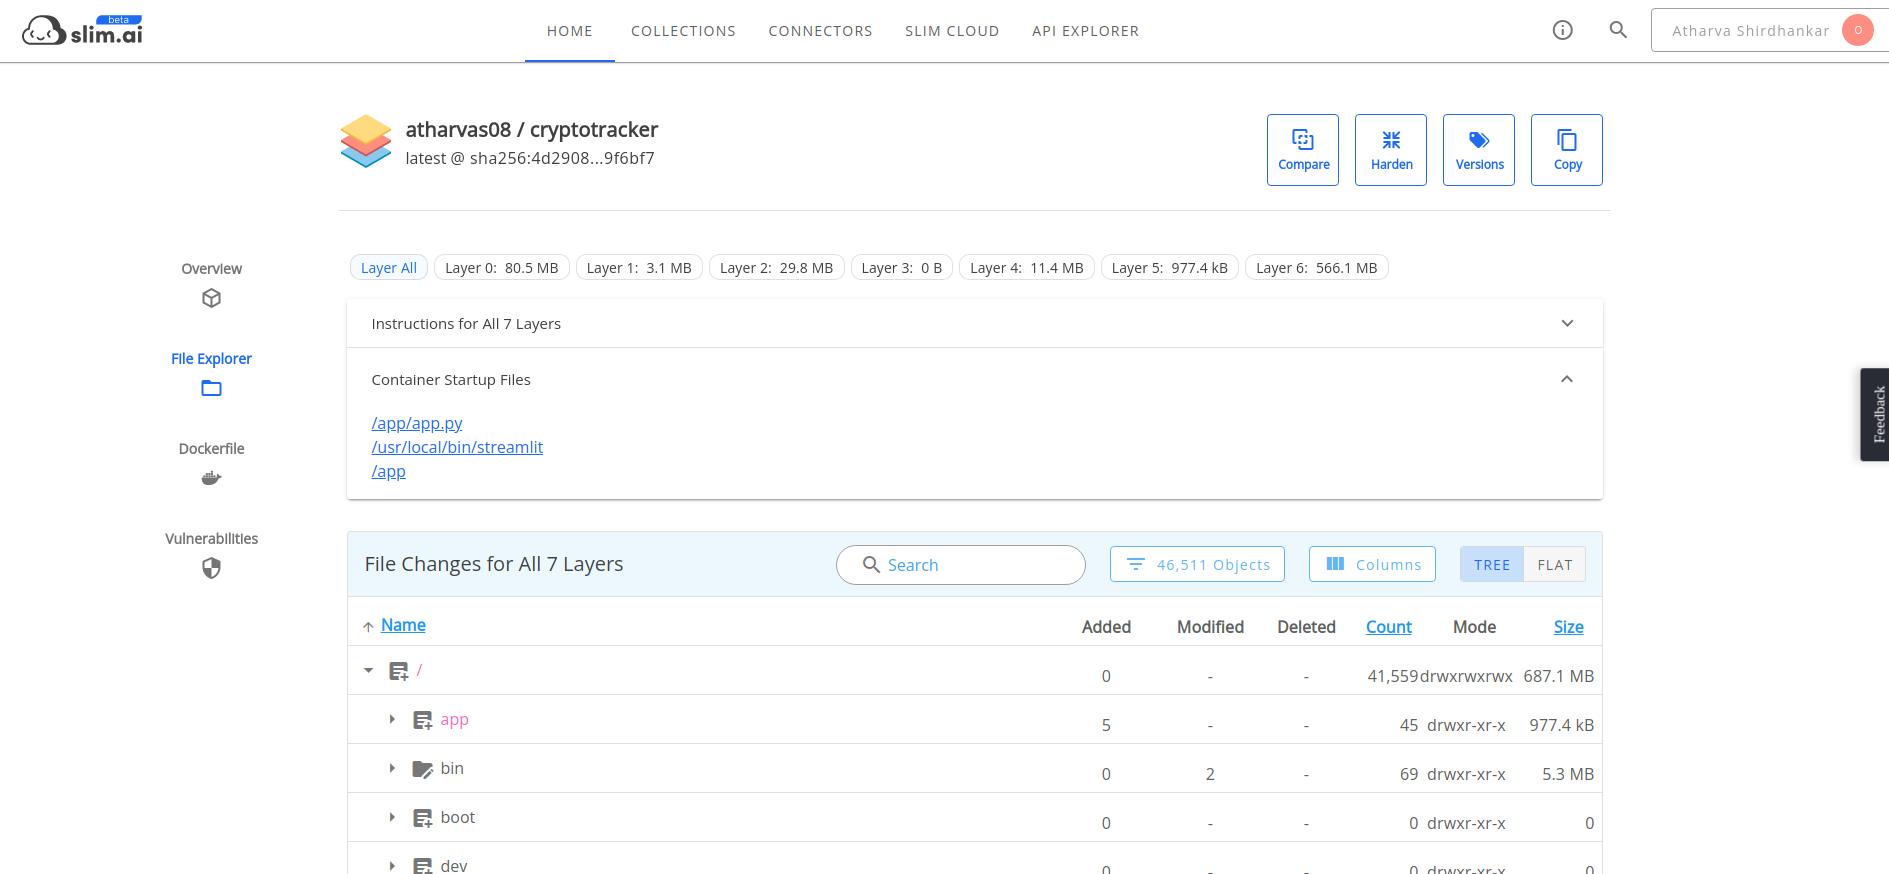
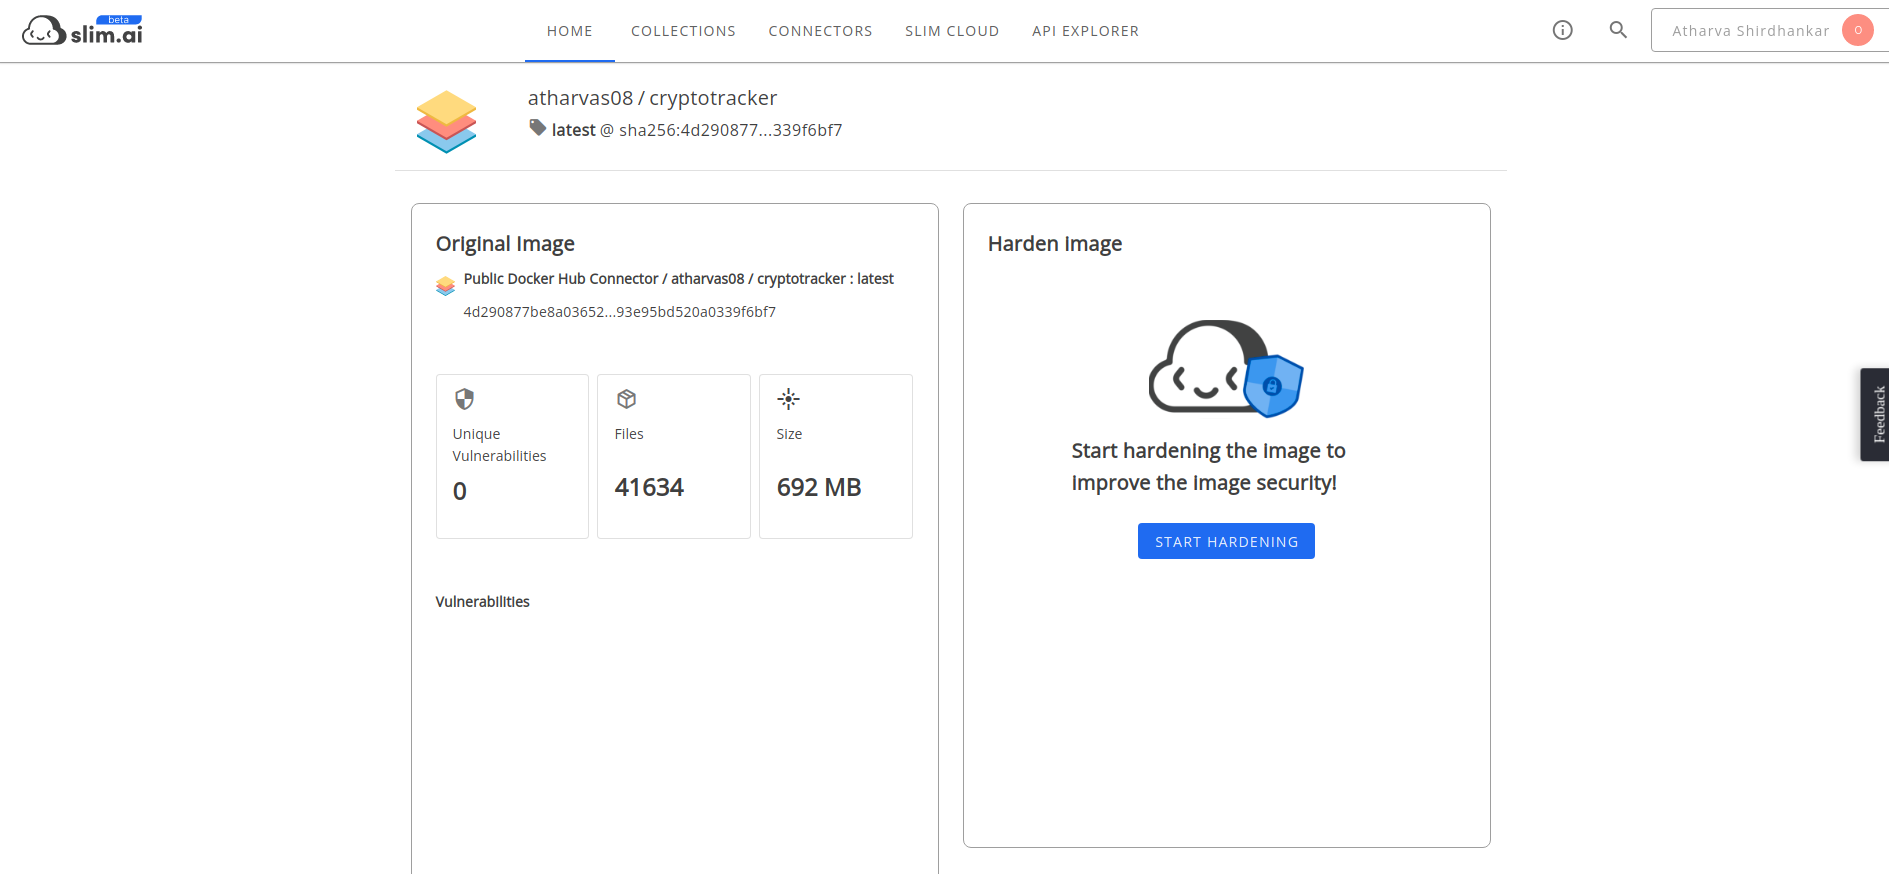
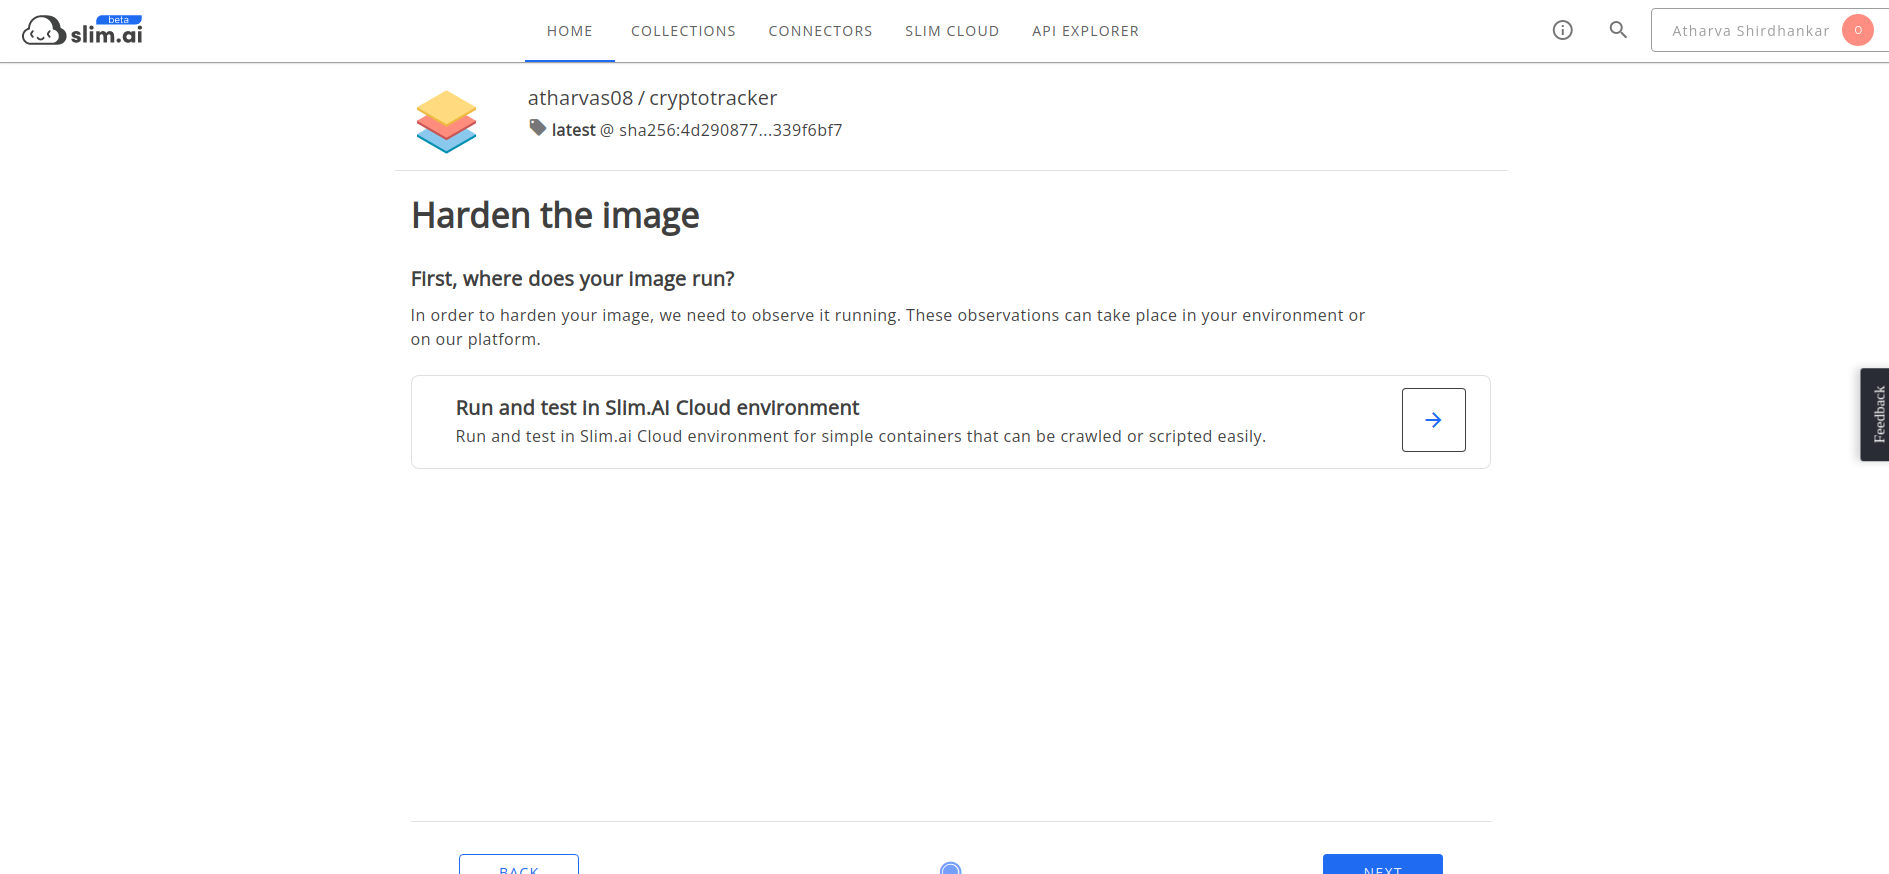

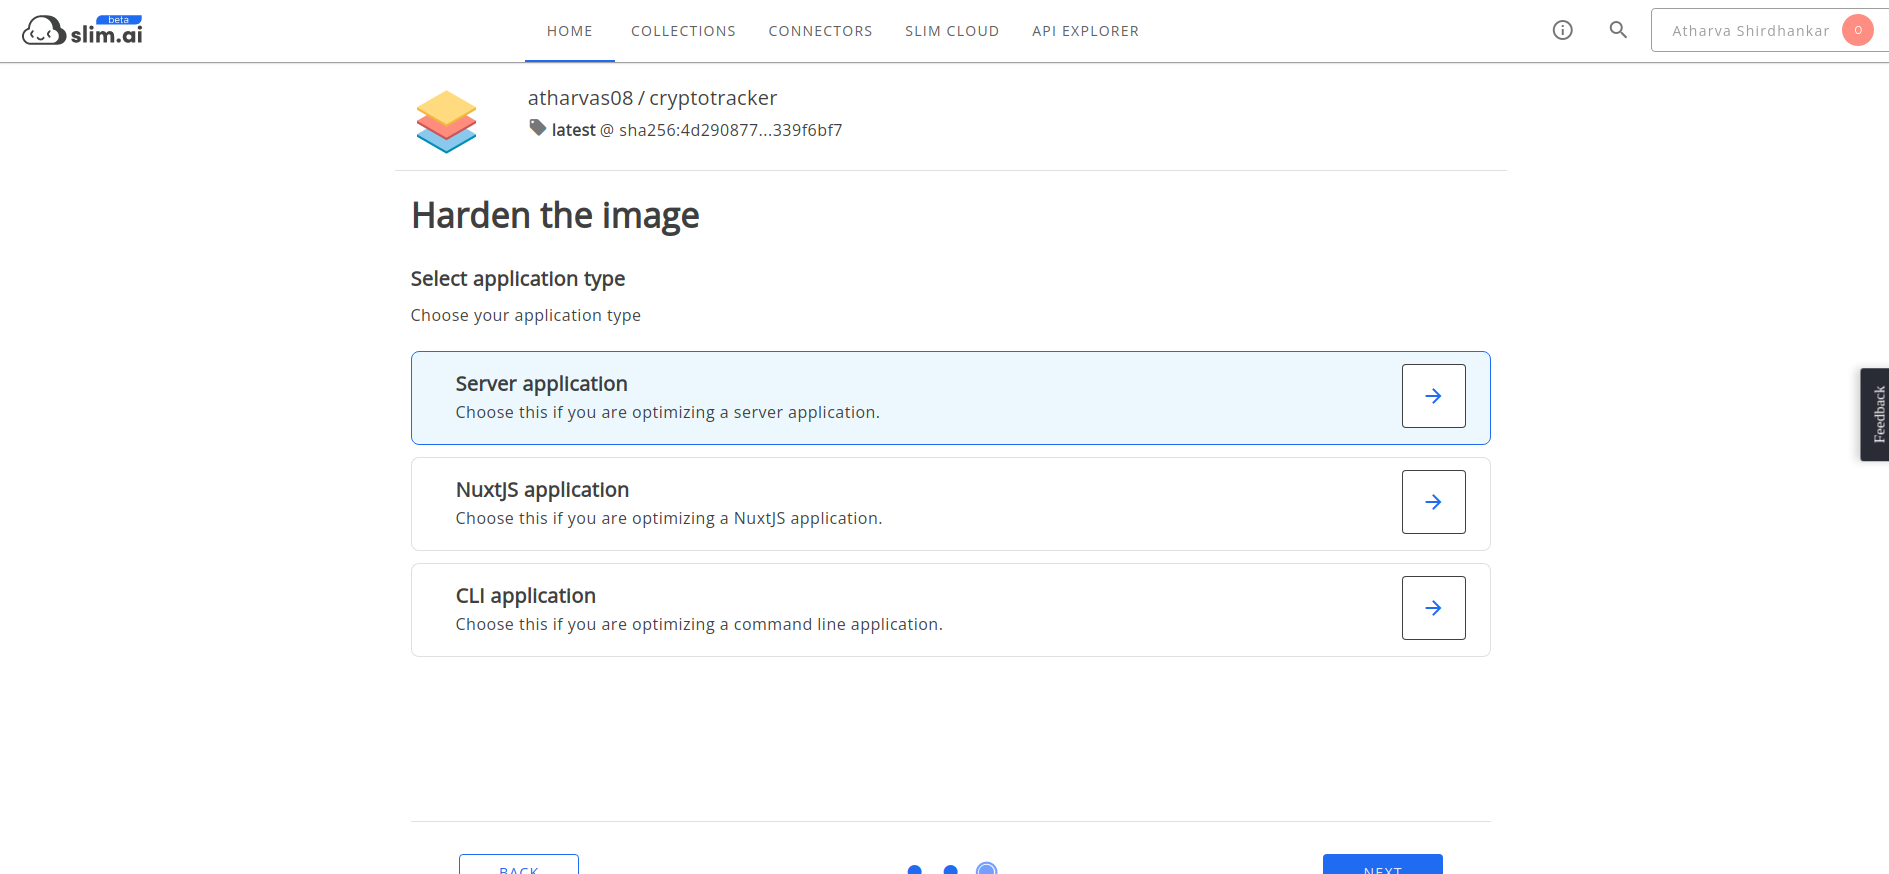
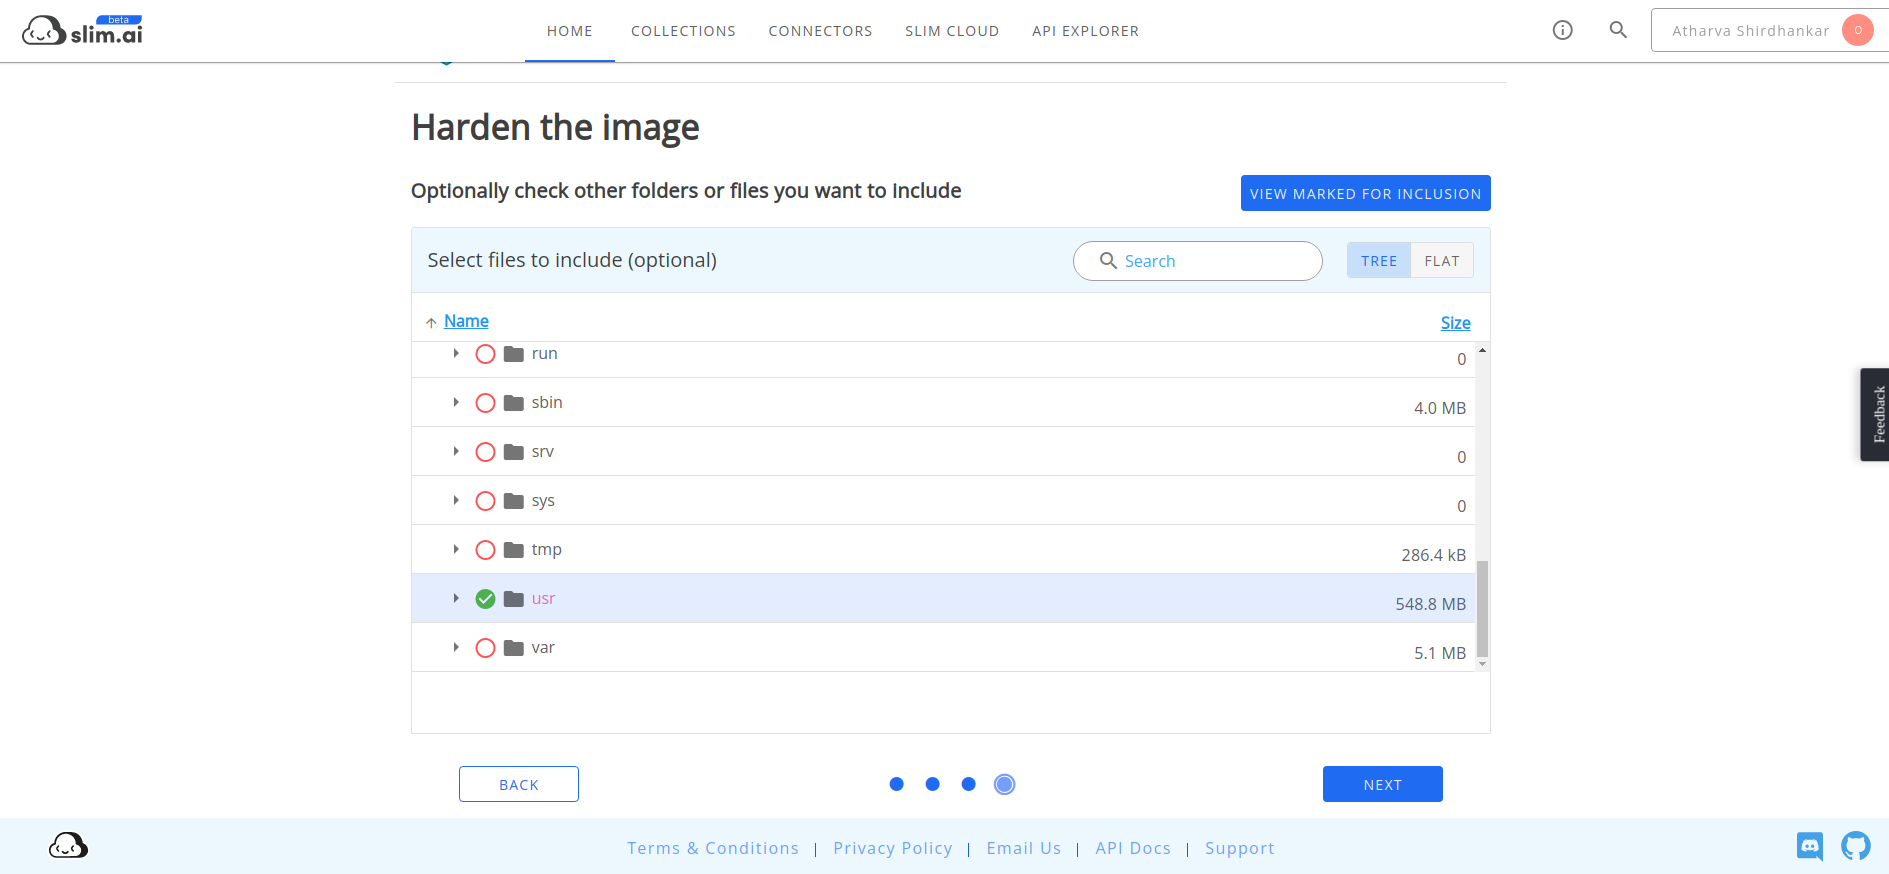
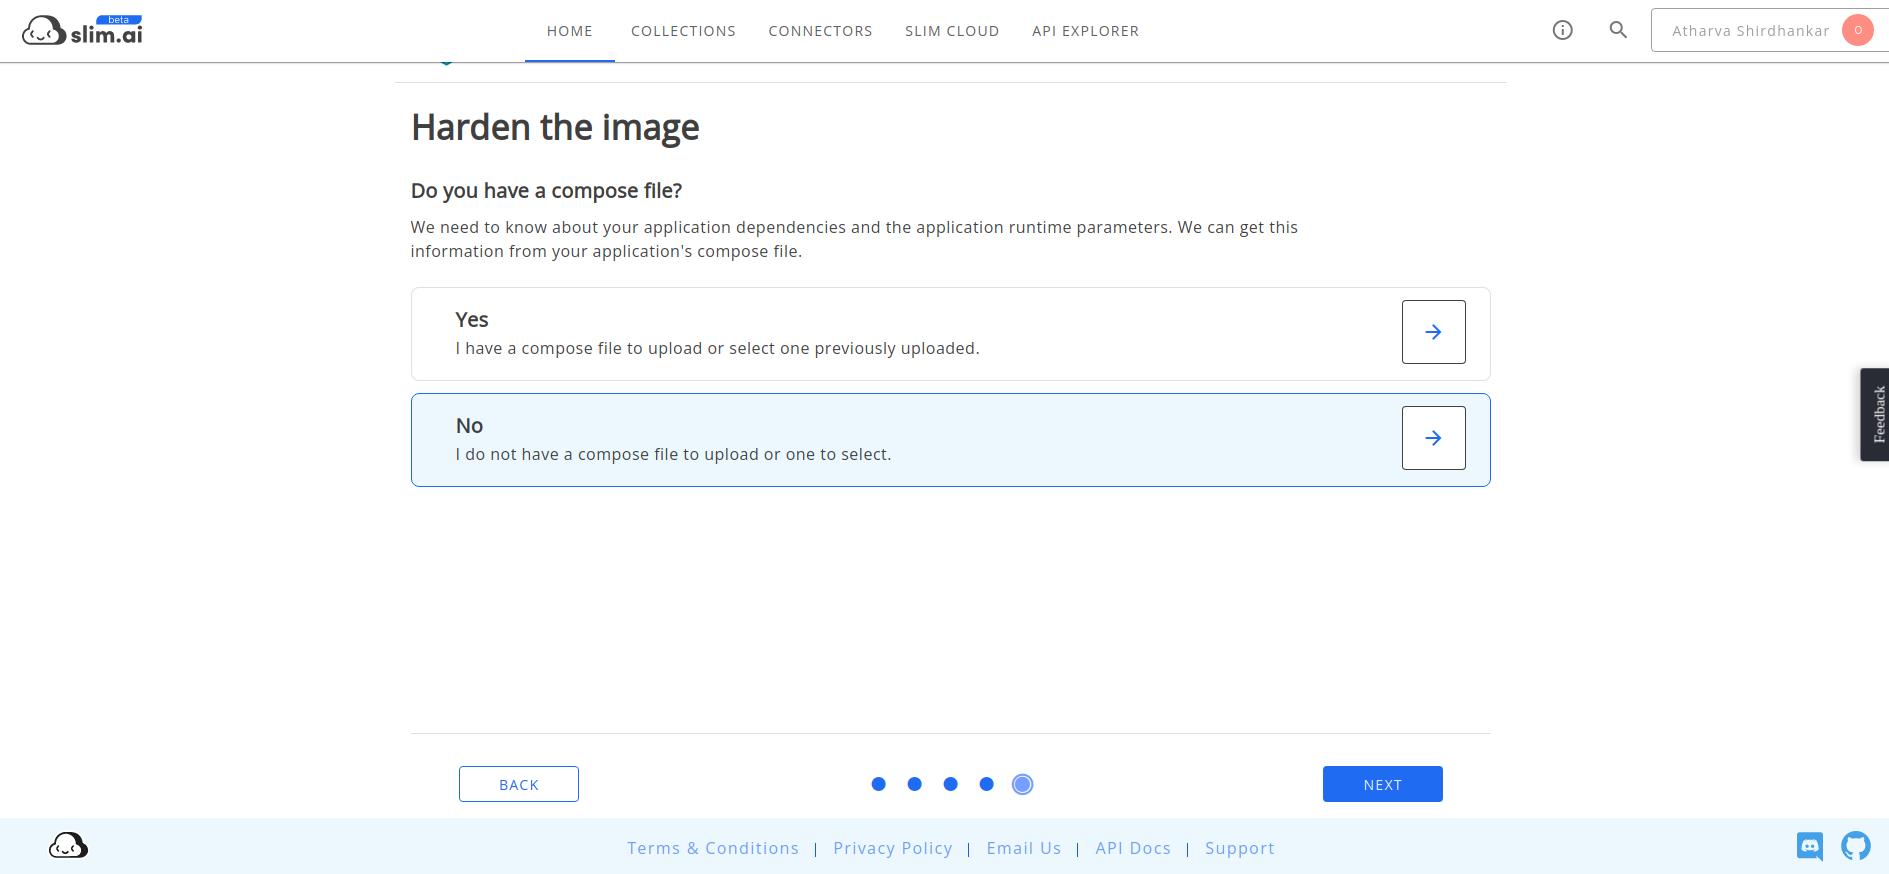
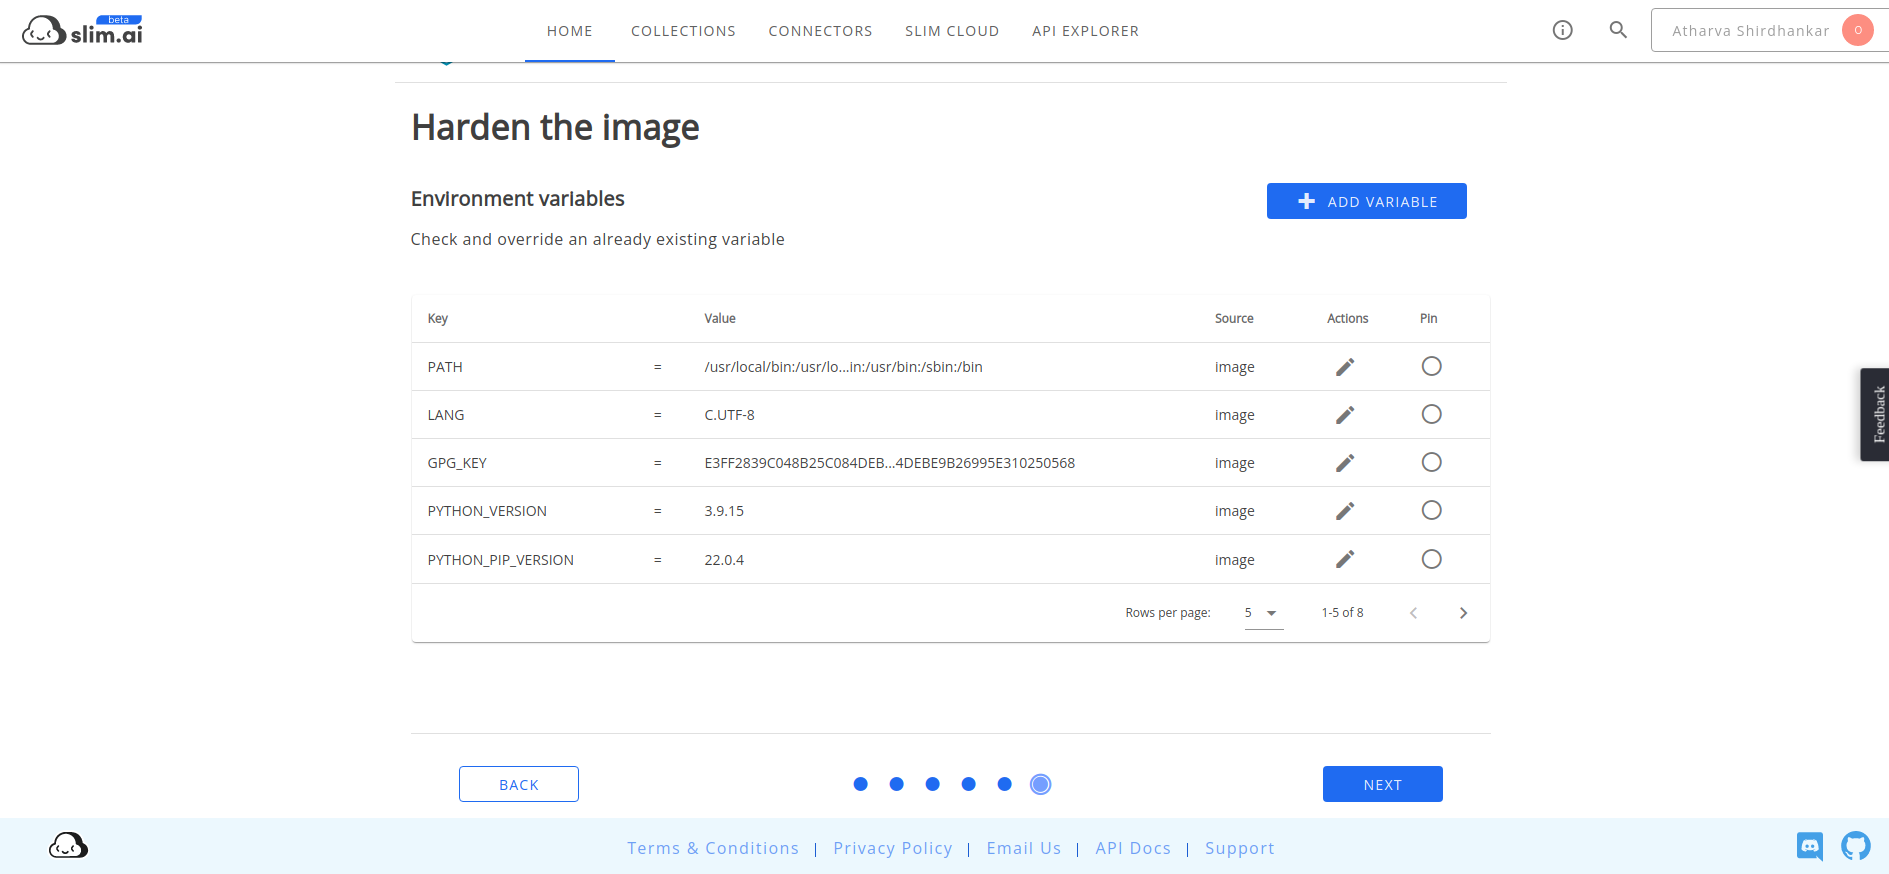
18. Hardened and optimized the Image using Slim.ai
19. And Done with the development process.Thank you :)
Slim.ai Collection for this app:
https://portal.slim.dev/collections/rkcol.2IW3VKKwp1eRIr4TbV4E2Armuzn
## Challenges we ran into
## Accomplishments that we're proud of
## What we learned
In this hackathon learned about how to use dockerslim and slim.ai to optimize and hardened docker image
Slim ai collection link for this app:
https://portal.slim.dev/collections/rkcol.2IW3VKKwp1eRIr4TbV4E2Armuzn
## What's next for CryptoTracker

Log in or sign up for Devpost to join the conversation.