Inspiration
Many new creators struggle with basic 3D asset steps, so this tutorial shows a simple Blender-to-Desktop-Editor path with clear names, textures, and imports to remove guesswork.
What it does
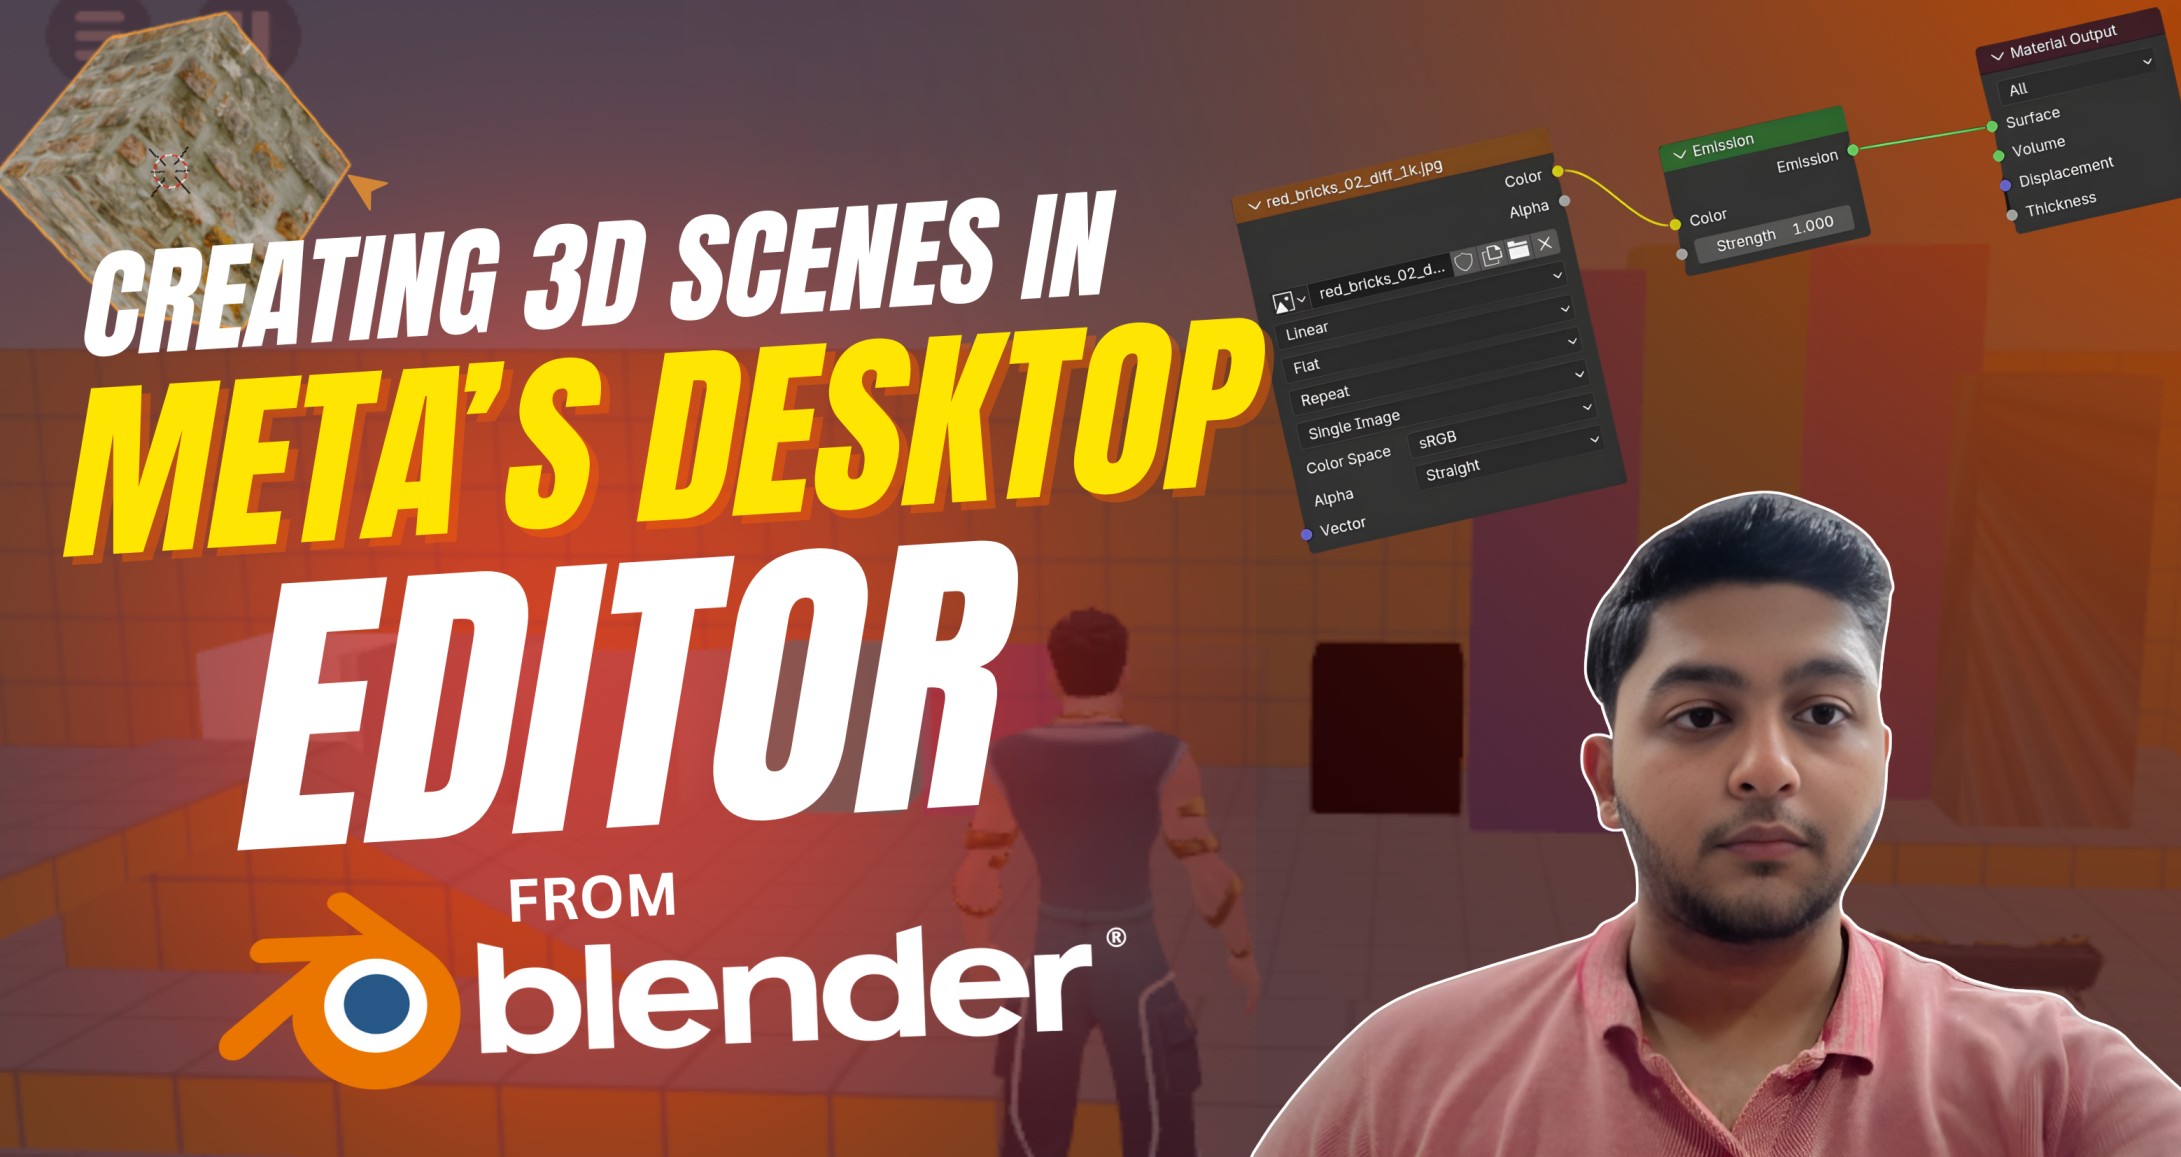
It teaches how to model, UV, pack textures (BR/MEO/MESA/BA), export FBX, and import assets so materials look correct on the first try. It also includes checklists, screenshots, and bilingual guidance to make learning faster and more inclusive.
How we built it
The content follows Devpost-style sections and was organized into short, repeatable steps with exact file names and suffixes for reliable imports. Each material path (Standard, Metal, Transparent, Unlit, Masked, UIO) includes naming, channels, and import steps tested against submission best practices.
Challenges we ran into
Balancing simplicity with completeness was hard, so content was trimmed to practical rules and visual checks that anyone can follow.
Accomplishments that we're proud of
A single cheat sheet now covers Standard, Metal, Transparent, Unlit, Masked, and UIO with exact names and channel maps. The pipeline is easy to copy: export FBX, upload with textures together, verify in scene, and fix fast using checklists.
What we learned
Clear naming and channel packing remove 80% of import problems, saving time and frustration for creators. Short, visual steps with consistent headings improve judging and help teams finalize submissions on time.
What's next for Creating & Importing Assets From Blender to Desktop Editor
Provide sample assets, before/after scenes, and a quick video walkthrough to speed adoption and reviews.


Log in or sign up for Devpost to join the conversation.