-
-
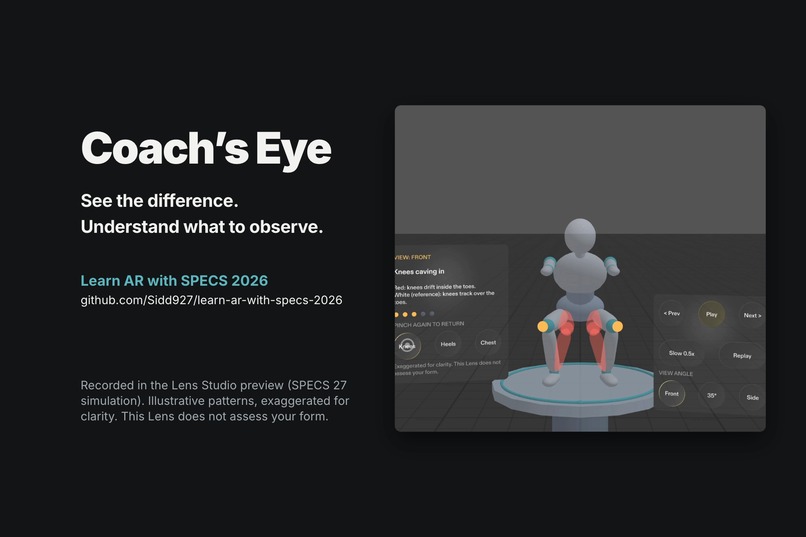
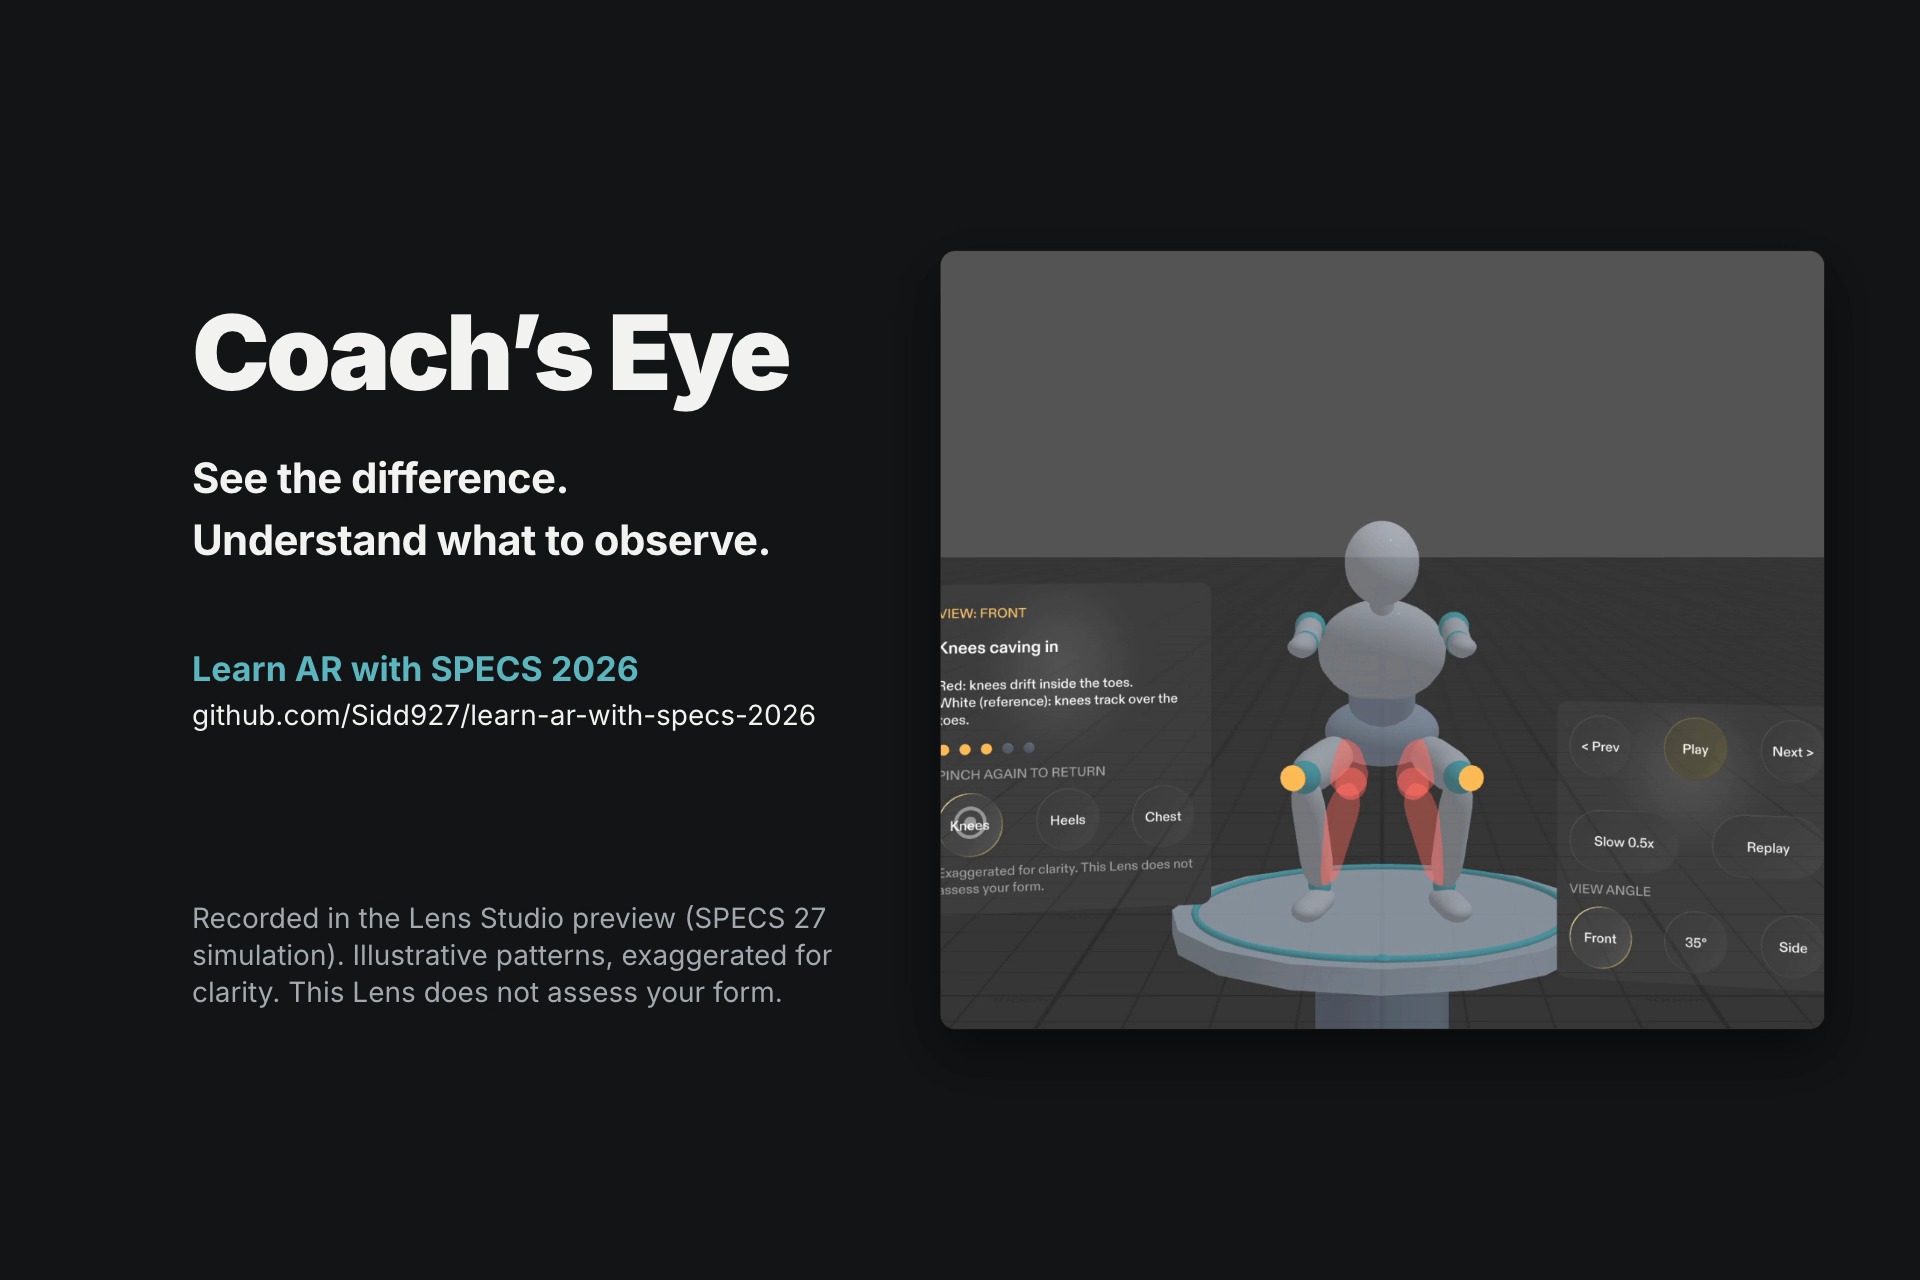
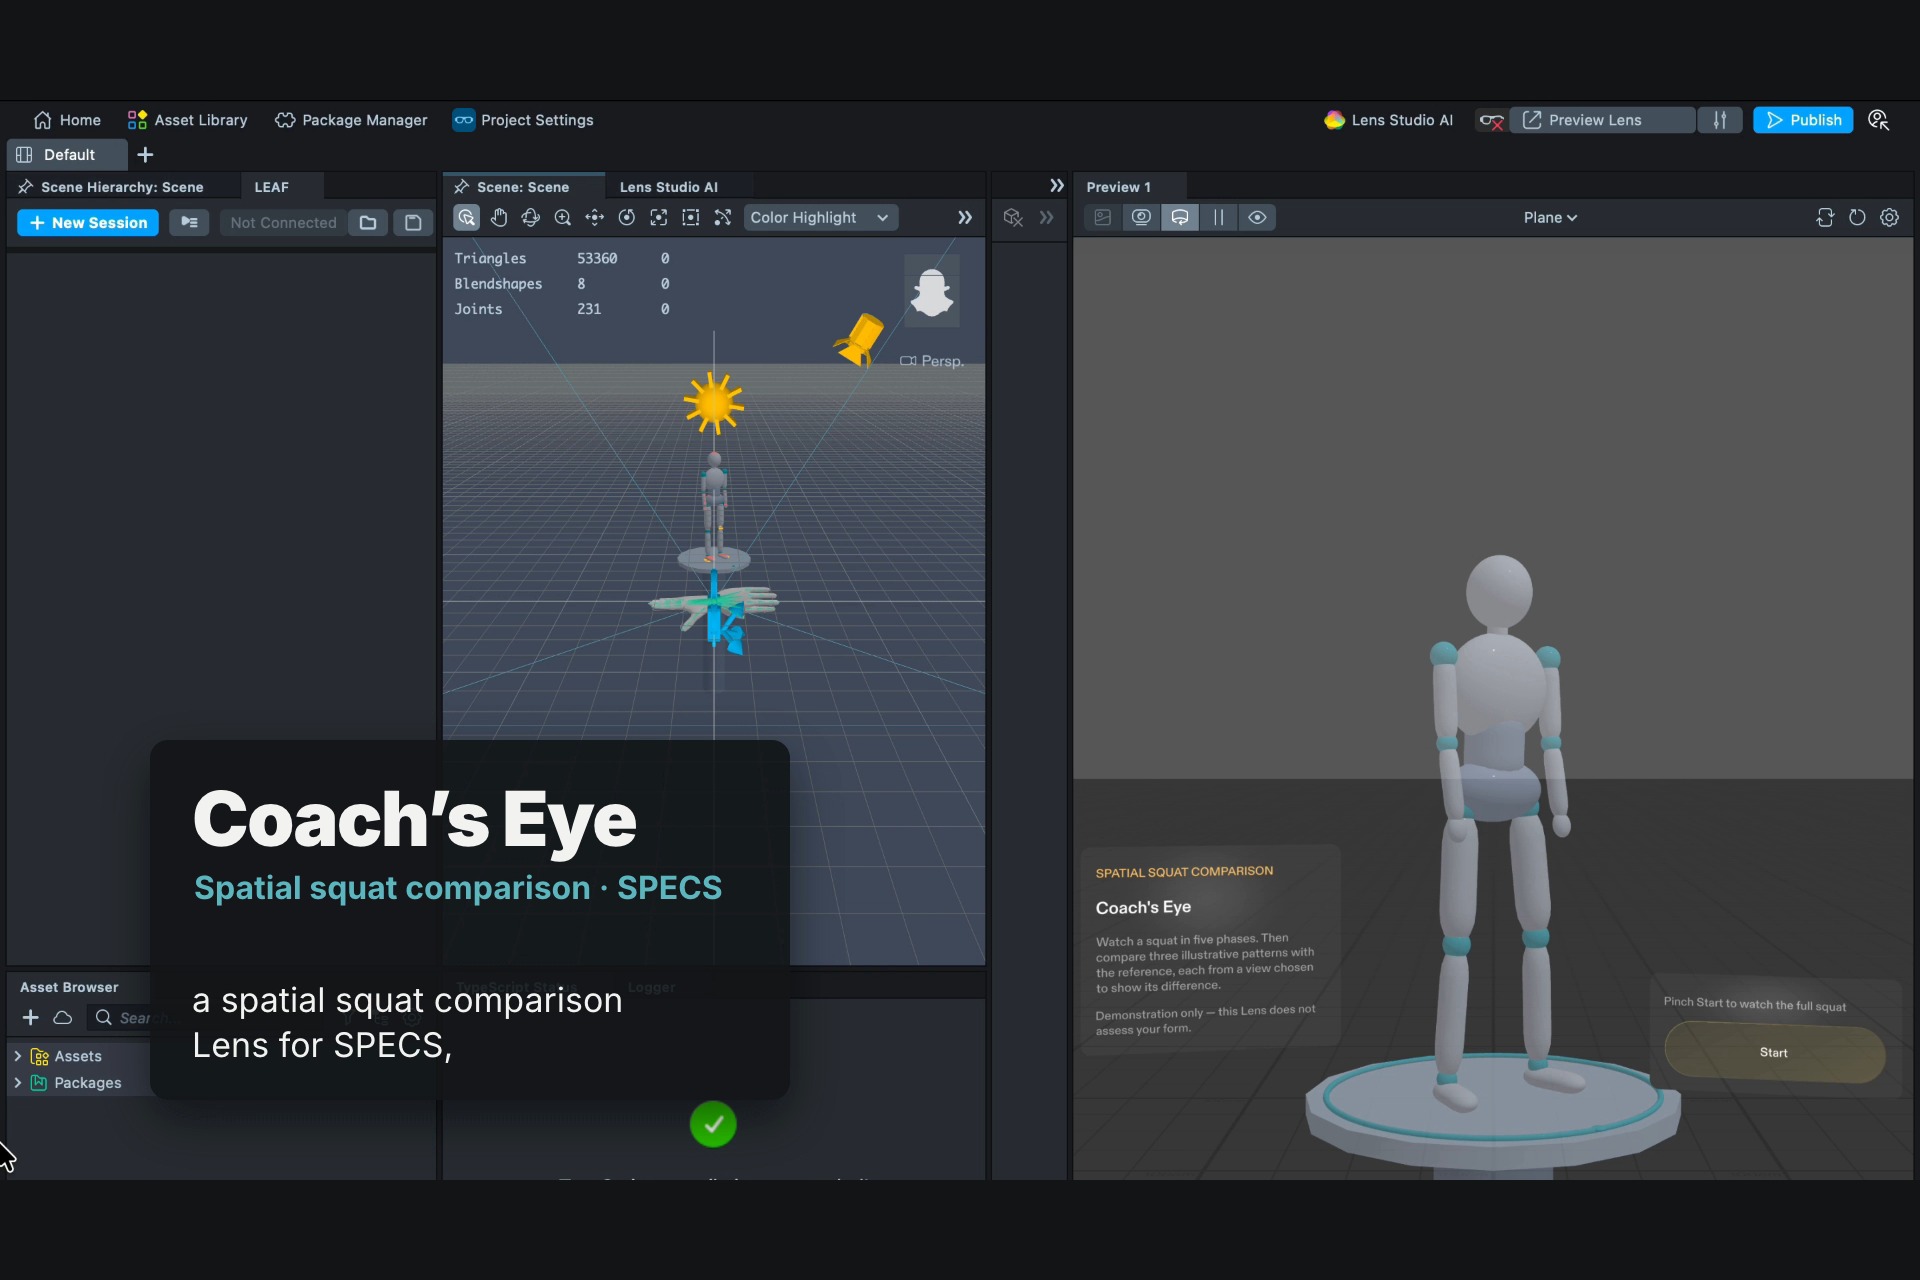
The Coach's Eye experience, introducing the project and its visual comparison approach.
-
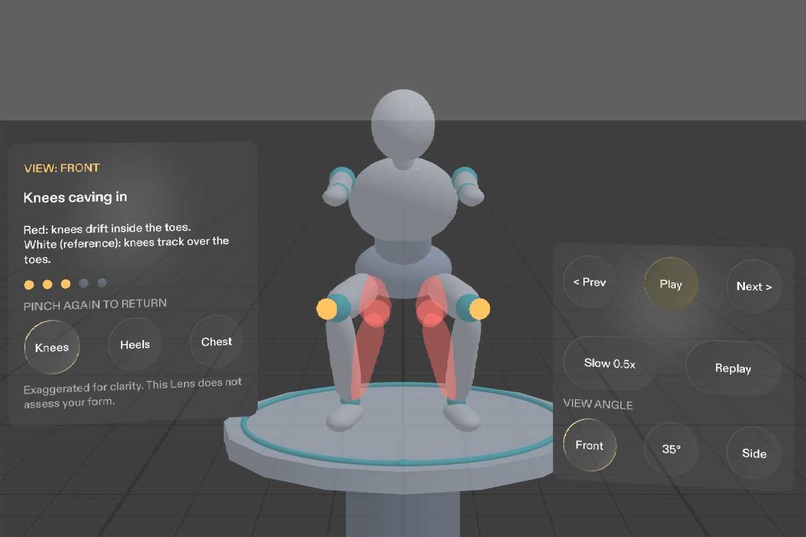
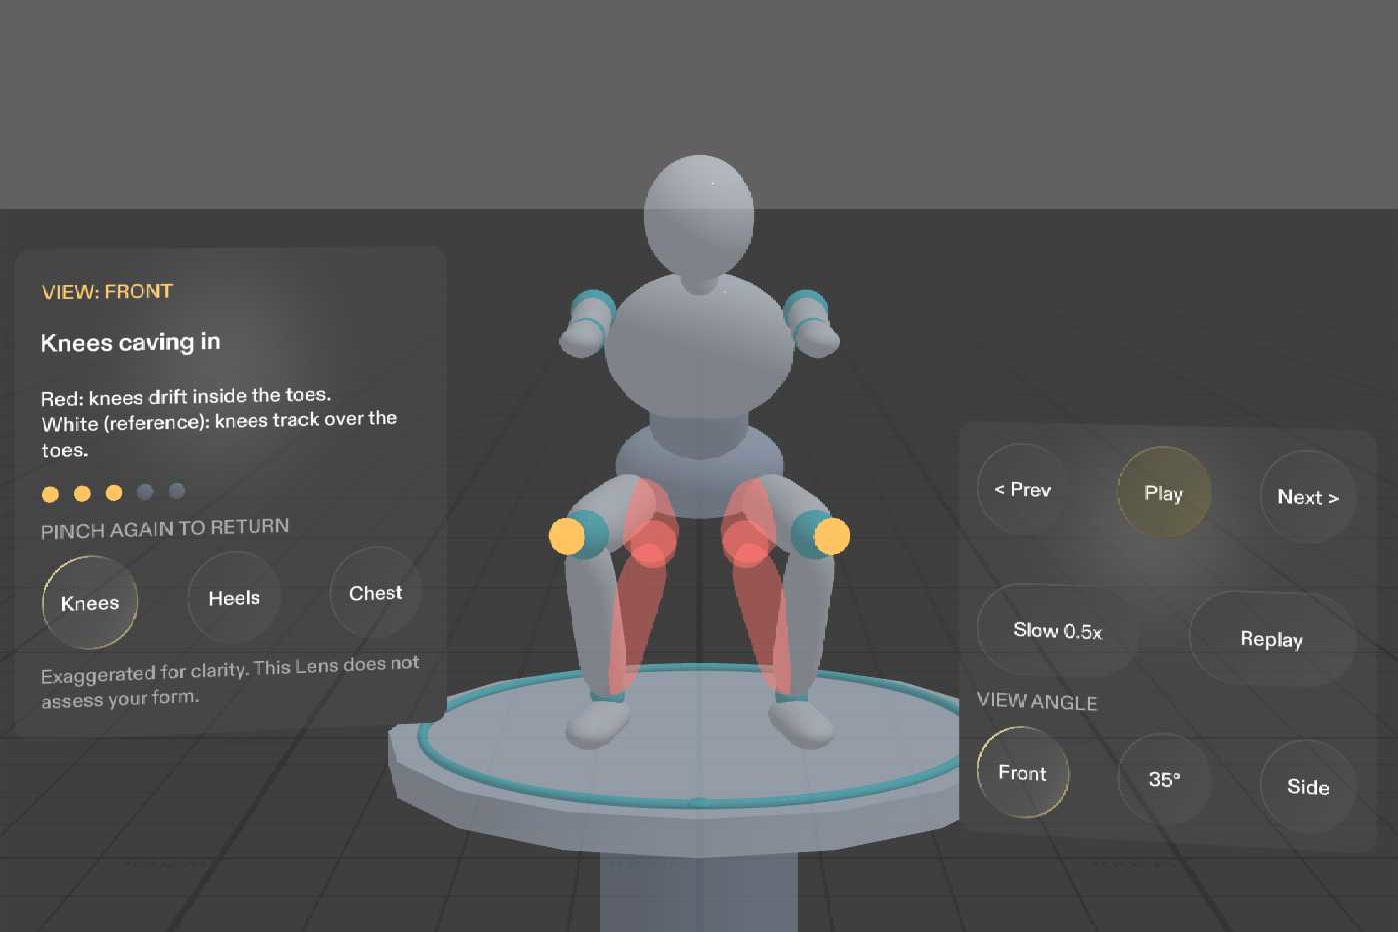
Highlights an exaggerated inward knee movement against the white reference figure, viewed from the front.
-
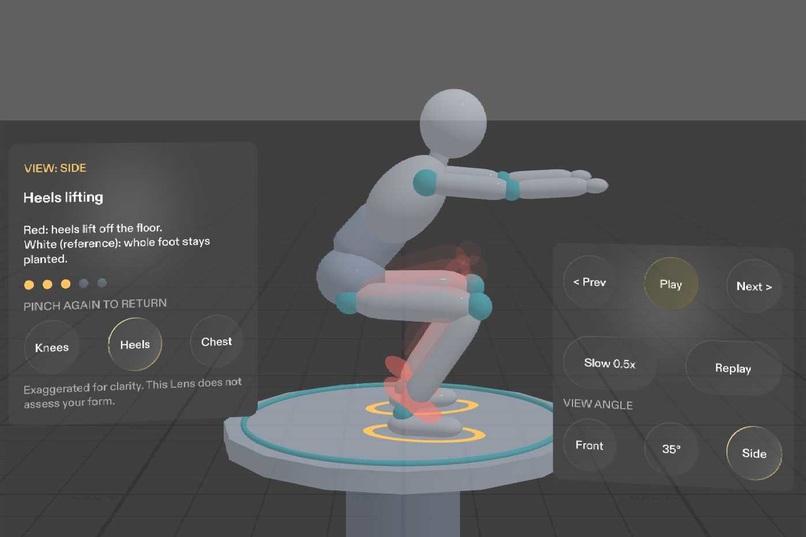
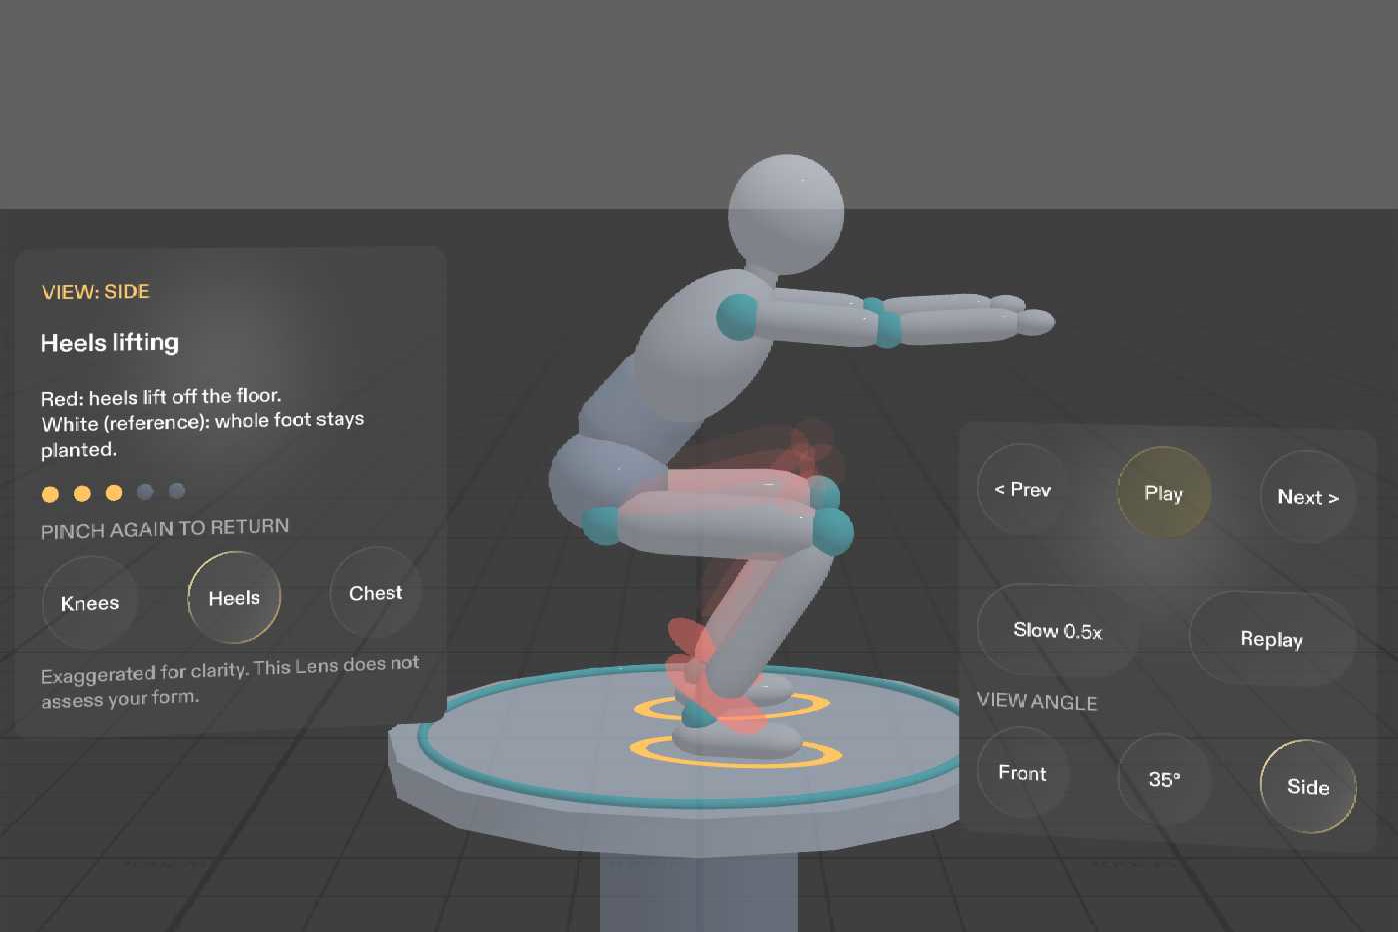
Shows an exaggerated heel-lift pattern, with the red overlay emphasizing the raised heel against the reference.
-
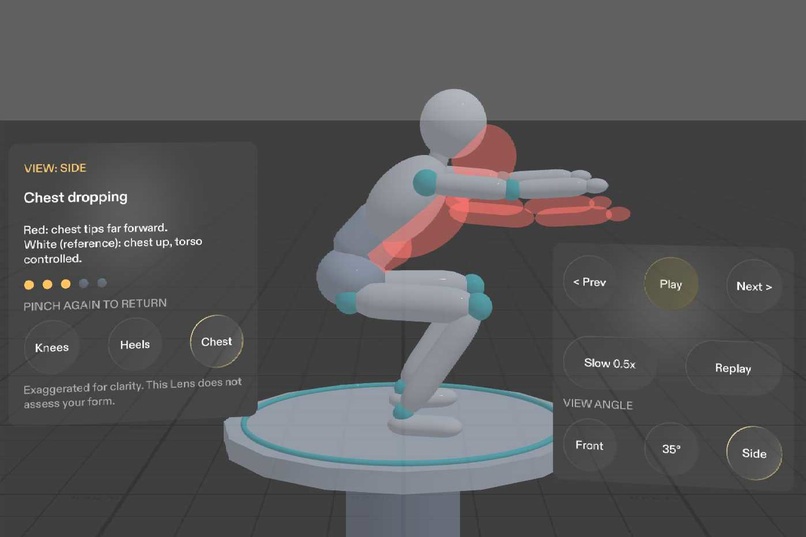
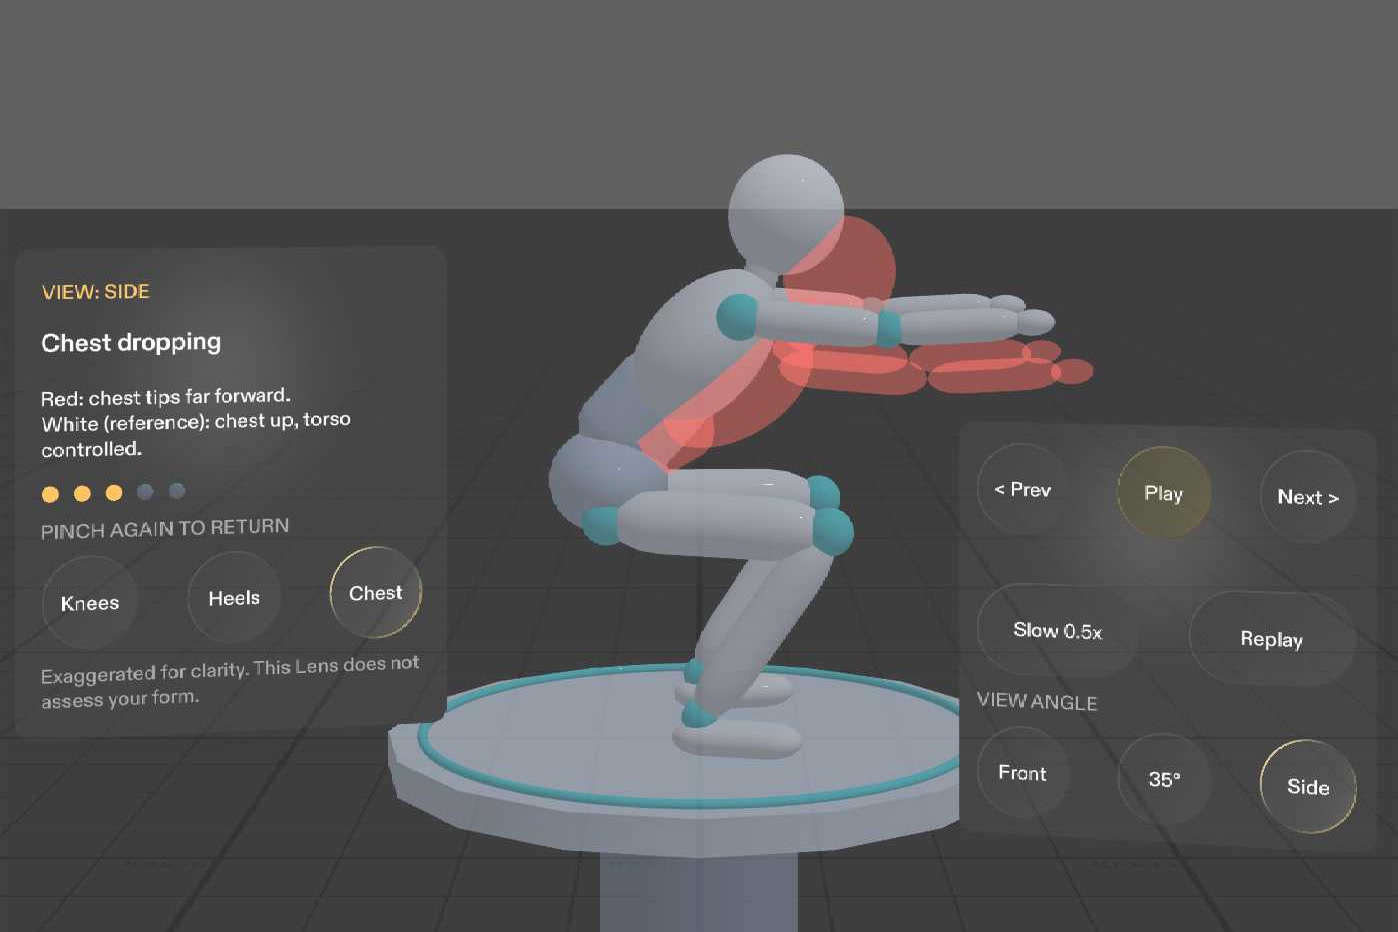
Compares an exaggerated forward torso lean with the white reference figure from the side.
-
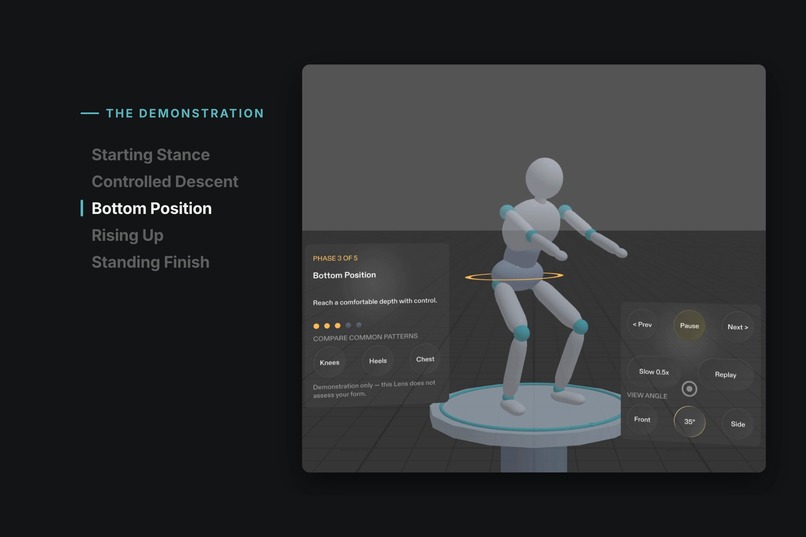
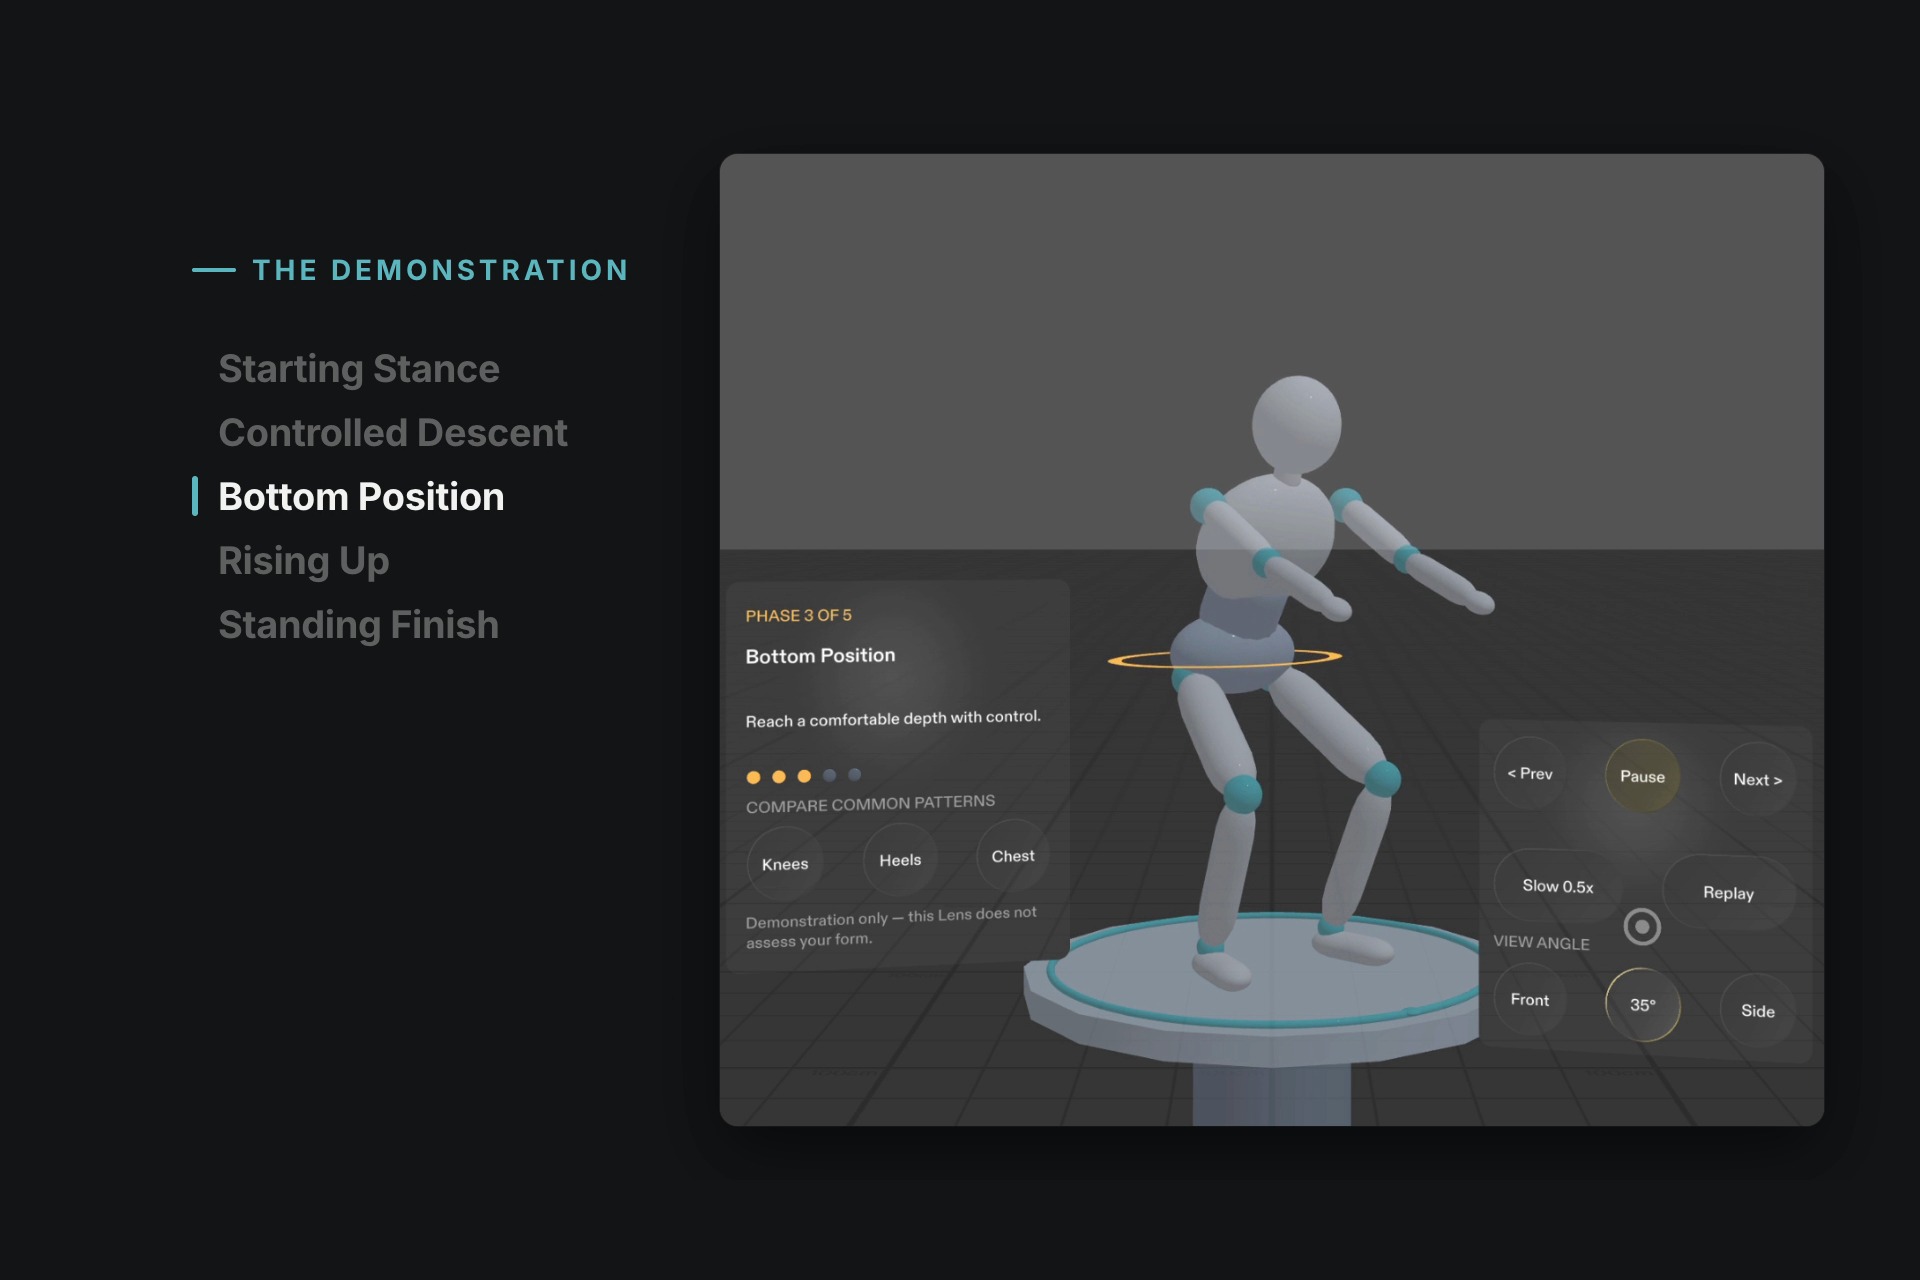
Demonstrates the five stages of the squat, from starting stance through standing finish.
-
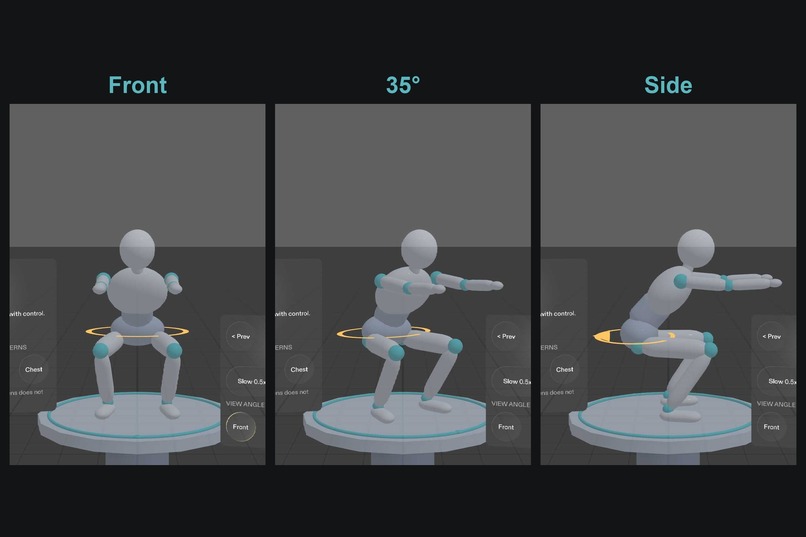
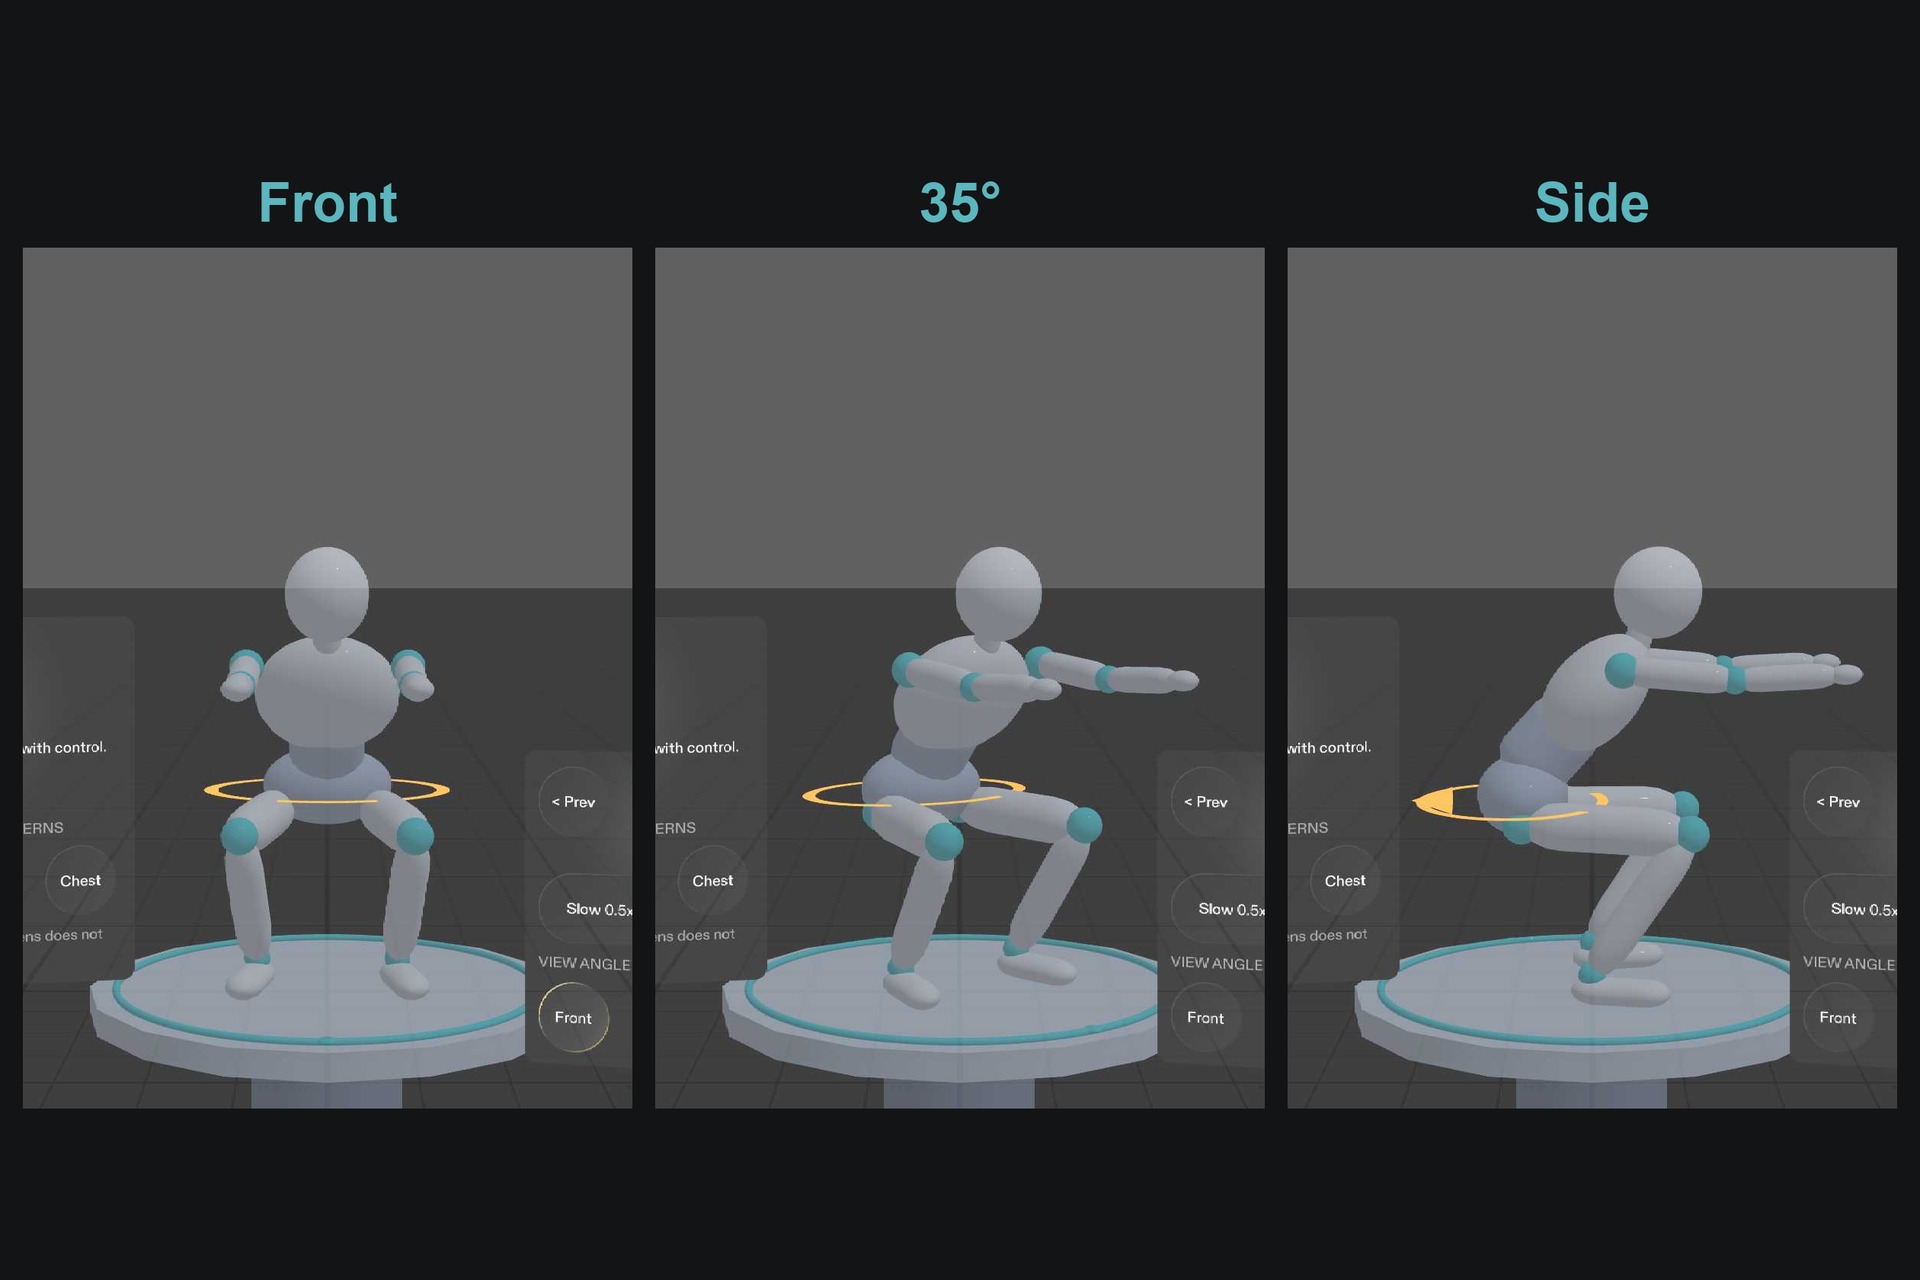
Shows how learners can inspect the same squat demonstration from front, 35-degree and side views.
-
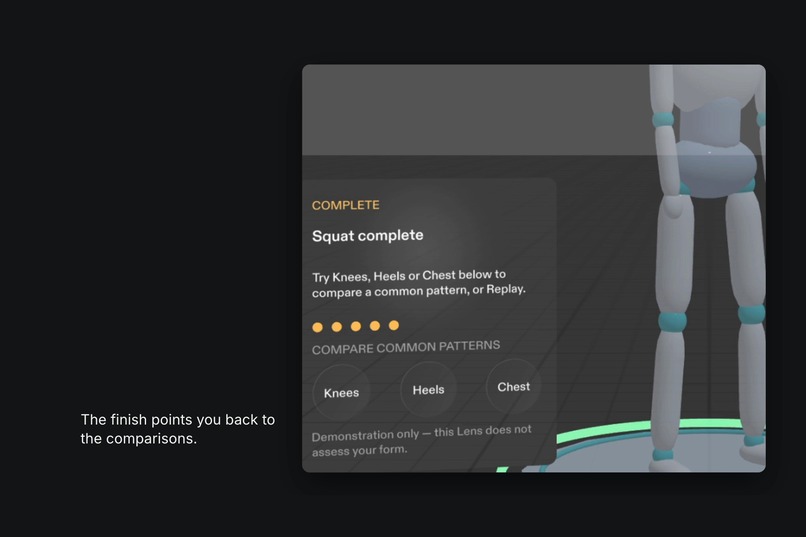
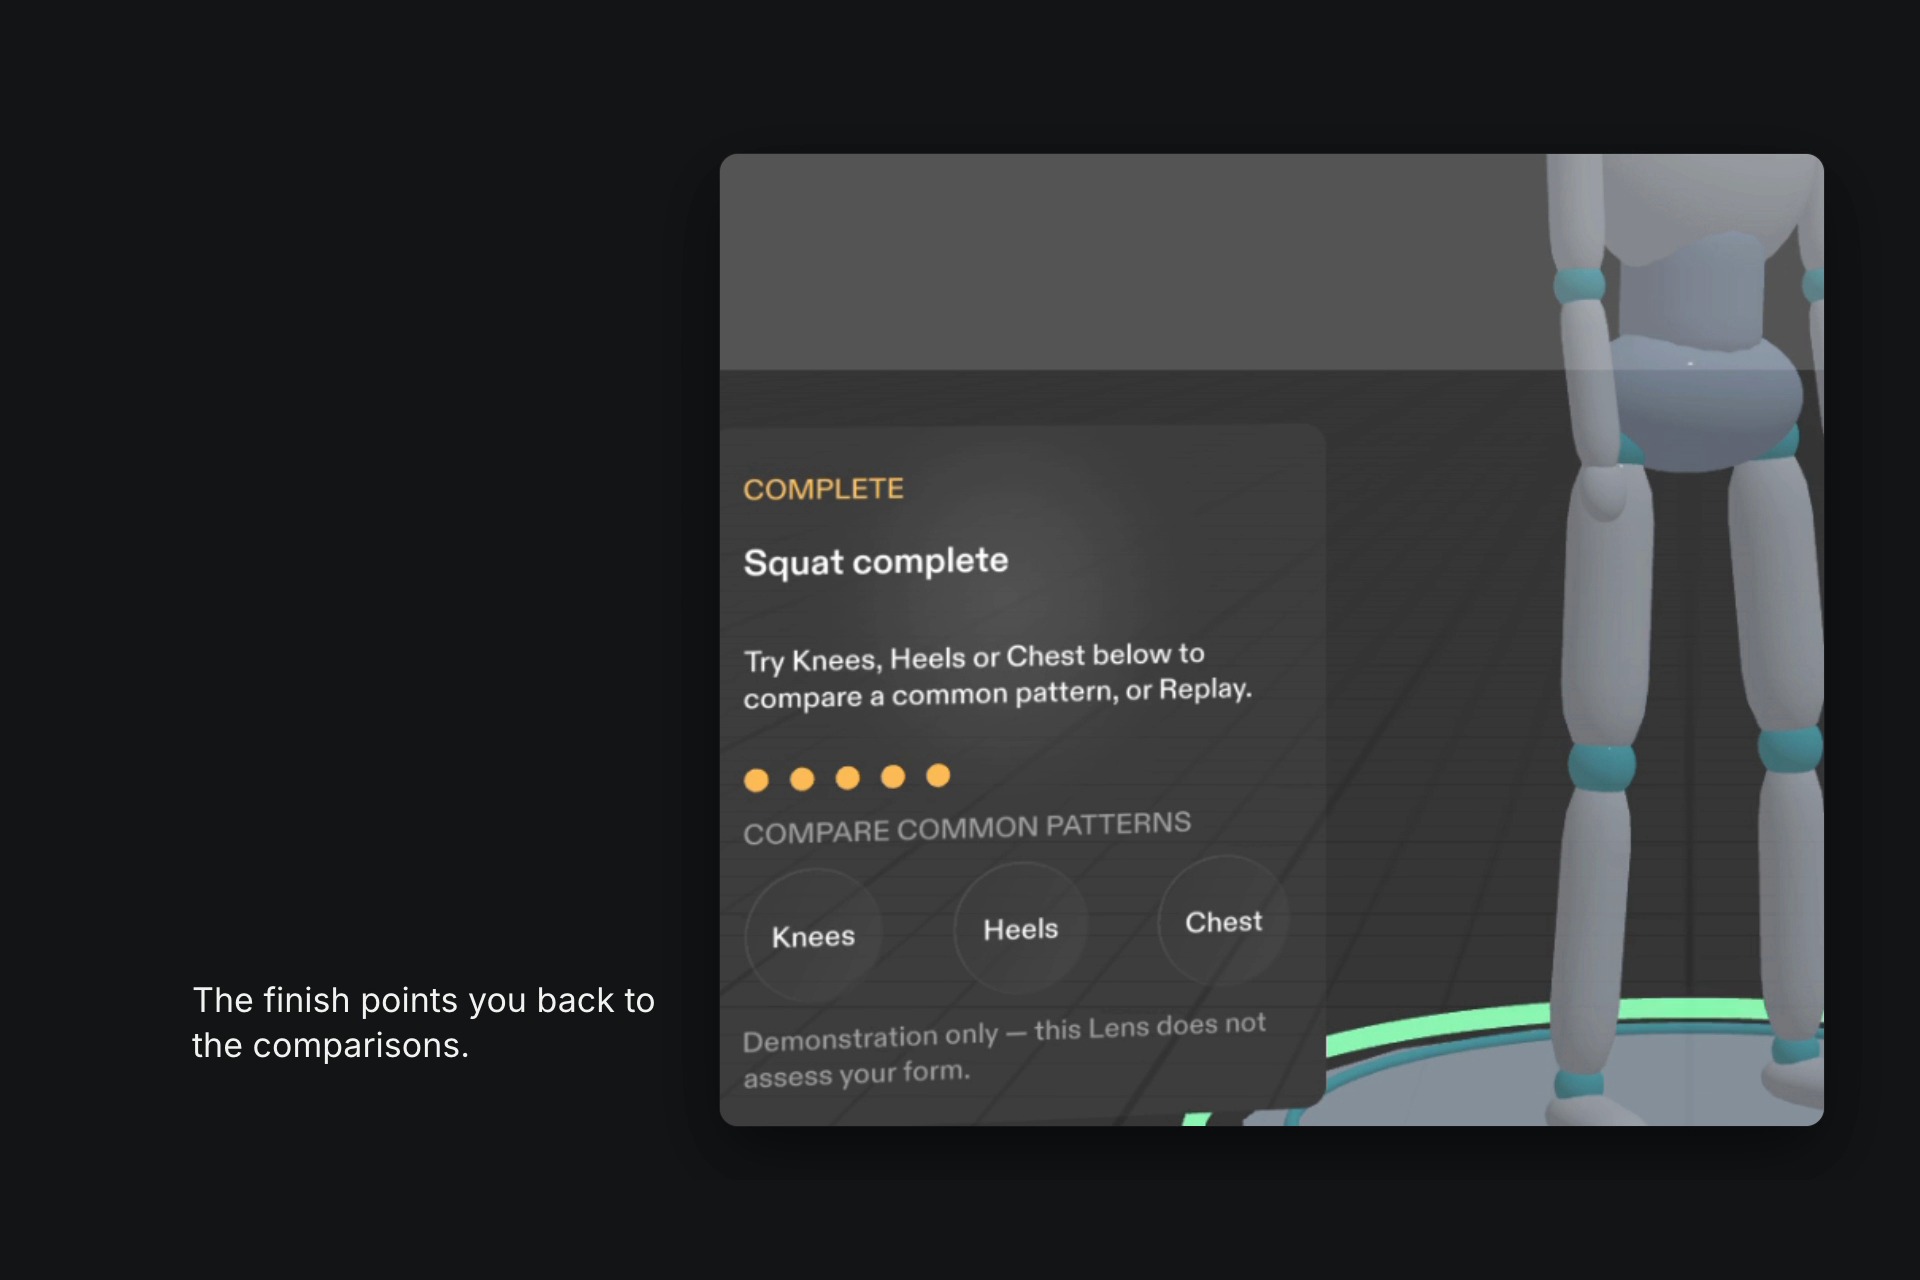
Displays the completion experience and gives learners a way to revisit the movement comparisons.
-
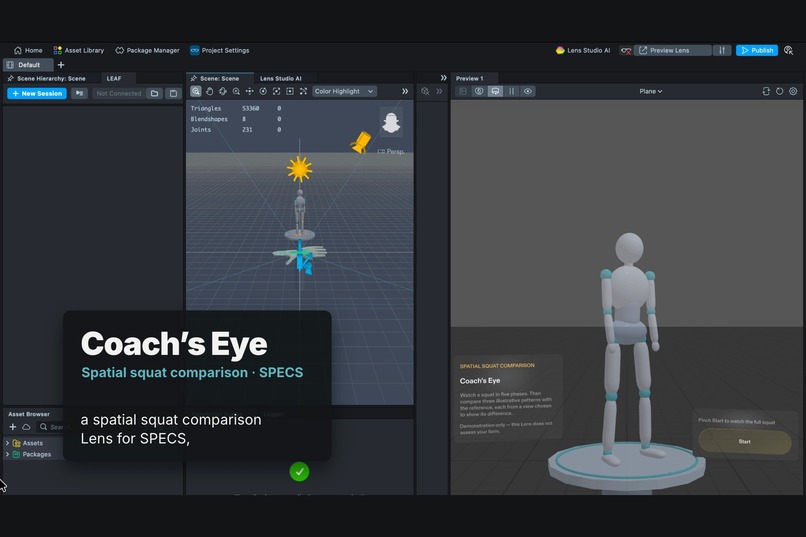
Shows the actual Lens Studio development environment, project scene and successful TypeScript compilation.
The problem
Learning a bodyweight squat from videos or demonstrations, you can watch the movement, but it isn't always easy to see what changes when it's done differently, or where to look to notice it. A reference movement on its own shows what to do, not which details to observe. And some differences are easier to see from one direction than another: knees drifting inward show from the front, a forward lean from the side.
Who it's for
A beginner learning the bodyweight squat, typically from online videos or demonstrations, who wants to understand what to observe and how common movement patterns differ. It isn't for athletes, coaches or anyone looking for an assessment of their own form.
What it does
Coach's Eye is a Lens for Snap's SPECS glasses. A jointed figure, about 60 cm tall, stands on a small stage about 1.7 m in front of you.
1. The demonstration. Pinch Start and the white reference figure squats through five phases: Starting Stance, Controlled Descent, Bottom Position, Rising Up and Standing Finish. Each phase has its own title, one short cue and one body highlight (foot outlines, knee arrows, a hip marker, a completion ring). Play, Pause, Prev, Next, Slow 0.5x and Replay let you take it at your own pace.
2. Compare one pattern at a time. Pinch Knees, Heels or Chest. The demonstration pauses at the Bottom Position and a translucent red figure appears over the white reference, showing an exaggerated, illustrative version of that pattern. Only the difference is drawn in red. The stage turns to a view chosen for that difference, and the card spells it out:
| Pattern | View | Red (illustrative, exaggerated) | White (reference) |
|---|---|---|---|
| Knees | Front | knees drift inside the toes | knees track over the toes |
| Heels | Side | heels lift off the floor | whole foot stays planted |
| Chest | Side | chest tips far forward | chest up, torso controlled |
For Heels, the red thighs and shins fade back so the raised heel is what you notice. Pinch the same button again, or any playback control, to return to the demonstration.
3. Your view. Outside a comparison, Front, 35° and Side turn the stage, and you can walk around it.
What it doesn't do. Hand input is used only to pinch buttons. There's no camera-based body or pose tracking, no rep counting and no scoring. The Lens never assesses your squat and makes no medical or injury-prevention claims. The white figure is this demonstration's reference, not an ideal squat for everyone, and the three patterns are common examples, not a complete list.
Why the view changes
In this model each illustrated difference lies mainly in one direction: the knees move sideways (seen best from the front), while the heel lift and the torso lean happen in the side-on plane (seen best from the side). A fixed camera angle can hide exactly the thing you're meant to notice, so the Lens turns the stage to present that direction to you, and labels the view ("VIEW: FRONT", "VIEW: SIDE").
What head-worn AR contributes
Phone AR can place 3D figures too. What glasses change is how you inspect the comparison: you look from where you stand, step to the side or walk behind the stage, and keep your hands free and your eyes up. That is the intended glasses experience. It runs in the Lens Studio preview today and hasn't been tested on SPECS hardware.
How we built it
- Planning: the Devpost Learn skill pack's
plan-lensinterview produced the design brief (Lens/devpost/design-brief.md). The first brief was Squat Tutor, a five-phase demonstration. A review then found it overlapped with phone 3D exercise viewers, so a second, nine-questionplan-lensinterview produced Amendment 1: Coach's Eye. Its product decisions, copy and limits are recorded in my own words. - Building: Claude Code with the CLAD plugin, working in Lens Studio 5.24.1 through the Lens Studio MCP:
- VirtualScene scene construction;
- TypeScript scripts and recompiles;
- runtime logs and preview captures;
- LEAF tests;
- Editor API checks.
- Figure: jointed primitives with analytic two-bone leg IK, so the feet stay planted. Each pattern is posed by one primary parameter: knee bend direction, heel lift with foot pitch, or extra torso lean.
- Overlay: a second rig with identical proportions in a translucent red material, inset slightly inside the white figure, so only the differences show.
- UI: Spectacles UI Kit on the Spectacles Interaction Kit. Thin ring cues are generated with MeshBuilder.
- Sized for the glasses' view:
- We measured the SPECS preview's field of view (about 32° × 36°) and placed the figure, card and controls to fit it from where you stand.
- Buttons are 5.8 cm with 2.9 cm gaps at about 1.5 m. That's about 2° per target and just over 1° apart, our conservative reading of Snap's guidance.
Testing, and what it shows
- Eight LEAF scenarios run in the Lens Studio preview. They pinch the real buttons and read scene state: placement, the full demo, stepping, pause/slow/replay, view angles, cues, edge cases, and each comparison with all five ways back.
- Fresh open, 7 Nov 2026. After a normal quit, the saved project was reopened in Lens Studio 5.24.1. All eight scenarios passed, TypeScript compiled, the log showed no script errors, and every flow was checked by pressing the real buttons. Evidence is in
docs/evidence/fresh-open/. - An internal model-geometry check confirms the red and white figures differ in the intended direction. It led to two fixes: the Chest pattern no longer adds an unrelated arm change, and the Heels card no longer calls the side the single best view.
This shows the Lens works as specified in the preview. It is not a user test, a device test or an expert review.
Challenges
- A frozen preview ("Paused by Creator"). It traced to a UI layout call that threw during startup; Lens Studio stops rendering after five failed frames.
- A preview-inspection helper package that broke the build. It required newer kit versions than the project uses, so we removed it and test through LEAF and preview captures instead.
- Fitting a full figure, a card and controls into a narrow view, then making the buttons larger without covering the figure. In Side view the red figure's hands pass just above the control panel.
- Making the Heels difference readable at this scale. Fading the red legs helps, but it's still the subtlest of the three.
- Keeping the wording honest: comparisons of common patterns, never judgments of anyone's form.
What I learned
- A good AR experience is decided by where things are and where you look, not by placing a 3D model in front of you. Coach's Eye only became distinct when the view became part of the lesson.
- Designing for a narrow field of view is a layout discipline: scale, distance and target size have to be measured, not guessed.
- Automated tests that press the real buttons made changes safe to make late.
- Precise language matters as much as the code when a product touches health or fitness.
Limitations
- Not yet tested with users. A five-person understanding test is written (
docs/USER_VALIDATION_PLAN.md), and the learning benefit is a hypothesis. - Not tested on SPECS hardware. Comfort, hand tracking and the legibility of red on the see-through display are unknown.
- The depictions are simplified and exaggerated, and haven't been reviewed by a coach. Heels is the least clear of the three.
- During a comparison, the card's progress dots keep the phase shown before it opened (cosmetic).
What's next
User sessions, a coach review, a decision on Heels based on that evidence, and a first run on SPECS. The same comparison approach could later be explored for other movements. Nothing beyond the squat is built.
Built With
- 3d
- ar
- clad
- claude
- devpost
- leaf
- lens
- mcp
- meshbuilder
- snap
- spectacles
- typescript