Inspiration
My partner was inspired to go with this project idea when she saw the joystick and the screen and wanted to make an off-brand _Bop It!_ She explained her thoughts to me and I agreed with that idea as out project.
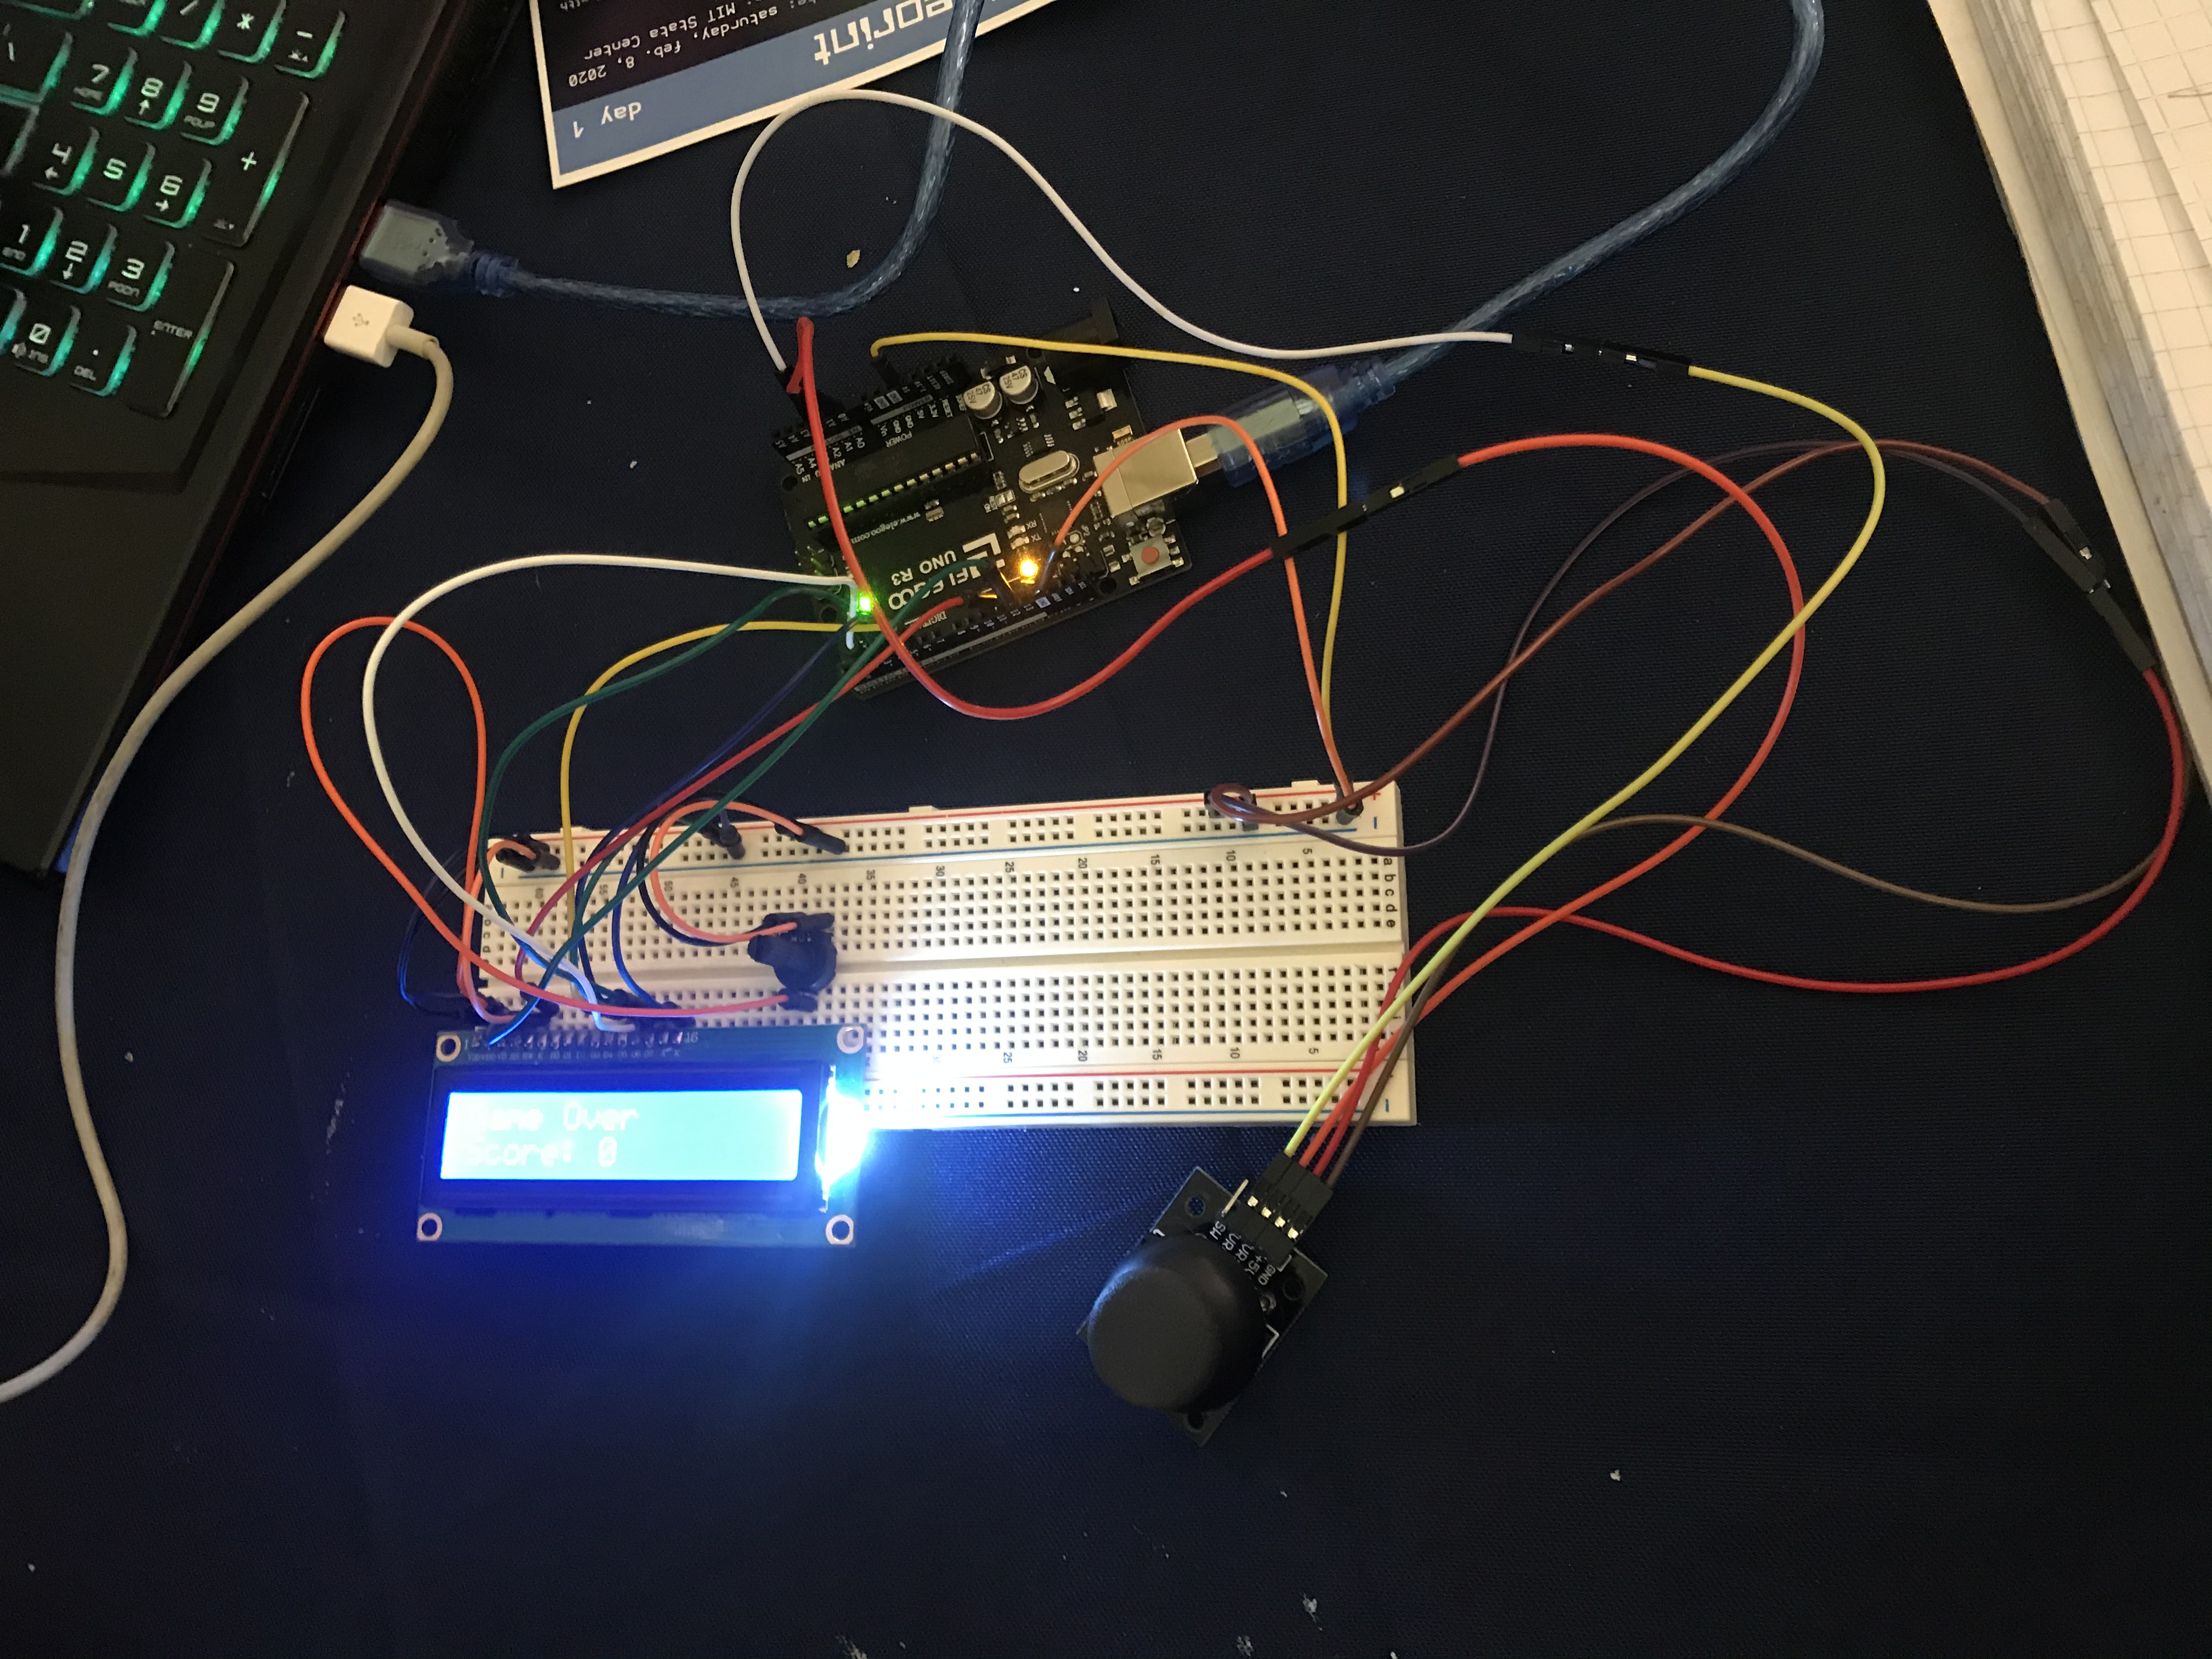
What it does
Once the restart button on the Arduino is pressed, the liquid crystal shows a welcome screen and then starts a countdown. Once the countdown is over, the display shows a direction from left, right, up, and down. The player would have to move the joystick in the specified direction and hold it there to count as a point. If the player fails to match the direction, the display shows a "Game Over" screen and shows your score.
How we built it
We mostly tried to look up a way to connect the wires from the Arduino to the breadboard to the liquid crystal display, but that just gave us an idea rather than a walkthrough. So, we experimented with different wiring combinations until we managed to make it work. The code took the longest time as most of it is repetitive and just declaring a bunch of variables. The hardest part was getting the Arduino to sense where the joystick was pointed. But with a little help, we managed to get it to work as we wanted it to.
Challenges we ran into
Because we had just learned the code yesterday, the biggest challenge was figuring out how to program everything to do as we wanted. The code is similar to a different language we know, C++, but it is just slightly different enough that what we know from C++ can't apply to Arduino.
Accomplishments that we're proud of
We're most proud of the fact that we learned this program and the code just yesterday from the learnathon and managed to make a game out of it. We were previously familiar with the language it is similar to, C++, but the Arduino code is different and it was a little challenging at first. We managed with what we knew and the help of the internet.
What we learned
We learned a new programing language, Arduino. We use the language sometimes in our POE (Principles of Engineering) class at our high school and this event has definitely helped us get a better understanding of the Arduino language. We also learned how to wire the Arduino to the breadboard to make things work.
What's next for Click!
We want to try to program it so you don't have to reset the Arduino every time, but rather push a different button on the breadboard that can just rerun the program from the beginning, starting from the countdown. We also wanted to add a fifth direction from the joystick, the "Click!," but the code wasn't cooperating with us, so we stuck with just the four directions.

Log in or sign up for Devpost to join the conversation.