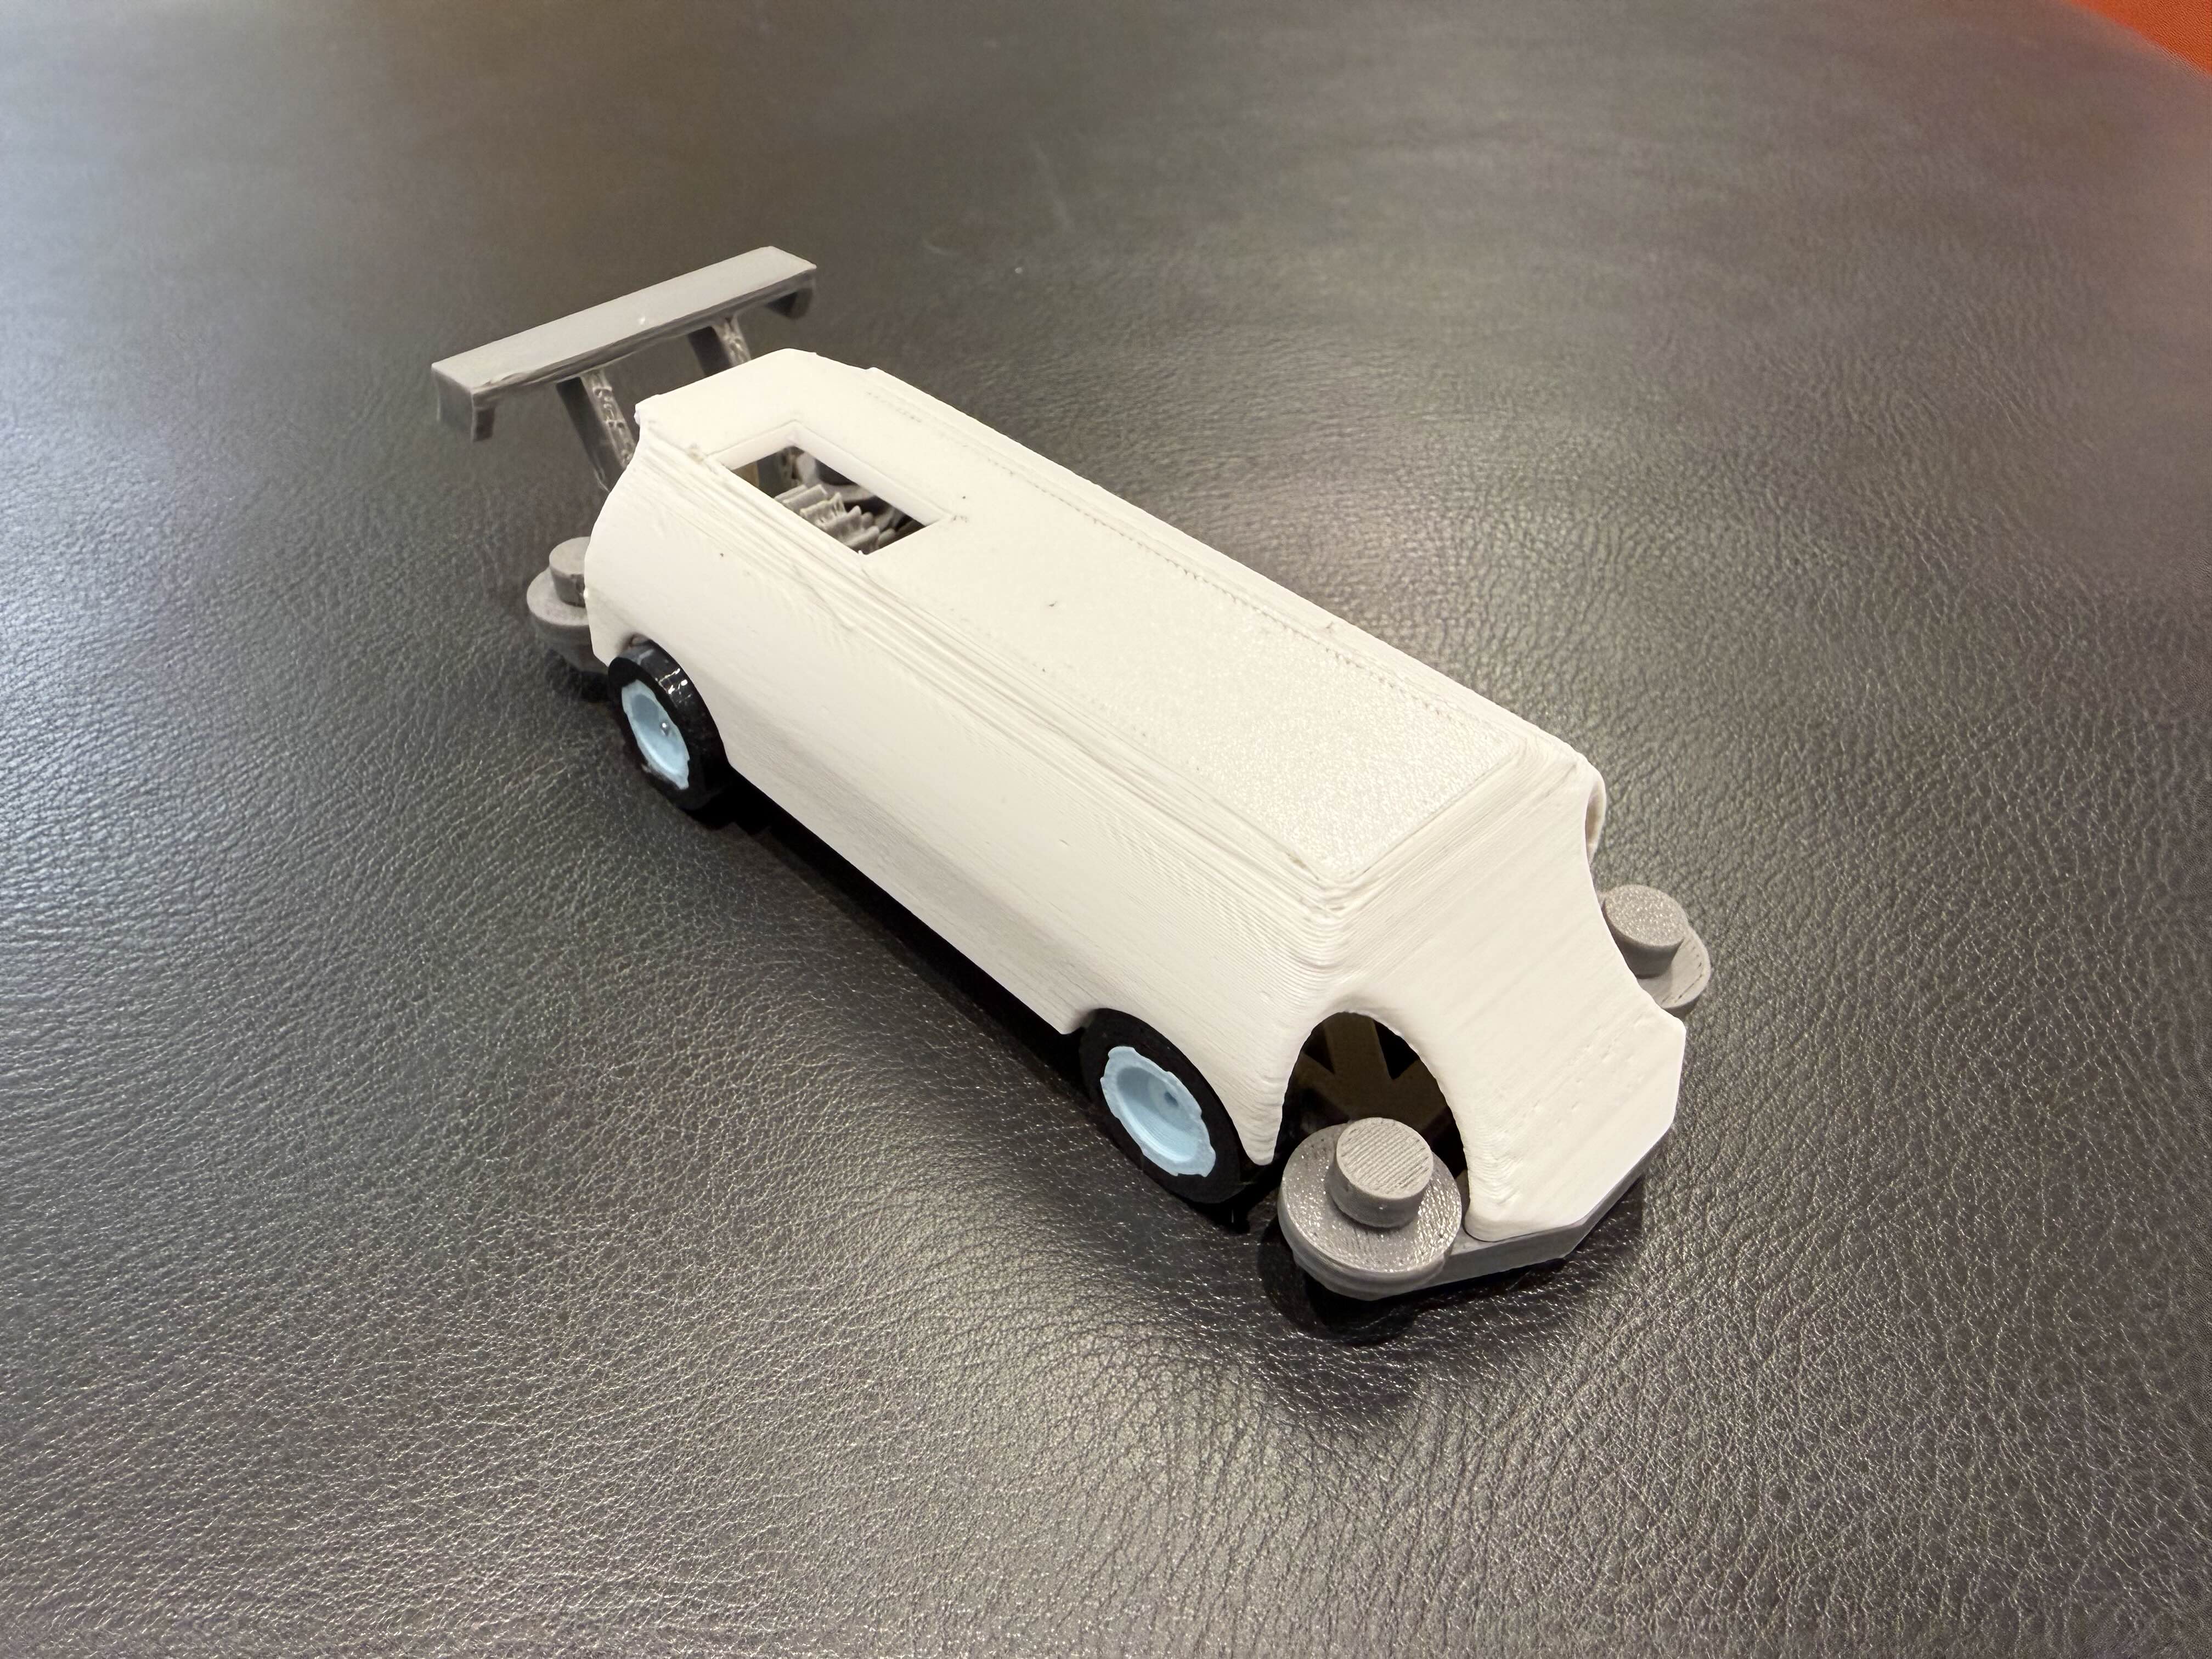
We designed EDUracer because we wanted a STEM toy that’s actually fun first, and educational because you build it yourself. We also liked the idea that people care more about something when they made it (the “IKEA effect”), so the whole goal was a car you could print, assemble fast, and keep customizing instead of using once and forgetting.
We built it by breaking the car into key parts and designing the connection points first, then iterating through prototype, test, and refine. A big focus was printability and simplicity: about a 1-hour print, minimal supports, and assembly in under 2 minutes with zero tools. We aimed for tight but realistic fits (around 0.1 mm tolerance) so pieces snap together reliably.
The hardest part was getting the tolerances and connectors right across different prints; small differences can make parts too loose or too tight. Another challenge was making “customizable” actually mean something, so we added multiple mounting locations and connection points so attachments can be real functional add-ons.
What we learned is that good design is mostly iteration, and constraints (print time, supports, easy assembly) actually make the final product better. If we keep developing it, we would add more interchangeable covers and attachments, and possibly variable gear ratios so kids can learn how changes affect speed/torque in a hands-on way.
Built With
- onshape
- orcaslicer

Log in or sign up for Devpost to join the conversation.