-
-
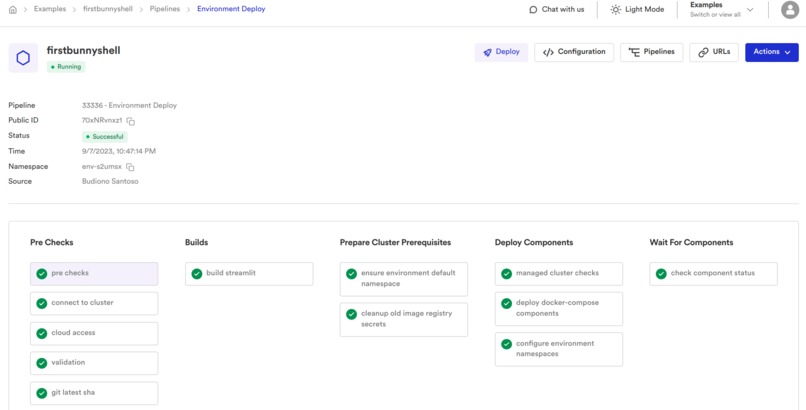
Pipeline is successful
-
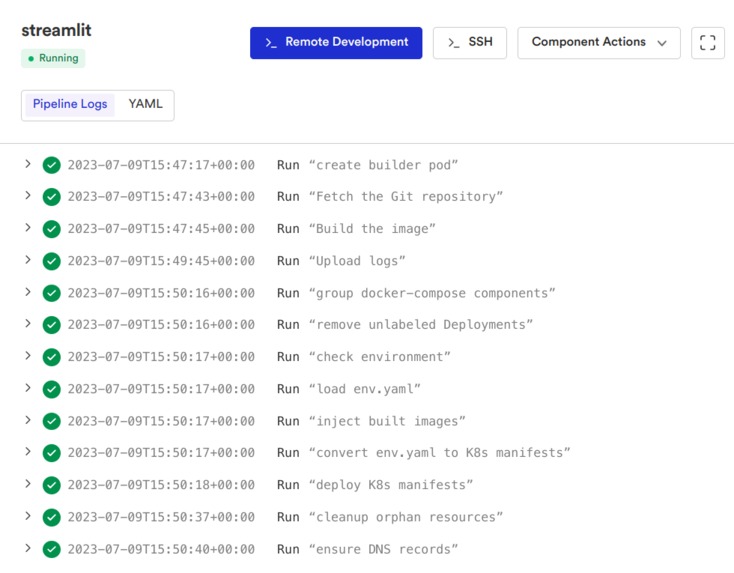
Pipeline logs explain needs under 5 minutes only
-

Environment is running
-
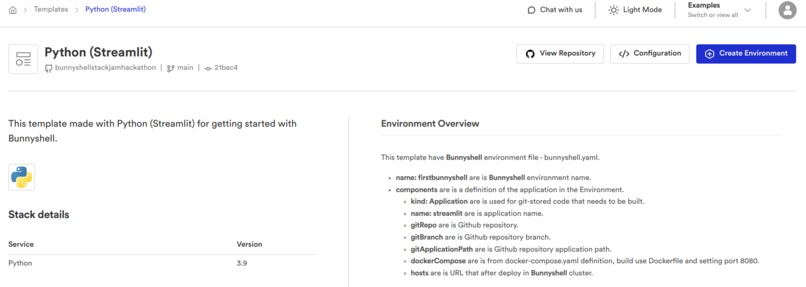
My Bunnyshell Template
-
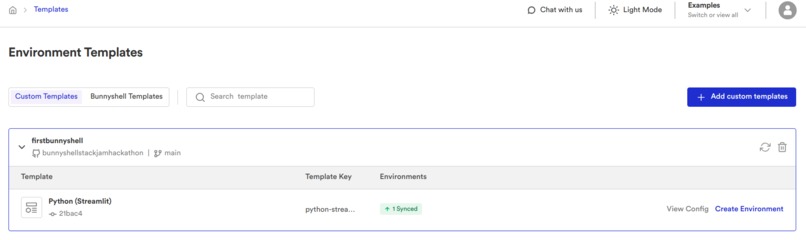
Custom Templates
-

AnythingGPT


Inspiration
2023 is the year of generative AI. Generative AI is growing rapidly. All lines from various industries to individuals must adapt and innovate with this technology.
As an individual, I move quickly to learn generative AI because generative AI is very helpful and speeds up work. Therefore, I studied generative AI as well by following the hackathon on Devpost namely the Bunnyshell Stack Jam Hackathon. By participating in this hackathon, I learned about generative AI by creating a web application with the name "AnythingGPT" and deploying it to the Bunnyshell cluster.
What it does
- For deploy to Bunnyshell cluster faster under 5 minutes only.
- To get information with your input/prompt faster.
How I built it
CODE DEVELOPMENT
- Use Google Cloud Vertex AI Generative AI Studio for testing with prompt engineering such as temperature, token limit, top-K and top-P then choose PaLM 2 Text-Bison pretrained-model.
- Write Python (Streamlit) code
app.pysuch as text input and response from your input/prompt that is powered by PaLM 2 Text-Bison pretrained-model. - Write
Dockerfilefor information Python version, install Python library that is already inrequirements.txtfile such as Streamlit and Google Cloud AI Platform. - Write
requirements.txtfor information Python libraries such as Streamlit and Google Cloud AI Platform. - Write
docker-compose.ymlfor Bunnyshell root application path. - Push all files to my GitHub repository that will be connected to Bunnyshell.
UPLOAD bunnyshell.yaml AND template.yaml
- Click "Create environment" and fill the environment name then Click.
- Because I have a
docker-compose.ymlfile, choose "Docker Compose or Package JSON" and click "Get started". - Choose your Github account, also your Github repository, fill the branch name and your root application path (
/docker-compose.yml) then click "Continue" and click "Continue" again. - Copy Bunnyshell environment, create a file called
bunnyshell.yamland upload this file to my Github repository that is connected to Bunnyshell. - Create a file called
template.yaml(you can reference to https://documentation.bunnyshell.com/docs/templates-prepare-repository-for-custom-templates) and upload this file to my Github repository that is connected to Bunnyshell.
DEPLOY TO BUNNYSHELL CLUSTER USE CUSTOM TEMPLATES
- Click "Templates" then click "Add custom templates". Fill the templates source name, choose your Github account, also your Github repository that already has
bunnyshell.yamlandtemplate.yamlfile and fill the branch name. Click "Add custom templates". - Click your template source name and click "Create environment". Fill the environment name and choose Project then click "Create environment".
- Click "Deploy", choose "Bunnyshell cluster" for Kubernetes cluster and click "Deploy" then wait for several minutes. You also can click "Pipeline" to see progress. (You can see the video in the project media)
- After the pipeline is finished, you can click "URLs" and click your URL to a new tab.
Challenges I ran into
First time using Bunnyshell and I must learn about Bunnyshell by reading the Bunnyshell documentation for understanding flow deploy the application.
Accomplishments that I am proud of
- Finally, I can submit this submission to Bunnyshell Stack Jam Hackathon (first time becoming a participant in Devpost hackathon).
- After use Bunnyshell, I feel Bunnyshell help me for deploy faster.
- Also successfully use generative AI in my application.
What I learned
I learned a lot from this hackathon such that I can create generative AI applications, how to use Dockerfile and docker-compose.yml and of course how to quickly deploy to Kubernetes cluster with Bunnyshell.
What's next for Bunnyshell X Python (Streamlit)
- I want to connect my generative AI web application to Google Kubernetes Engine cluster in Bunnyshell and can deploy it to my cluster.
- I want to add an image generator and code generator to my generative AI web application.
Built With
- bunnyshell
- docker
- google-cloud
- python
- streamlit

Log in or sign up for Devpost to join the conversation.