-
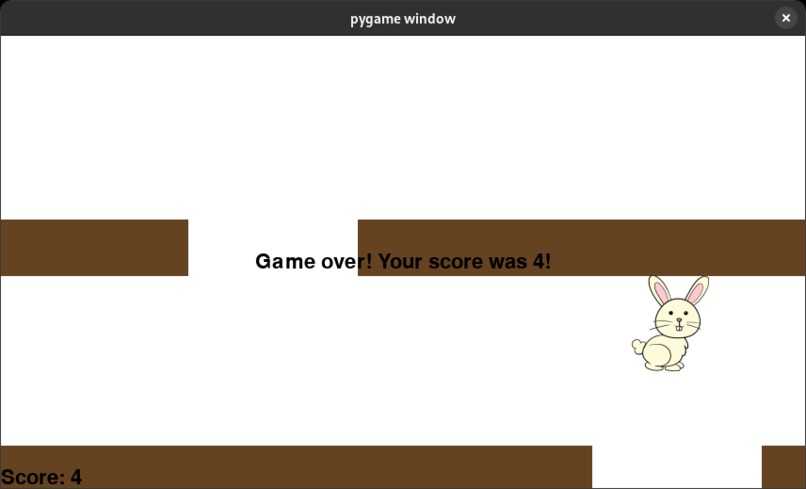
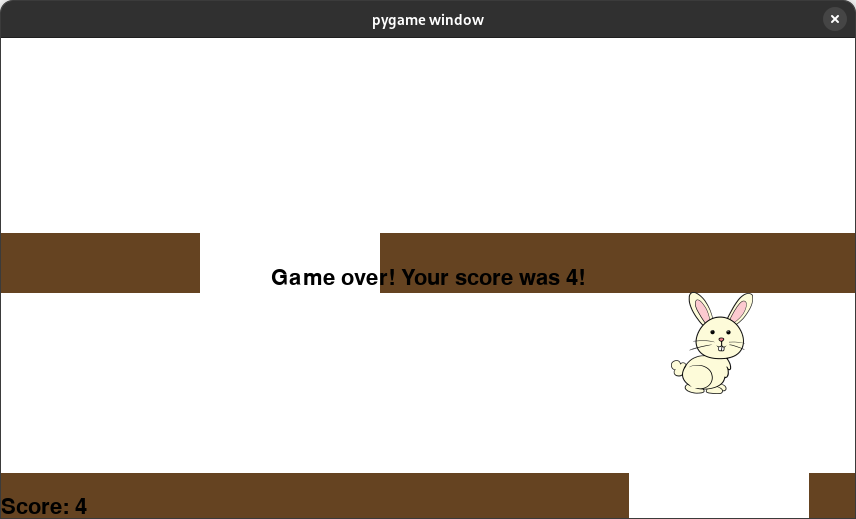
loss screen/game over
-
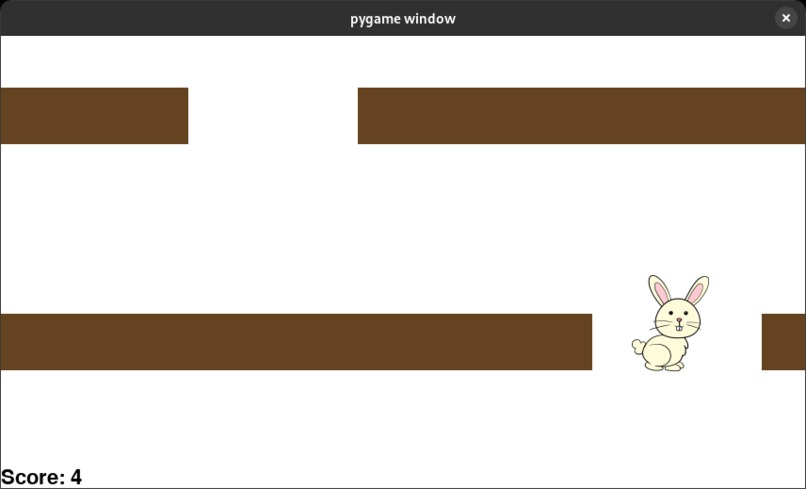
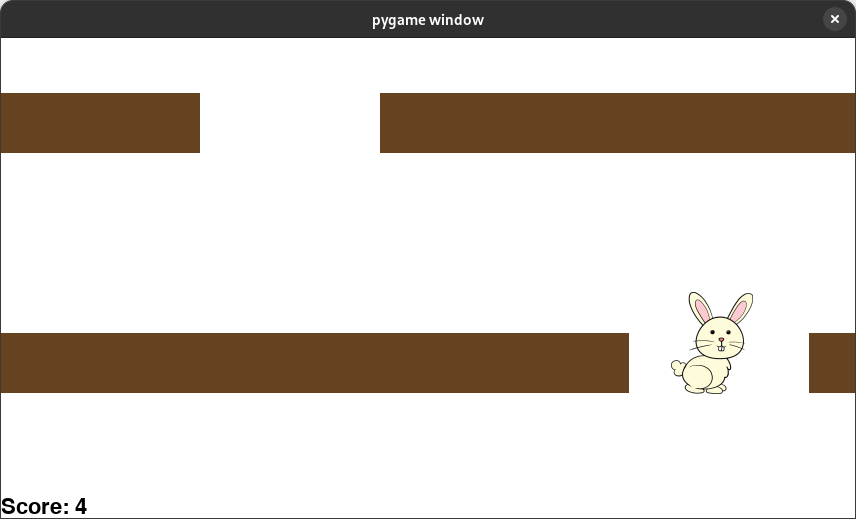
getting that score up!
-
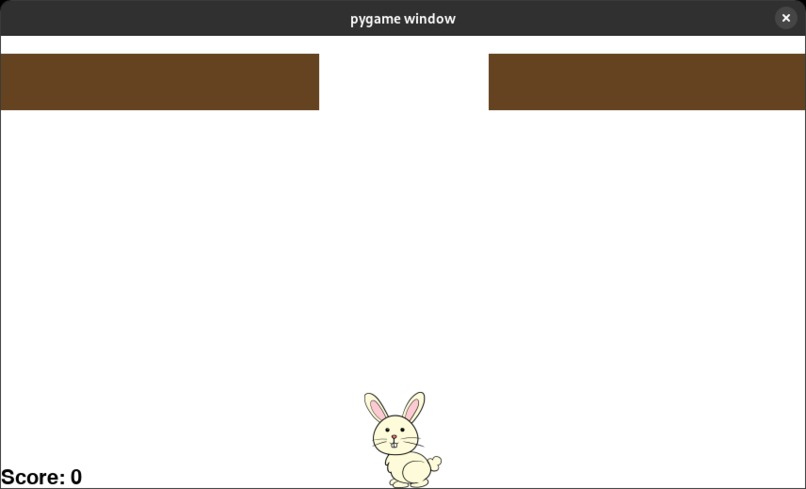
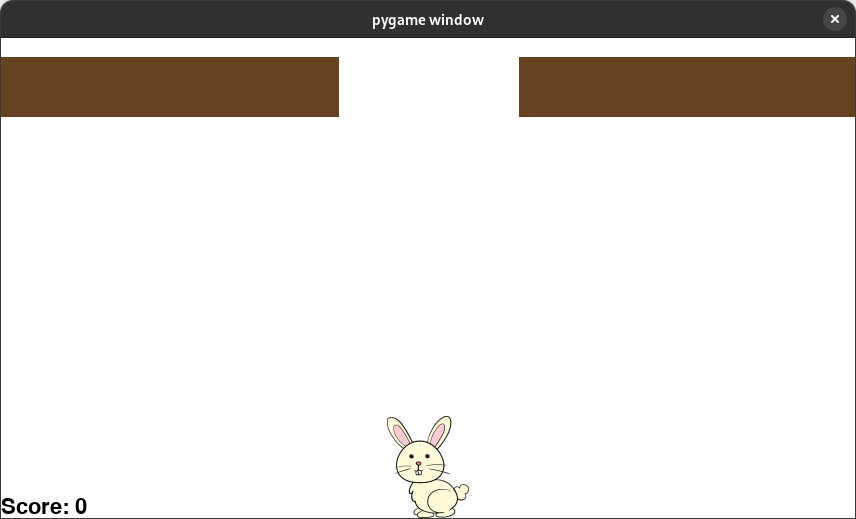
starting screen
Inspiration
We chose PyGame because it gave us a familiar language to work with while also letting us work in something we haven't used before. In this project, we took to learning PyGame as complete beginners and made a game that was reminiscient of the popular mobile games of the past. A simple scroller, dodge, with a cute little mascot.
What it does
The game has a bunny character, which must avoid obstacles coming towards it. Passing between the objects gets you a point, while colliding into them causes you to lose, and kills the bunny :c (imagery not included due to its graphic nature). The obstacles approach faster, as the speed is dynamically linked to your score, making it very challenging as time goes on.
How we built it
We built this project in Python and used the PyGame module to accomplish this. We also used an asset for the Bunny from EasyDrawingGuides (we did not draw it).
Challenges we ran into
As it was our first time using PyGame, learning to correctly setup everything was a challenge. Pouring through documentation, videos, and tutorials helped us get to where we are now, with a semblance of confidence in our knowledge and understanding of the internals.
Some of the challenges we faced included visualizing dimensions, coordinates, calculating collisions, making the character change directions to match input, and quality loss when scaling down our large image. It was a lot harder than we expected to understand and visualize how the objects exist in the 2D space, and it made calculating the collisions between the obstacles and the bunny difficult. However, we managed to make it work after using some visual techniques alongside lots of debugging to understand the relationship between the coordinates and the appearance of the images on screen. Another challenge we faced was making the bunny appear to change directions. At first we realized that PyGame does not automatically flip a sprite, so we decided to use pygame.transform.flip() to flip the sprite. We then realized that it would flip every turn, so after some quick analysis, we chose to use a flag variable that kept track of the previous directions and let us only flip when a direction change occured. Finally, we had trouble scaling our image down without losing quality. Instead of changing the image as is, we wanted to scale it down so that we didn't lose the high quality asset and could reserve it for future use. After reading through the documentation, we found that pygame.transform.smoothscale() did exactly what we needed, and opted to use it instead of its non-smooth counterpart.
Accomplishments that we're proud of
- Learning a completely new library
- Understanding image manipulation, and coordinate translation in a 2D space
- Rendering based on many criterion, linking different parts of the program together to create a coherent and fun experience
What we learned
As a group, we learned a lot more about PyGame and its internal behaviour when creating applications. We learned how to correctly and accurately manipulate coordinates on a 2D screen in order to make objects move, such as the bunny or the obstacles. We also learned a lot about scaling images, pixel quality and how it translates to a screen, as well as the logic required to ensure smooth and attractive animations in game. Another thing we learned was the logic of how a rendering loop works and the ways it expects data to exist and mutate. Finally, we learned more about sharing object states via classes and class variables, allowing us to manipulate objects all at once instead of one by one, such as with the walls.
What's next for Bunny Trot
If we had to go back, or redo this project, we would isolate specific components better. Currently there are a lot of functions which exists just to delegate elsewhere due to the nature of how the classes were written, and it leads to really messy code. Additionally, I think the structure of the loop could be massively improved. Finally, memory efficiency to not dump hundreds of font sprites in the render loop and improve both performance and memory.

Log in or sign up for Devpost to join the conversation.