-
-

-

slide 2
-
slide 3
-

slide 4
-

slide 5
-

slide 6
-

slide 7
-

slide 8
-

slide 9
-

-

-

-

-

-

-

-

-

-

-

slide 10
-


Inspiration for our NFT Workshop App
As part of the long awaited XLS-20d “NFT” amendment release, we set out to develop an “NFT Launch Party Workshop Experience App” to showcase the XRP Ledger’s novel NFT functionality for users and developers of all experience levels. We also provide certain features in the app that may serve as developer testing tool features. We invite users of all experience levels to go through the steps in our app and experience first hand the novel NFT functionality that the XRP Ledger provides. You may follow along at your own pace, using our 2022 Apex summit workshop presentation video.
Please Note that in order to participate in this demo, users MUST install the XLS-20d devnet on their Xumm wallet app! We provide in-depth instructions on how to set that up in our slide deck. If you want to jump right in to testing our app for the demo, you can do so by scrolling through the media slides at the top of the submission.
Once you are able to successfully complete the steps in our demo, please share your experience on Twitter using the “tweet about it” button found in our app’s menu options.
Impact & Benefits
- Provide a user-friendly interface that can guide users of all experience levels to mint, claim, and interact with their first XRPL NFT (showcasing some of the powerful features of XLS-20).
- Provide developers with access to adding custom nodes (test networks) & a user-friendly interface for accessing faucets to add test funds
- By making this project open-source, we hope to share our experience with developers for how we unlocked the XRPLs NFT features on our app
- Showcases the utility of Xumm’s xApp marketplace
- Provides Step-by-step criteria for Minting, Claiming, and interacting with an NFT.
- Enablement app for users new to XRPL NFTs: Users are only allowed to proceed to the next step in our app’s UI by first completing the subsequent criteria, hopefully educating users on the various processes involved in minting and claiming NFTs along the way and providing clear step-by-step guidelines to complete the challenge successfully.
Note about what inspired the design for this app
One-Punch Man Comic book UI Theme: One-punch man is a japanese manga series that tells the story of a powerful superhero who can defeat any opponent with a single punch, who grows bored from lack of a challenge. We chose this theme as part of our app design because we believe the XRP Ledger’s powerful NFT functionality embodies one-punch man’s ethos; powerful, seamless, with no challenge that it can’t handle.
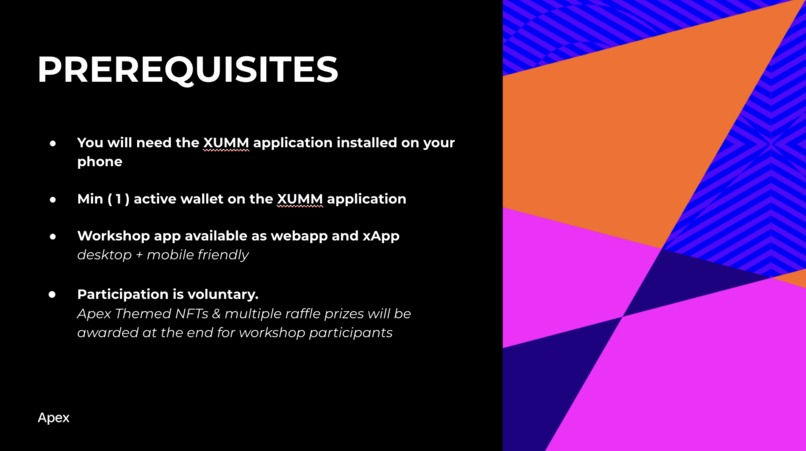
Prerequisites to Participate in the Workshop App
- Xumm app must be installed on your phone with at least 1 active wallet.
- Must have a mobile device with Xumm set-up to be able to scan the QR codes.
- Highly encourage users to follow-along using our 15 minute guided video demonstration.
Users can choose to perform the demo from their mobile device using our xApp in Xumm or they can choose to do so from their desktop’s web browser (but it will require scanning the QR code with their mobile device.
Scan QR code here with Xumm’s built in QR code scanner to download xApp
OR
Start with this link on your desktops web browser
App Functionality Workshop Overview
Front End UX (Mobile & Web) |
How the App Works (screenshots/links) |
1. Dev Tooling Utility: providing QR codes for devs or users to add custom nodes (i.e. test networks) by scanning a QR code.
|
|
| 2. Accessing our App/Dapp
The Device you chose to use will determine your UX! Xumm xApp UX: Add the “NFT Workshop” xApp to Xumm by scanning the QR code with your Xumm app’s QR code scanner. OR Desktop web-app (dapp) UX: The app can also be accessed on a desktop web browser as a web-app (dapp) but you will need your mobile wallet to sign transactions. |
2. Three UI environments are supported by our app. Users are provided with various options.
|
| 3. Logging in & Connecting your wallet
Mobile: Once you add the xApp on Xumm, the wallet you are logged in with will already be connected and linked to the xApp. Desktop: If accessing the app from the web-browser, you will be prompted to “sign-in by scanning a QR code with Xumm app. This is a “sign-in” transaction type you will be authorizing on the ledger. The login-in UX is vastly different depending on if you choose to use the app as an xApp on Xumm or as a Dapp on your desktop’s browser. Also, at any point, the user may log out of the dapp on their desktops web browser by clicking the sign out button on the menu bar. (disconnecting the wallet they are using). Note that if the user were to sign out during the demo and sign back in, the dapp would save all the user’s information so they can pick back up where they left off. |
3. Different sign-in process depending on device you are using
Desktop: Xumm provides developer docs and SDKs to make this dapp UX possible (web-apps interacting with mobile wallets). Desktop Web-app (dapp) Ux: Sign-in process:
|
| 4. Activate your wallet with test funds from a faucet we provide
Activating a wallet by meeting the XRP reserve requirement is an important step to enable a user to transact with that wallet. Although minting/claiming NFTs requires a very cheap amount of XRP (a handful of “drops” which amounts to less than 1 XRP). Don’t get excited though, this is test XRP for the XLS-20d test network that you are using for the app. This is essential in order to mint/claim any NFTs later in our demo. |
4. Adding funds from a faucet
Desktop Web-app (dapp) & Mobile xApp views:
|
| 5. Mint your NFT
At this point, in order for an NFT to be “claimed” by a user to their wallet, that NFT has to be “minted” on to the blockchain first. Typically, most NFTs you will find on a marketplace, have already been minted. However, for the purpose of this demo, we will be showcasing the entire NFT process from zero to one. If you want to learn more about how our mint bot works “under the hood”. You may read about it in one of our previous hackathon posts for Thebettermint or watch a demo video here where Ryan shows the code in action. |
5. NFT Minting Process (same for Mobile & Desktop)
At this step, we need to “mint” the unique NFT so that the user can then “claim” it on the following step. When the user clicks the “mint NFT” button, on the back-end of our app, we have an NFT mint bot that automatically mints a new NFT in its wallet and holds onto the NFT until the user later signs the “NFT Claim” function to receive the NFT. Screenshots of this step:
|
| 6. Claim your NFT
Now that the NFT has been minted by our app’s mint bot on the backend, the user must now sign “claim” the NFT to receive it within their wallet. Outlined are the various steps and processes for doing so depending on whether you’re using the app as an xApp or on your PC’s web browser.
The UX for claiming an NFT will be more efficient when using an xApp on Xumm because you skip the parts that require scanning a QR code. |
6. The Claim NFT Process varies based on the device used
Desktop Web-app (dapp) UX to “Claim NFT” process:
|
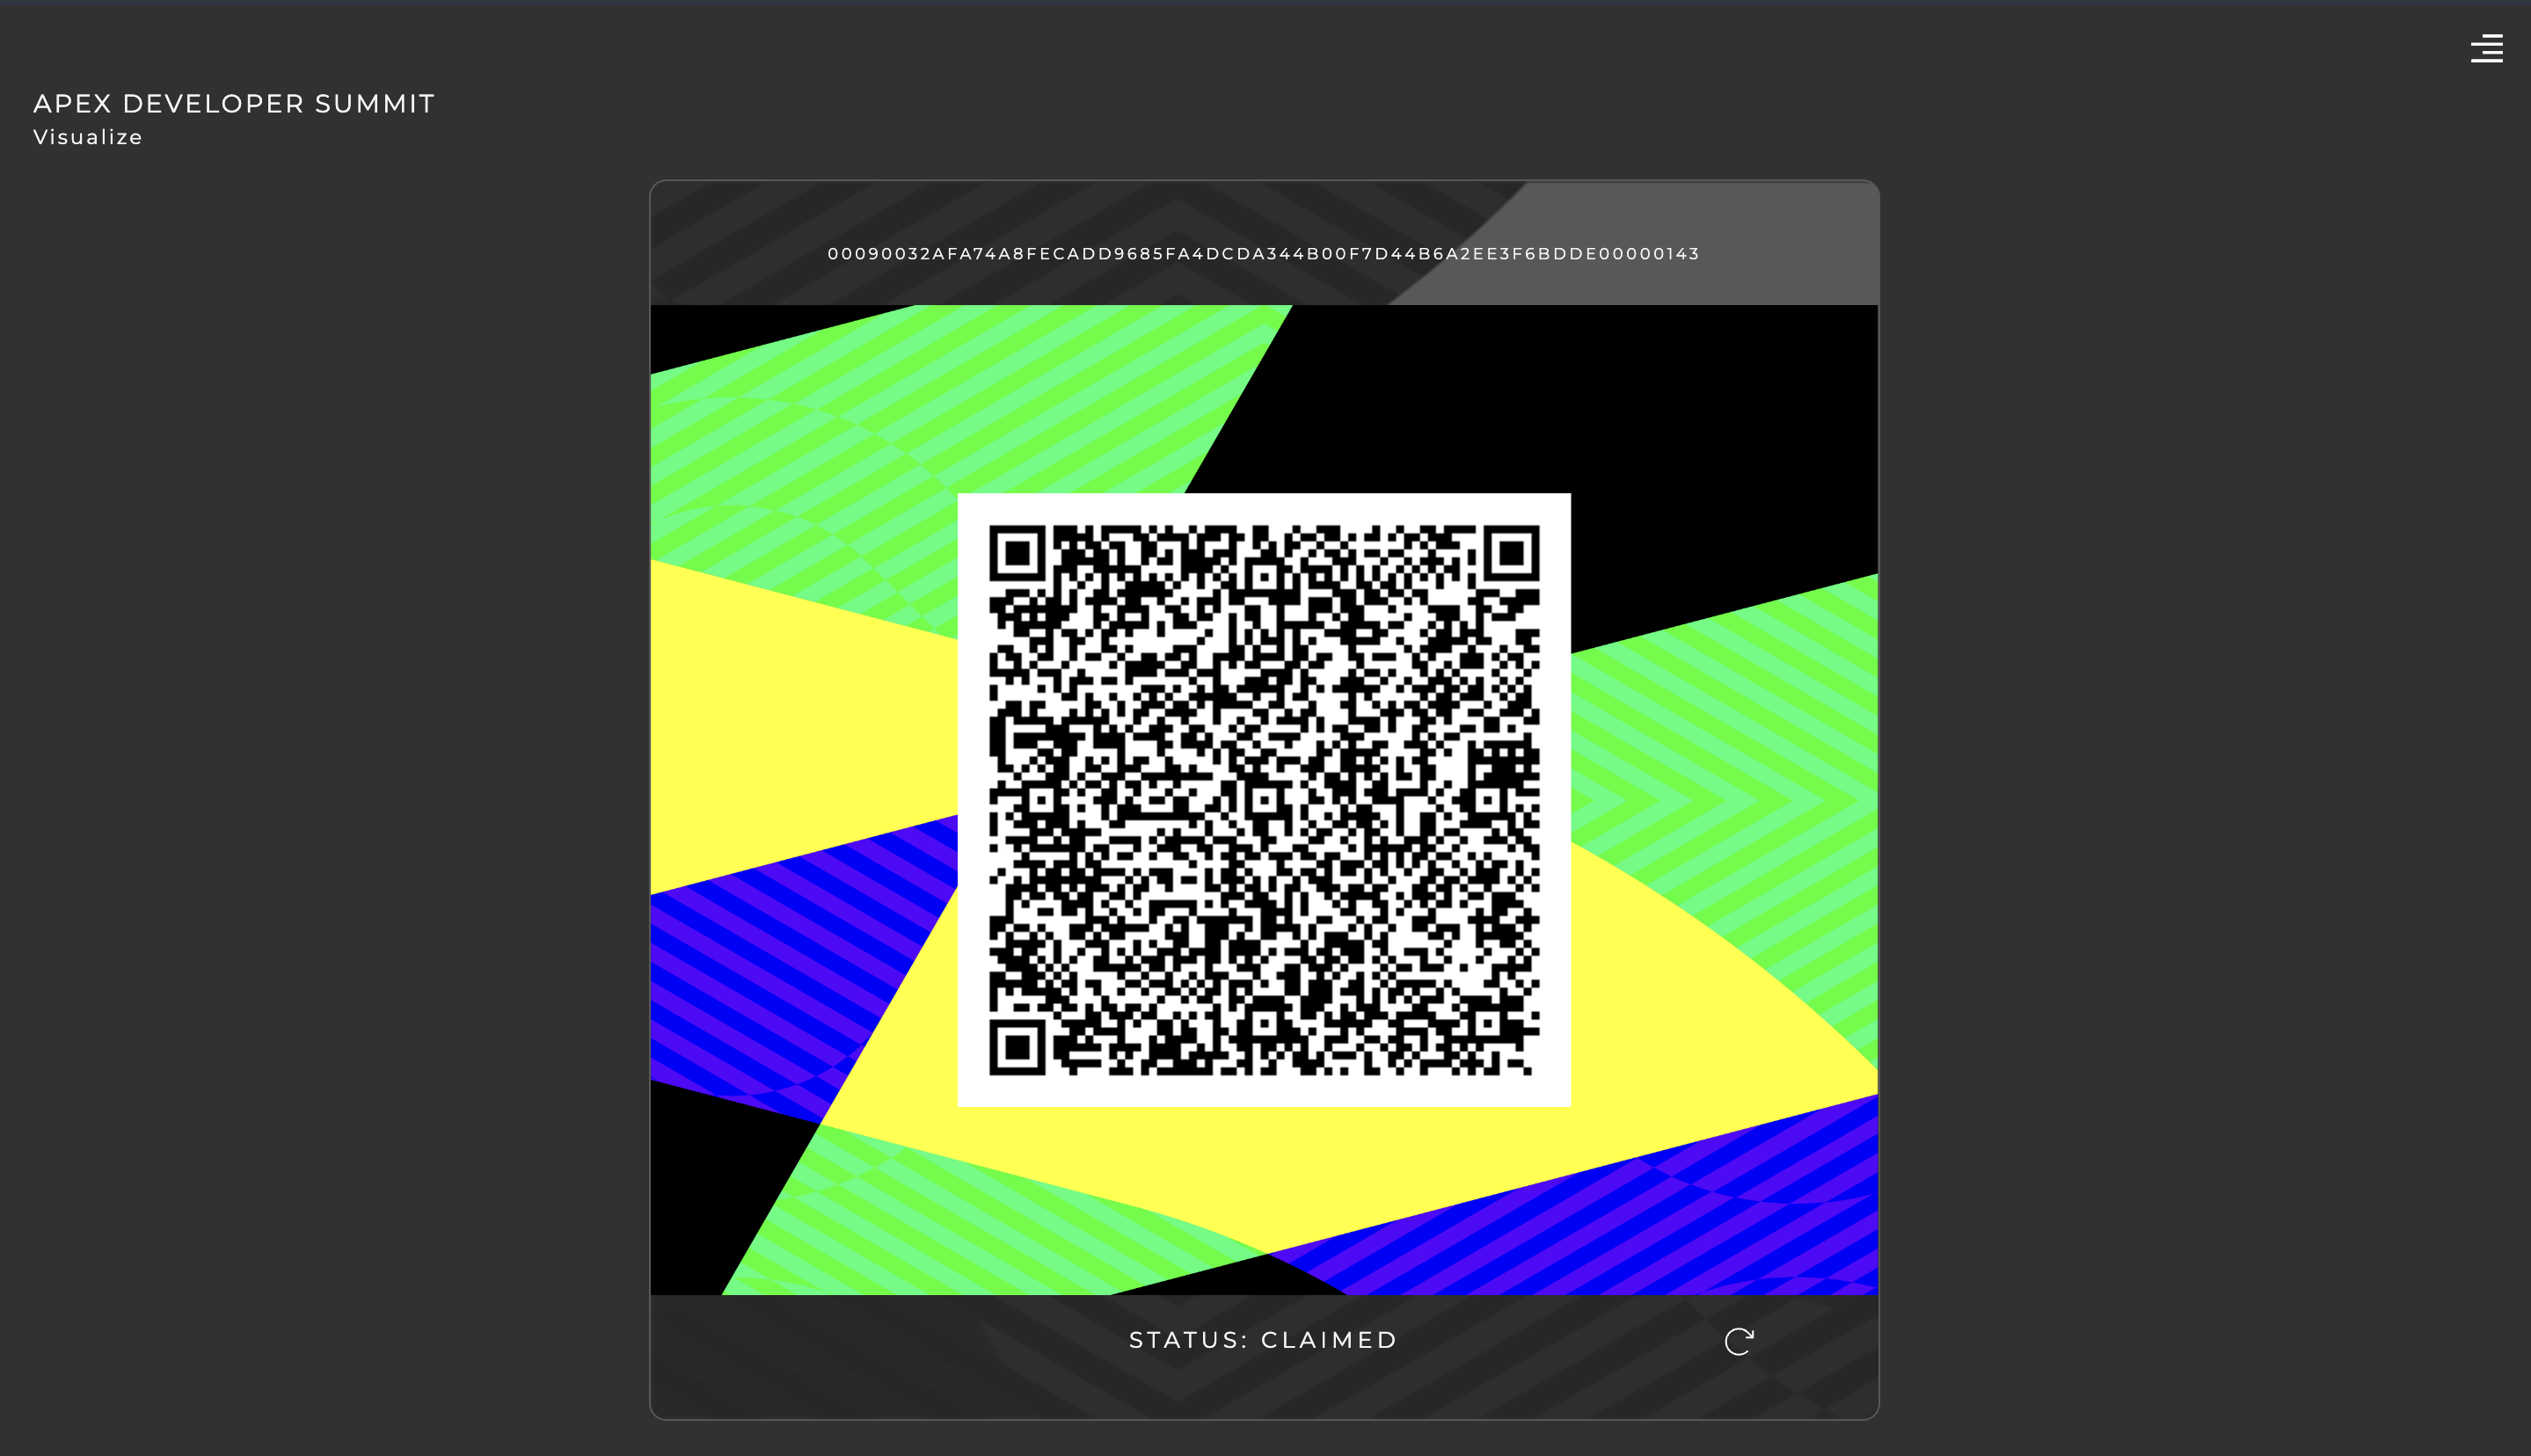
| 7. View your NFT
Now that the NFT has been claimed in your wallet, users can view the NFT that contains a unique ID for identifying each NFT.
|
7. View your NFT
Desktop Web-app (dapp) & Mobile xApp views:
|
| 8. Use the NFT Scanner tool
This feature is only available on the Mobile xApp UI. The reason is because it opens up the camera on your phone to scan NFTs, similar to how a ticket scanner would work.
Users who performed the demo on their desktop’s mobile browser, can use our xApp to access the NFT scanner tool and scan their NFT. By doing so, they will notice that the status of their NFT will change from “Claimed” to “consumed”.
|
8. Using the NFT scanner tool (Only available on the xApp)
|
| 9. Access the Apps NFT Monitor Tool
You can access this feature on both mobile and desktop, from the App’s menu.
We built a testing monitor tool that we then decided to make part of the app’s public features to help users identify the status of their NFTs and other user’s NFTs. Each wallet represents a unique user. In fact, clicking on one of the colored boxes will provide real metadata about other users. Please note, that even though this app is on a test network, public wallet addresses for wallets are the same for Mainnets and testnets. |
9. NFT Monitor Tool Features
|
| 9. Tweet about it
In the menu bar we have a Twitter button for users to share their experience with others on twitter using our handle. |
Creating this UX to open twitter with a pre-written tweet took some craftiness on the part of the developer. |
| 10. Contact us
In the menu bar, we have the options for users to contact us to provide feedback.
|
Standard procedure. |
Challenges
- We found that many users in the demo were not switching to the NFT devnet first and were attempting to Mint and Claim NFTs on the testnet while still being on the mainnet. For obvious reasons, the user on a mainnet will be unable to claim an NFT on the devnet. We were able to deduct this information from our app’s monitor tool which is a live view of what stage each user/wallet completes the demo. To prevent this confusion in the future, we have the ability to detect the network a wallet is using upon singing in. If the user is signing in their wallet while still being on a mainnet instead of the appropriate testnet, our app can shoot an error message with a message that indicates to the user that they are on the wrong network and must switch first and try again once they have.
- It is also difficult to support multiple web platforms (Safari, Chrome, Firefox, Mobile view, desktop view, etc.) We did our best by supporting the most common browsers.
- Note that regular updates made by Xumm can affect the way Dapps interact with Xumm and can “break” features. This makes it imperative that developers integrating with Xumm stay up to date with any software updates being made. For example, prior to submitting this hackathon, we were having issues with the app and had to find the issues that were causing them (Xumm software version changes) and fix them.
Built With
- docker
- express.js
- ipfs
- jest
- mongodb
- nextjs
- node.js
- npm
- rest
- tailwinds
- typescript
- xls-20d
- xls-24d
- xrpl.js
- xummsdk

Log in or sign up for Devpost to join the conversation.