Inspiration
We initially began by looking at ourselves and the problems we faced. We narrowed it down when one of our team members, who is a lead teacher at a coding camp, noticed that his kids were struggling with learning programming logic. So we sought to find a solution to this problem.
Nowadays, there are so many resources to learn anything, from frameworks, languages and programming logic. Specifically, these resources all exist online, teaching through IDEs, videos and animations.
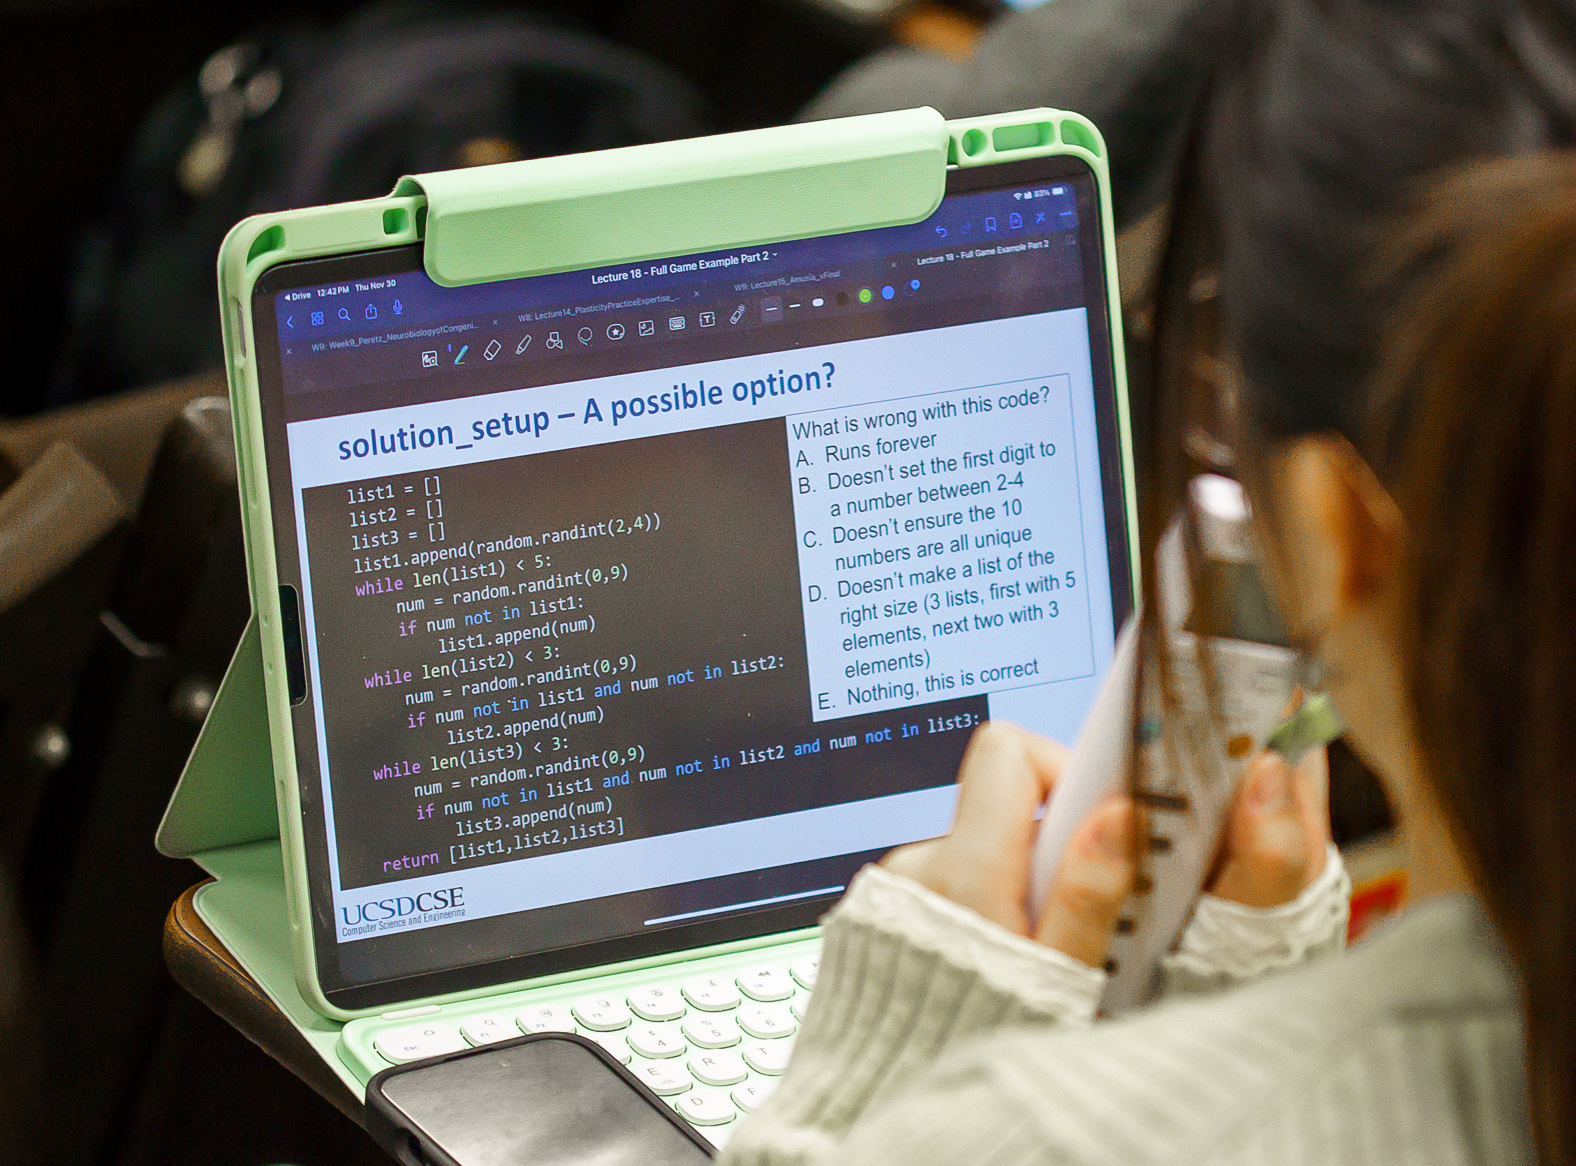
This is where the problem lies. The kids spend hours staring at their screens, disconnecting their curiosity and actions(especially with all the distractions online; this is a surefire way to lose interest). They enter code and get an underwhelming output on their computer. All these resources fail to capitalize on the magic of programming to engage.
Our conclusion is backed by research: For young children learning STEM specifically, tactile learning is far superior to learning solely through screens. The touch and feel help children break down concepts and provide a more "real" experience.
So we created a screen-free solution to engage kids, using physical puzzle-piece coding blocks to move a robot in real life.
What it does
Our solution, called SnapCode, follows a similar approach to learning as sites like Scratch and Khan Academy for kids, focusing on building a foundation through block coding - except it's all in person. Each online block is instead turned into physical puzzle pieces which linearly connect, showing how the code is built and read line by line.
SnapCode begins with a styrofoam canvas with 10 slots for 10 puzzle piece statements. Each puzzle piece works to control a custom-built robot, similar to the turtle library in Python, where you can rotate, move forward and change colours(through the headlights). A student can magnetically snap each block in place, and when their code is complete, simply press the start button on the board.
The code is read at the bottom using a chain and camera, reading the code from top to down identifying different blocks through each statement having its own colour. As each block is read, the robot does the action, similar to an interpreter reading line by line. SnapCode removes the need for screens by processing the code underneath the board.
We decided to include 8 main blocks: move forward, backward, turn left, turn right, start, forever, repeat 5 times(like a for loop), flash colour.
How we built it
We first decided to CAD SnapCode on OnShape, chosen for our experience and ease of use. We CADded the box for the puzzle pieces to slot into separately from the puzzle piece reading mechanism. To slot the puzzle pieces, we created slots for the magnets in the canvas and for each of the puzzle pieces. We then glued the magnets into the slots. To read the puzzle pieces, we have an empty vertical bar(a hole slot) for the reading mechanism and another vertical slot for a pointer(pointing at the line it's reading, moving forward as it reads).
For the reading mechanism, we designed a 3D-printable 129T belt and two 20T pulleys. The pulley has slots for a 3D-printed block which can be screwed into the canvas box. The reading mechanism moves by powering the pulley shaft. A camera is attached on top of the belt to read the colours.
The car is a two-wheeled car powered by two motors. Since we only have two wheels, we also have a ball joint at the front to stabilize the car. For the lights and powering the motor, we have a mini breadboard inside the car and an LED. To cover the LED, we have a thin layer of 4mm white PLA in a half-sphere shape, thin enough to let the light diffuse evenly.
On the software side, we used a custom OpenCV pipeline for the camera and colour detection, mapping each colour to a block of code(like a dictionary). Once the program is run, a circuit completes, and the motor starts, causing the pulley to move and the camera to read the colours. The camera and motor are powered by batteries within the canvas case. To communicate with the robot, we first use a Raspberry Pi connected to a custom Wi-Fi protocol written in Python with Flask that communicates with the robot, causing the robot to follow the instructions and move, skipping the laptop, a fully screen-free process. It's unidirectional for simplicity and consistency. For each block, we add a function in our Python code, like for the loop. As the code is read, we have one-second delays for each step(at a set distance), moving the pointer. We do this by making a custom algorithm to precisely move the stepper motor, as when it moves, it gains acceleration, so you can't move it uniformly, so we compensate for the acceleration. The electronics and wiring for the car and box we used are shown in the image underneath.
Challenges we ran into
The main issue we faced was the strict time constraints of the hackathon. Since we had so little time, we didn't have time to 3D print every component, so we had to improvise, reduce scope and change designs. We shifted from a full 3DP design to changing the canvas to a foam board to fit the time constraints. We also faced issues connecting our computer to the car's Raspberry Pi as well as having trouble connecting to the stepper motor.
What's next for SnapCode
Our baseline right now is strong; we just need to add more block variety and more slots for code. Additionally, over time, playing around with the robot could be boring, so adding different devices for more outputs could help engage students further.
Currently, we rely on students finding their own problems to solve, but in future we would create levels that require different blocks to solve, creating a more guided learning experience.
References
Xie, H., Peng, J., Qin, M., Huang, X., Tian, F., & Zhou, Z. (2018). Can Touchscreen Devices be Used to Facilitate Young Children's Learning? A Meta-Analysis of Touchscreen Learning Effect. Frontiers in Psychology, 9, 2580. https://doi.org/10.3389/fpsyg.2018.02580
Built With
- 3dprinting
- autodesk-fusion-360
- flask
- numpy
- onshape
- opencv
- pip
- putty
- python
- raspberry-pi
- resistors
- terminal
- wifi


Log in or sign up for Devpost to join the conversation.