-
-
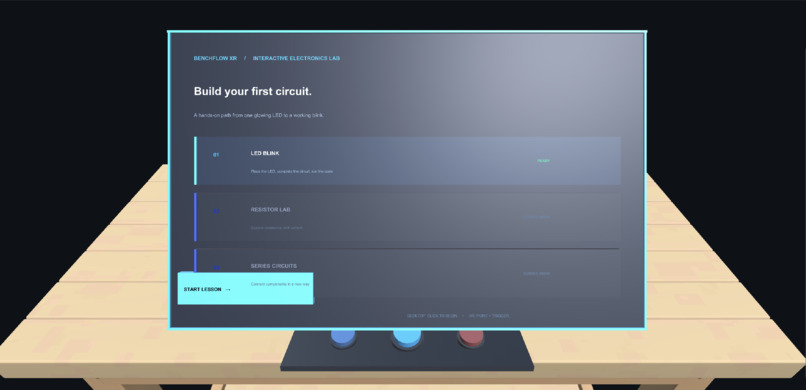
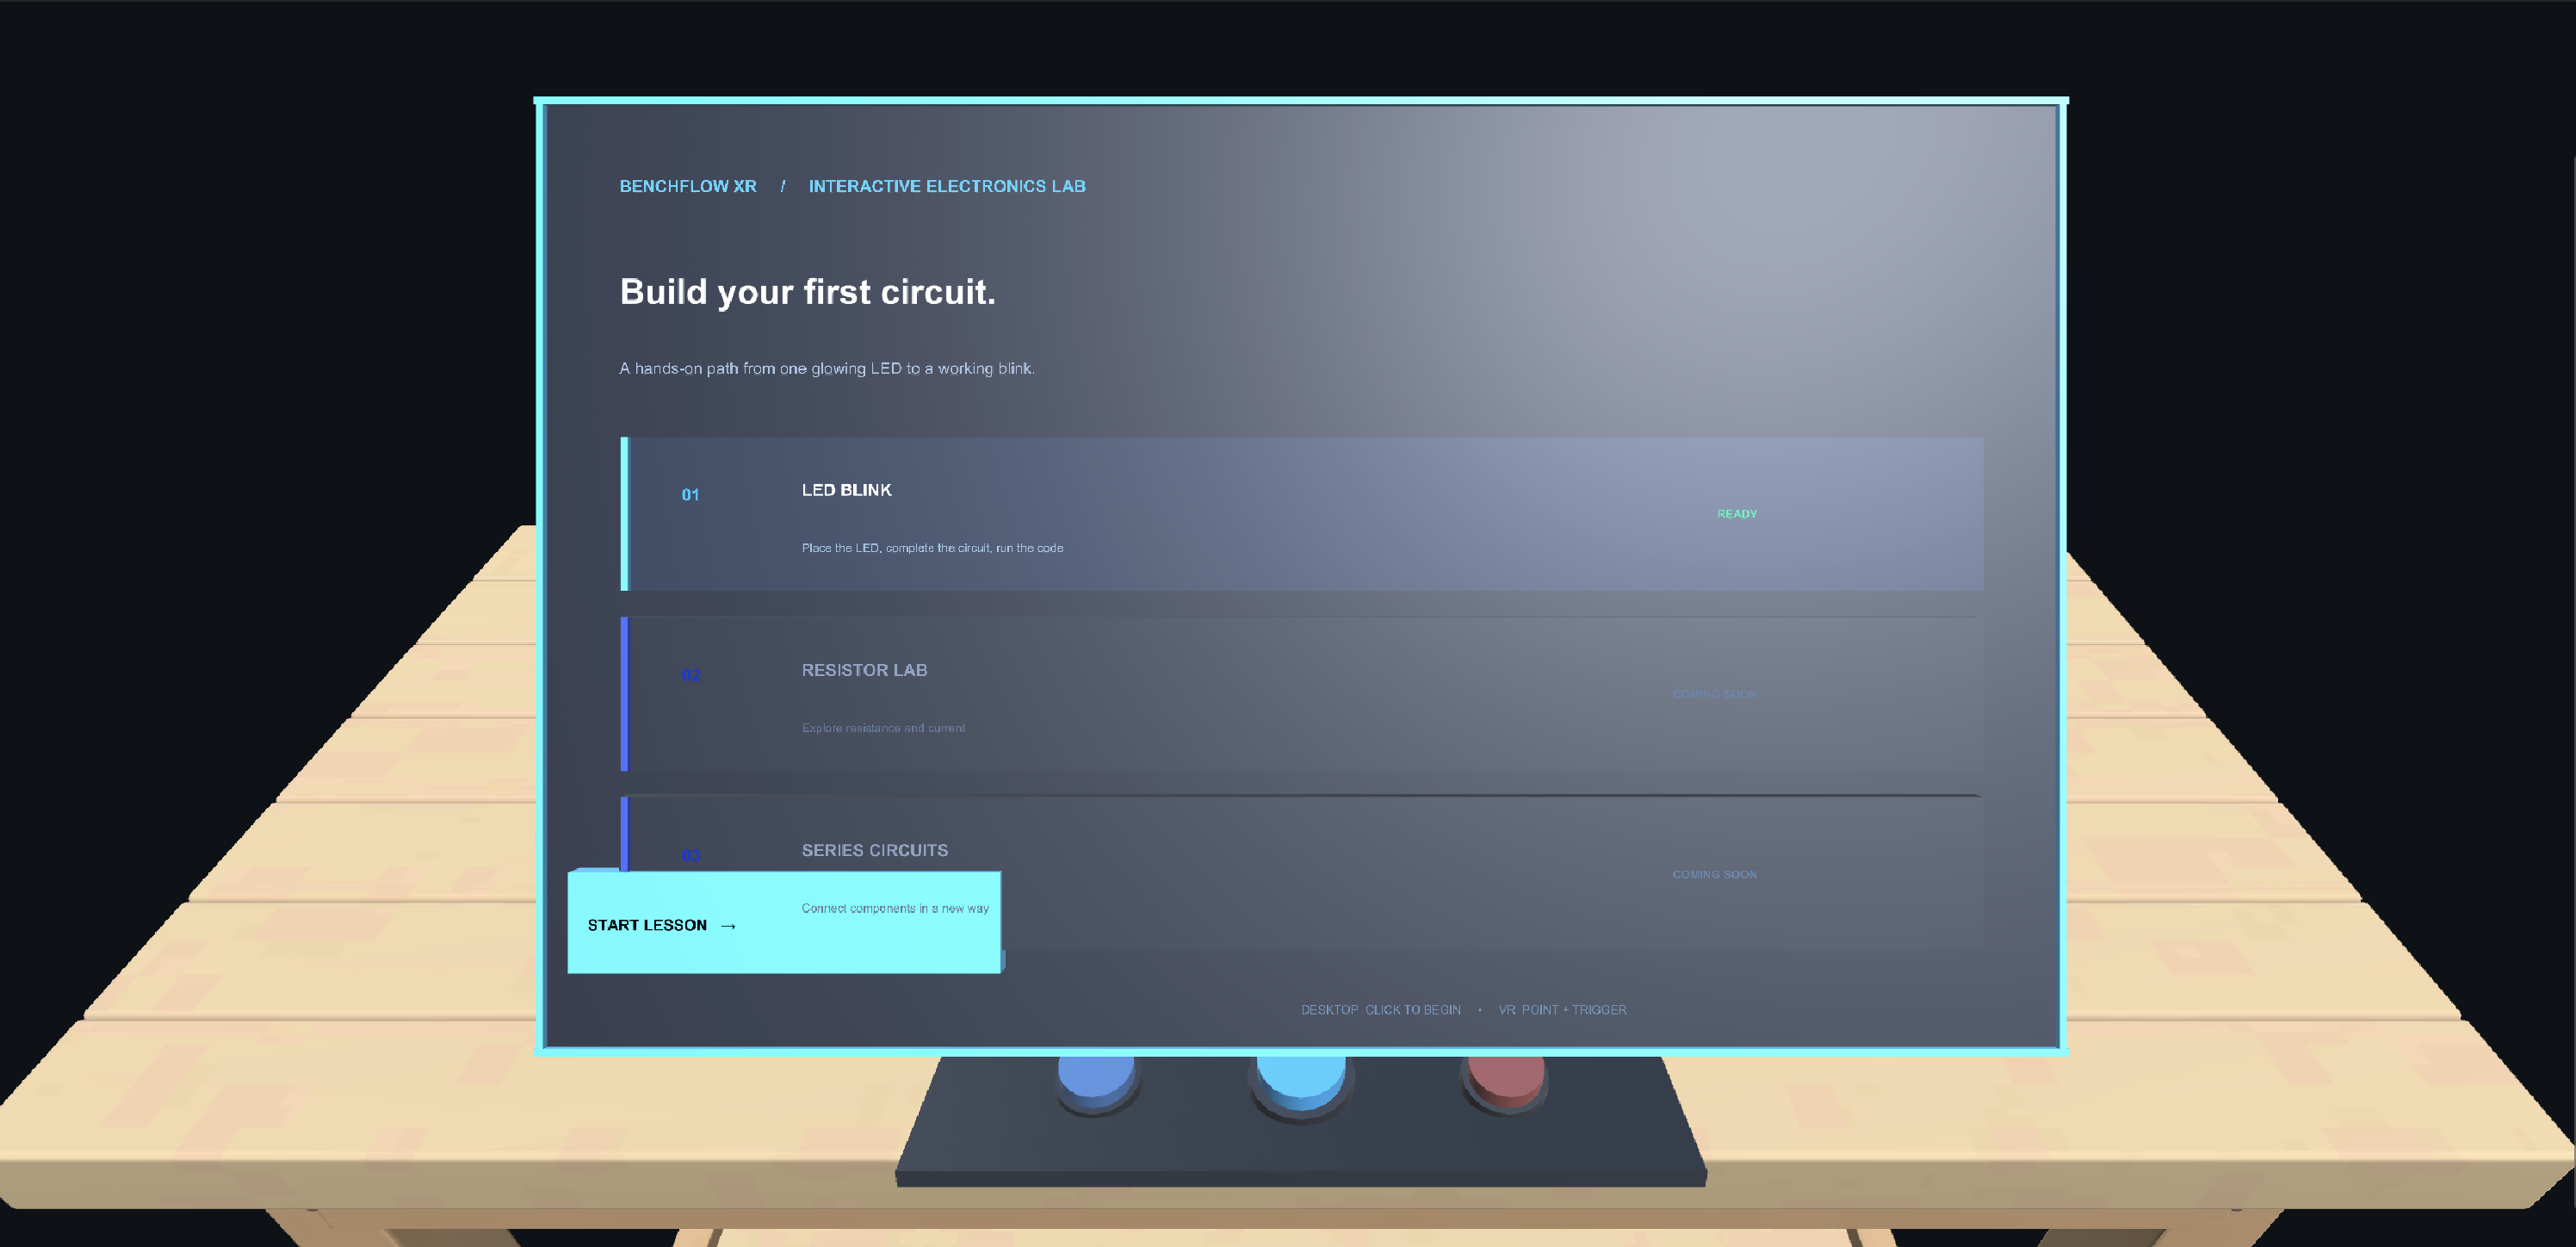
Landing page
-
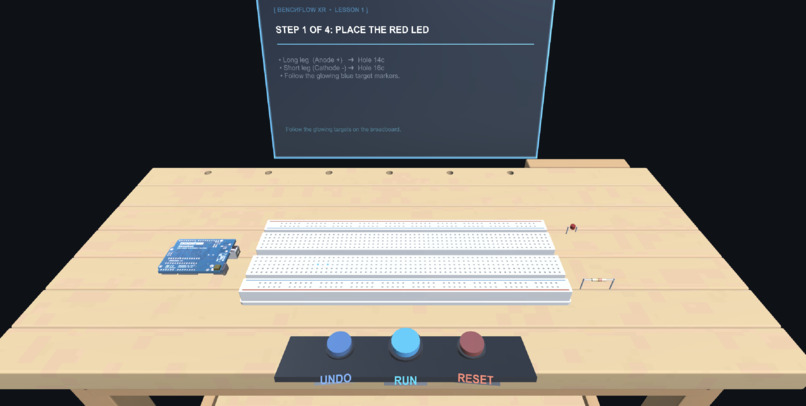
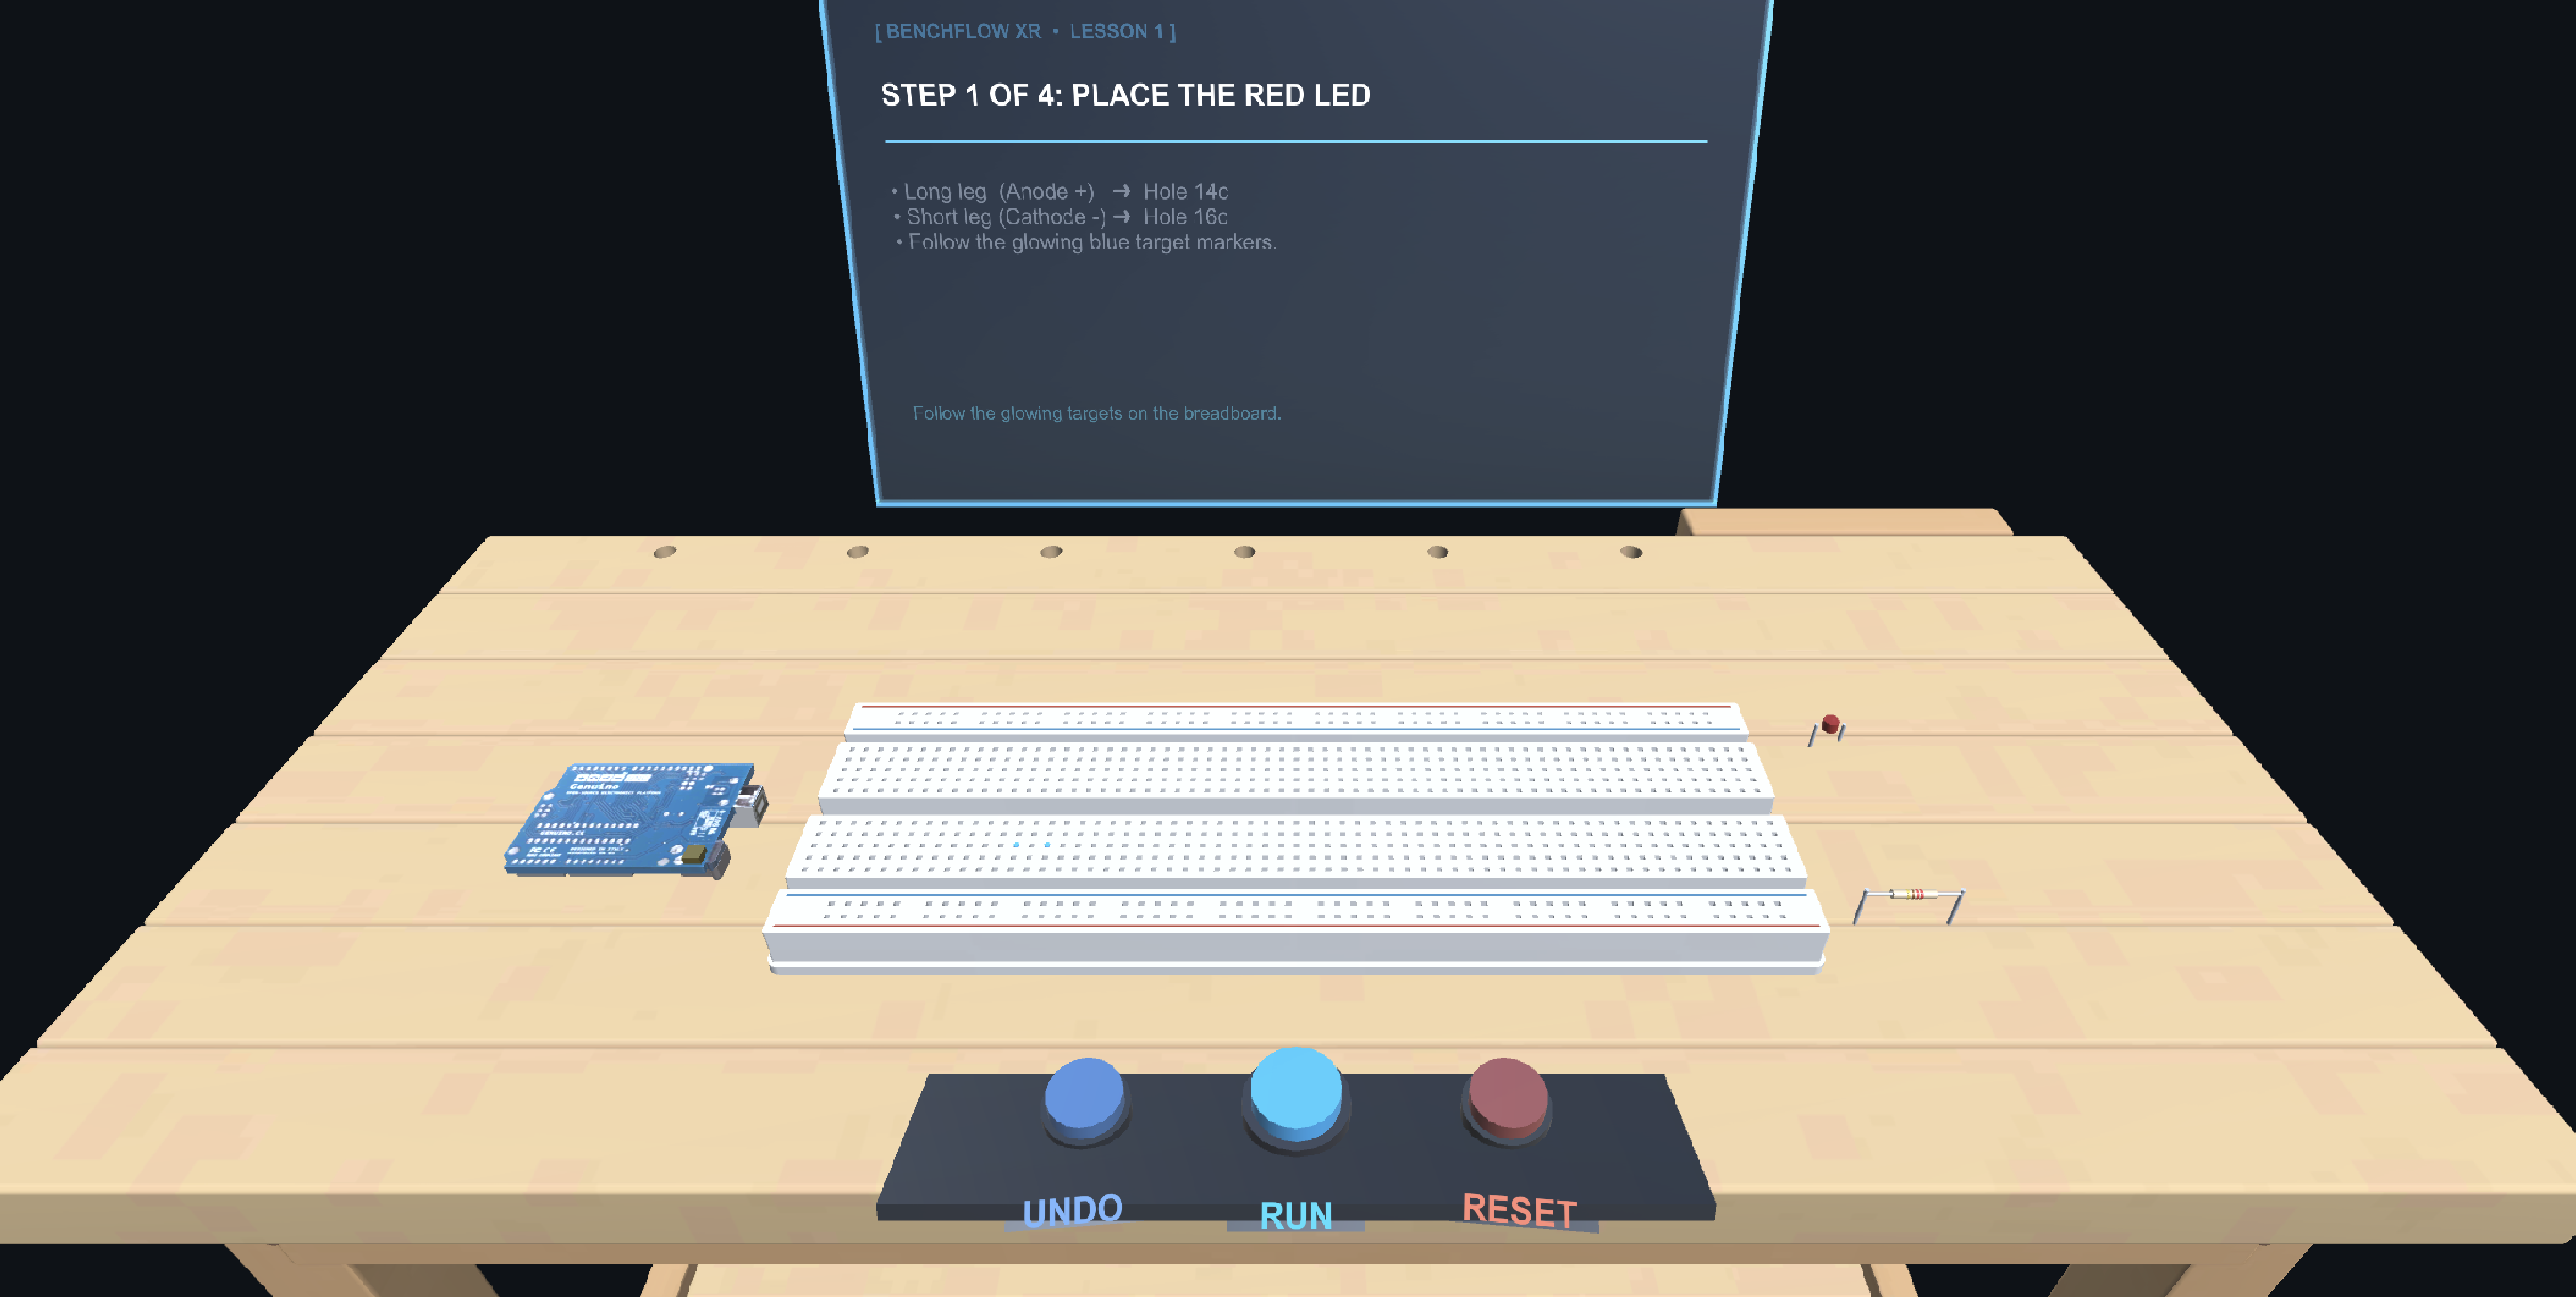
Fresh Workspace
-
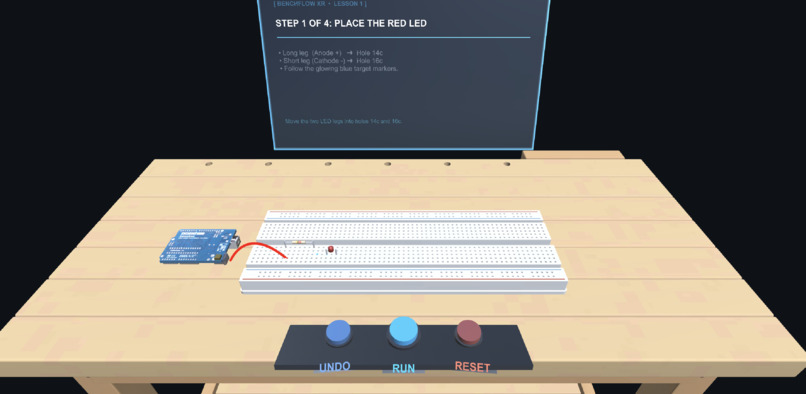
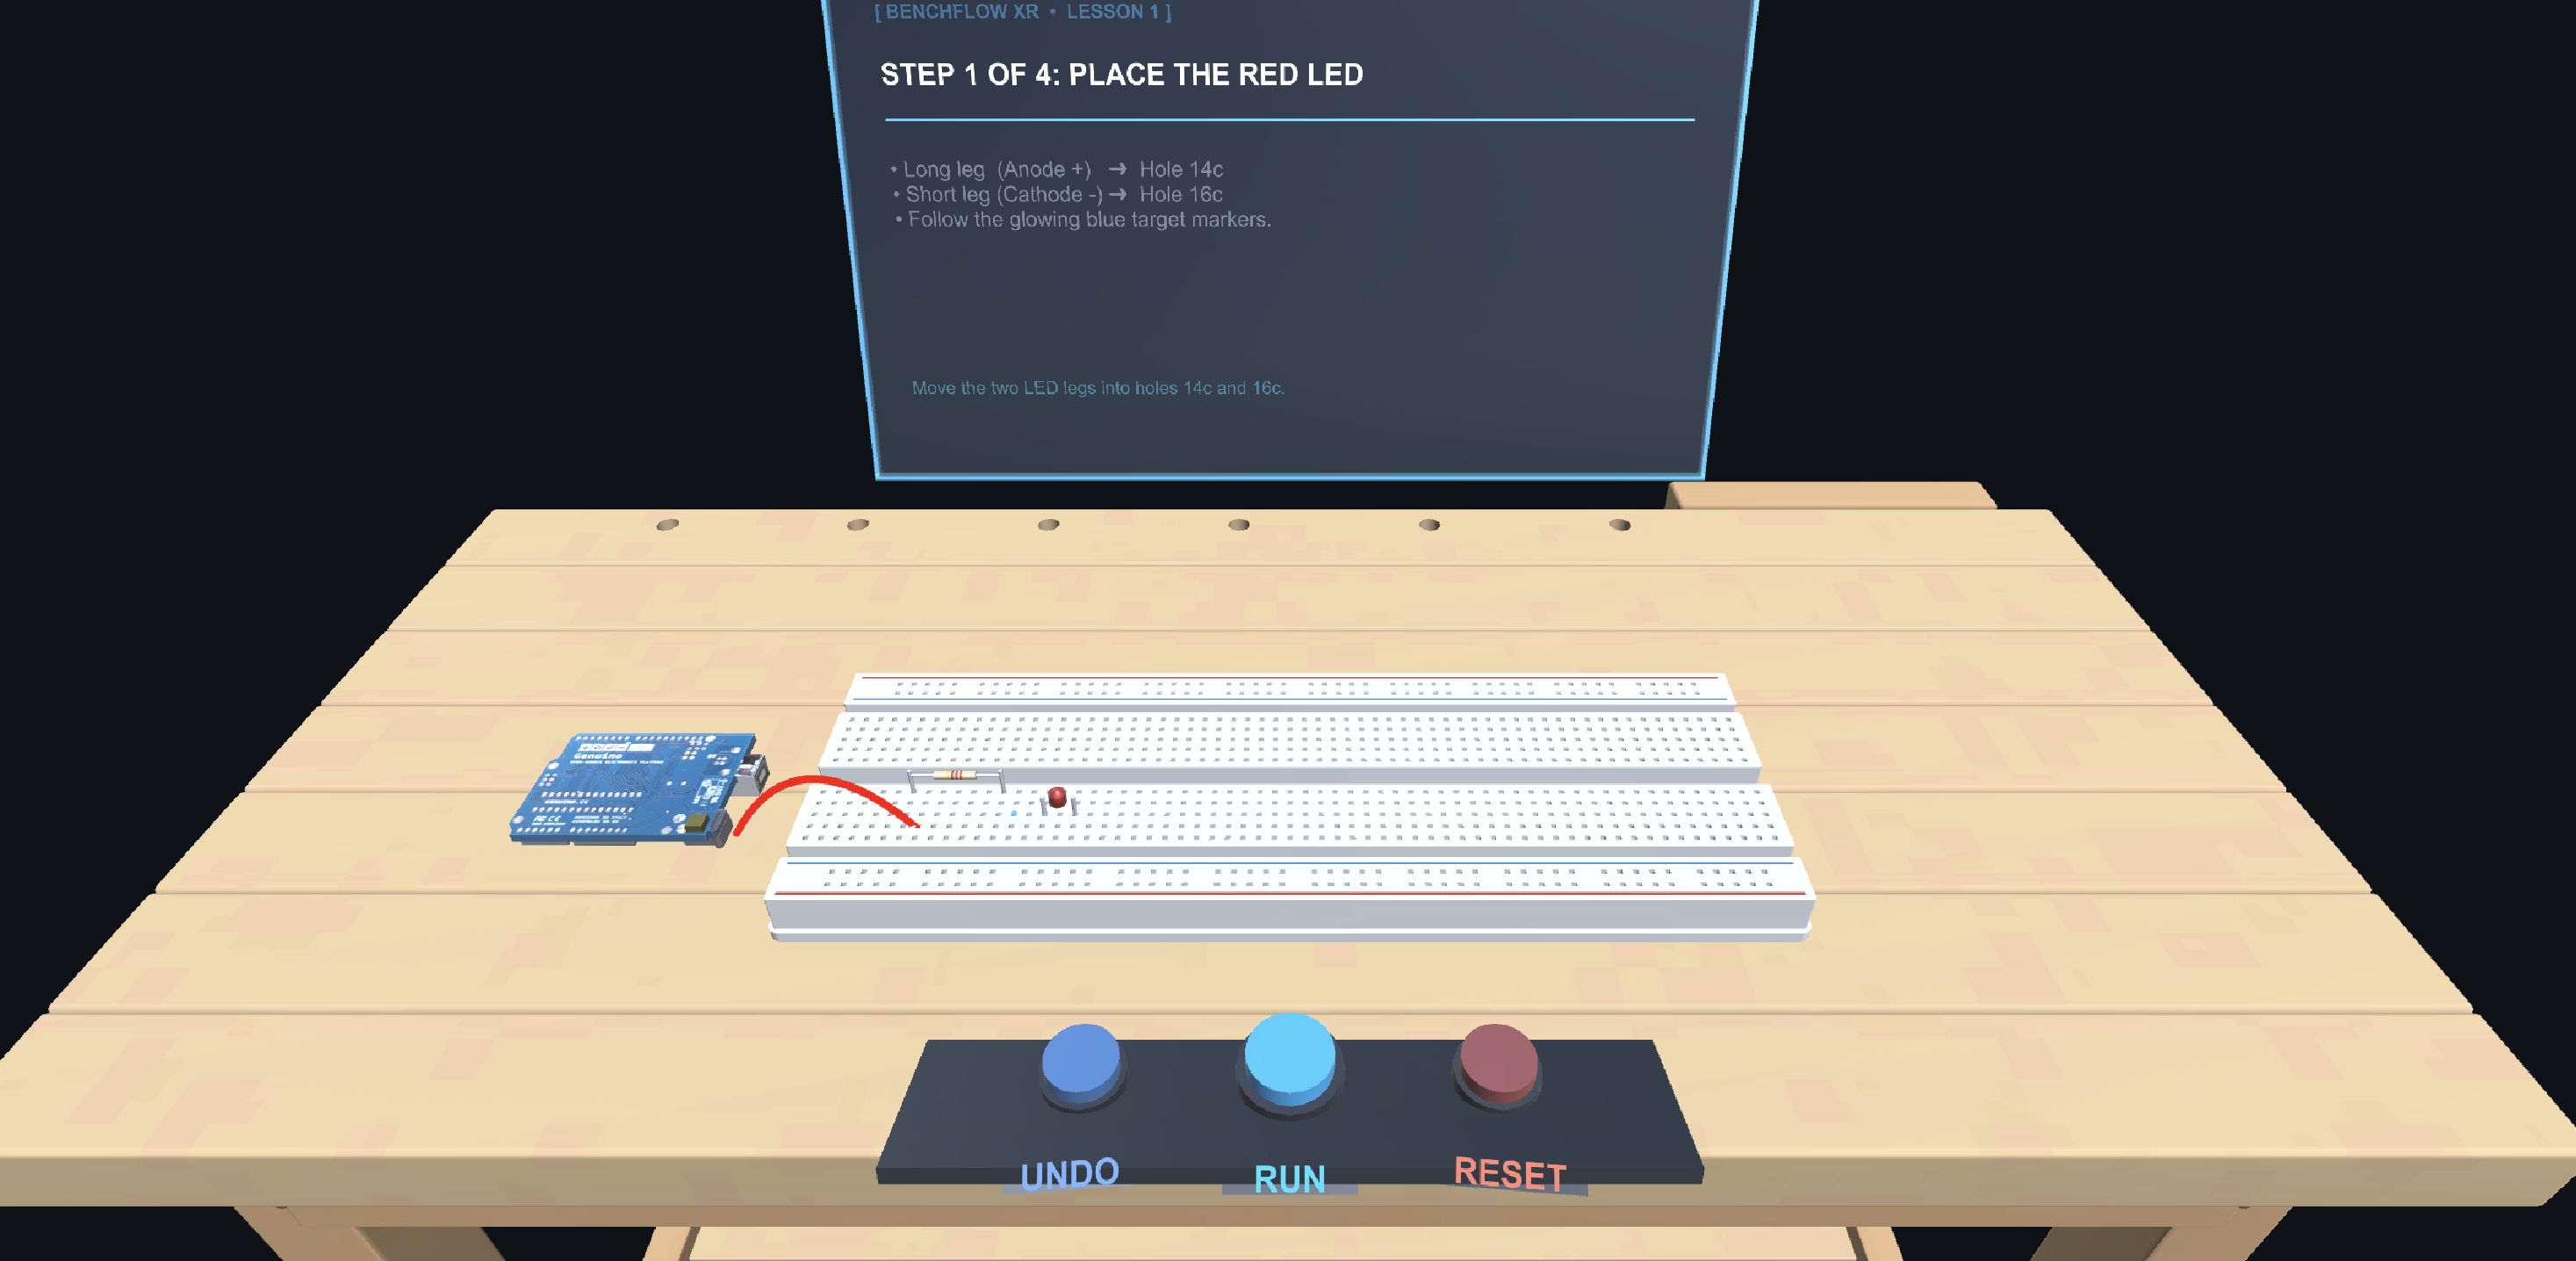
Adding components
-
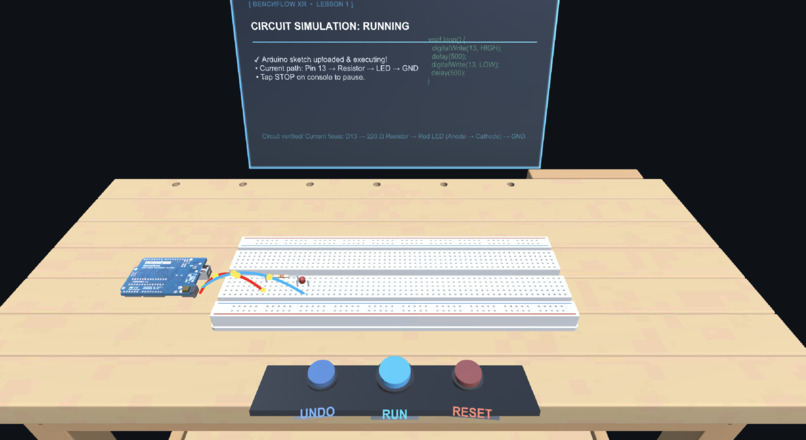
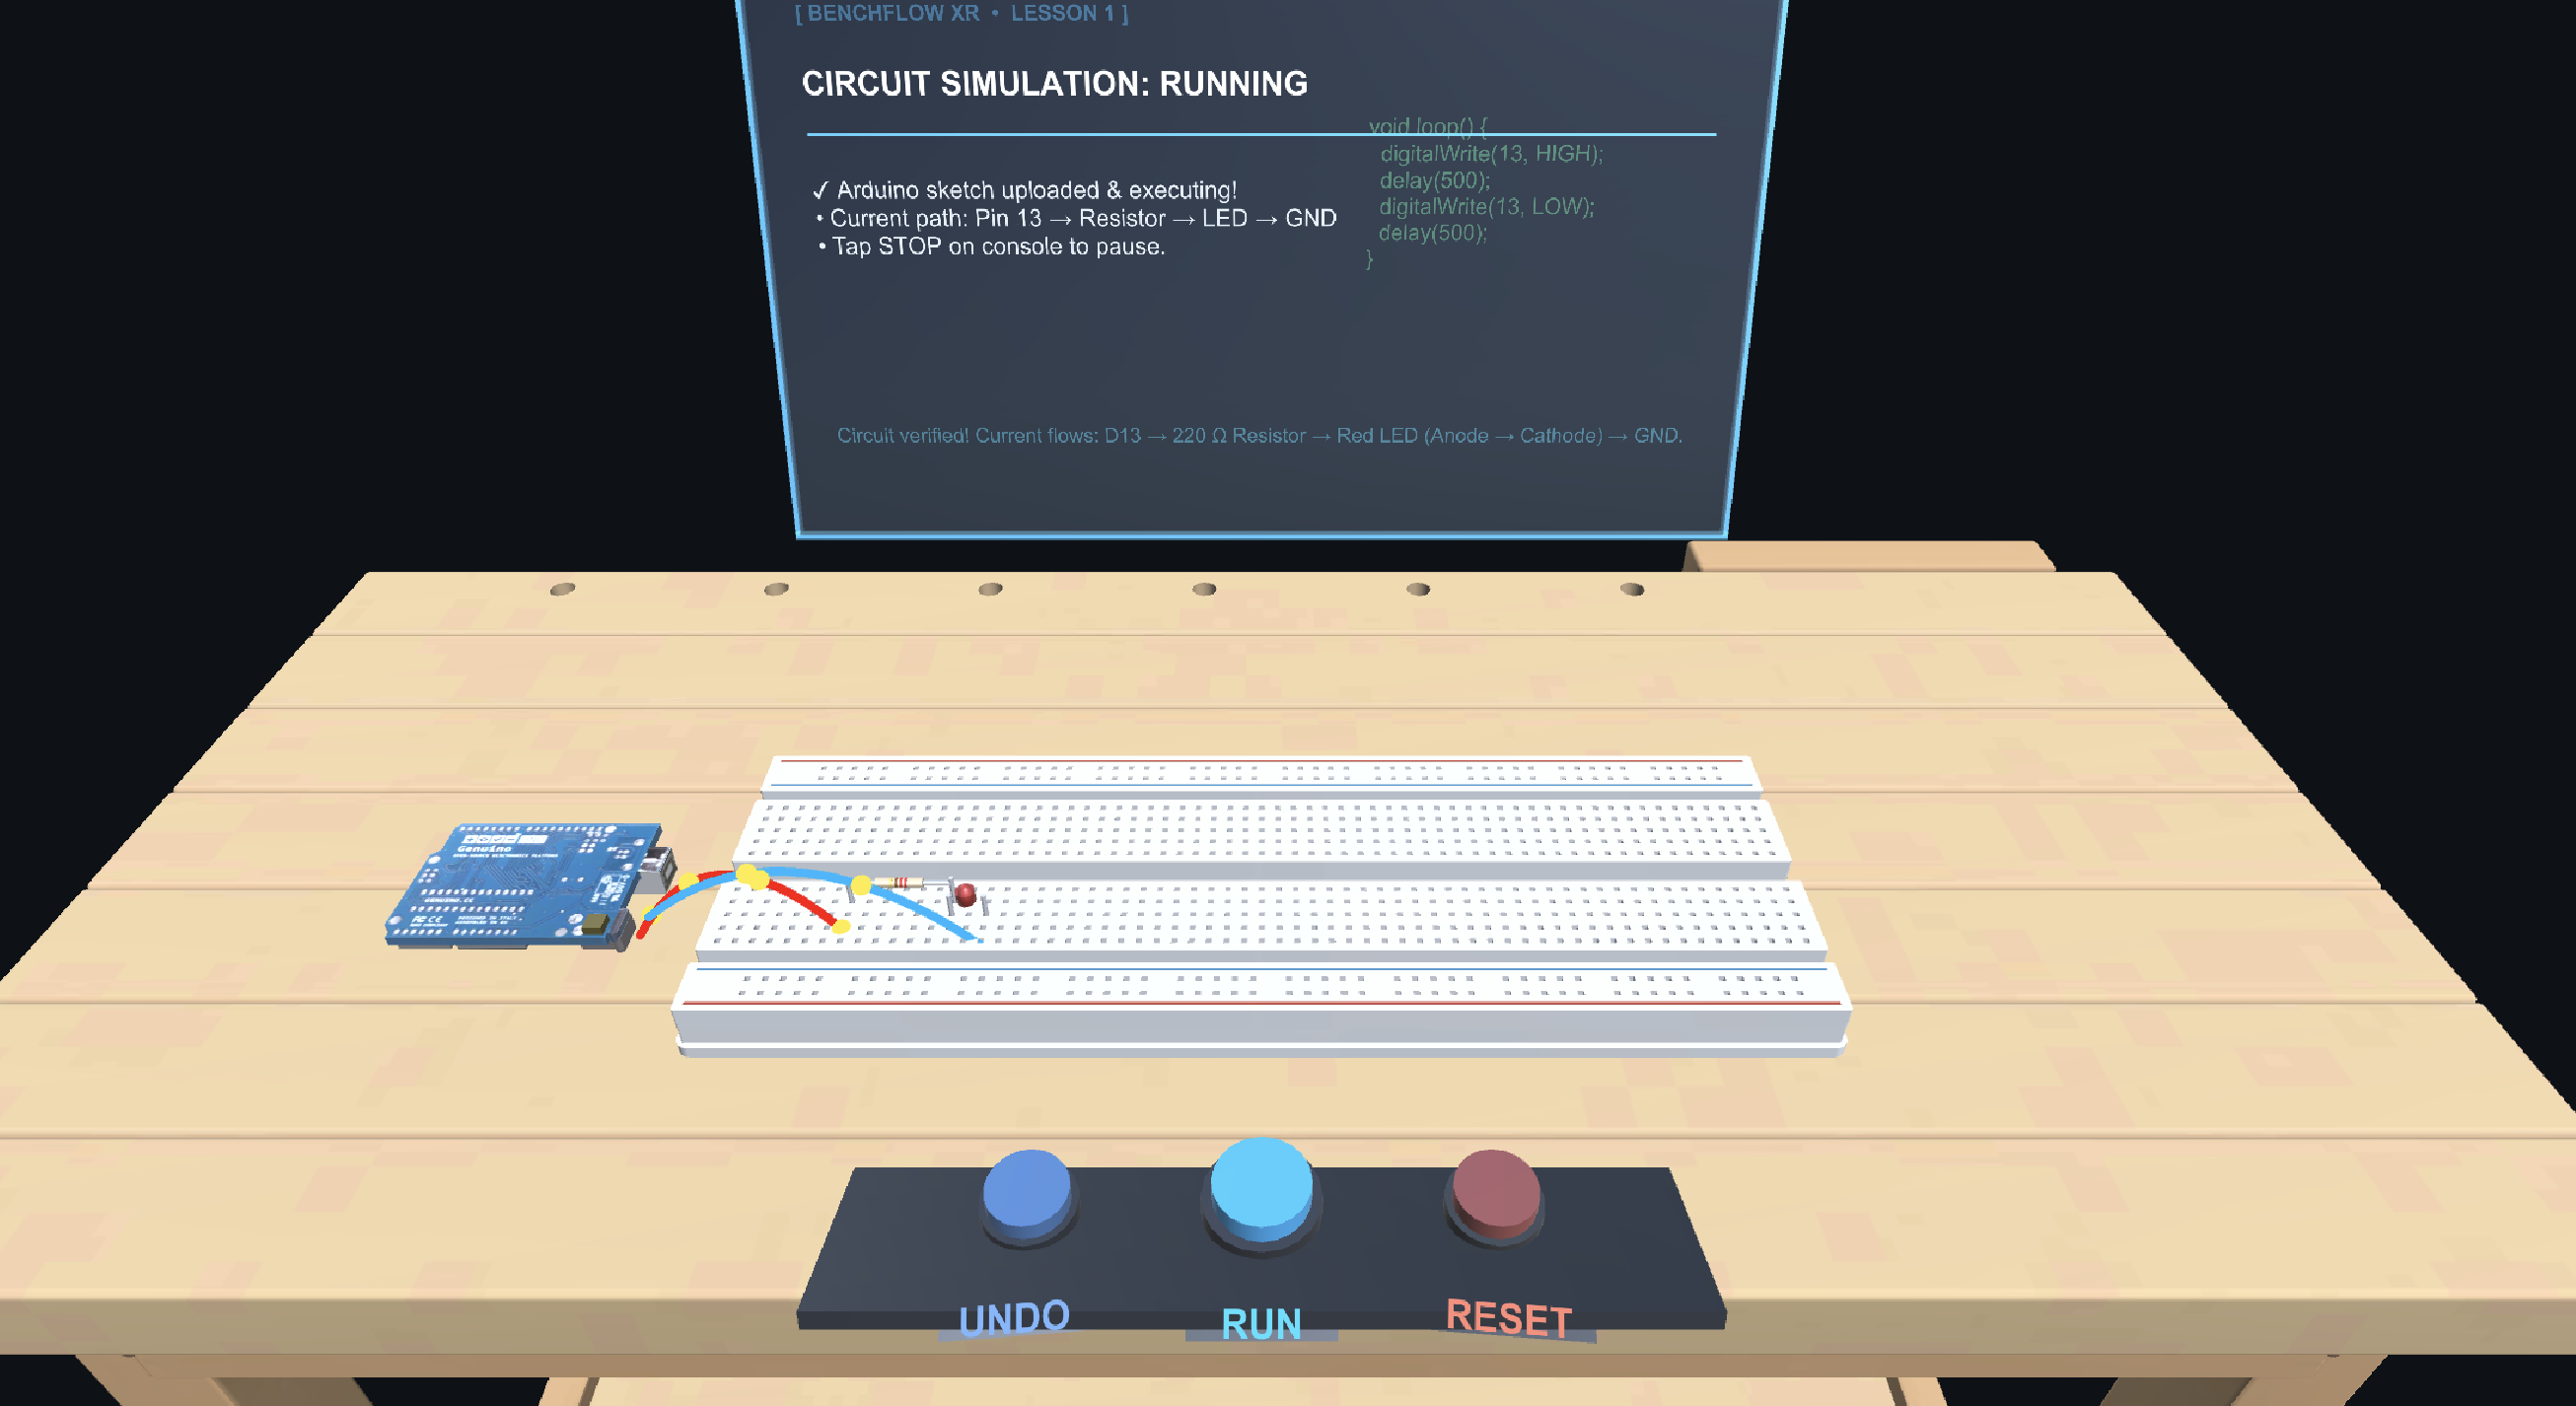
Working simulation
Inspiration
Learning electronics often means translating a diagram into tiny breadboard holes, then figuring out why the circuit does not work. BenchFlow grew from the idea that this process could feel more approachable if learners could pick up components, place them, and see how each connection affects the circuit.
We wanted to make a first electronics lesson feel like a hands-on workbench experience, whether someone uses a VR headset or a desktop.
What it does
BenchFlow guides learners through building a simple LED blink circuit on a virtual breadboard. The lesson walks through placing a red LED, adding a $220\,\Omega$ resistor, wiring the circuit to Pin 13 and GND, and running a simulated Blink program.
As learners work, BenchFlow checks the circuit and gives specific feedback about common mistakes, such as reversed LED polarity, missing wires, or a short circuit. When the circuit is correct, the LED and board indicator blink together, with animated pulses tracing the current path.
The prototype supports VR interaction and desktop controls. It also includes glowing placement guides, component snapping, haptic feedback, spatial sound, and controls to undo or reset a build.
How we built it
We built BenchFlow in Unity. Its breadboard grid maps physical hole positions to an electrical connectivity graph, so the project can reason about which terminals share a strip and whether the circuit is complete.
We created a four-step tutorial, 3D workbench, components, and connection points, then added a validator for the expected circuit and common wiring errors. In VR, learners can grab, rotate, and place parts using tracked controllers or hands. In desktop preview, they can drag and rotate parts with a mouse and connect wires by selecting endpoints.
Pressing RUN validates the circuit and starts the in-scene simulation. The prototype displays the Arduino Blink sketch and animates the virtual LED and current flow; it does not upload code to a physical board.
Challenges we ran into
One of the hardest parts was making the visible breadboard match its electrical behavior. The holes look like a regular grid, but their connections follow breadboard terminal strips. We had to align the interaction targets with the 3D model while keeping the underlying circuit graph accurate.
We also had to make circuit feedback useful. A generic “incorrect” message would leave learners guessing, so the validator checks for specific issues such as a reversed LED, a resistor spanning the wrong rows, or a direct connection between Pin 13 and GND.
Finally, the project needed to work across two interaction styles. We built VR and desktop controls around the same workbench and circuit state so the lesson could be explored with or without a headset.
Accomplishments that we're proud of
We’re proud that BenchFlow brings together a guided electronics lesson and a circuit-aware workbench. A learner can place components, wire the circuit, receive feedback, and see a successful build come to life in one continuous experience.
We’re also proud of the small details that make the prototype feel interactive: magnetic placement guides, animated current pulses, spatial audio, haptics, and undo and reset controls.
What we learned
We learned that a believable 3D model is only part of an interactive learning tool. The model, interaction targets, electrical rules, and tutorial feedback all need to agree for the experience to feel clear and trustworthy.
We also learned how valuable it is to design feedback around the learner’s next action. Identifying why a circuit failed—and offering a concrete hint—can turn a mistake into part of the lesson.
What's next for BenchFlow
Next, we’d like to add more guided builds, including circuits with different components and levels of difficulty. We’d also like to improve support for experimentation beyond the first lesson, make it easier to save and revisit builds, and explore connecting the experience to physical hardware so learners can move from a virtual circuit to a real one.
