-
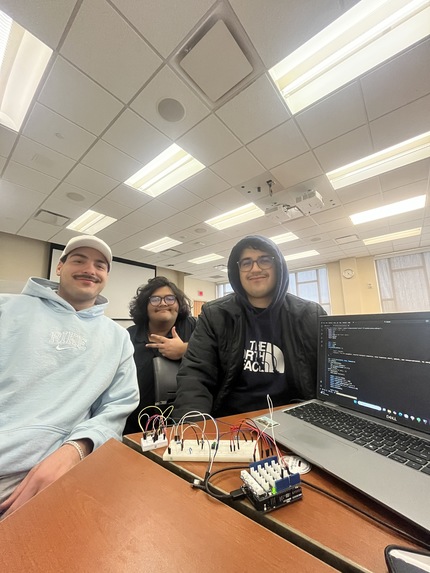
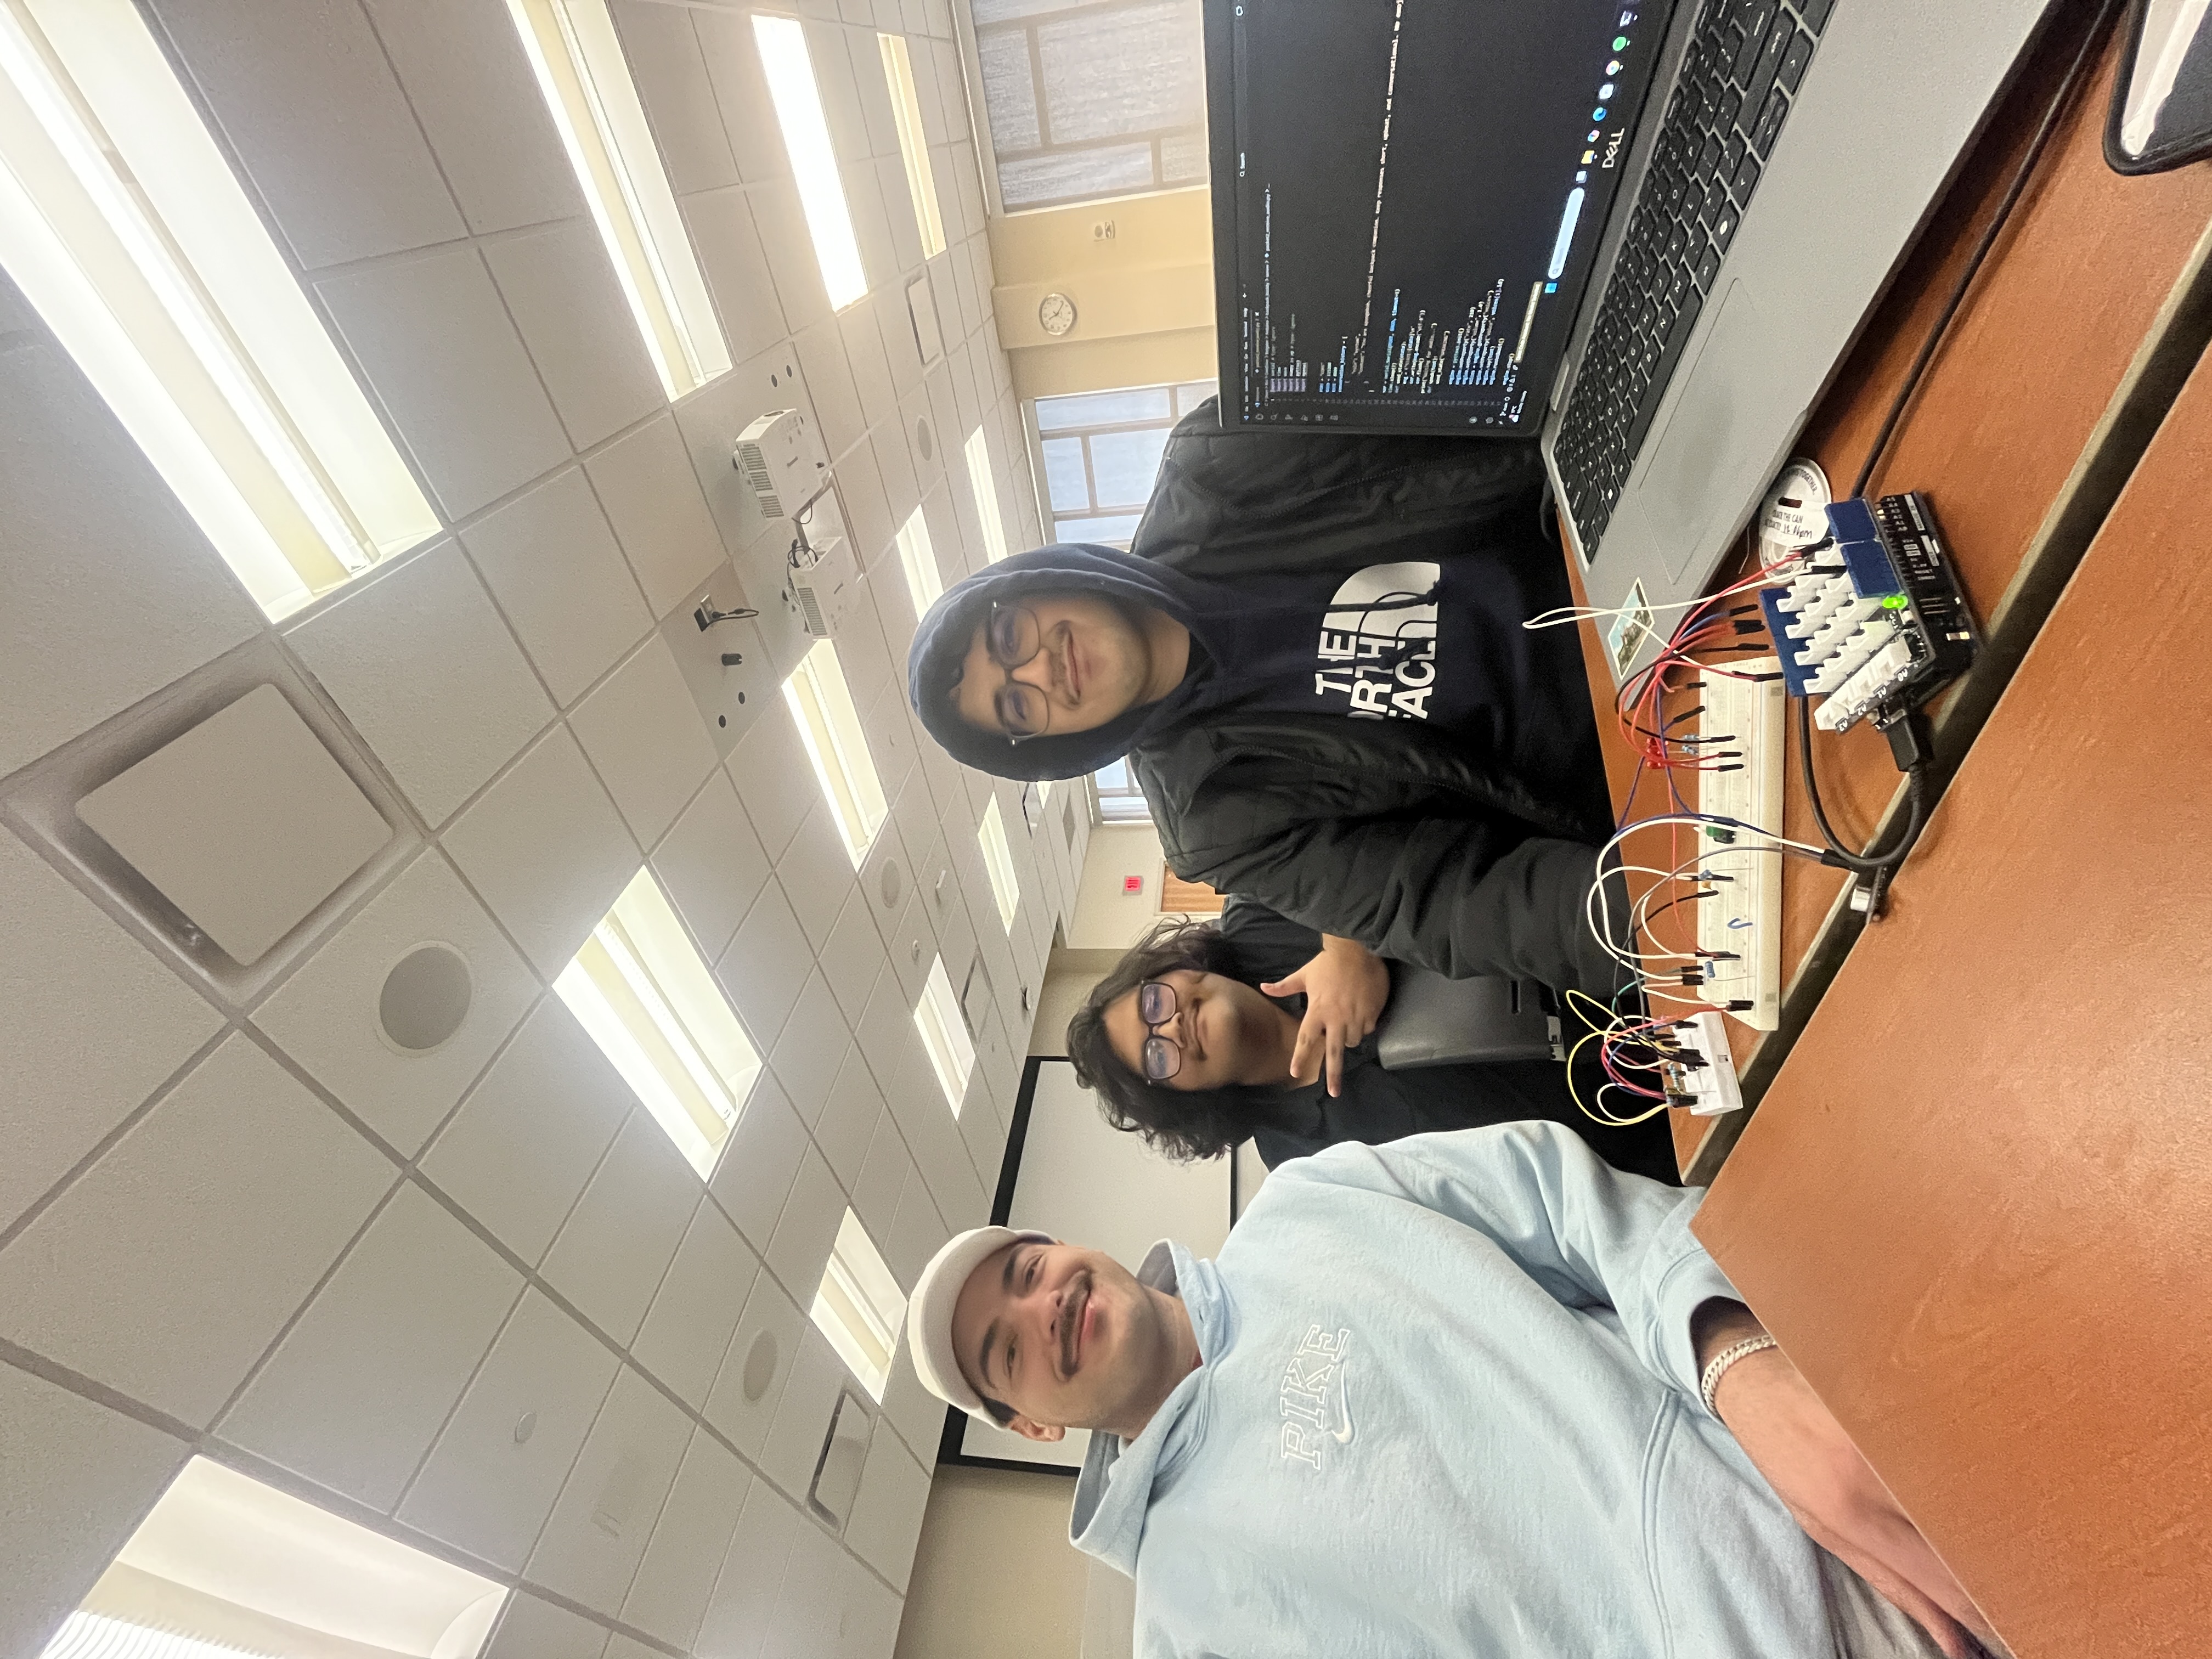
team
Inspiration
Parents don't have time to care of their children anymore and the job market is making teenagers more anti social and depressed so that would be a fix to an extent.
What it does
Through the push of a button, it allows the person carrying it to ask any question, and have it answered in an effective manner.
How we built it
Using the ARDUINO UNO R4 as the micro controller for simulating all the physical and electrical interactions in the toy, we created a breadboard circuit consisting of a button, microphone, voltage divider, capacitor filter and a pre-amplifier. While the button was borrowed from MLH, the voltage divider, capacitor filter and pre-amplifier were made in-house on bread and proto boards. The microphone was soldered and connected into the breadboard using female to male wires. After assembling the circuit, we moved onto coding the microcontroller via Arduino IDE in order to sense the push of the button and accordingly reading the input from the microphone. We also implemented some extra code such that it would be easier for us to visualize what is going on in the circuit through the use of 3 LED lights connected to the UNO, which would signal to us if the program was running smoothly. Finally, through the usage of python and one of our member's laptops, we were able to create a hub for the reading of the microphone to be transcribed into a .wav file and then read by the main computer. By importing a LLM in openai's gpt-4.1-nano, we could generate a response to the inquiry made by the customer when the button had been pushed and mic spoken into. This response, through the use of python's text to speech library, could be converted into a plausible response a device such as ours could made.
Challenges we ran into
Noisy feedback on the microphone: Ineligible audio files were consistently being created in early testing, therefore, we opted to first use the capacitor filter. But when that too proved ineffective by itself, we built a pre-amplifier to ensure that noise could be reduced as much as possible. Faulty microphone: Due to a mistake made during soldering, the microphone was unable to sense a proper output whenever the button was pressed. But through careful inspection, we figured the issue and were able to quickly resolve it before it could snowball too fast. LED visualization: A really early declaration of the port of the LEDs being used to survey the process of the device as analog instead of digital caused major headaches when they wouldn't turn on on their respective tasks, even when it was being done in controlled scripts. After a really thorough, manual inspection of every line of code where the LEDs were called upon, we figured out this error and had to fix it. Establishing connection on RaspberryPi: This was a problem that we were unable to remedy within the given time. For some reason that we could not troubleshoot, the pi would refuse to connect and open for our laptops, which disallowed us from getting the code moved from the laptop into a much more mobile device that would function much better in our vision of the product.
Accomplishments that we're proud of
Having finished the basic idea of the project in time Utilizing resources to their best capacity Learning how to implement a LLM in our product
What we learned
How to implement a LLM in python How to write and implement code using two languages in conjunction with eachother
What's next for Backpack Buddy
Moving forward, Buddy will have to be improved upon through the usage of both pcbs and microprocessors which can house LLMs that can perform at high capacities and be able to be put in a tiny space such as the plushies we intend for it to be housed in. A lot of quality of life changes such as implementing a better, more easier to approach voice, a higher quality mic and greater customizability would certainly help as well.


Log in or sign up for Devpost to join the conversation.