-
-
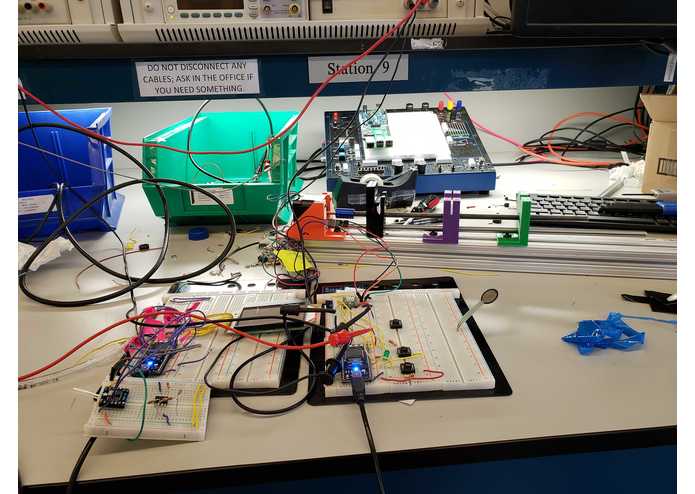
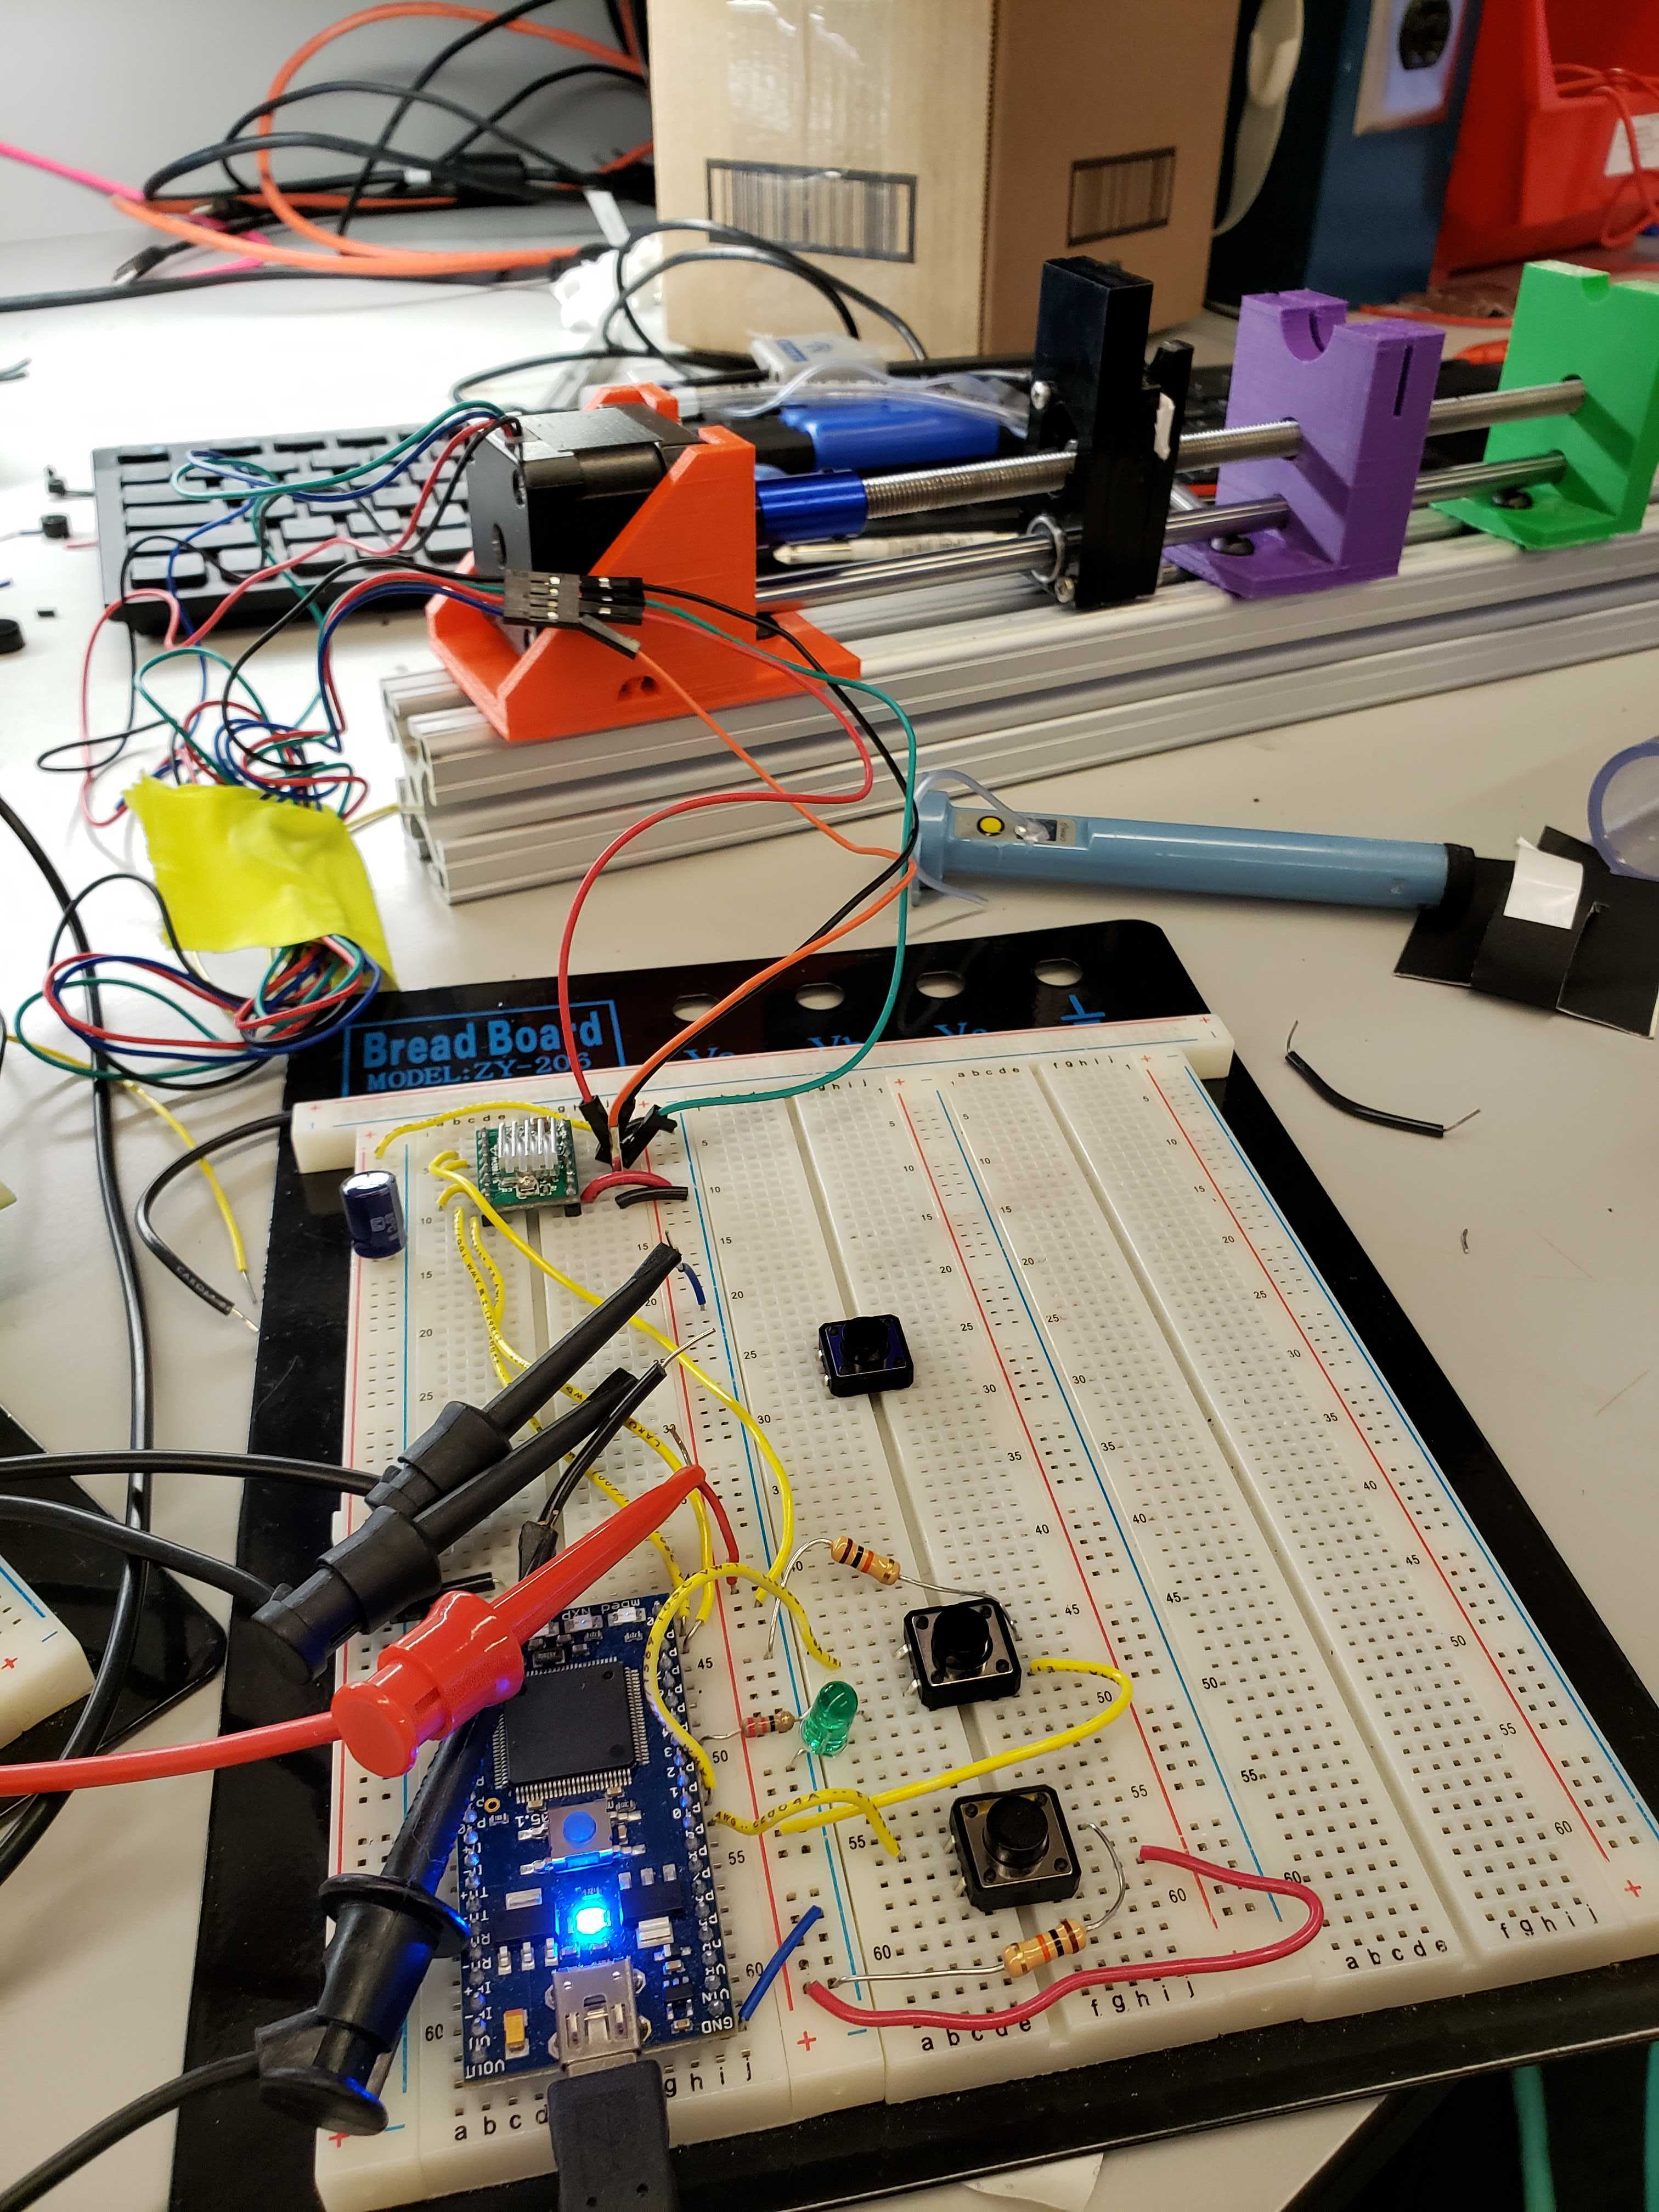
Whole system
-

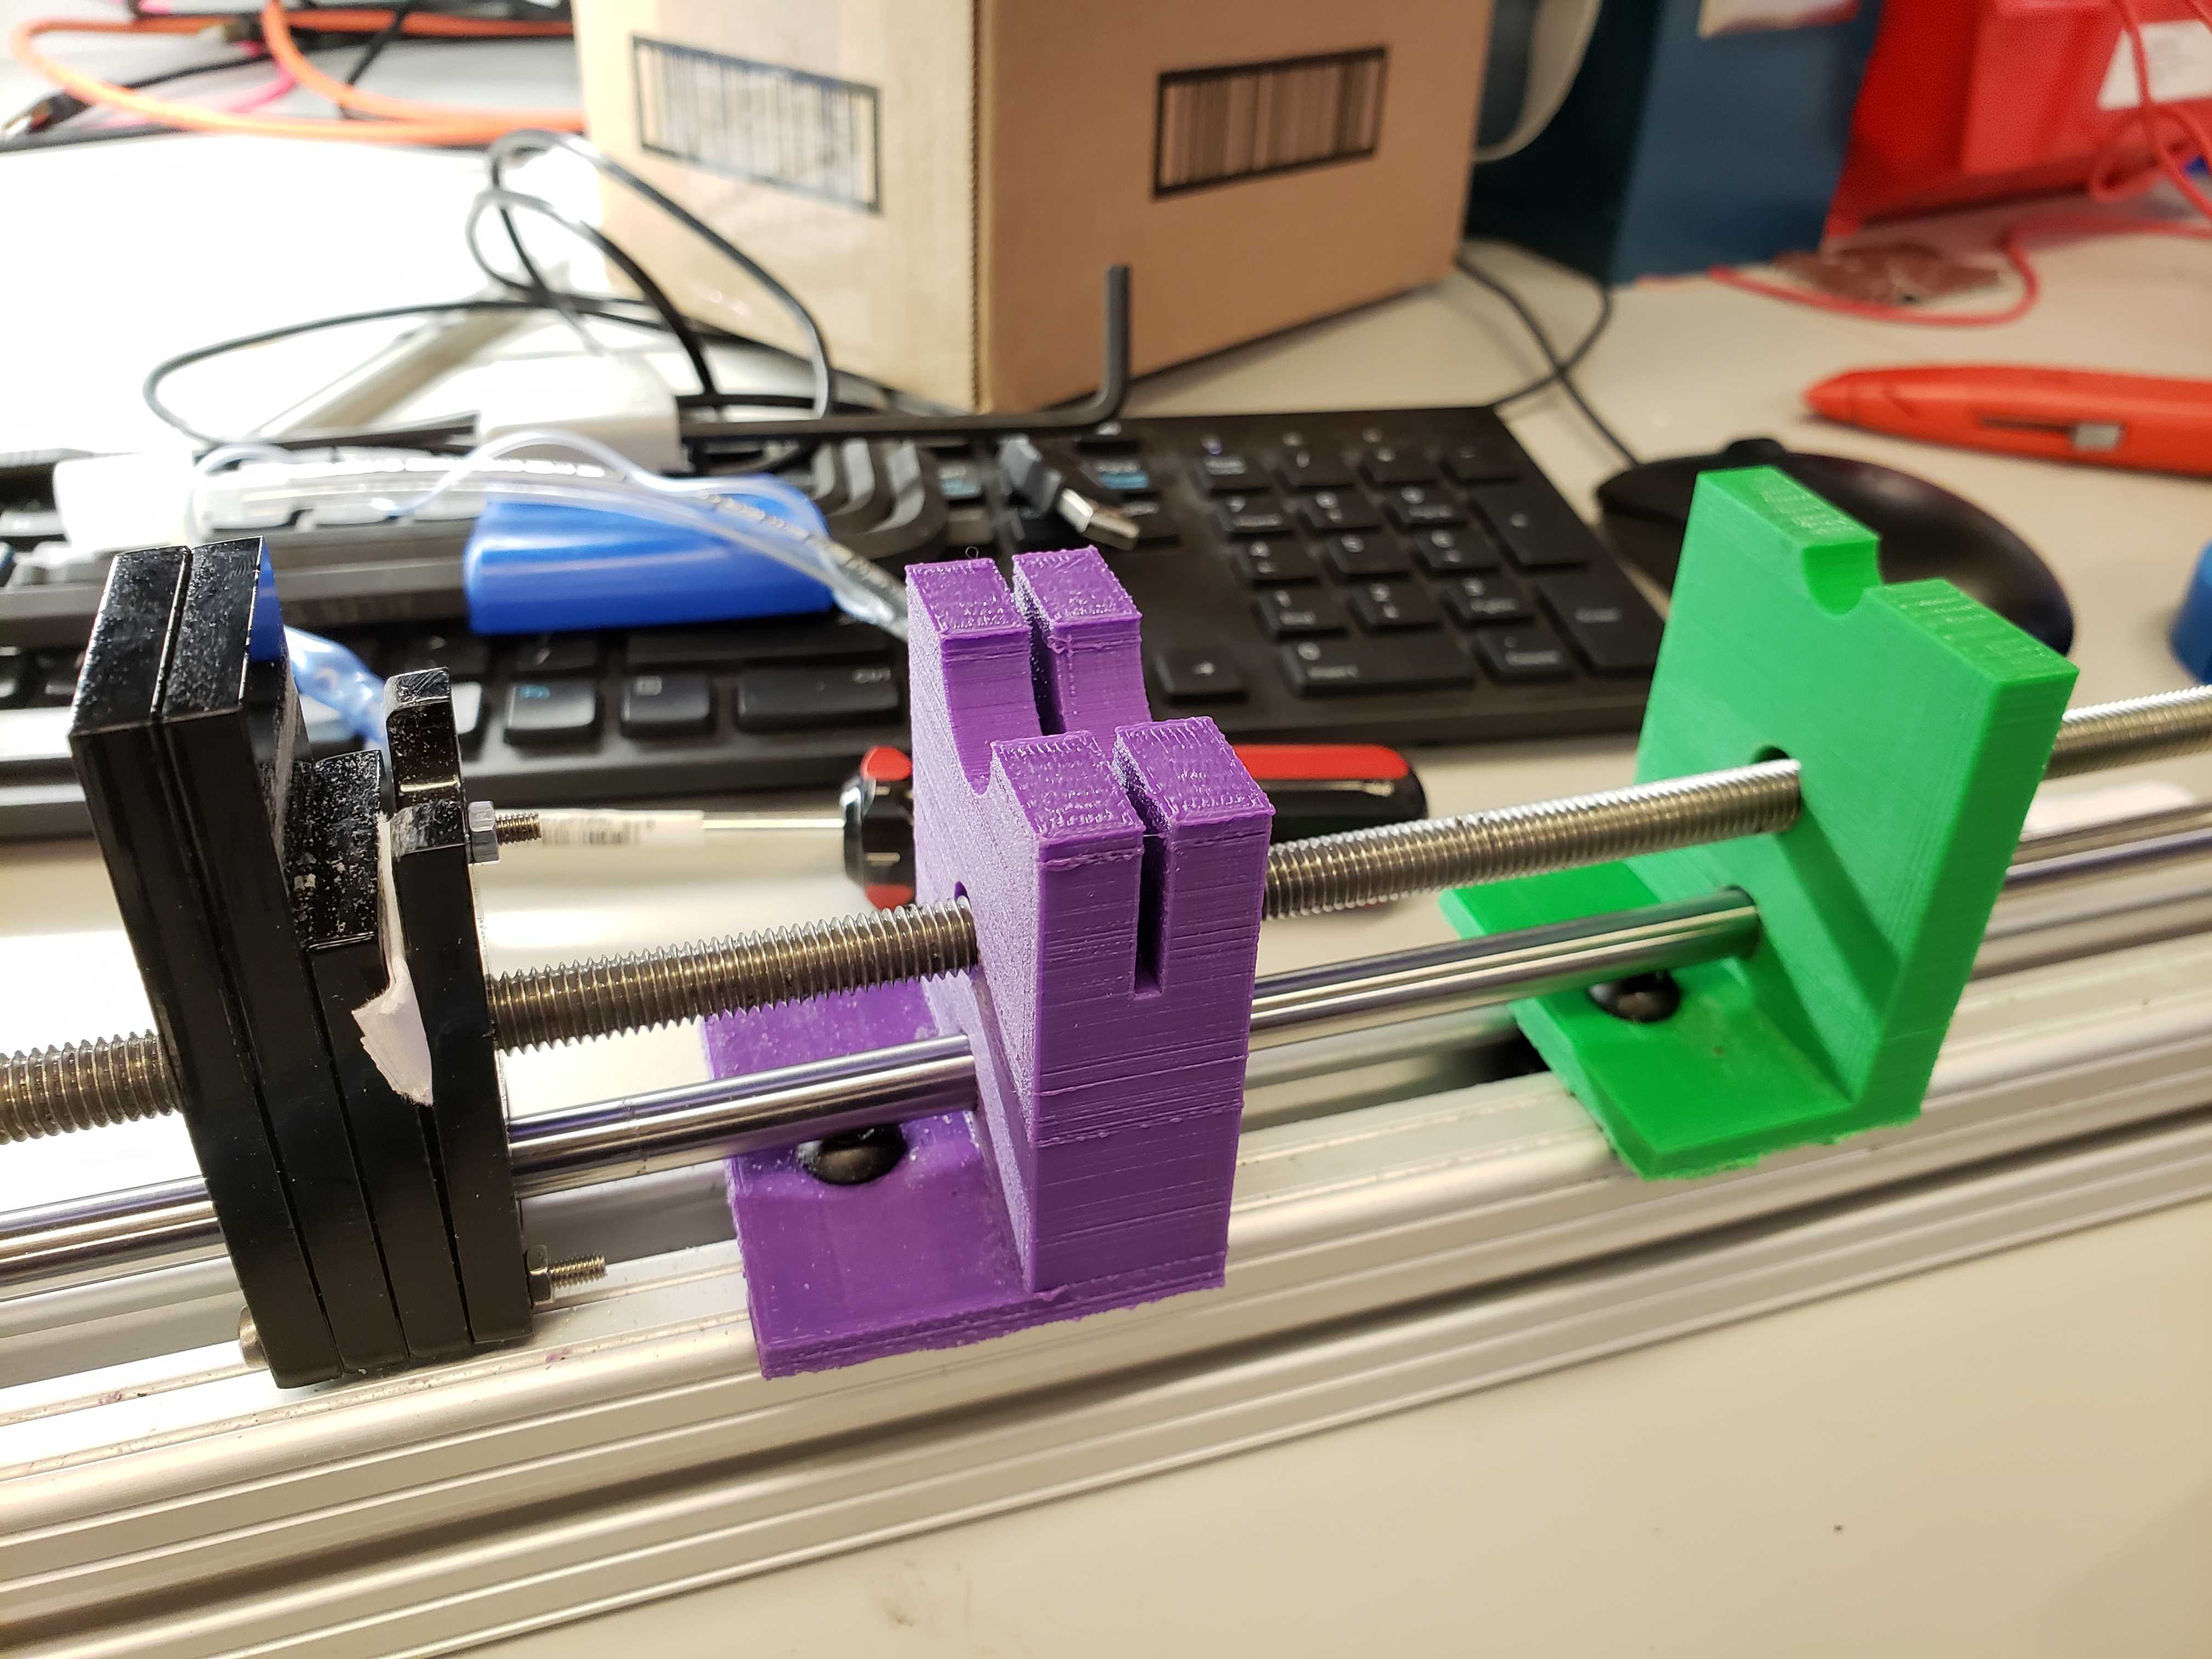
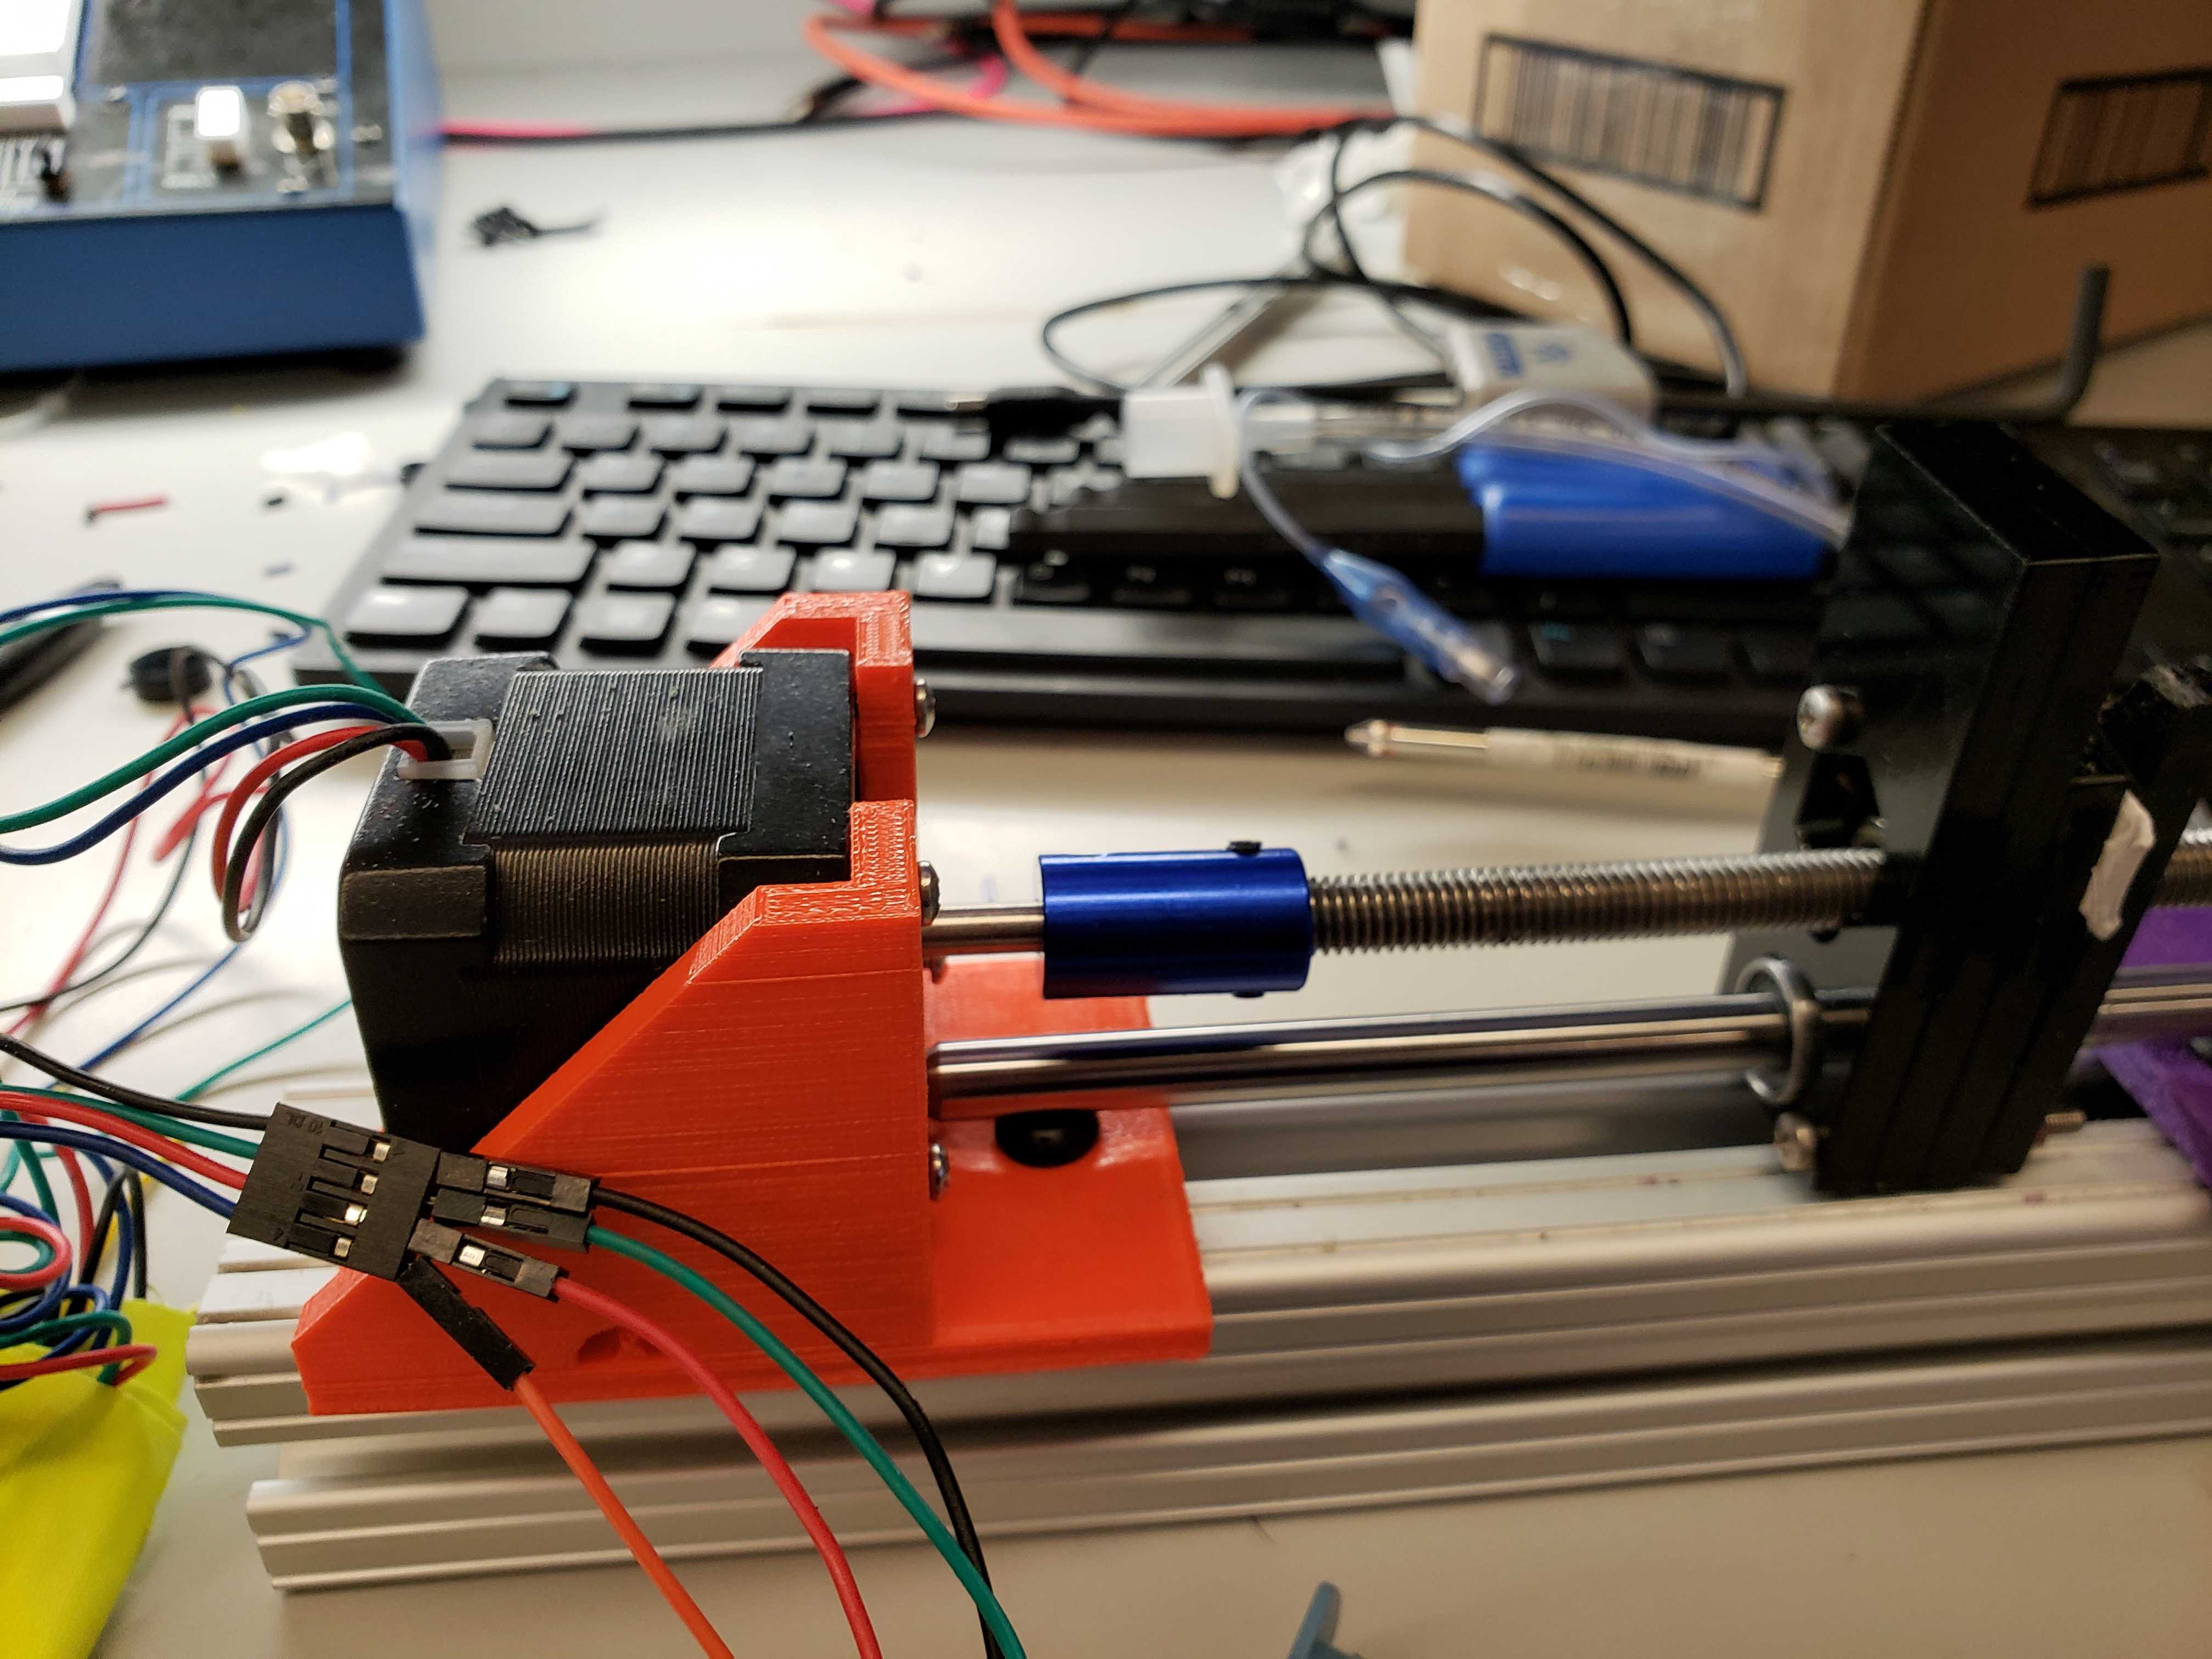
Syringe Pump
-

Stepper Motor
-
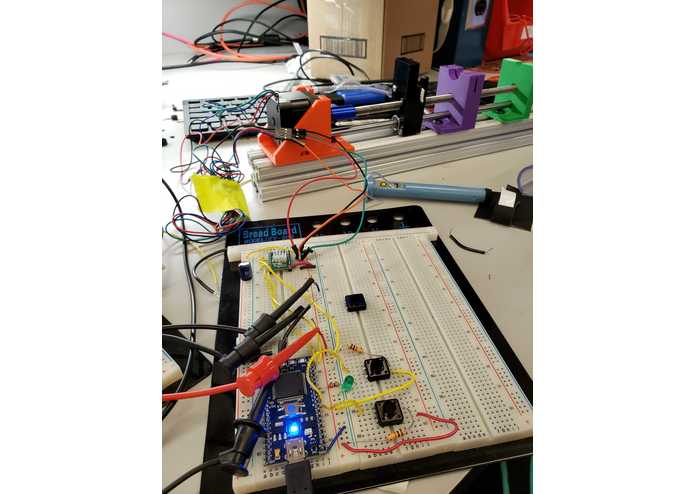
System for Manual Control
-

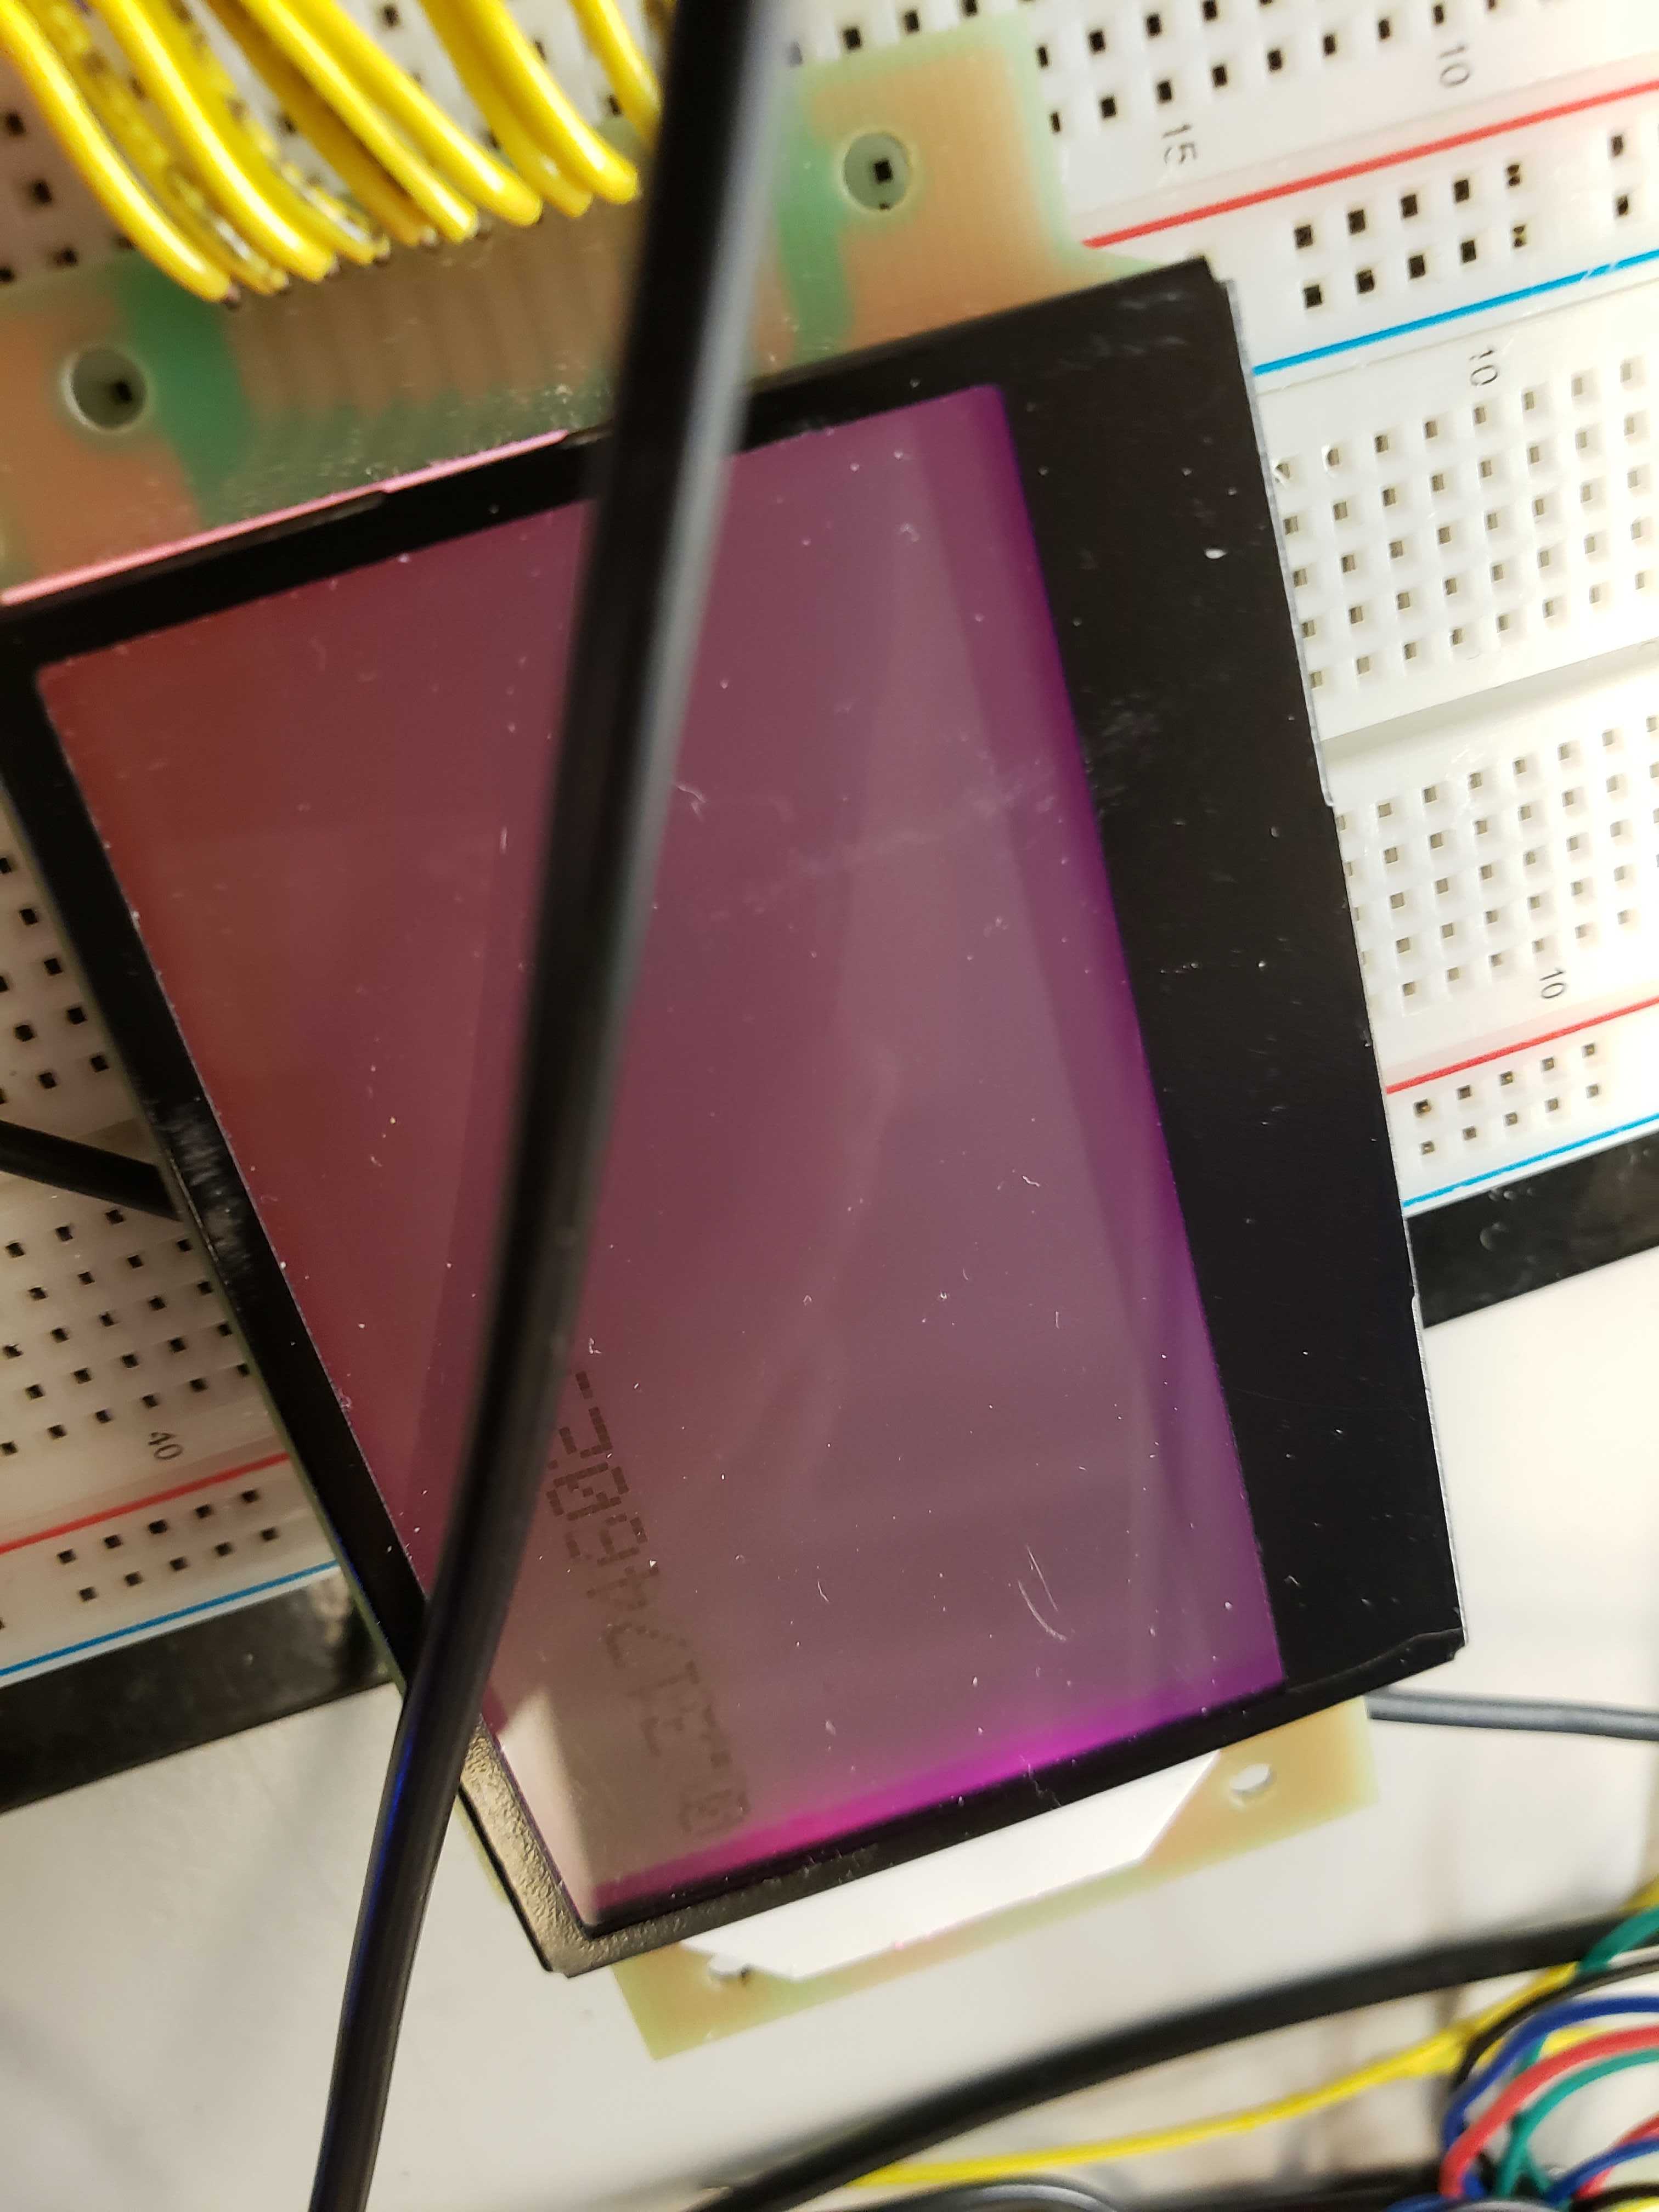
LCD displaying pressure
-
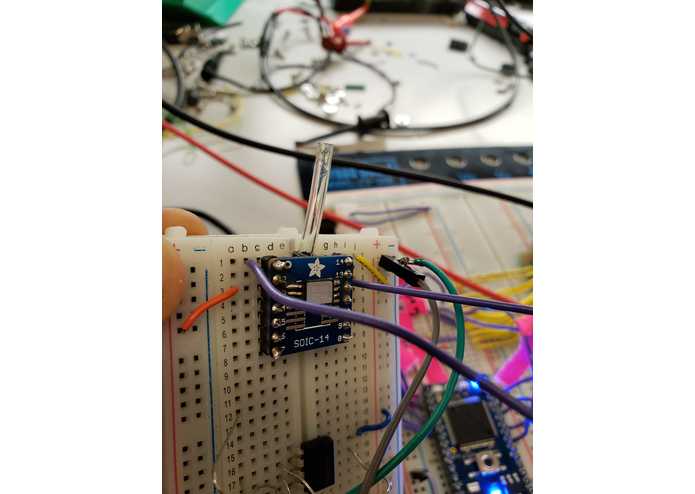
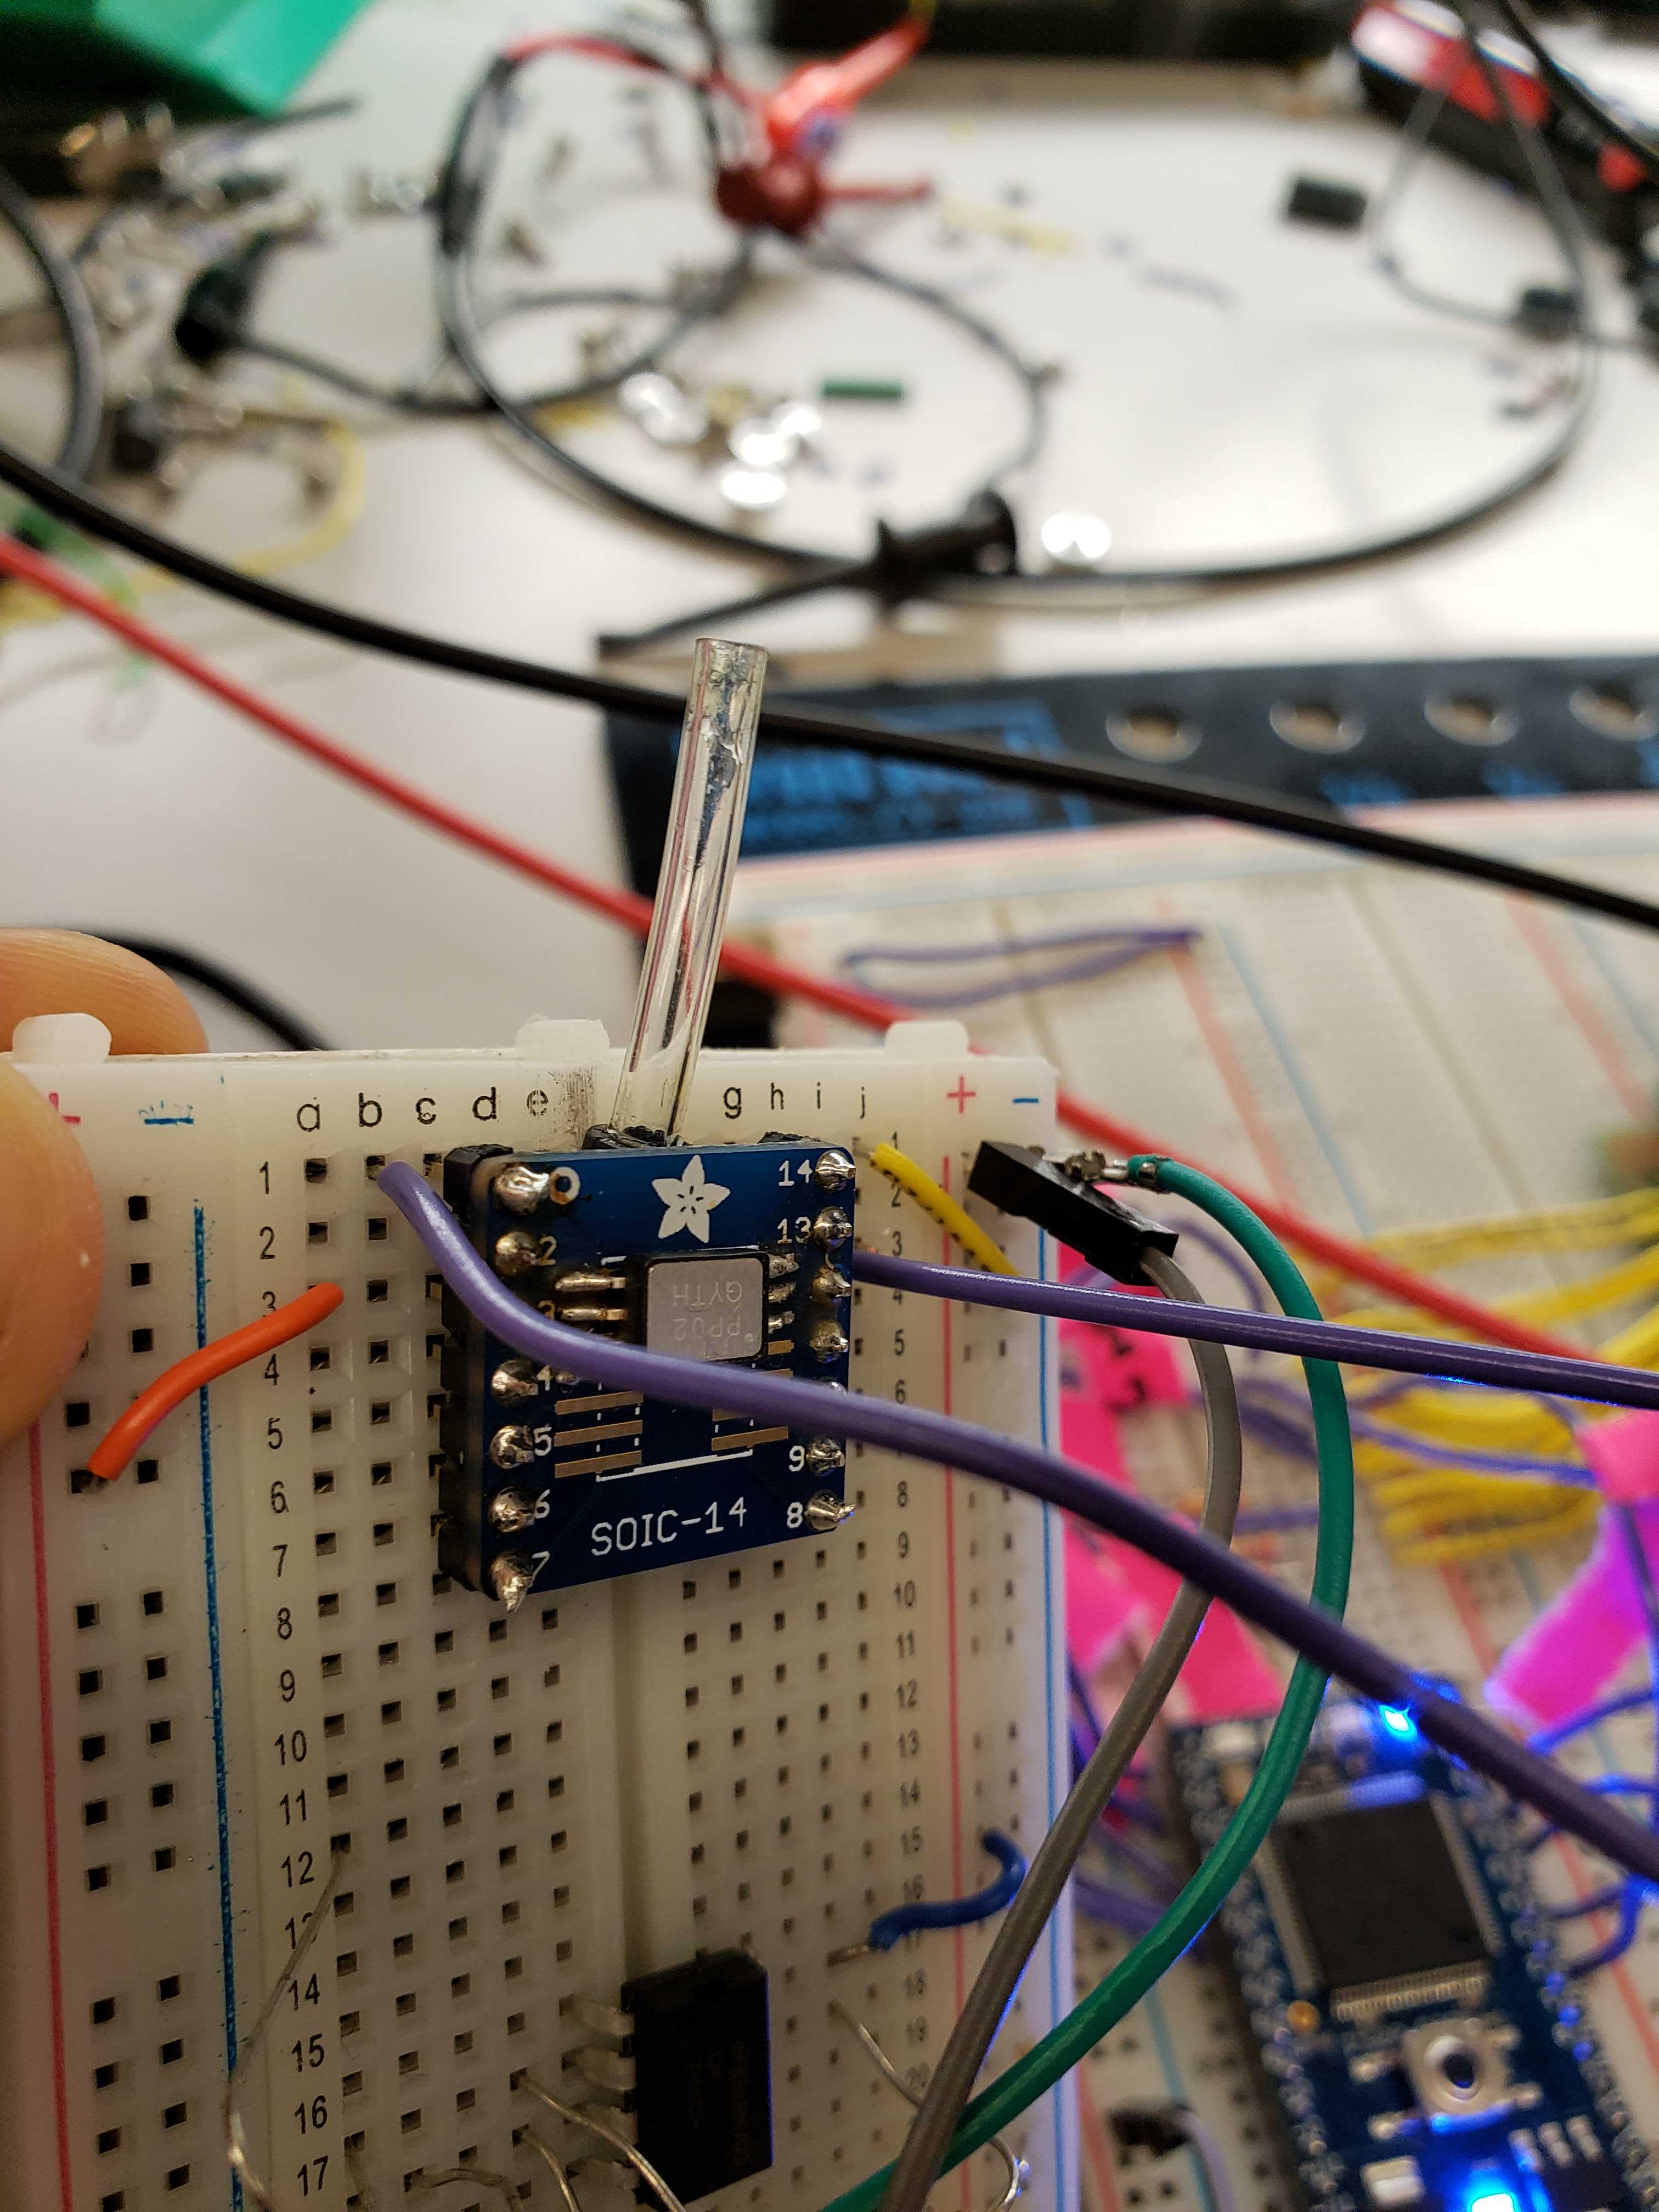
Pressure Sensor

Introduction
During intubations, a doctor inserts a breathing tube down the trachea of a patient during surgery to control his/her breathing. There is a small cuff around the breathing tube that physicians inflate to create an airtight seal in the trachea. The cuff has three main purposes: prevent air in the lungs from leaking out, keep the tube in place, and to prevent backflow of material in the stomach.
Currently, physicians use syringes to manually pump the cuffs. They know that generally 20-25 CCs of air are needed to inflate the cuff to create an airtight seal. However, the amount varies per person because people have different trachea sizes and the diameter of the trachea changes as it relaxes. If the cuff pressure is too high, it can bruise the trachea or damaged vocal cords. These problems are amplified for patients who are undergoing long operations or for pediatric patients who have smaller and more sensitive tracheas.
Dr.Yuan has asked us to create a device that measures the pressure in the cuff and can maintain a pressure specified by him. For example, he can preset the device to fill the cuff with 20 CCs of air. He gave us one of the current devices that are used to monitor pressure. The problem with it is that it does not measure the pressure accurately and it does not self regulate pressure.
Baseline Goals
- Be able to measure pressure within the cuff to within ± 1 CC (0.014PSI) and display it on LCD.
- Use a stepper motor controlled by the MBed to inflate and deflate the balloon at 1 CC increments.
- Implement a control algorithm (possibly PID) that responds to changes in pressure and inflates or deflates the cuff to maintain a certain pressure.
- Build a good rig for testing.
Reach Goals
- Add a buzzer to the device that gives an alert to the physician when the pressure has fallen out of range.
- Has buttons that correspond to preset pressure values (15CC, 20CC, 25CC).
- Log the data on pressure and send it to a computer via wifi for analysis.
Technical Goals
Software Goals
Use MBed and cpp to interface with various devices (pressure sensor, motor driver, LCD). Create a closed loop system by getting feedback from some analog inputs to drive some digital output. Specifically, be able to read in a pressure or a button pressed (for manual control) and have the motor driver move in the corresponding direction to maintain or manually adjust pressure.
Hardware Goals
Using CAD and modeling software, 3D print parts to create a syringe pump that will automatically push a syringe in and out to inflate and deflate the intubation balloon. Build or use something that resembles a trachea for proper testing.
Alpha Prototype
For the alpha prototype (milestone 1), a very simple high level version of the auto-regulating intubation tube was created. We had ordered some parts to create the stepper motor that had not yet come in yet, so we focused on a rough model of the pressure sensor (which also had not been ordered yet). We used one of the piezoresistive pressure sensors that Detkin already had in stock as a rudimentary pressure sensor. Because the readings were essentially binary (either pressed or not pressure), we taped the sensor down the to breadboard and fastened the intubation balloon above the sensor. We attached an LED to the MBed that would light up to indicate that the sensor had been pressured. For out milestone 1, we demoed that by manually inflated and deflating the balloon, we could get the LED to turn on of off depending how much we inflated the intubation tube.
Revised Goals
We had underestimated the difficulty of several components of our project, and as such changed our goals slightly from the initial ones. We wish for our automated intubation cuff pressure monitor to have the following features:
- Pressure Sensor: Interface MBed with a pressure sensor to be able to get an analog reading of pressure from within the intubation balloon.
- Syringe Pump: Using a motor driver and 3D parts, build an apparatus that can inflate and deflate a balloon without manual input from the physician.
- LCD Display: Display the pressure reading to an LCD display and turn the LCD blue if pressure is within expected limits and red if it falls out of range.
- Manual Controls: Because all automated systems have room for error, we still want to give the physician the ability to manually inflate and deflate the balloon as they see fit. We want two buttons, each of which they can press and hold to inflate or deflate the balloon. Once both buttons are released, the system will maintain pressure by automatically inflating or deflating the intubation balloon.
Beta Prototype
Pressure Sensor
We experimented with the pressure sensor that was already embedded inside the syringe Dr. Yuan gave to us, but were unable to get any readings from it. At this point we ordered several of the same pressure sensors and plan to embed outside the syringe but have a tube running inside the syringe to get a pressure reading.
Syringe Pump
We 3D printed all the parts and assembled everything, however our motor driver was giving us problems and was unable to move the syringe pump. Upon further inspection, the motor driver itself was broken and we were able to get the syringe pump moving after we replaced the driver.
LCD
We spent many frustrating hours trying to interface a 20x2 Adafruit display, using SPI and I2C communication protocols, but were unable to get anything to appear except the backlight on the device. At this point we found a helpful tutorial on interfacing with the LCD that we used in the Pong lab with MBed, so we switched to that LCD instead. Additionally that LCD has multiple color backlighting, which is helpful in visual feedback.
Baseline Demo
For the baseline demo, we were able to get the syringe pump working with our still rudimentary implementation of the pressure sensor. This time, we taped the pressure sensor to the inside of a clear PVC connector, which had roughly the radius of a trachea When the balloon was deflated, the motor driver would push the syringe in, inflating the balloon. When the balloon applied enough pressure for the piezoresistive pressure sensor to register it (fills up the space inside the connector), the motor driver would pull the syringe back, deflating the balloon.
Reach Demo
For the reach demo, we implemented most of our revised goals and made the system more closed-loop. We soldered the tiny legs of the pressure sensor to a breakout board for easier interaction. We interfaced the LCD with the MBed to be able to display pressure readings. We implemented the two manual buttons that can be pressed to inflate/deflate the intubation balloon. We heat shrinked tubing around the end of the pressure sensor to run into the syringe. However, in this process we lost the airtight seal of the pressure sensor, which meant the syringe was unable to inflate/deflate the syringe. Because of this, for our final demo, we had the pressure sensing separate and showed that based on this pressure, the syringe (which we replaced with a airtight one, but no pressure sensor embedded) could move, inflating or deflating the balloon, and display the reading on the LCD and change color depending on the pressure, and have buttons that can be pressed to manually change the direction of the syringe pump.
Updates
For the time being, the most updated information can be found at: https://nng9.github.io/PerfectBubble/
Built With
- mbed

Log in or sign up for Devpost to join the conversation.