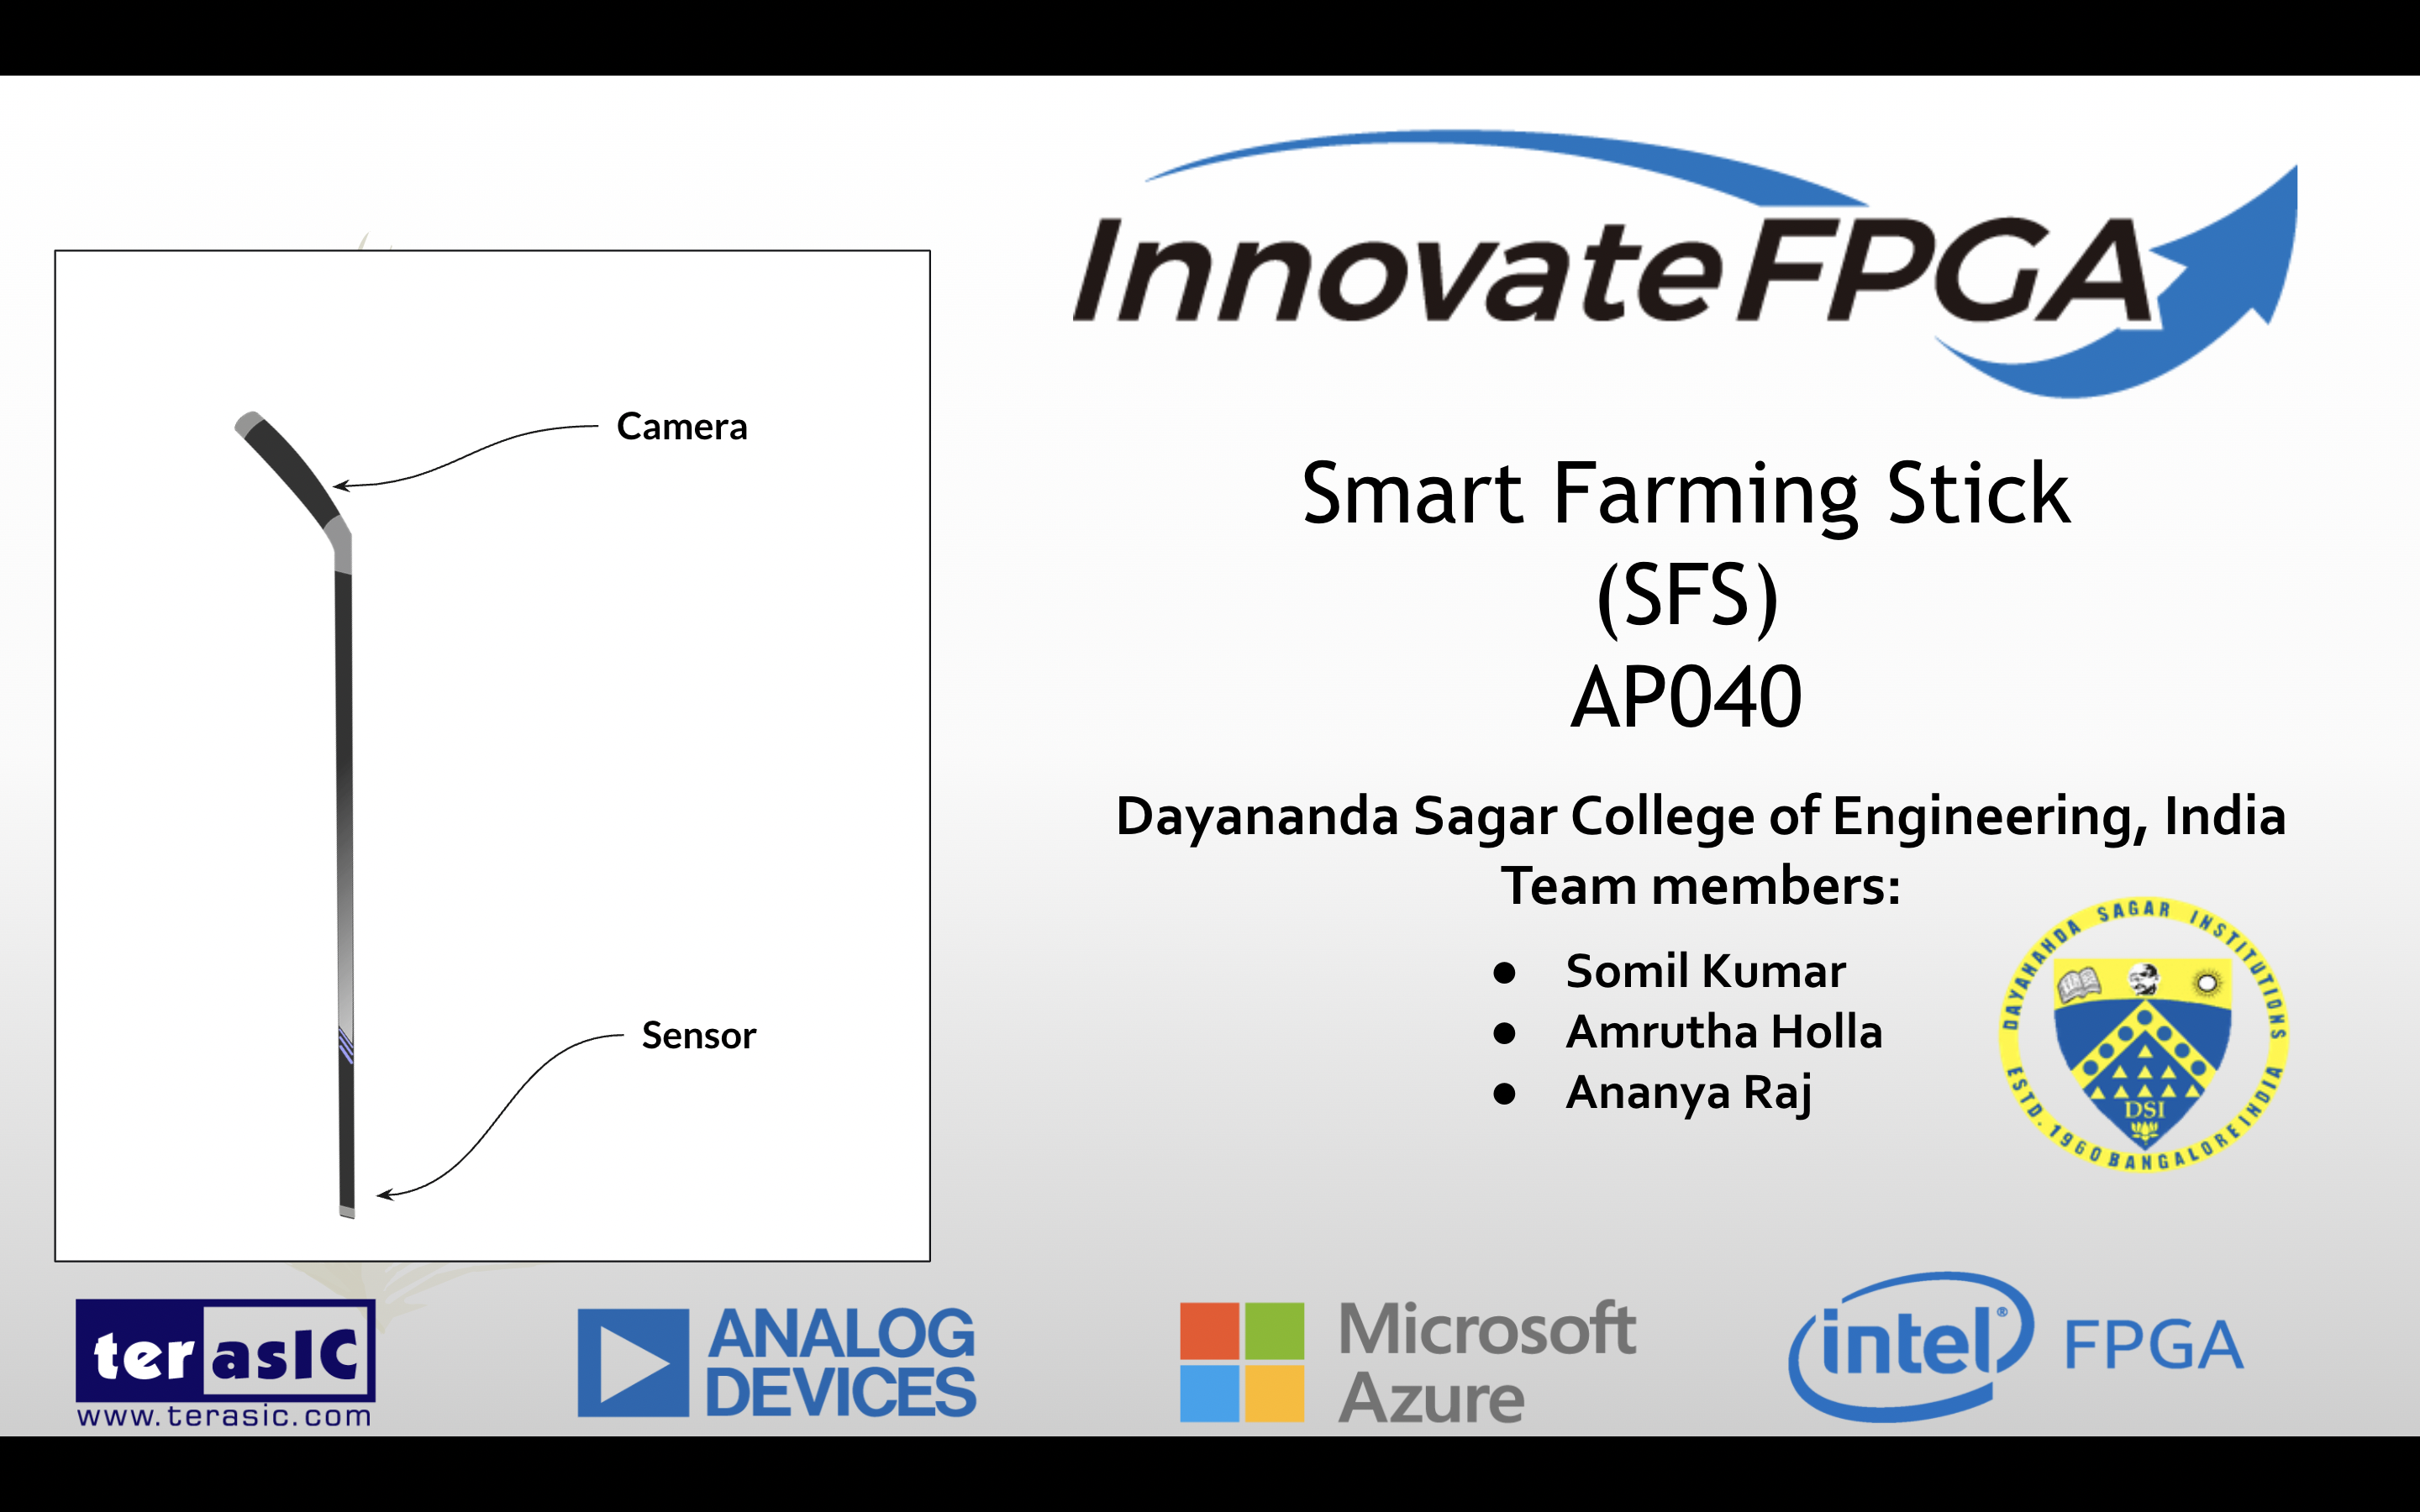
Smart-Farming-Stick
Smart Farming Stick (SFS)
by using these techniques our system will work as a guide, to assist the farmers by giving information. Farming is about risk calculation: But what if the risk could be calculated and cured beforehand? Analysis can help you with identifying the weakness and strengths of the soil, resulting in more revenue generation and saving an ample amount of time. Automated solutions and technology offer greater accuracy based on more efficient data collection and monitoring.
 The DE-10 Nano is a highly versatile board giving complete control over its components and we have tried to build this product by making use of its parallel processing structure. The board also supports Arduino headers to use and can be implemented in the XFCE system via the HPS and FPGA bridge. Overall, the DE-10 Nano has been a very flexible, fast, and a reliable board for this product.
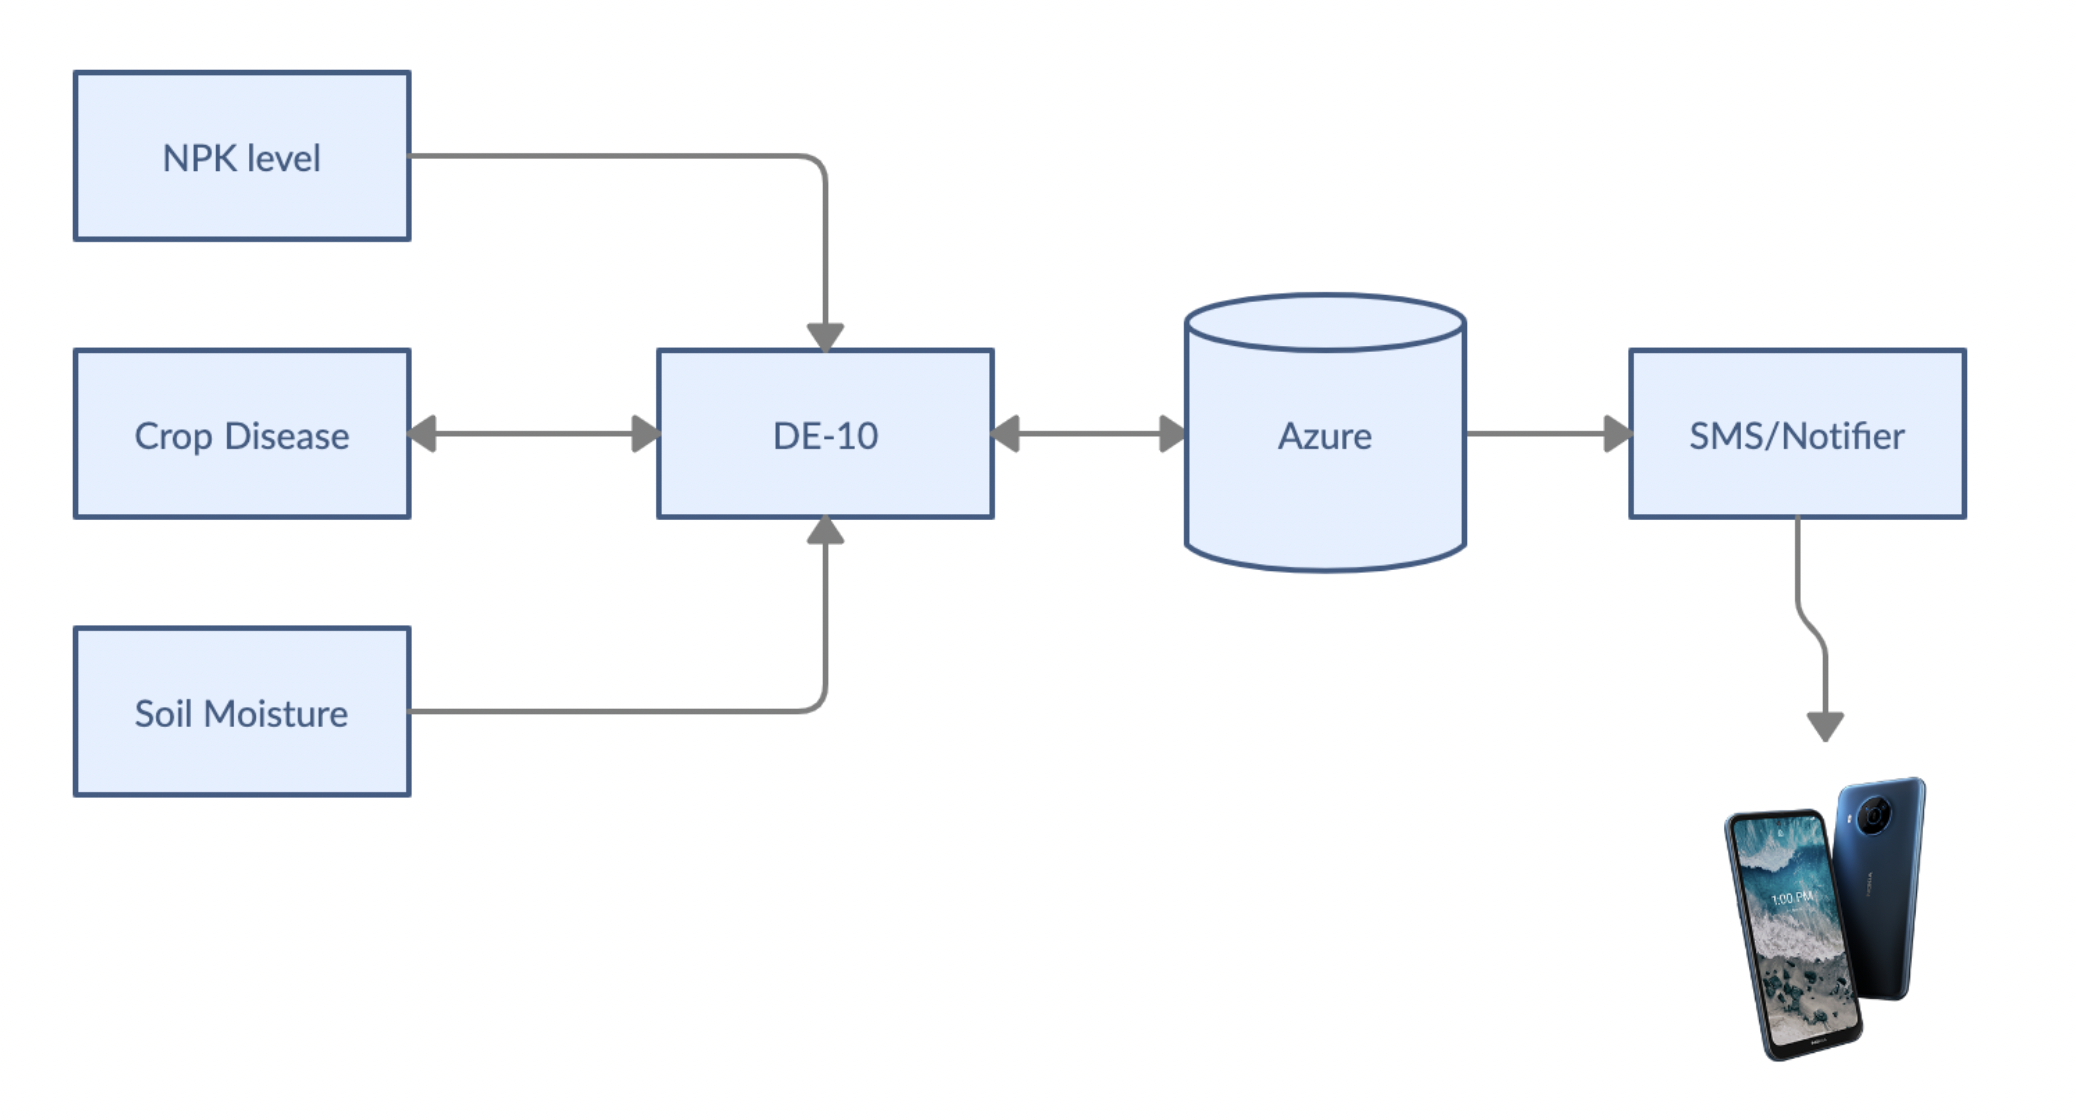
Our product/project consists of sensors like soil moisture and NPK sensor which is used to collect the data from the soil. A Webcam is mounted on the top of the stick for monitoring the pests and detecting diseases. This Webcam is connected with the HPS interface of the board running an AI model and the sensors are interfaced from the FPGA making complete use of the duality of the DE-10 Nano.
For detecting pests and diseases in realtime, the YOLOv5 Nano model was trained with a custom self-prepared dataset and was deployed on the HPS. The inference example is showcased in our video given below.
Youtube link- Smart Farming Stick (SFS)
Usage
FPGA
- The project name 'abc'(Forgive us for the nomenclature) is pre-compiled and ready for running
- Connect the moisture sensor and make sure the wiring is done properly to the ADC pins on the DE-10 Nano
- Install required drivers for the DE-10 Nano and run the .sh file in 'demo_batch' directory located in directory 'abc'
- If initiated properly, a terminal should pop up and show you the values.
HPS
- Place weights file 'best.pt'/'last.pt' in a directory.
- Connect a compatible webcam using OTG and install its drivers.
- Clone YOLOv5 and install requirements
pip install -r requirements.txt - Run
python detect.py --source 0from the terminal

Log in or sign up for Devpost to join the conversation.