🧠✨ Neural Image Restore
A Production-Grade AI Image Restoration Engine
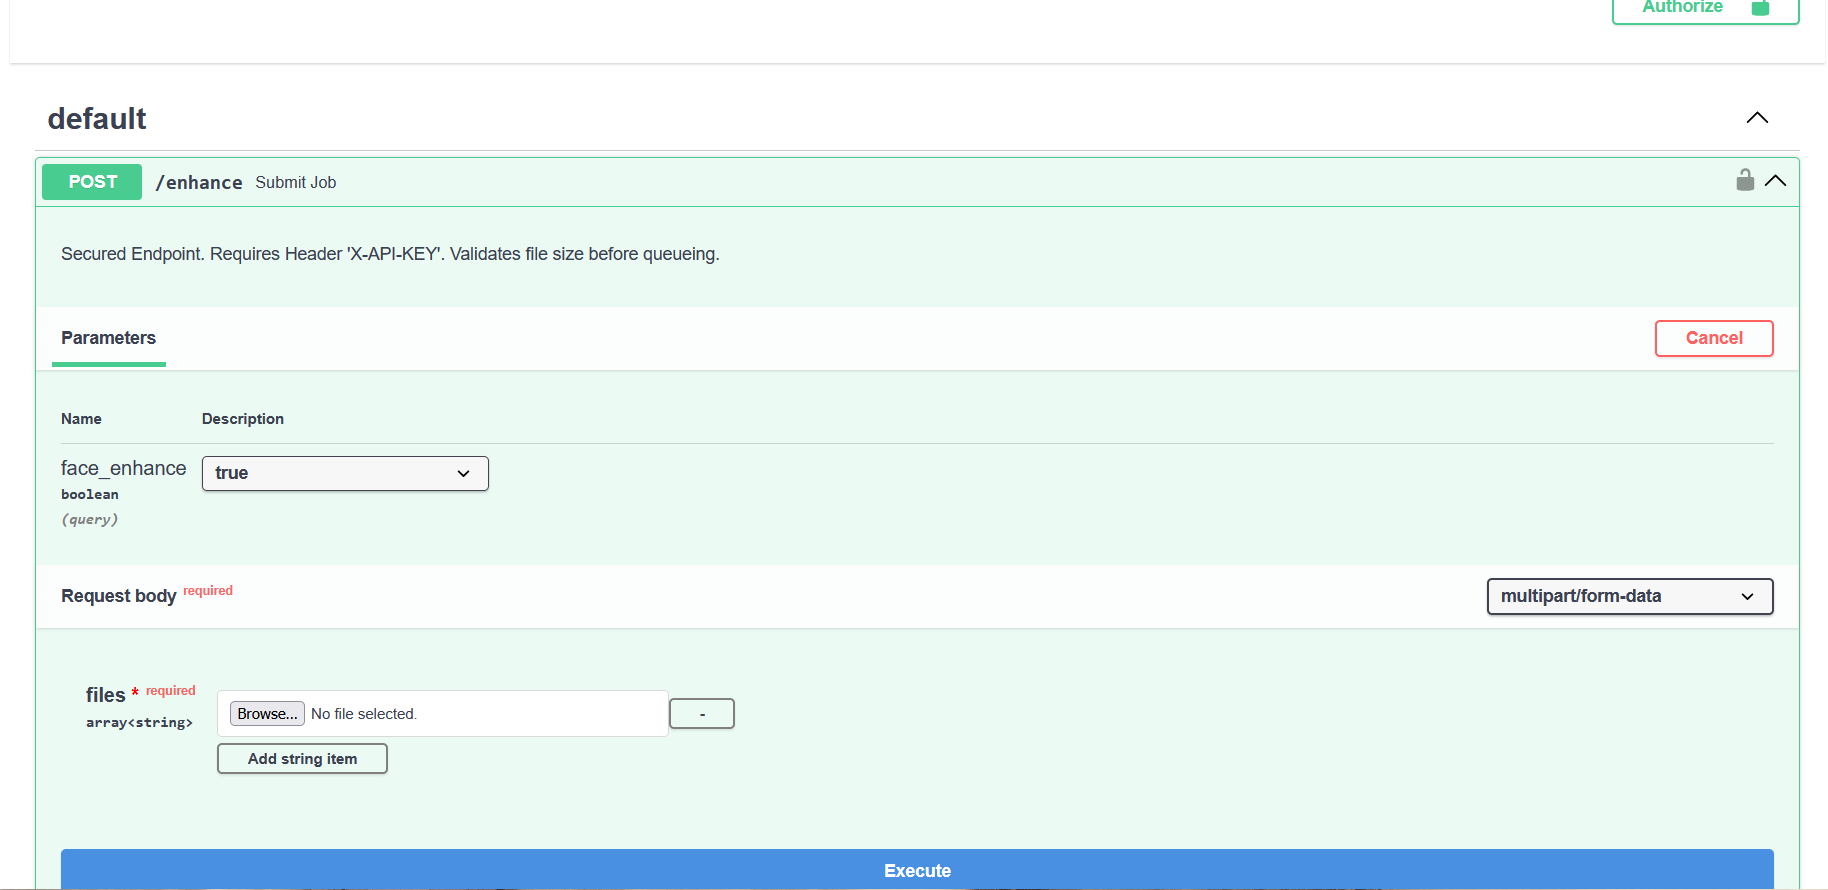
Neural Image Restore is a powerful AI-driven engine capable of 4× upscaling, denoising, deblurring, and face restoration.
It intelligently merges Real-ESRGAN (detail hallucination) and GFPGAN (face reconstruction) into a unified, elegant API and Dashboard.
🚀 Key Features
🔼 4× Super Resolution
Enhances image resolution by 400% while generating realistic textures.
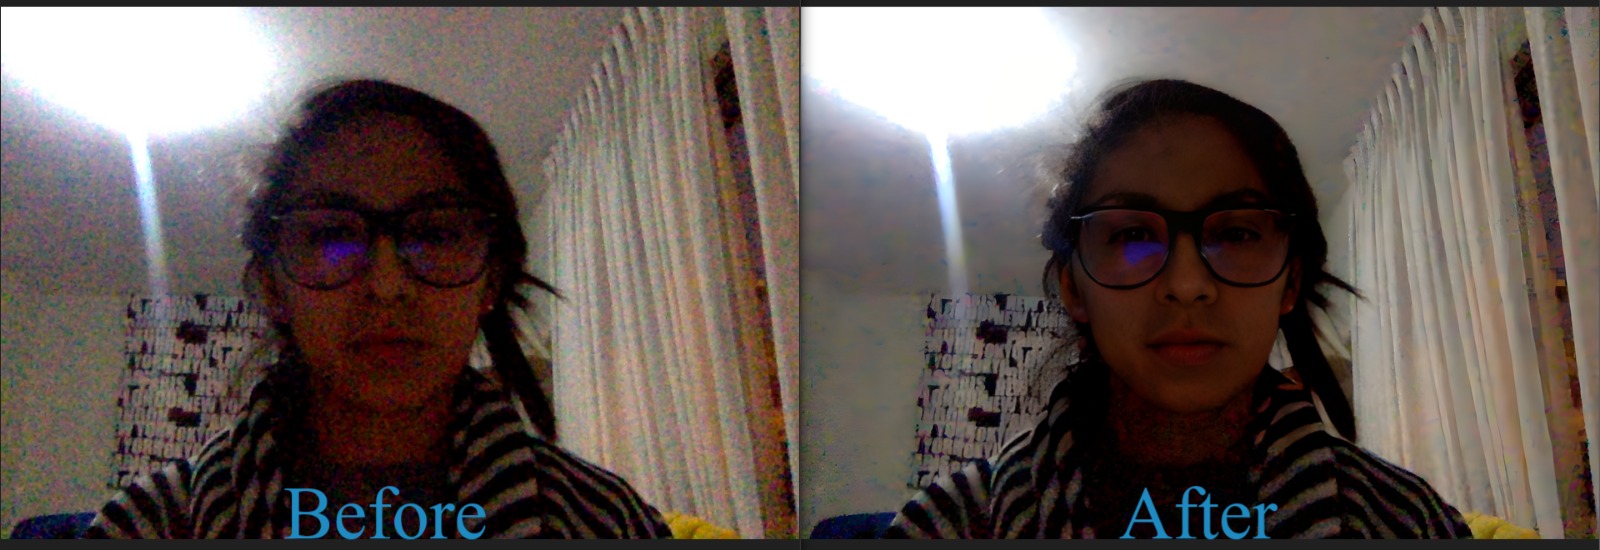
🧑🦰 Advanced Face Enhancement
Automatically detects and restores distorted faces:
- Eyes
- Mouths
- Skin texture
- Symmetry
📦 Batch Processing
Upload multiple images at once using a robust async polling queue.
🔄 Crash-Proof Polling
The dashboard uses async polling, preventing NGINX/Browser timeouts on weak/failing connections.
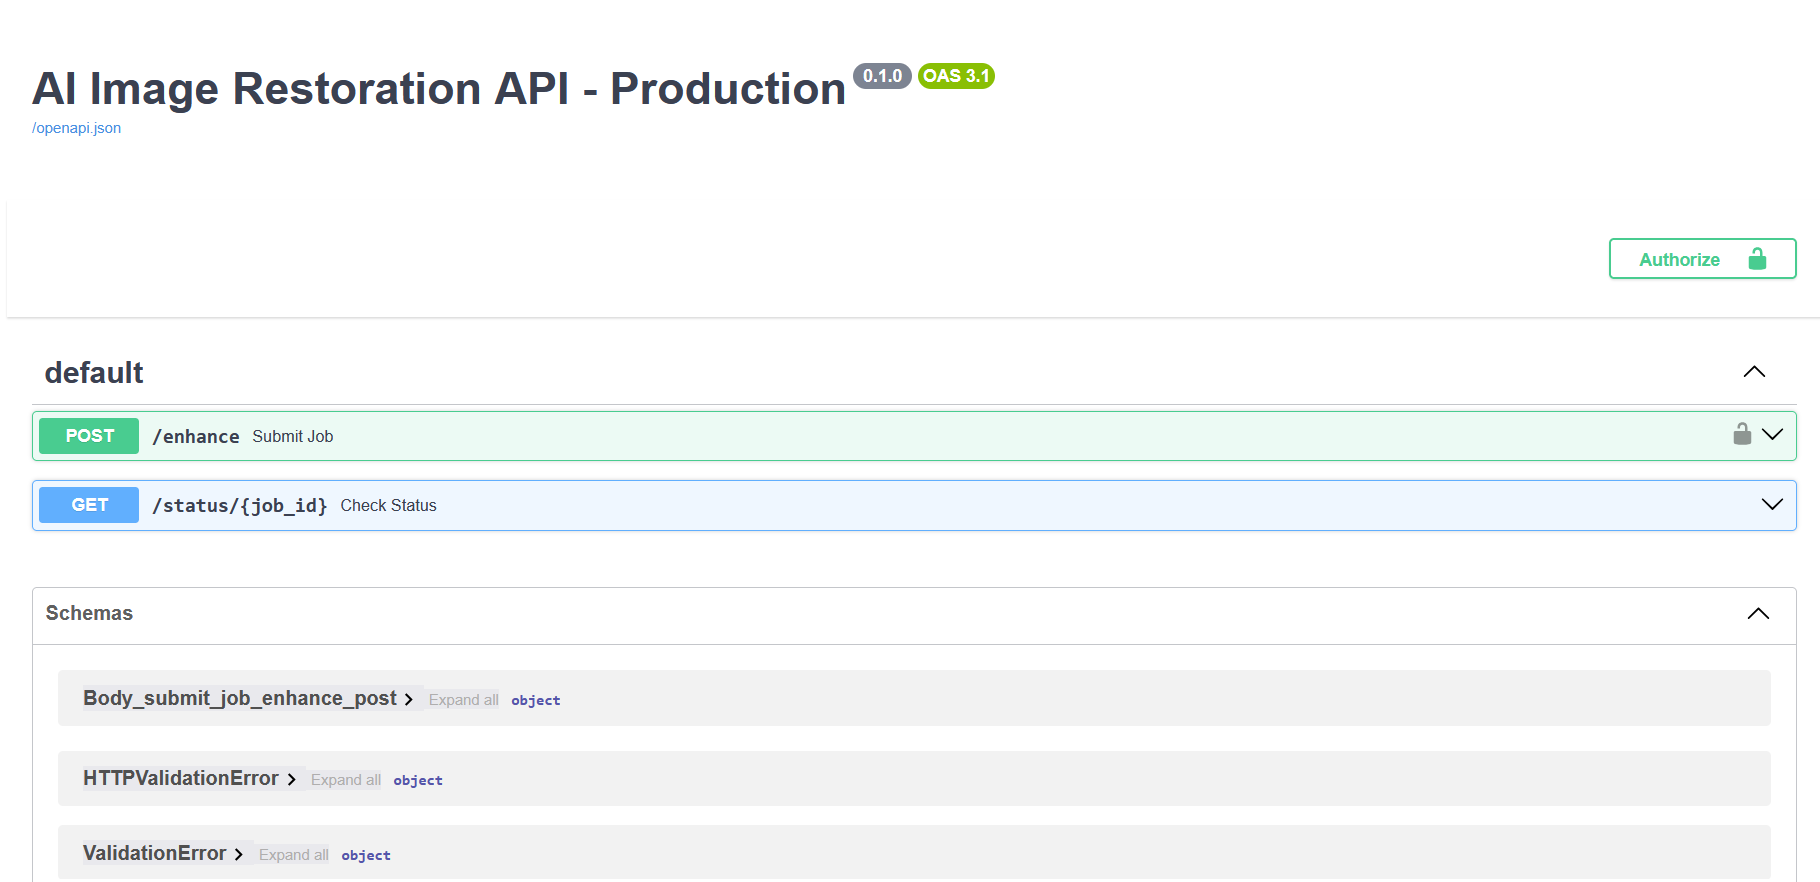
🔌 Dual-Port Architecture
- API → Port 8001
- Dashboard → Port 8091
🖼️ Quality Inspector
Built-in Before/After slider with automatic resolution matching.
📊 Quality Metrics
The model consistently demonstrates >0.9 SSIM, meaning restored details remain faithful to the subject without altering identity.
| Filename | Resolution Change | PSNR (Noise Removal) | SSIM (Sharpness) | Quality Rating |
|---|---|---|---|---|
| IMG_2017...jpg | 546×729 → 2184×2916 | 31.84 (Excellent) | 0.9398 | 🌟 Excellent |
| Screenshot...jpg | 364×358 → 1456×1432 | 31.20 (Excellent) | 0.9302 | 🌟 Excellent |
| Noisy-Lena.jpg | 320×320 → 1280×1280 | 26.46 (Good) | 0.6761 | ✅ Good |
🛠️ Installation (Local Development)
1. Clone & Setup Environment
git clone https://github.com/Motasaith/ai-image-restorer.git
cd ai-image-restorer
python -m venv venv

# Windows
venv\Scripts\activate

# Linux/Mac
source venv/bin/activate
2. Download Required Weights (⚠️ CRITICAL)
Create a weights/ folder and place the following:
RealESRGAN_x4plus.pth
GFPGANv1.3.pth
3. Install Dependencies
# For NVIDIA GPU
pip install torch torchvision --index-url https://download.pytorch.org/whl/cu118

# Install remaining packages
pip install -r requirements.txt
4. Run the Application
python run.py
Access:
- Dashboard: http://127.0.0.1:8091
- API: http://127.0.0.1:8001
☁️ Deployment (VPS Production)
We recommend a Docker Hub + Docker Compose workflow to avoid heavy builds on low-RAM VPS.
🖥️ Step 1: Build & Push (On Your Laptop)
# 1. Build the image
docker build -t ai-restorer .

# 2. Tag the image (Replace with your Docker Hub username)
docker tag ai-restorer your_username/ai-restorer:latest

# 3. Push to Docker Hub
docker push your_username/ai-restorer:latest
🌐 Step 2: Deploy (On VPS)
Clone the configuration:
git clone https://github.com/Motasaith/ai-image-restorer.git
cd ai-image-restorer
Update docker-compose.yml:
image: your_username/ai-restorer:latest
Launch the stack:
docker compose up -d
🔄 Step 3: Update (Future Deployments)
On your laptop:
docker build -t ai-restorer .
docker tag ai-restorer your_username/ai-restorer:latest
docker push your_username/ai-restorer:latest
On the VPS:
docker compose pull
docker compose up -d
⚠️ Troubleshooting
❌ CUDA Out of Memory
Edit:
app/restoration.py → tile=400 → reduce to tile=200 or tile=100
❌ ImportError: functional_tensor
This is a basicsr bug.
✔ Docker version fixes this automatically. ✔ For local installs, edit:
basicsr/data/degradations.py
Remove _tensor from the import line.
❌ VPS Crash
Ensure your VPS has:
- 4GB RAM minimum or
- 4GB Swap enabled
📜 License
This project uses:
- Real-ESRGAN (BSD-3)
- GFPGAN (Apache 2.0)
Ensure compliance for commercial usage.
⭐ Support
If you find this project useful, please star the repository on GitHub!

Log in or sign up for Devpost to join the conversation.