-

Task 1 (requirement)
-

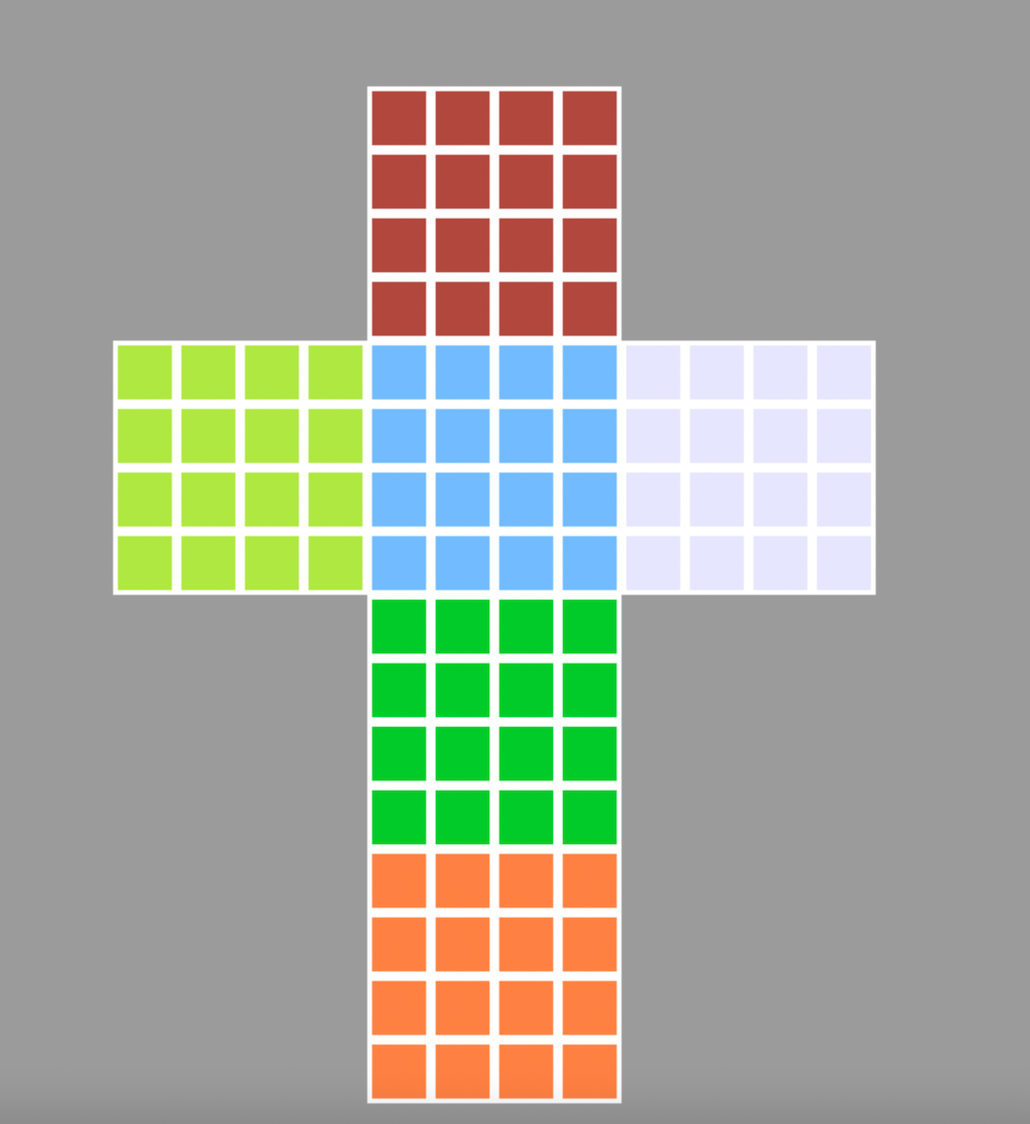
Task 1 - additional (4x4 Rubik's cube printer)
-

Task 2 (requirement)
-

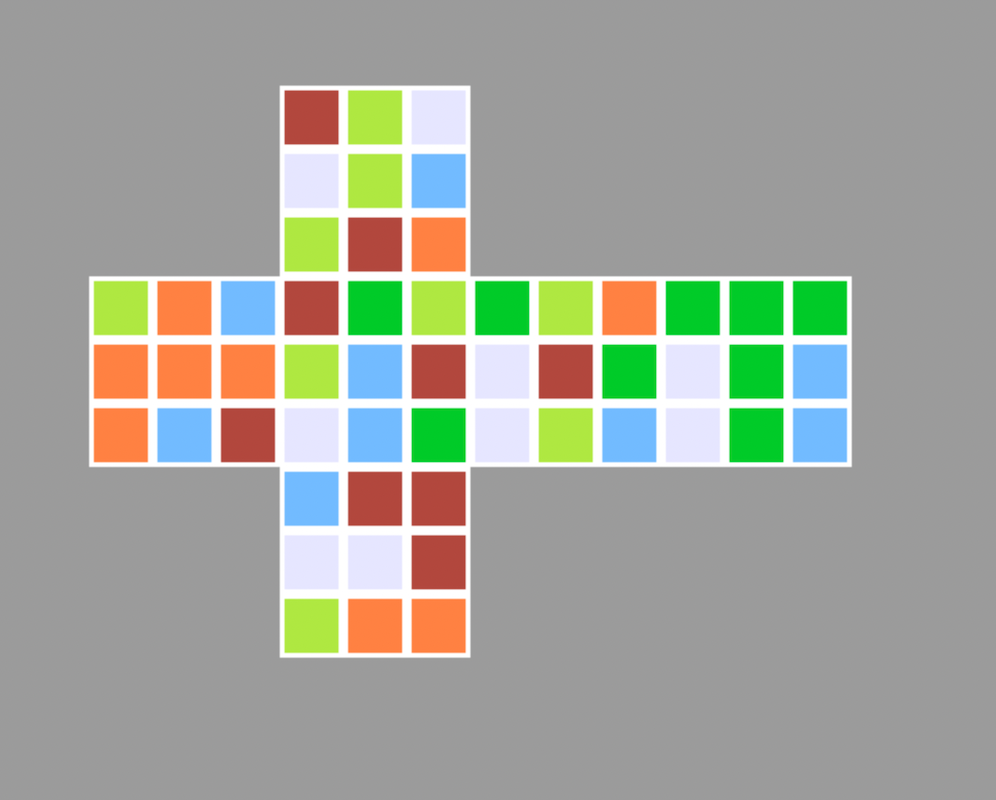
Task 2 - additional (printed HOP)


Inspiration
Since this was our first hackathon and we are all beginners, this challenge was most suitable for us.
What it does
The first task helps convert the script for a 2x2 Rubik's cube printer to a 3x3 Rubik's cube printer. We have also created a 4 x 4 Rubik's cube printer.
The second task adjusts the script so that it can accept a string and create a 3x3 Rubik's cube (rotated by 90 degrees) with the colouration suggested by the string (each character in the string corresponds to a colour).
How we built it
For the first task we decided to use the template script given to us and modify it using our logic. We used Python to do so and changed the dimensions of the screen. First, we changed the dimensions of the screen so that it can fit the 3x3 Rubik's cube. Then, we adjusted the number and dimensions of the rows and columns to make it a 3x3 Rubik's cube printer. We then used the same logic to create a 4 x 4 Rubik's cube printer.
The second task involved 3 major parts: rotating the display 90˚, converting the string to an array of integers corresponding to the given colours, and allotting the colours to each space according to the numbered image. For the first part, we decided it would be easiest to ‘move’ the bottom 3x3 square to the right, thus completing the rotation. We did this by flipping the x and y coordinates of the lines (initialisation) and the colours. For the second part, we wrote a code that prompted an input from the user for a string which consists of characters b (blue), r(red), w(white), y(yellow), o(orange) and g(green). This string should be 54 characters long, as to have a colour for each box on the cube. The code uses if statements to identify the colour and convert it to the correspondent number, then appends them to an array. The final part started with us removing all the original code for colour side and colour update, as we found that it would be unnecessary to group multiple boxes together. We set the original position as (x,y), as well as the size of the coloured boxes (34,34). We then put an for statement within the colour update function in order to loop through our array of integers and assign the colours to their boxes. The for statement is essentially split into 6 parts: each corresponding to one side of the cube. Each part begins with defining the lop left space with index 0, and colours it, then it moves from left to right to assign colours to the top row of that side. Then it moves down a row, and again until the entire cube is coloured according to the array.
Challenges we ran into
For the first task, we were at a loss initially because most of us did not have experience with python and understanding the script given to us proved to be a task. Eventually, we came up with our own methodology and completed it.
For the second task, originally, the code was overcomplicated as we used a different for loop for each side of the Rubik's cube, but we managed to optimise and shorted the code to make it look cleaner and run better.
Accomplishments that we're proud of
We are extremely proud that all of us worked as a team and each of us contributed to this project. We overcame the initial confusion and ended up completing the task which we did not think we could have done. We also went beyond the requirements and created a 4x4 Rubik's cube printer despite the time constraints. It was our first hackathon, and we ended up doing much better than we thought.
What we learned
We learned the importance of team work, asking for help with things we do not understand, critically thinking about what was required and using logic to come up with our code. This was our first time doing collaborative programming and the first time working with python as well for most of us.
What's next for HumanED Rubik's Cube Beginners
We are currently trying to optimise our code and go at the tasks from a different angle. We are also working on the Advanced project.

Log in or sign up for Devpost to join the conversation.